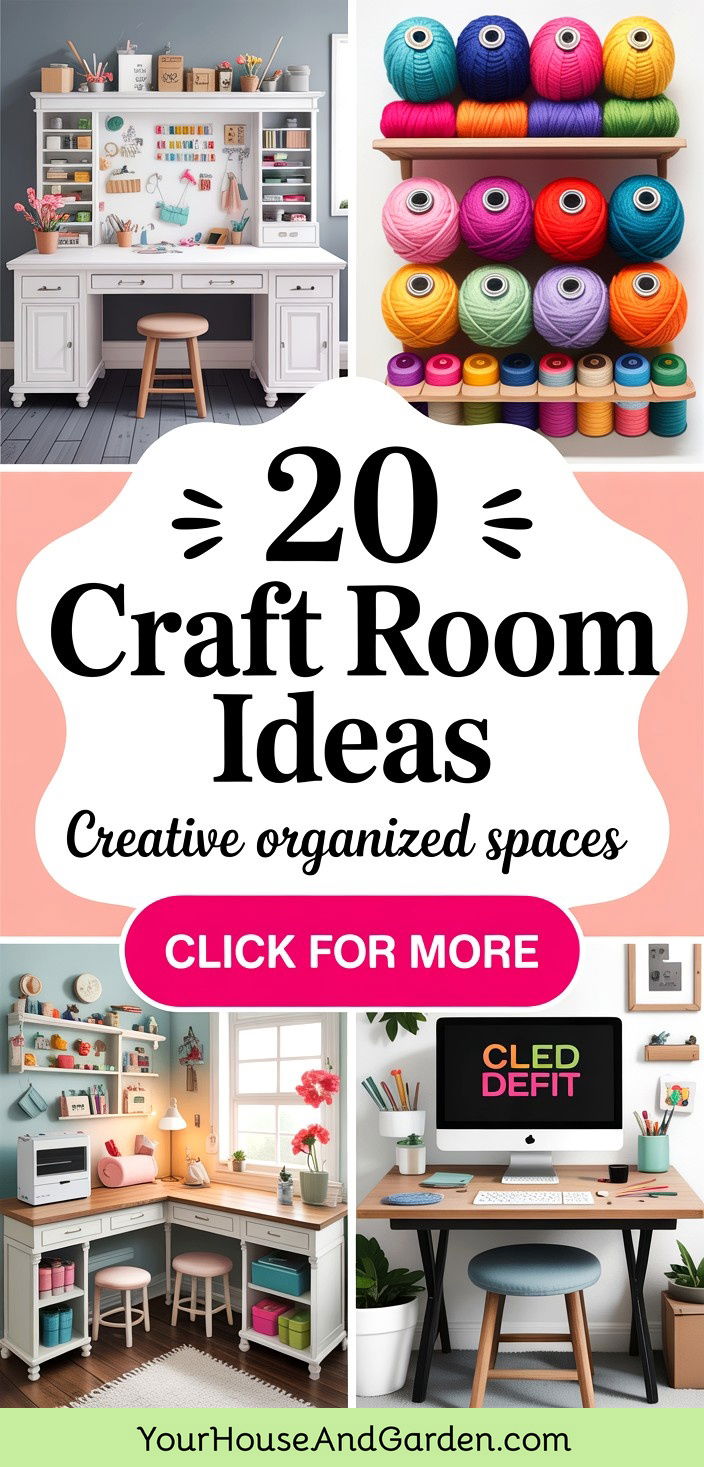
Creative chaos is energizing, yet an untamed craft room can swallow inspiration and supplies alike. The twenty ideas below distill lessons from professional organizers, experienced makers, and recent storage-gear reviews into easy, actionable upgrades for every square foot and budget. From vertical pegboard command centers to fold-away work tables, each tip focuses on saving space, speeding workflow, and keeping colors, textures, and tools within joyful reach. Whether you craft in a dedicated studio or a corner of the dining room, you’ll discover smart lighting tweaks, ergonomic seating, child-friendly zones, and even a DIY spray-booth solution that protects lungs and projects. Let’s dive in and shape a craft room that sparks creativity on demand.
1. Command Center Pegboard Wall for Your Craft Room
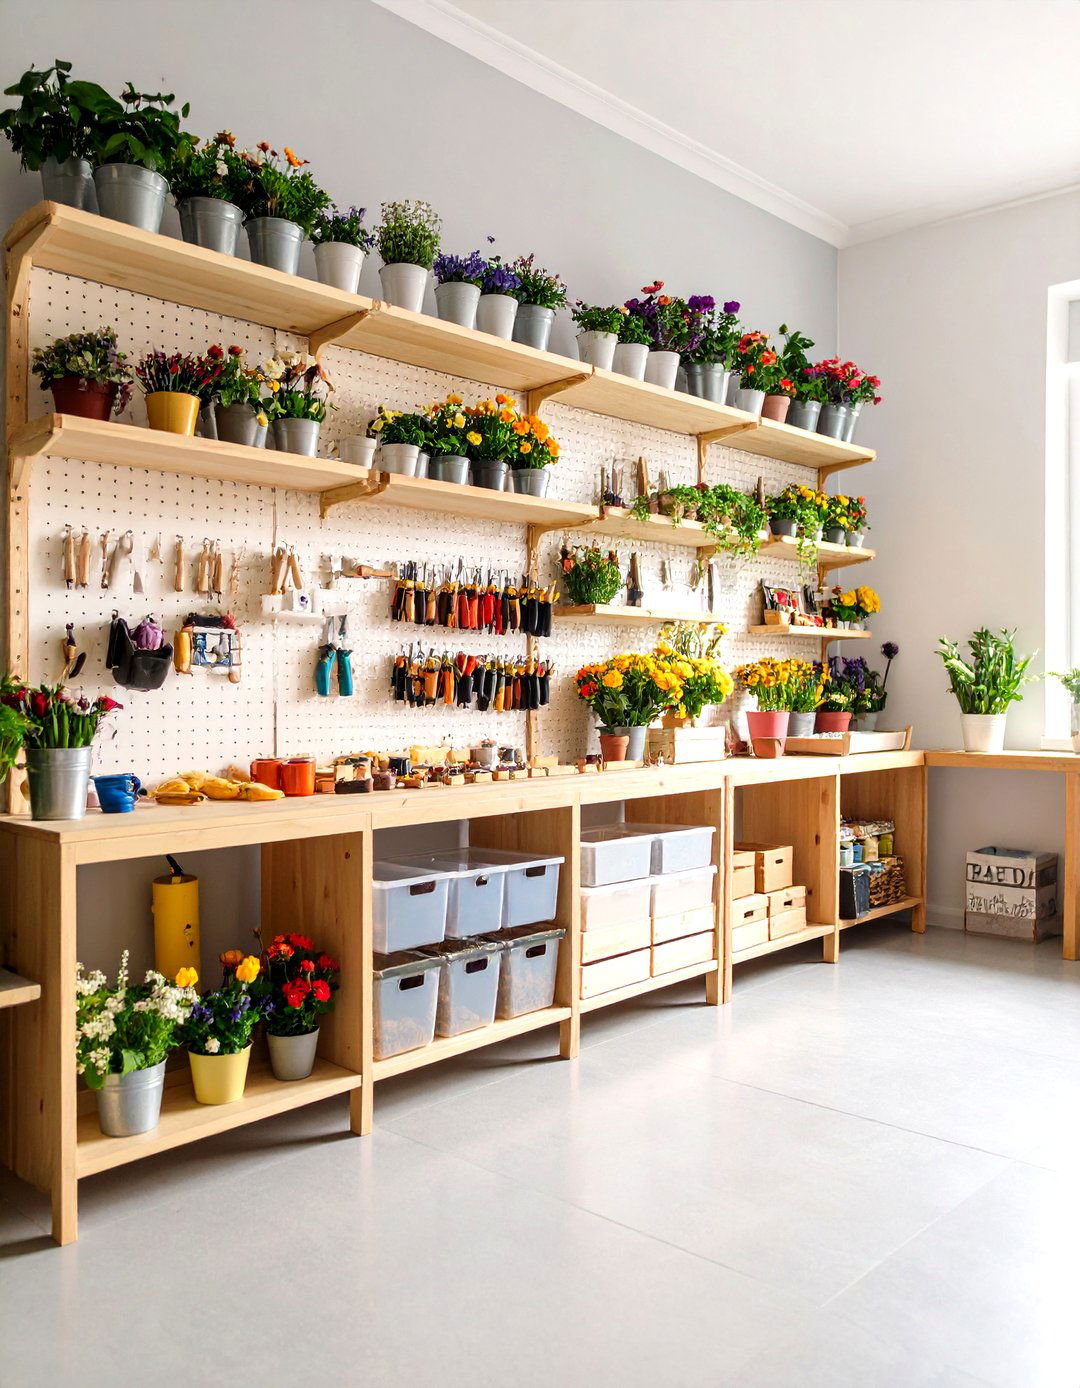
A generous pegboard wall instantly turns wasted vertical real estate into a customizable command center for your craft room. Hang scissors, rulers, punches, and small paint shelves at exact working height, then shift them whenever projects change; no drilling new holes required. Slim hooks and magnetic cups keep tools visible, so you stop buying duplicates hidden in drawers. Add narrow shelves for thread spools or acrylic paints, and clip clear bins for beads. Because every square inch is mapped on the wall, the countertop stays open for creativity. A simple coat of your favorite accent color makes the pegboard double as inspiring décor, too.
2. Mobile Rolling Cart Station for a Craft Room

Take advantage of every square foot by parking a slim three-tier rolling cart beside your main table. In a compact craft room, the cart acts like a movable drawer: tall compartments corral markers, glue bottles, and fabric scraps, while the top shelf keeps current-project supplies within arm’s reach. When you need floor space for cutting, the sturdy wheels glide under the desk or into a closet. Label each level by category so cleanup is automatic, and stash a power bank on the bottom tier to keep hot-glue guns charging on the move. Because it follows you, time wasted hunting supplies nearly disappears.
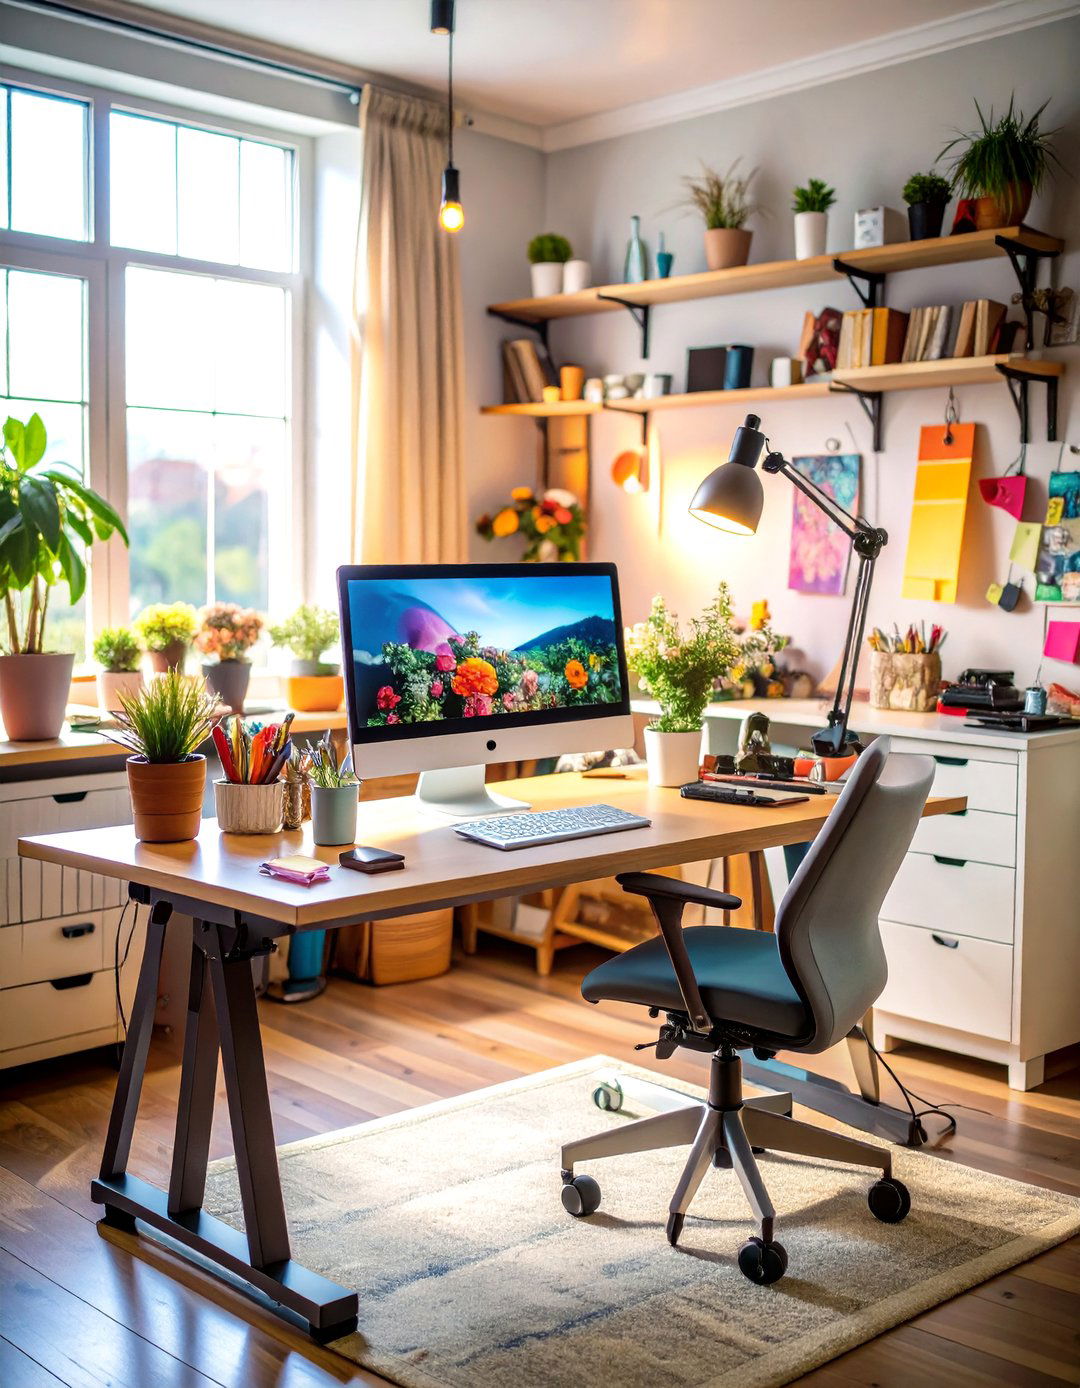
3. Fold-Away Craft Table That Saves Space
Consider installing a fold-down craft table that disappears against the wall between sessions and springs open to full strength when creativity strikes. This adaptable surface is a lifesaver for multipurpose craft rooms or studio apartments, providing a sturdy 31- to 48-inch workspace without permanently blocking walkways. Mount it on heavy-duty brackets, and add a shallow shelf above to hold rulers and paint-water jars that stay upright even when the table folds. Pair the desk with a collapsible stool, and you can transform the area back into guest space in seconds. Fold-away furniture frees both mind and room from clutter anxiety.
4. Layered LED Task Lighting for Craft Precision
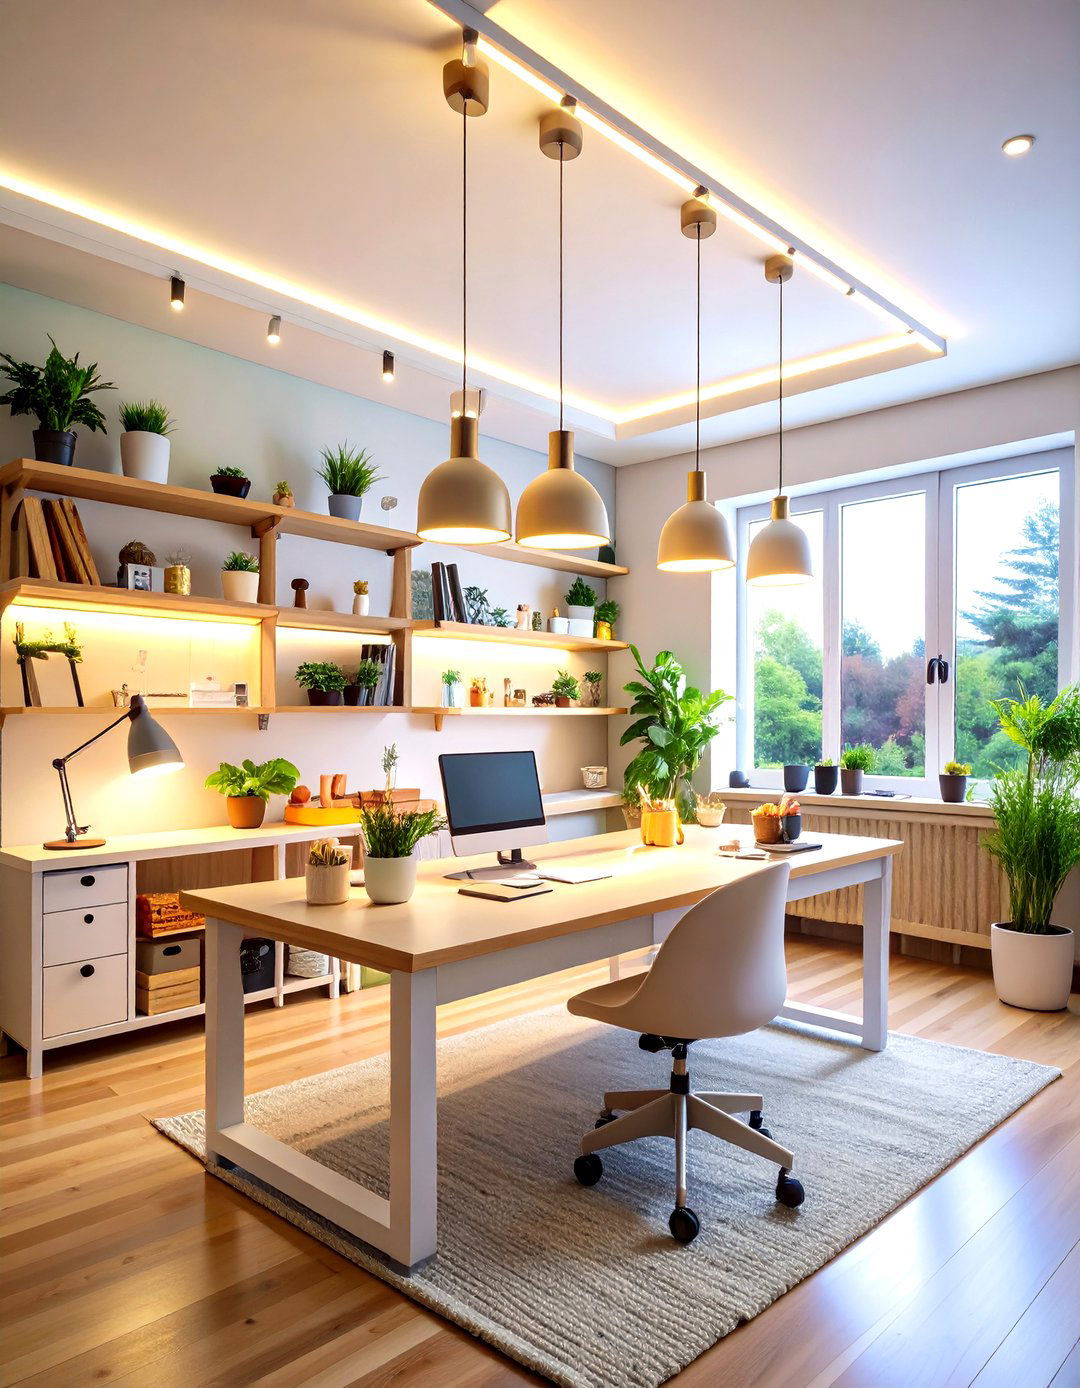
Bright, balanced lighting is the easiest upgrade you can gift your craft room. Layer ceiling cans for general illumination, add cool-white LED strips under shelving to spotlight your hands, and finish with a flexible gooseneck task lamp that banishes color-distorting shadows on fine detail work. Modern LEDs sip energy, stay cool to the touch, and boast 90+ CRI ratings so paper, fabric, and paint hues remain true day or night. If outlets are scarce, rechargeable puck lights or smart plugs controlled by voice keep switches within reach even when glue-covered fingers can’t. Good light protects eyes and boosts precision, accelerating every project.
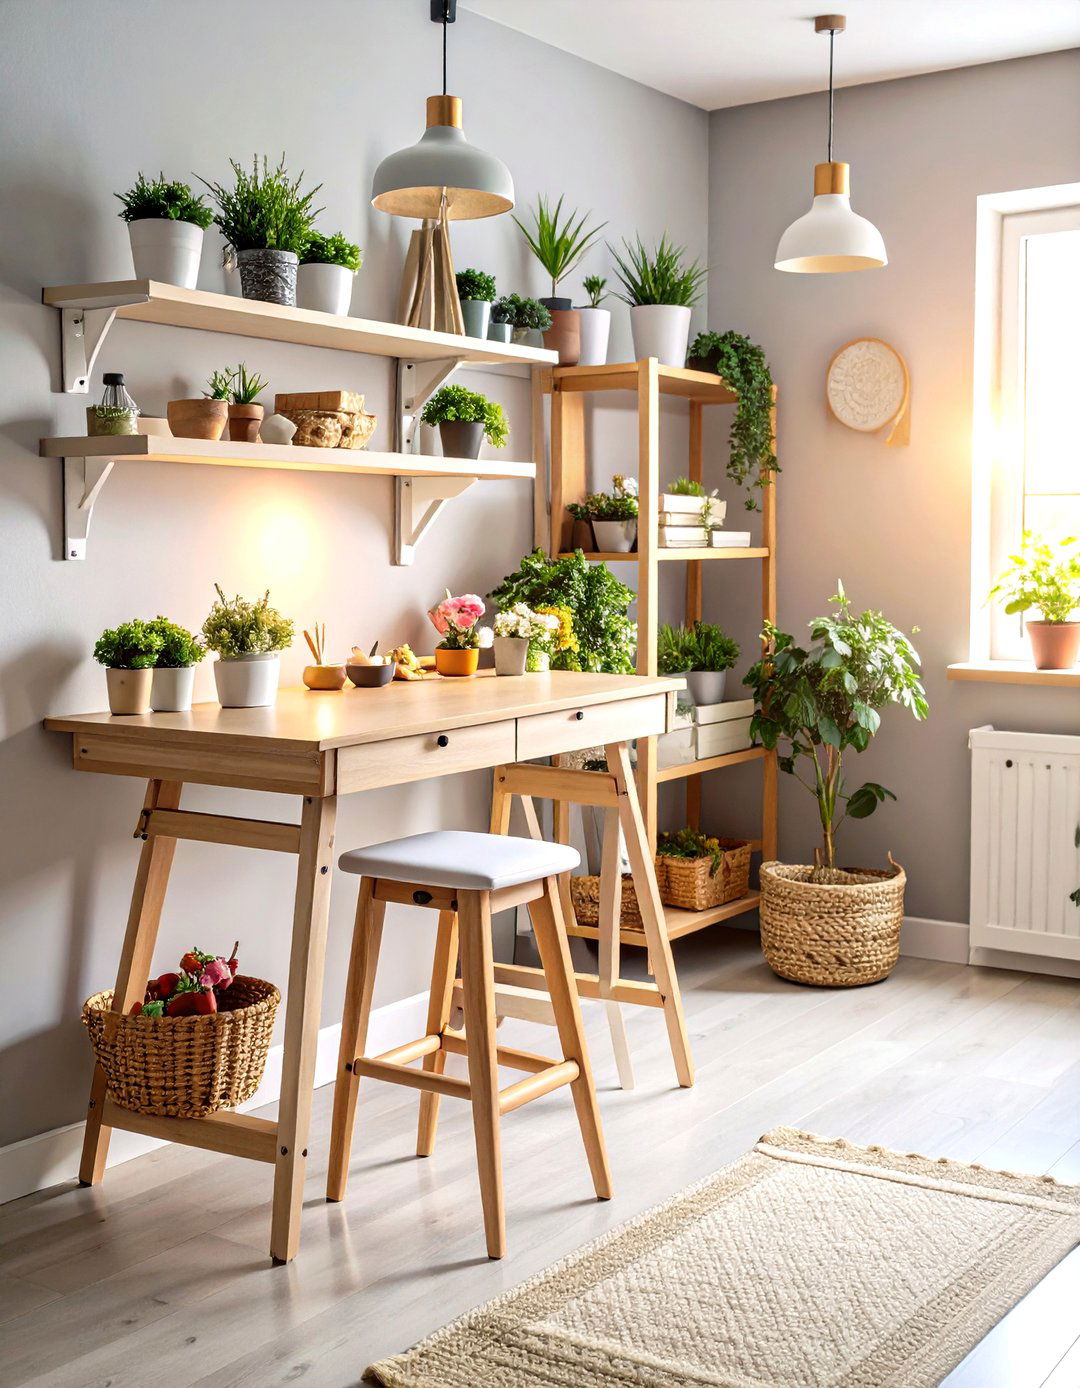
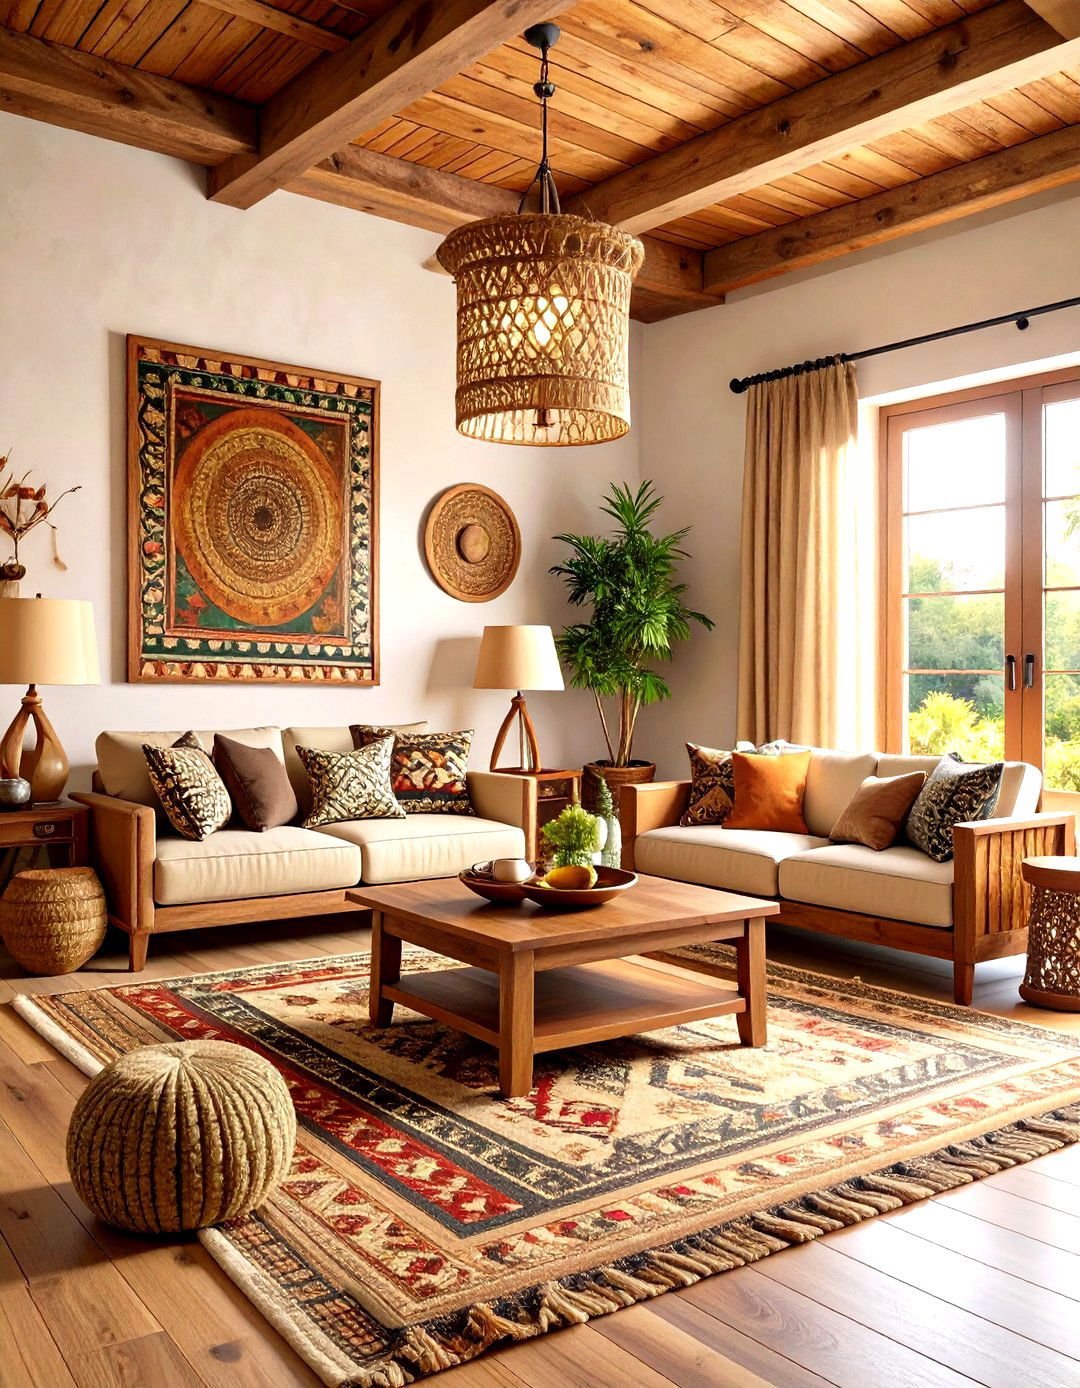
5. Mood-Boosting Color Palette for a Craft Room
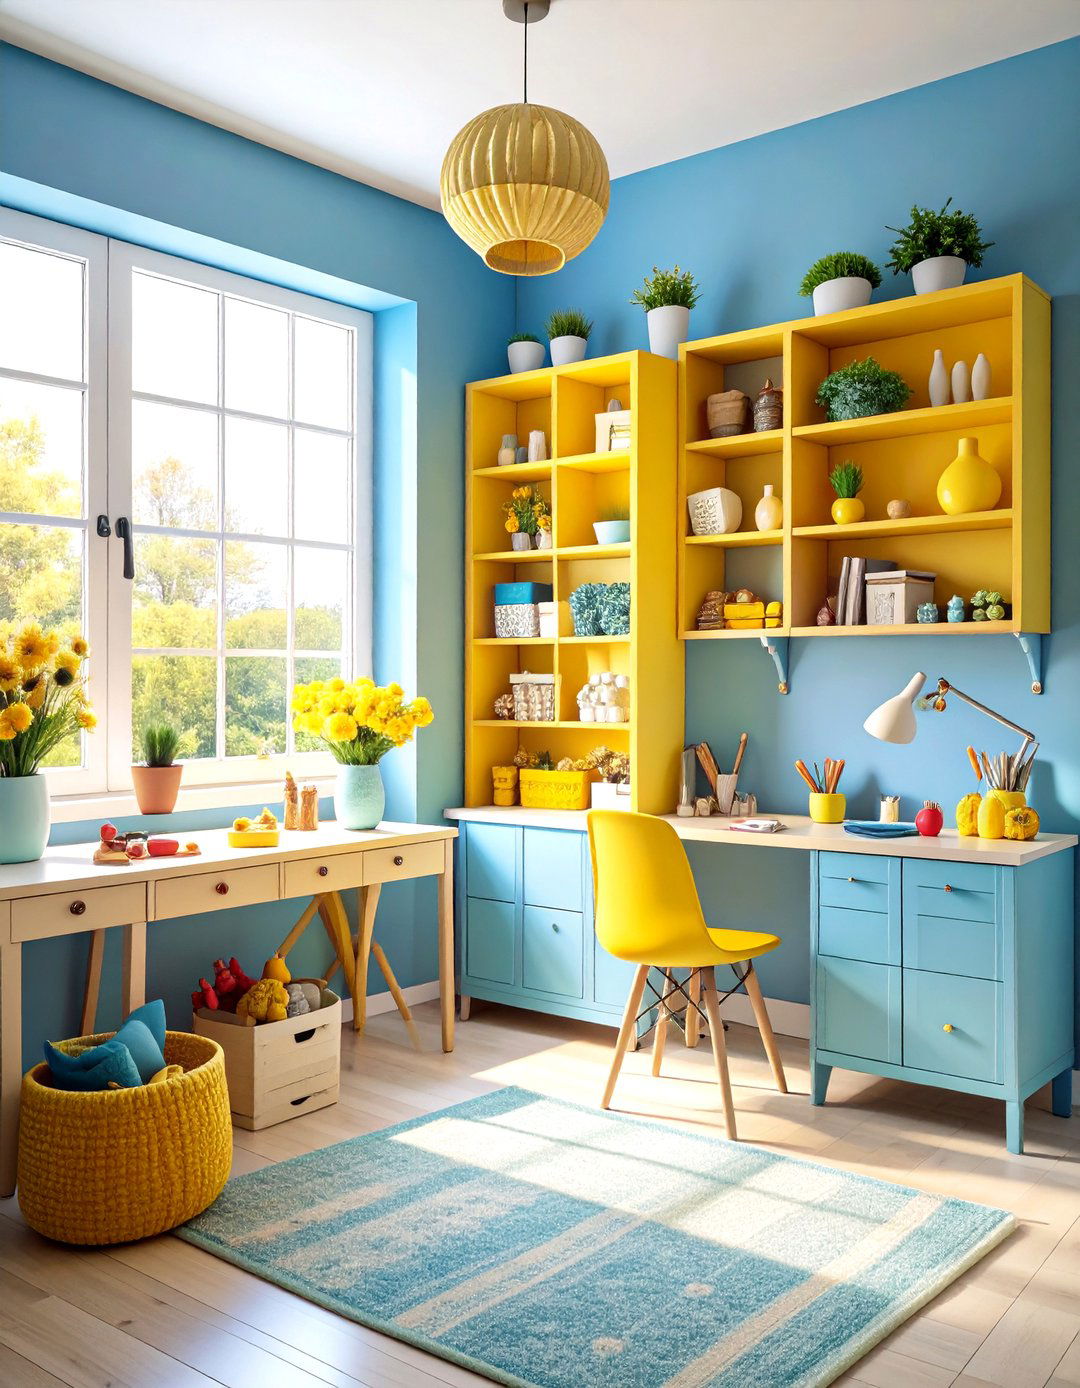
Energize the entire craft room simply by choosing a color palette that matches the mood you want while respecting color psychology. Blues and greens calm and support focused piecing or lettering; sunny yellows and oranges spark playful brainstorming; crisp whites bounce light and visually enlarge tight corners. Start with a dominant wall hue, then layer accent bins and chair cushions in complementary tones to guide the eye. When trends shift, swap small accessories rather than repainting. A consciously crafted palette not only looks curated in photos but subconsciously cues your brain that it’s time to invent, making color selection a silent creative partner.
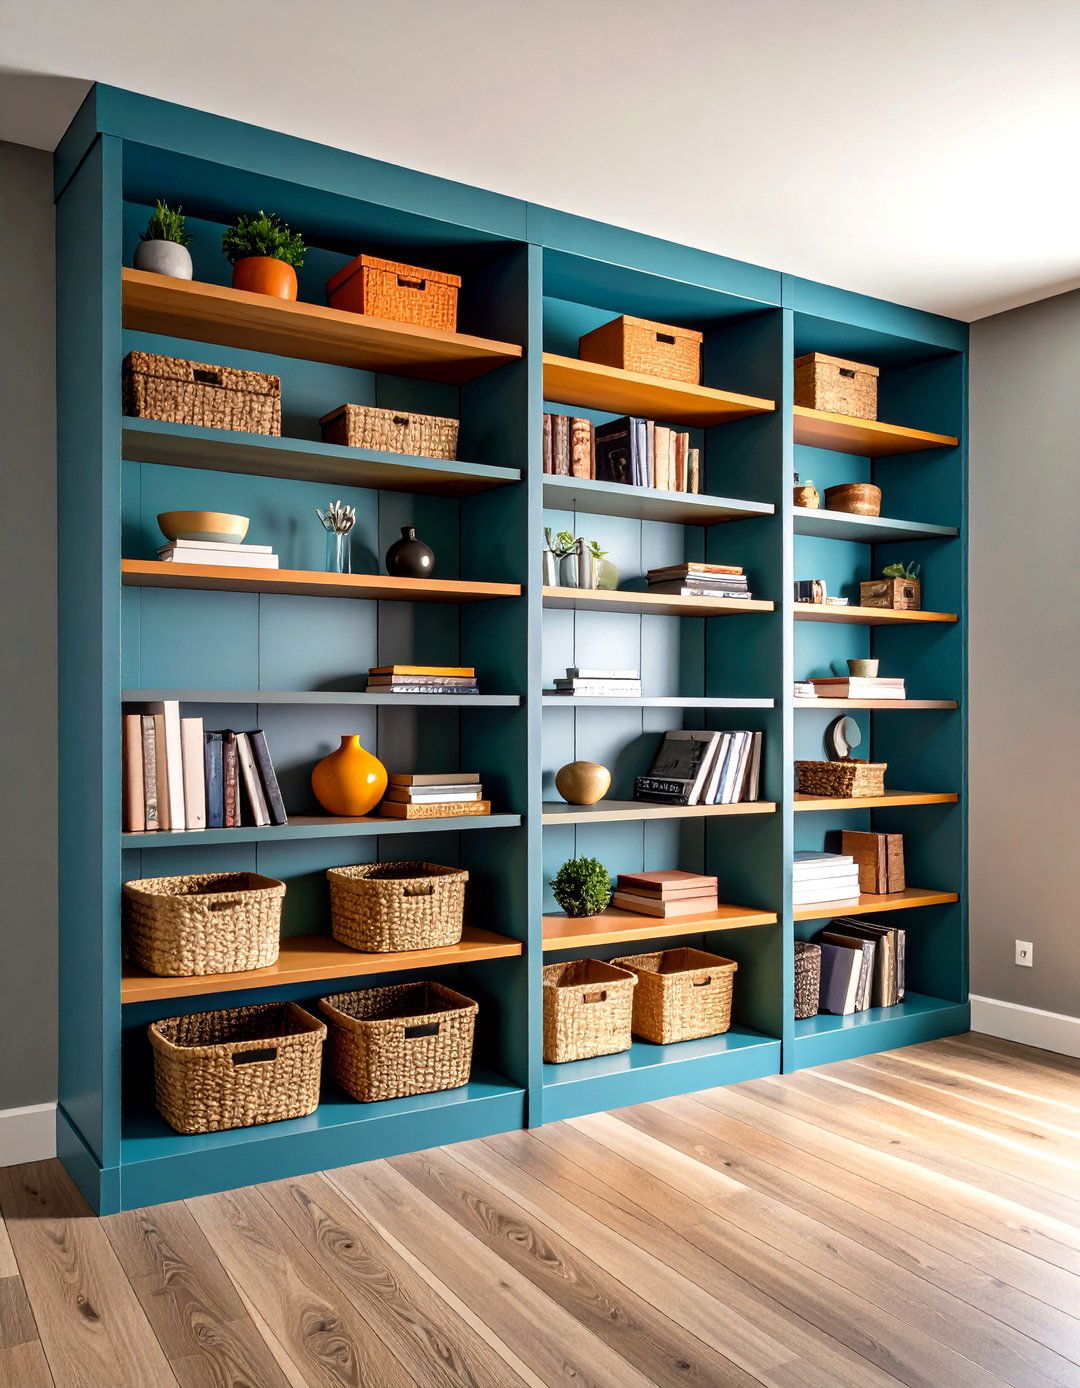
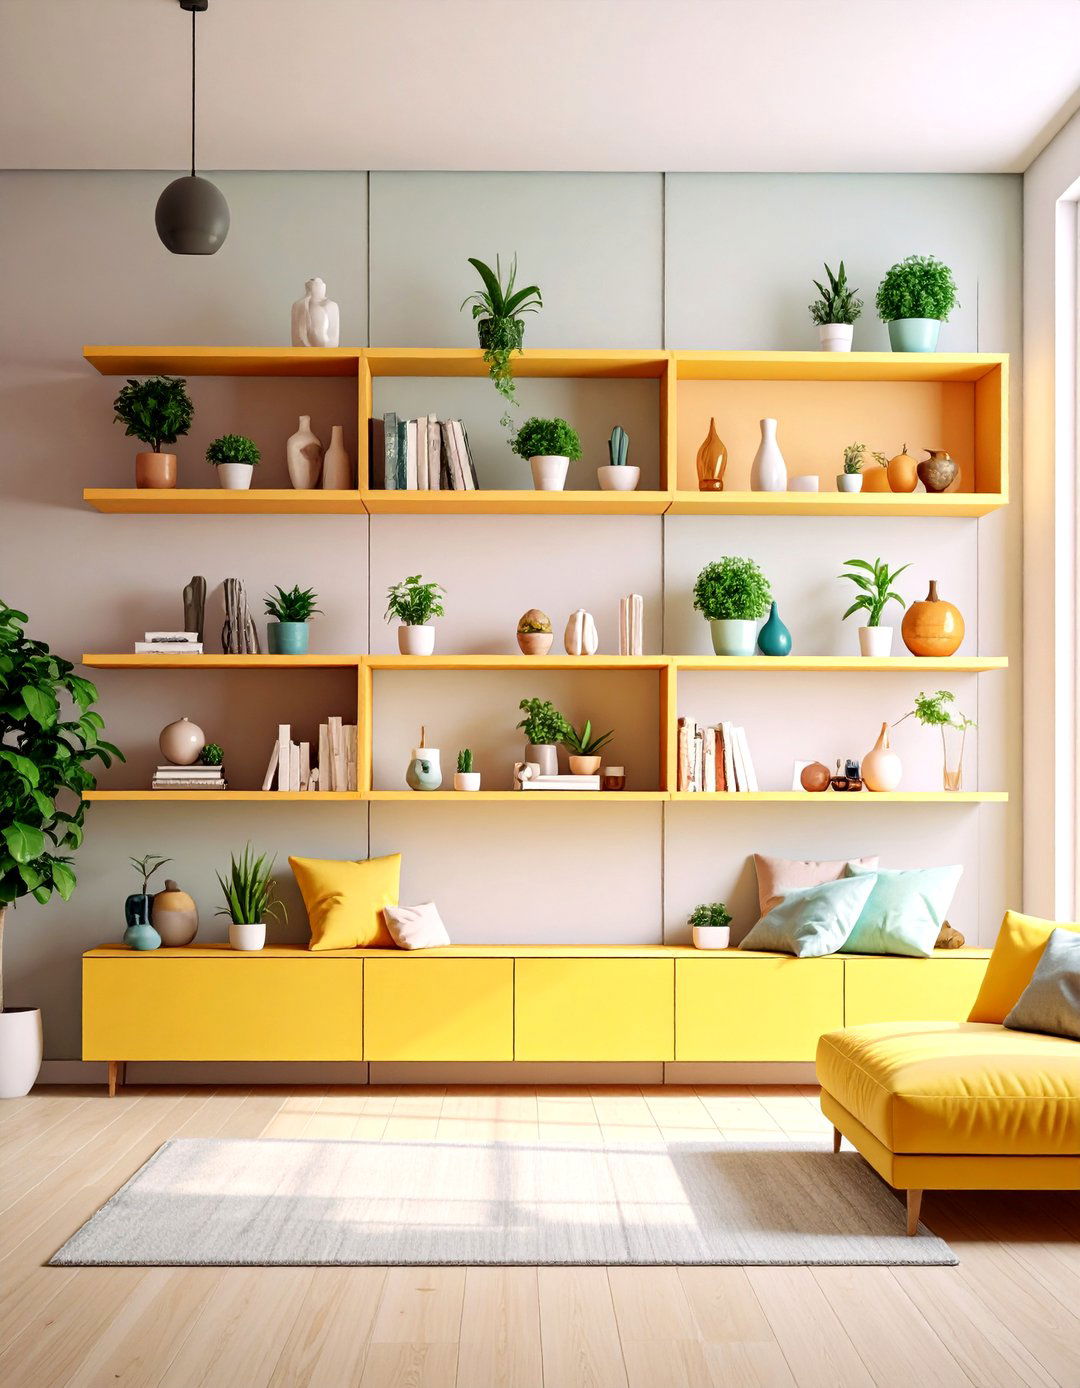
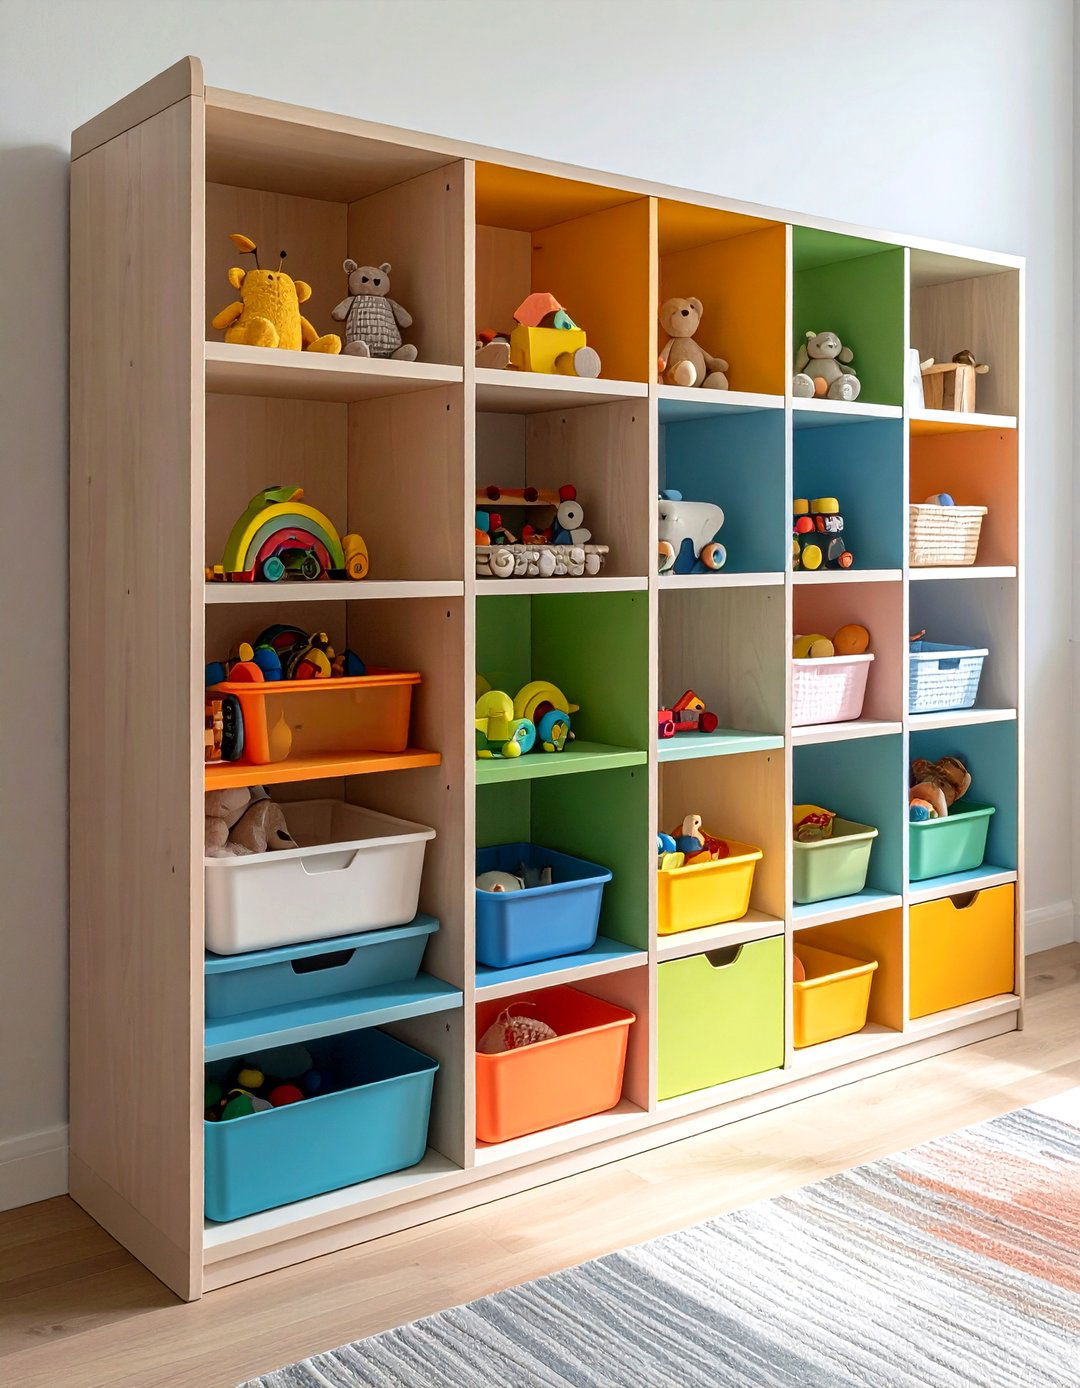
6. Modular Cube Shelving to Expand with Your Craft Room
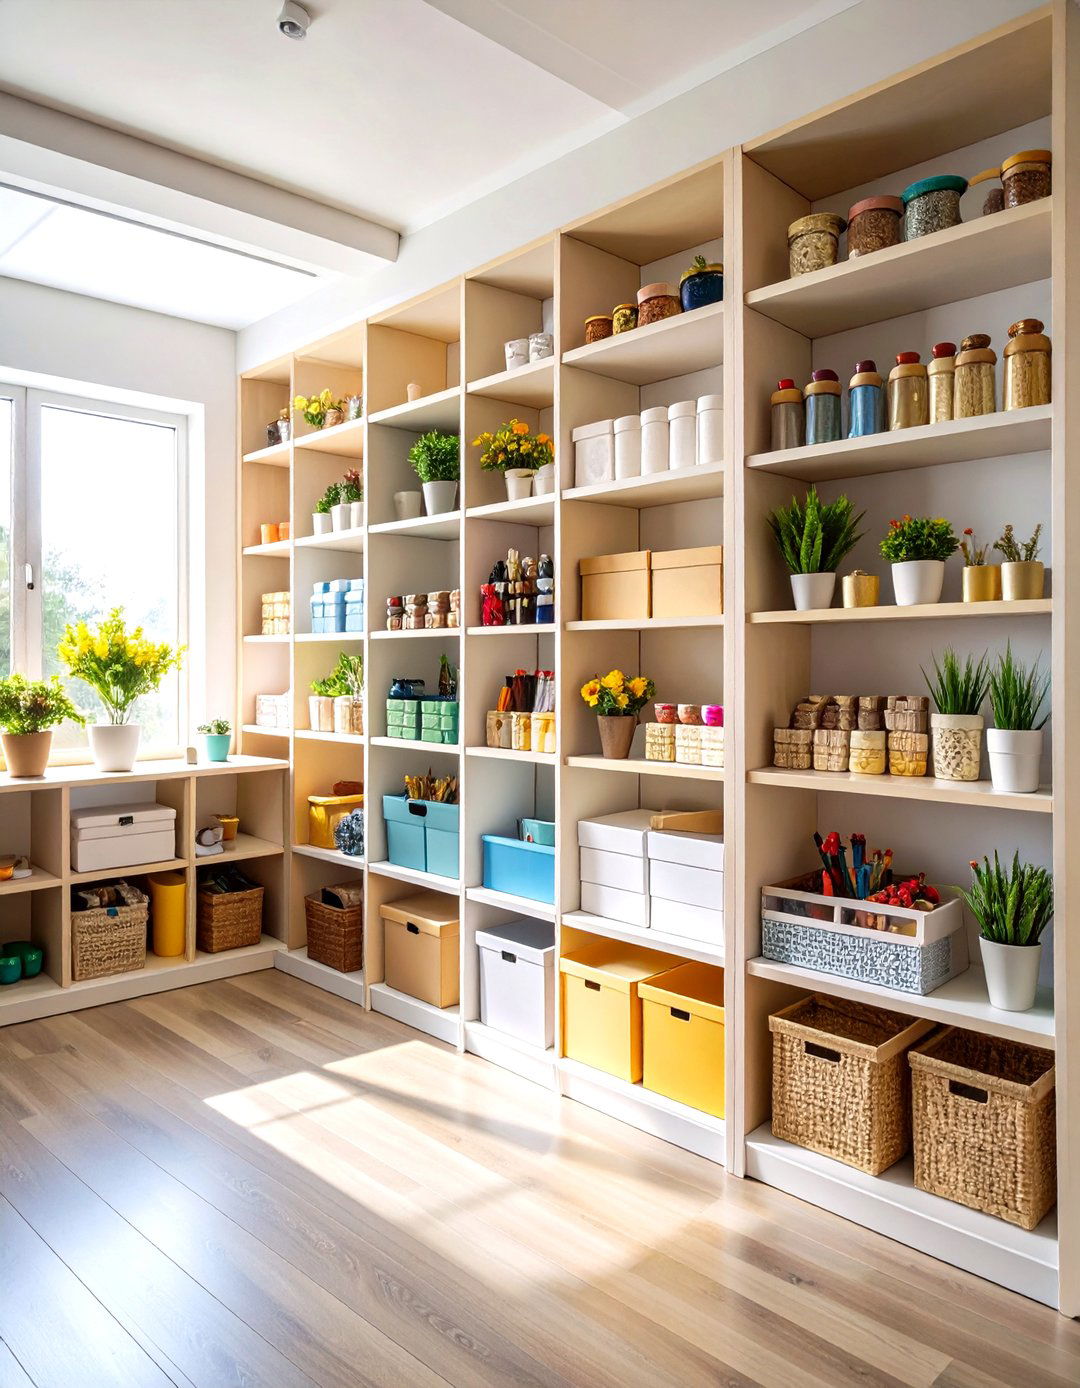
Modular cube shelving—think 13-inch cavities that swallow bins, paper stacks, or even a desktop cutting machine—gives your craft room the flexibility of building blocks. Arrange units in an L-shape to divide zones, stack them ceiling-high for a library-like wall, or roll a two-cube tower under the table to form an extra leg. Clear totes slide in and out so you see exactly what vinyl, yarn, or stamp pads you own; shallow baskets keep seasonal embellishments ready without visual clutter. Because cubes are inexpensive and endlessly reconfigurable, you can add more as hobbies expand instead of overhauling the entire space. A quick cube shuffle tomorrow keeps today’s investments relevant.
7. Magnetic Spice-Jar Micro Storage for Craft Bits

Surprisingly, repurposed magnetic spice jars make brilliant micro-storage for a craft room. Fill each clear-lidded tin with sequins, beads, or embossing powder, slap a strip of sheet metal under a shelf, and the containers snap into place like tidy ornaments. Because the lids are transparent, you spot color blends instantly and know when to reorder. The strong magnets let you store dozens of embellishments vertically instead of piling fragile vials in a box. Label the rims with permanent marker for quick reference, and rotate seasonal glitters to the front. This whimsical solution costs little yet frees drawers for bulkier tools.
8. Oversized Inspiration Cork Board for Craft-Room Creativity
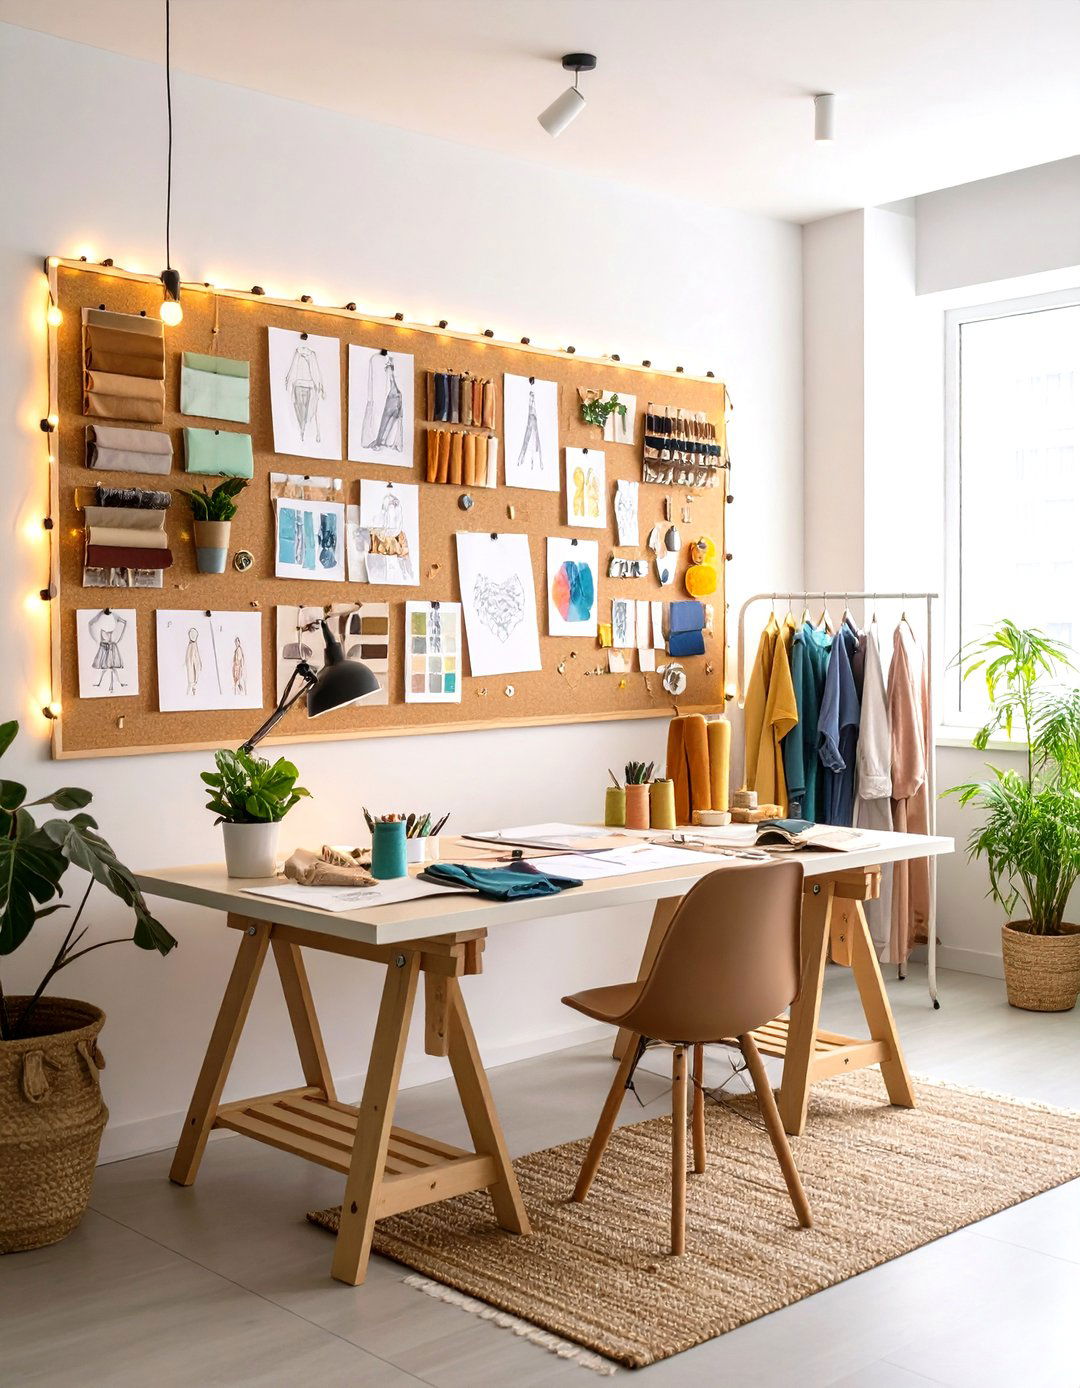
An oversized cork or felt inspiration board turns an ordinary craft room wall into a live mood board that evolves with every project. Pin fabric swatches, color chips, sketches, and finished mini pieces in clusters so you can visualize themes before committing scissors to cloth. Keeping ideas vertical stops piles from swallowing the desk, and rotating boards push older projects aside, sparking fresh momentum. If you’re renting, mount peel-and-stick cork tiles in a grid; they come down cleanly at move-out. Frame the board with LED strip lights for gallery vibes, and your creative mind gets a daily visual nudge without opening a single drawer.
9. Label-Everything System for Effortless Craft-Room Order
Nothing streamlines a craft room faster than a dedicated label-everything system. A lightweight Bluetooth label maker prints crisp fonts, emojis, and double-line text that sticks to bins, drawers, and even binder spines in seconds. Standardizing labels by category eliminates the mental math of remembering where supplies live, while color-coded tape highlights urgent project boxes. Because tapes swap out quickly, you can rebrand containers as hobbies change without scrubbing sticky residue. The payoff shows on hectic deadlines: you grab what you need, create, and file it back without hunting, leaving the tabletop clear for the next burst of creativity.
10. In-Wall Hideaway Ironing Board for Seamless Sewing
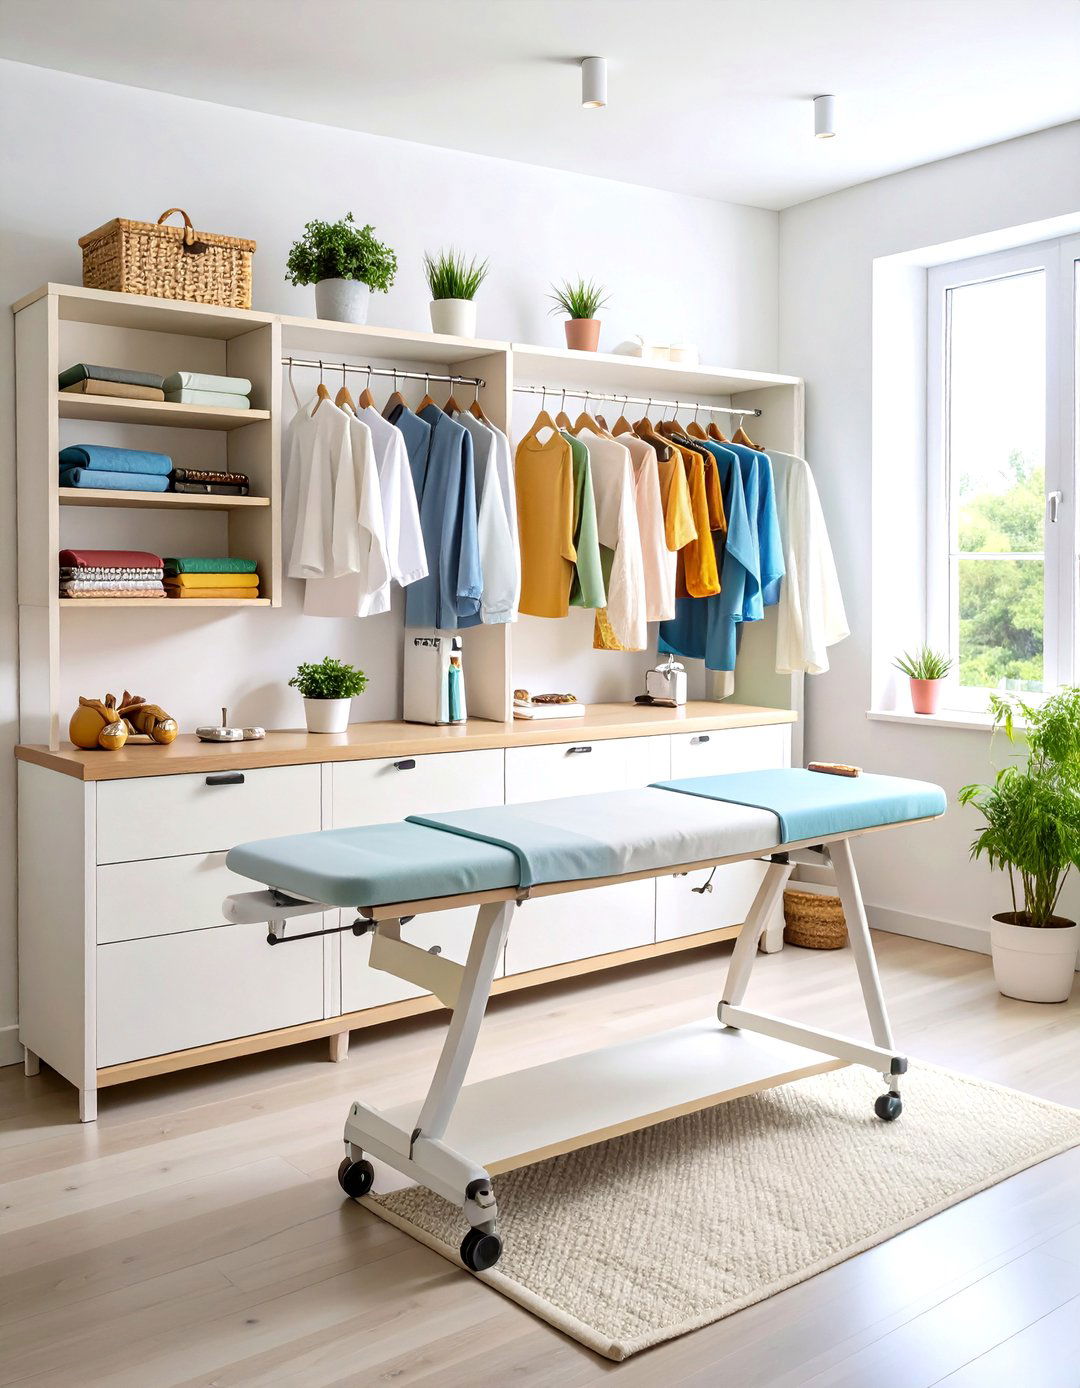
A pop-out ironing board hidden inside a shallow wall cabinet saves precious floor space yet keeps pressing power one tug away in the craft room. The board swivels 180 degrees, letting right- or left-handed sewists press seams without rearranging furniture, and it locks safely inside the frame when cool. Store starch spray, press cloths, and mini-iron accessories on the inner shelf so everything needed for crisp quilt blocks travels with the board. Because the cabinet door resembles standard wainscoting, the upgrade blends seamlessly into décor and eliminates the eyesore of a freestanding board leaning in a corner. Instead, that square footage goes back to cutting or storage duty.
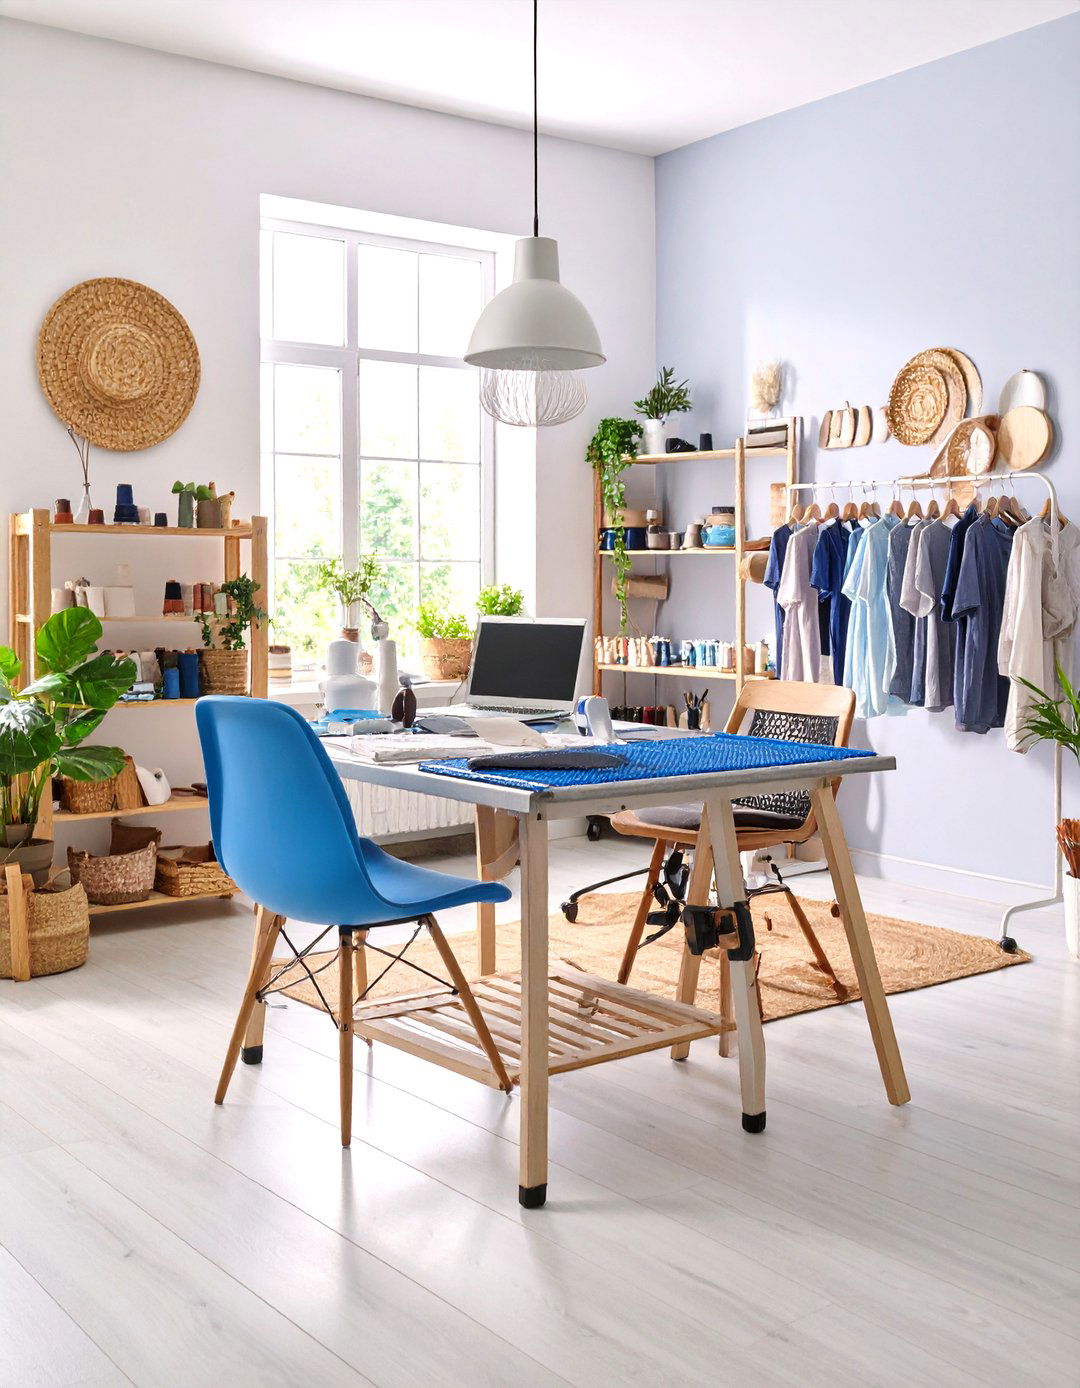
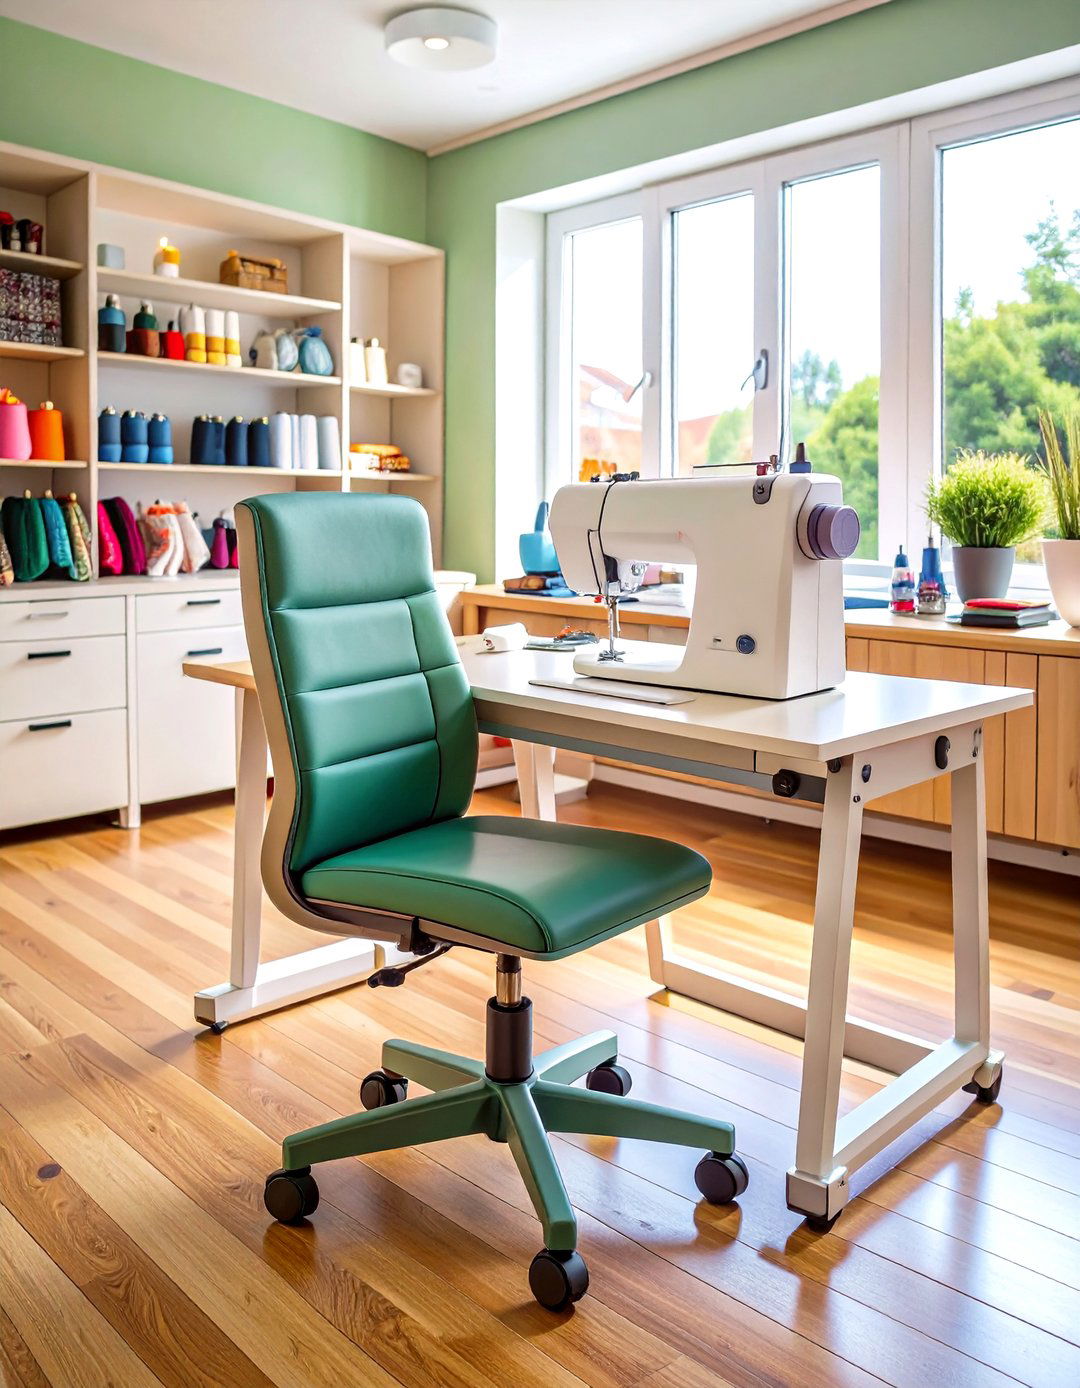
11. Dedicated Sewing Nook for Smooth Craft-Room Workflow
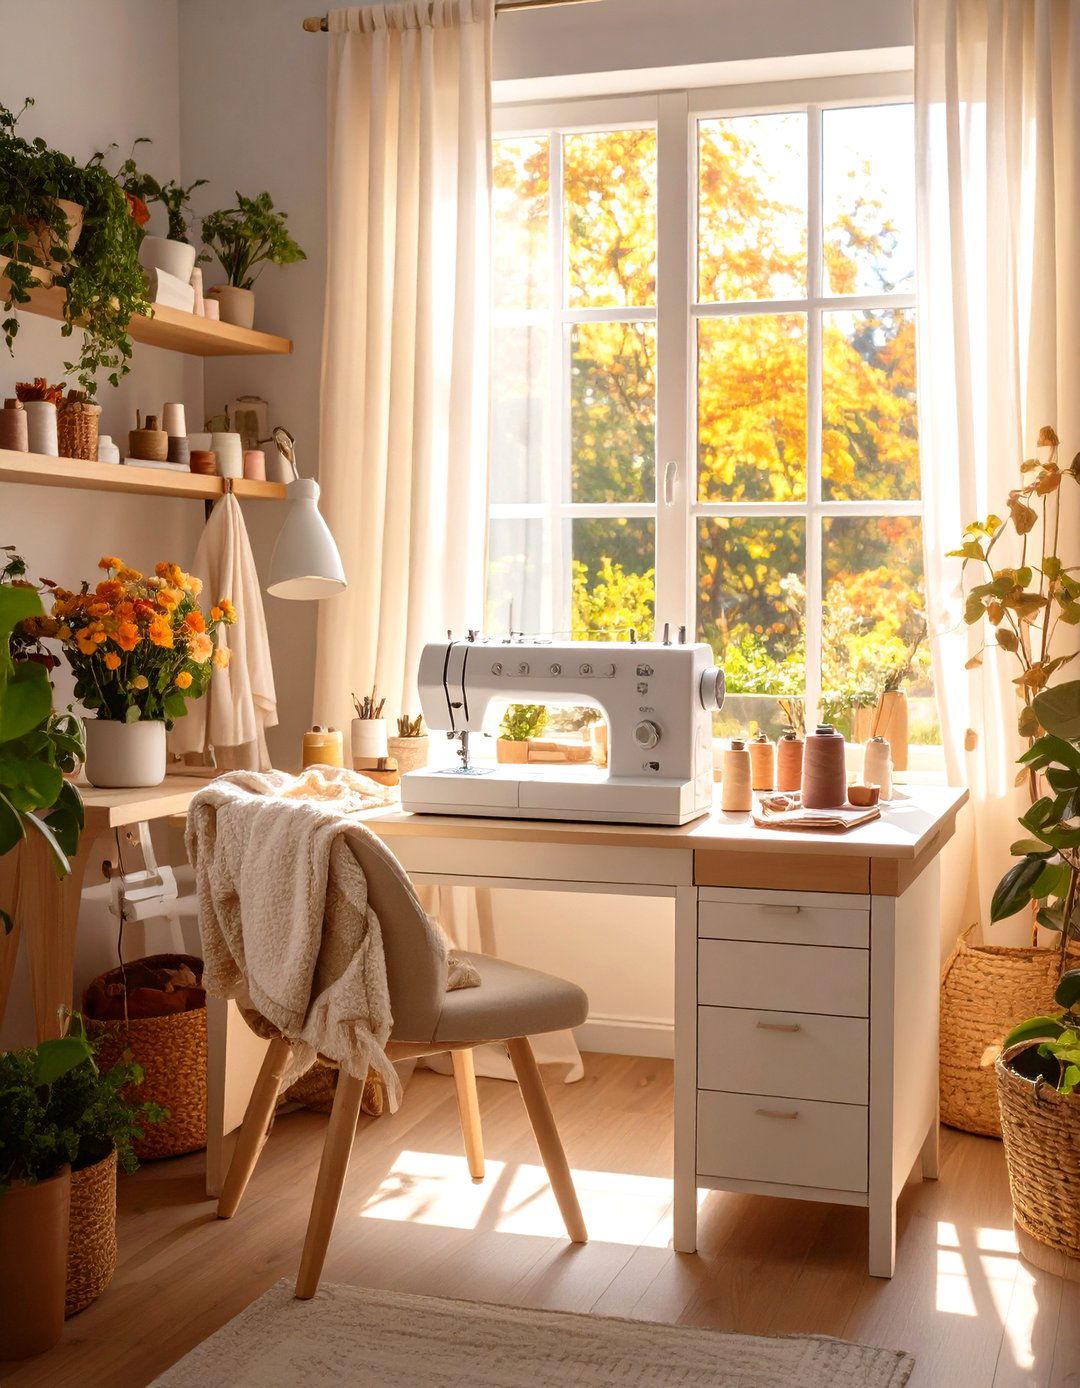
Create a dedicated sewing nook within your craft room by clustering machine, thread racks, and bobbin drawers on a single, vibration-dampened desk. Keeping cutting mats and pressing tools within one step reduces project-breaking interruptions. Install wall-mounted quilt hangers above the station to display works-in-progress, which frees horizontal surfaces and helps spot layout errors early. Drawers sorted by needle size and presser-foot type curb frustrating mid-stitch searches, while a clip-on LED bar eliminates shadows that cause uneven seams. By zoning the sewing workflow, you protect delicate electronics from paint splatters happening elsewhere and gain a smooth production line from first stitch to final binding.
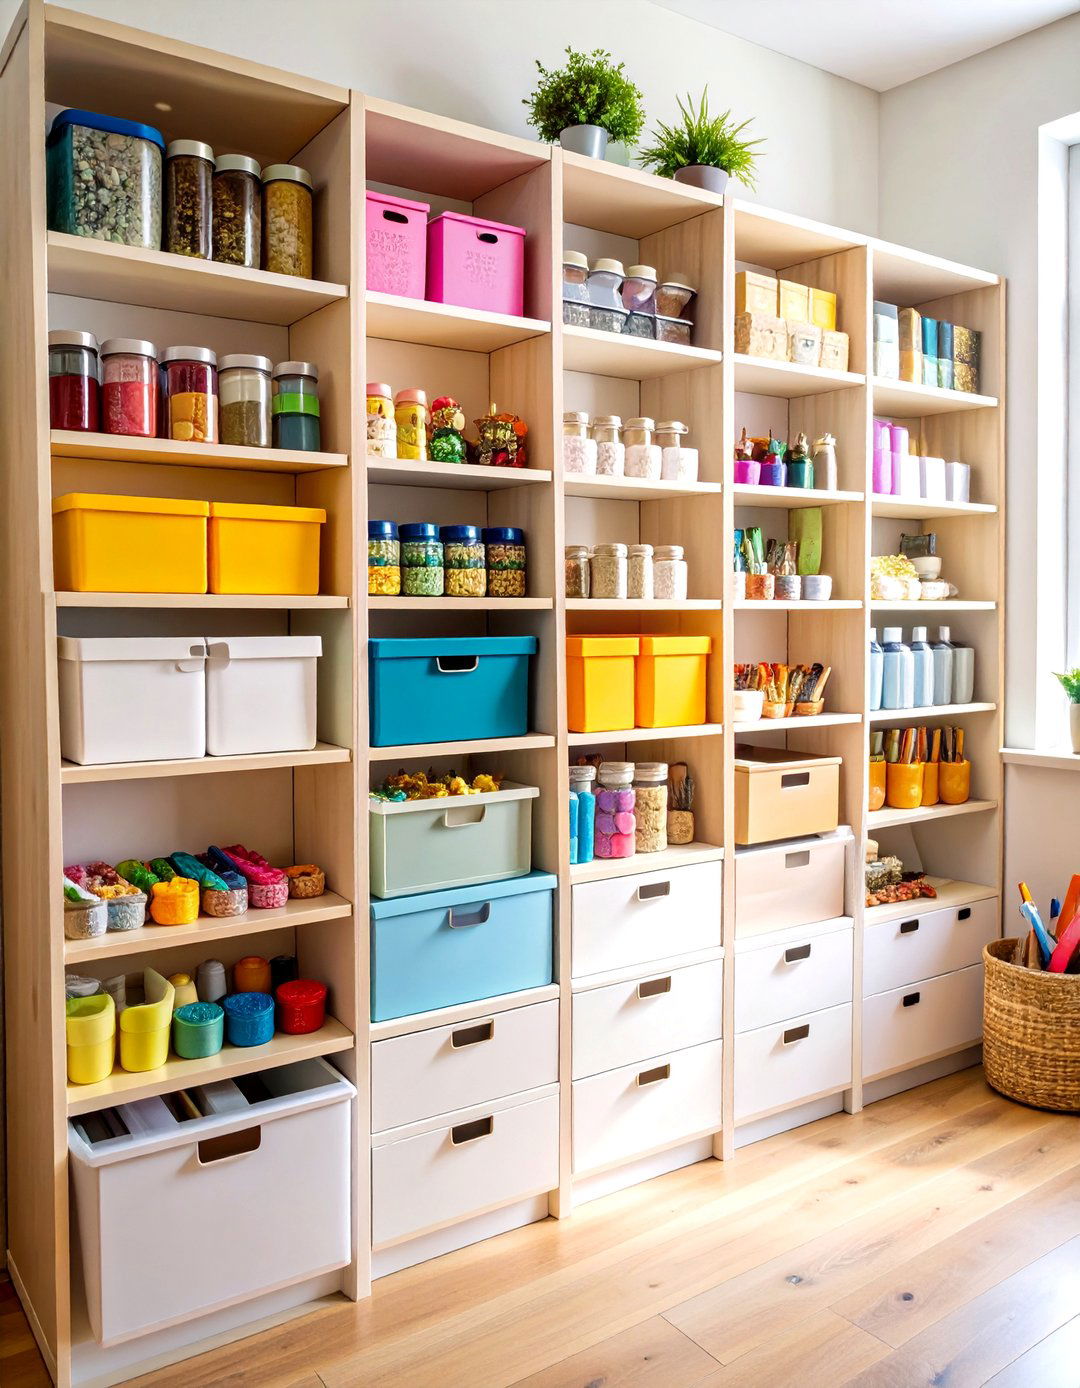
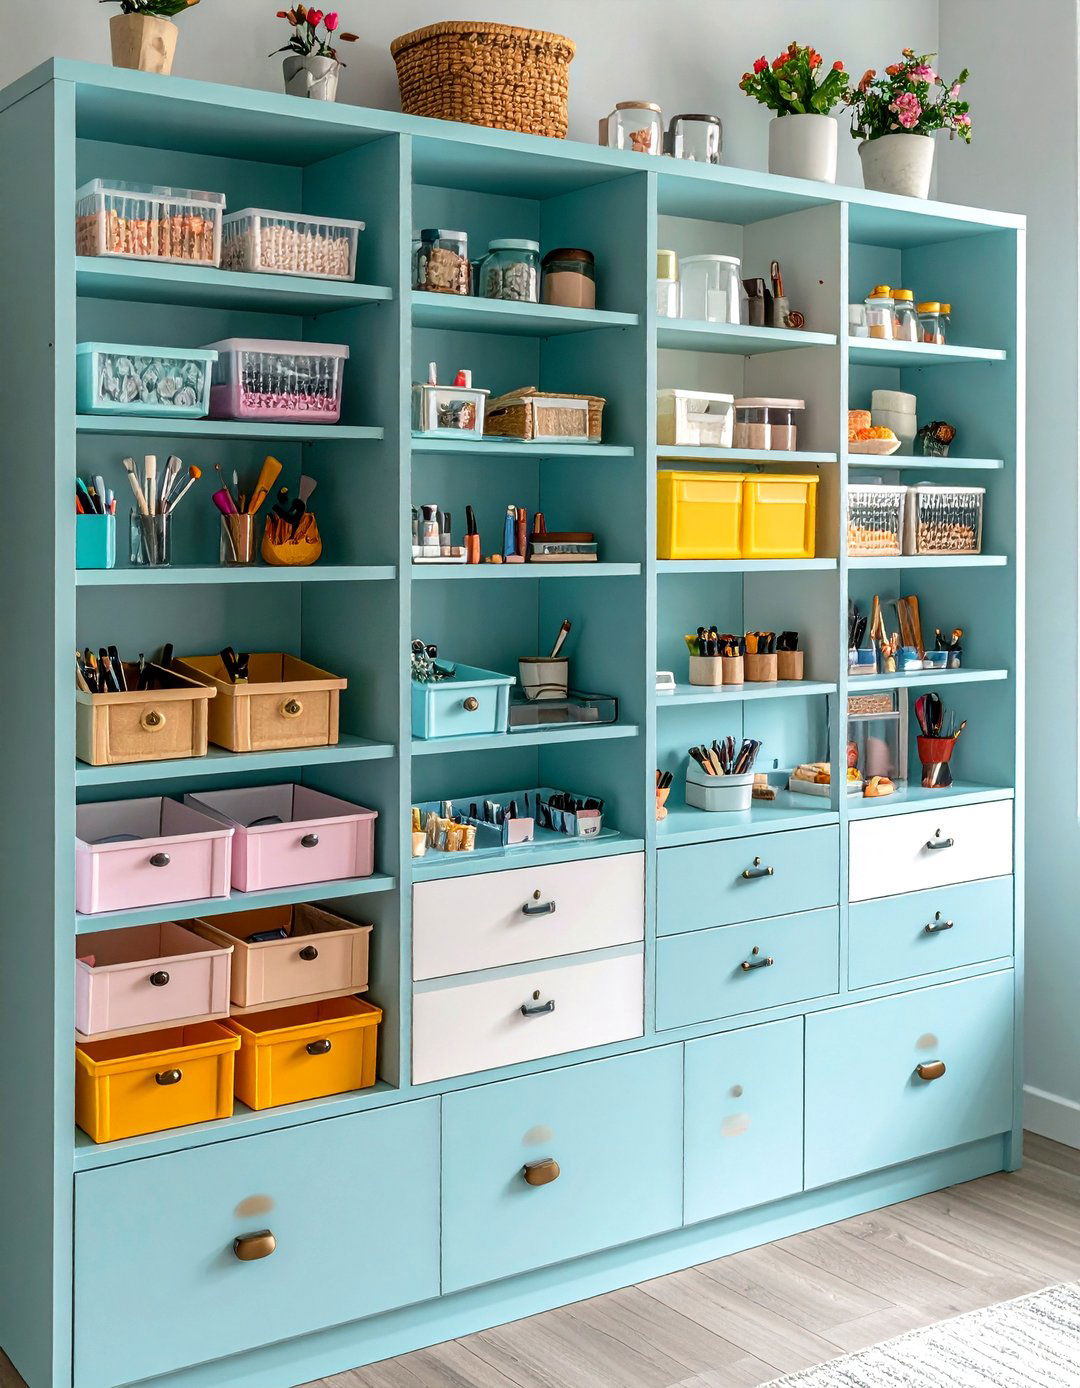
12. Clear Stackable Bins for See-Through Craft Storage
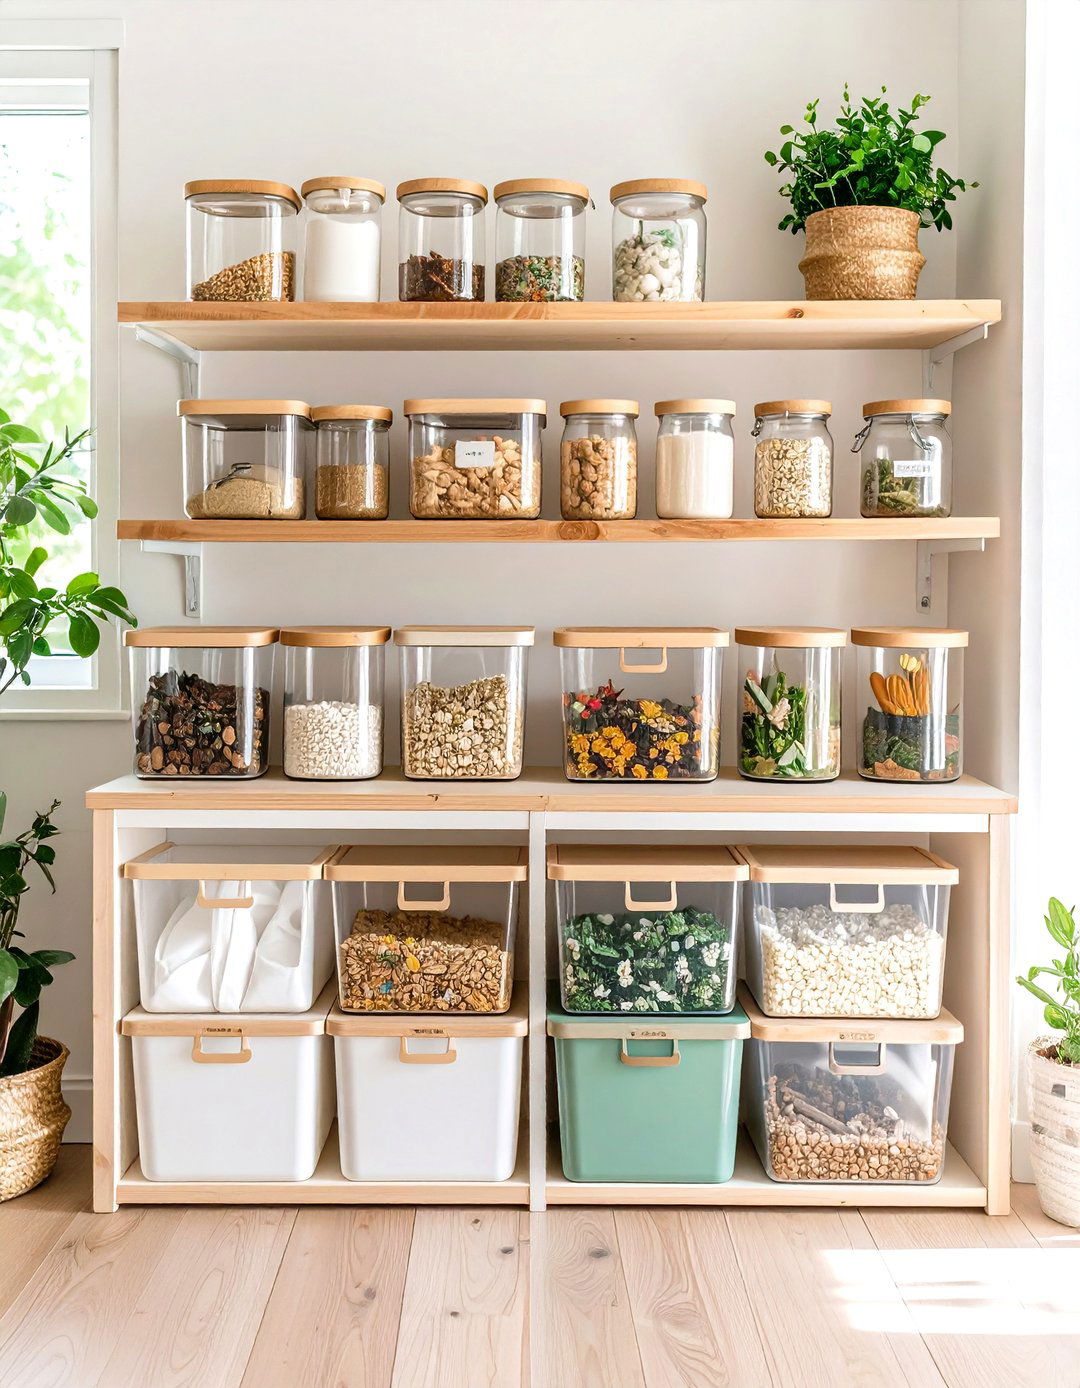
Swap mismatched shoe boxes for clear, stackable bins to give your craft room supermarket-style visibility. Uniform containers nest tightly, preventing lost lids, while front-facing labels and see-through walls let you check bead counts or ribbon colors at a glance. Choose bins sized to fit standard cube shelves so towers grow upward, not outward, and add silica packets for moisture-sensitive materials like photos or leather scraps. Because lids seal dust-tight, glitter stays inside, and cleanup becomes a lid-on slide back into its slot. Streamlined stacks look magazine-ready yet cost only a few dollars per bin, making clutter a solvable equation.
13. Under-Desk Drawer Units to Reclaim Hidden Craft-Room Space
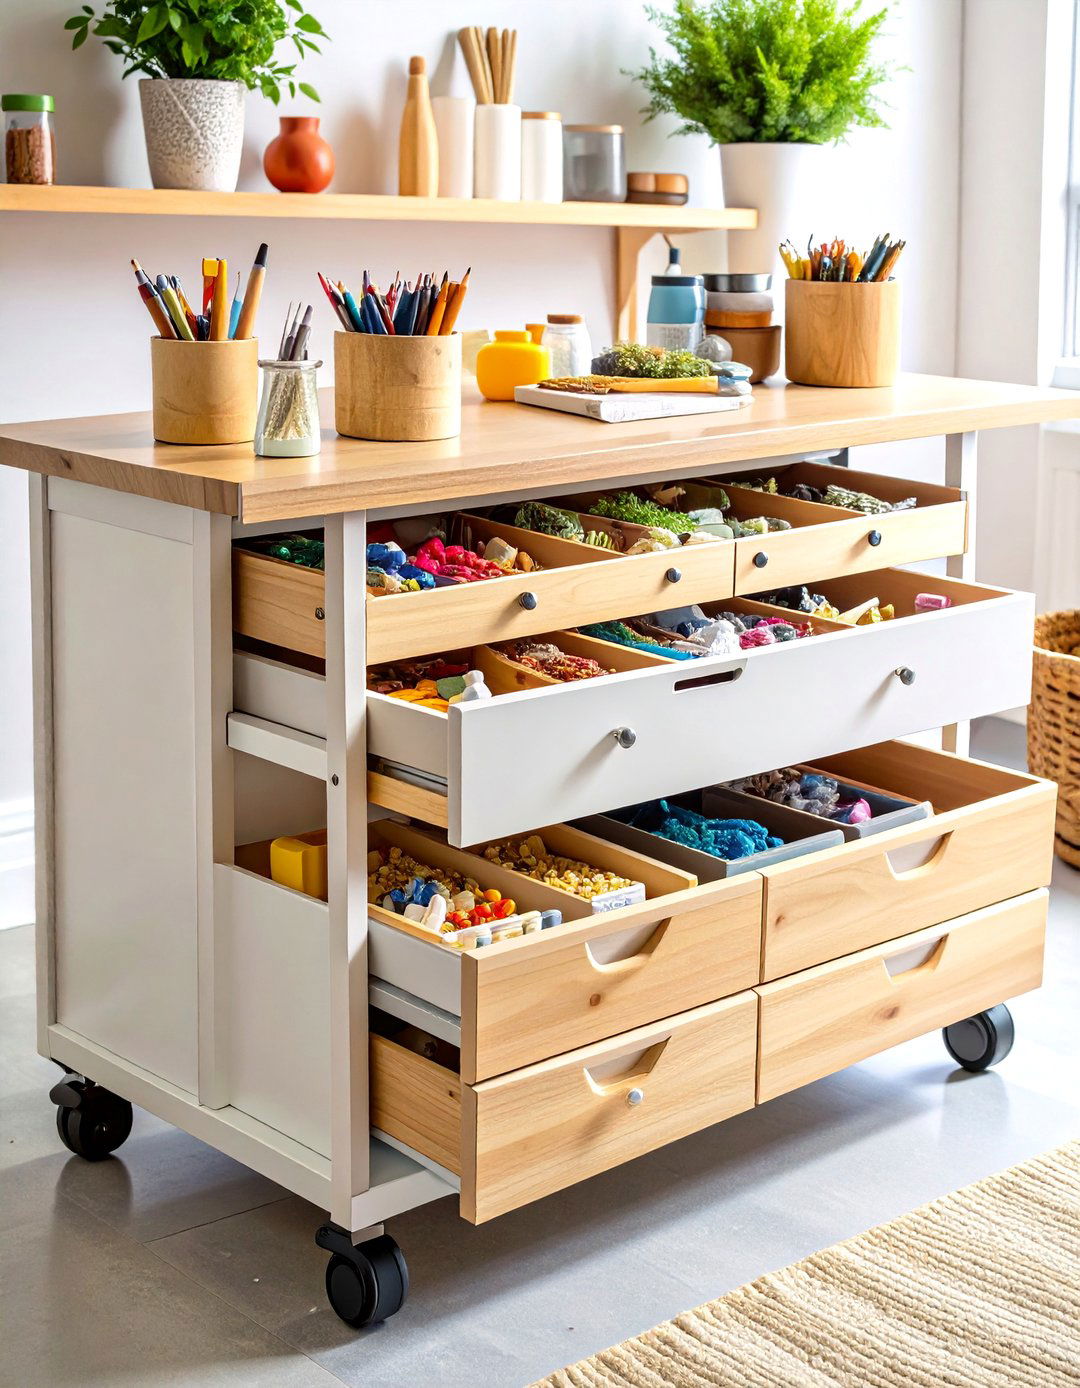
Slide a low-profile drawer unit on locking casters beneath your main workbench to capture the forgotten volume of space below the knees. Shallow drawers organize blades, adhesives, and specialty pens in single layers that stop items piling on top of each other. Because the cabinet rolls out, you can pull the entire unit beside the chair during marathon sessions and tuck it away afterward, keeping walkways clear. Top the drawers with an extra cutting mat to double as auxiliary workspace for a friend. Utilizing that hidden cavity turns one-purpose legs into versatile storage pillars without widening the craft room’s footprint.
14. Flat Drawer for Cutting Mats and Rulers
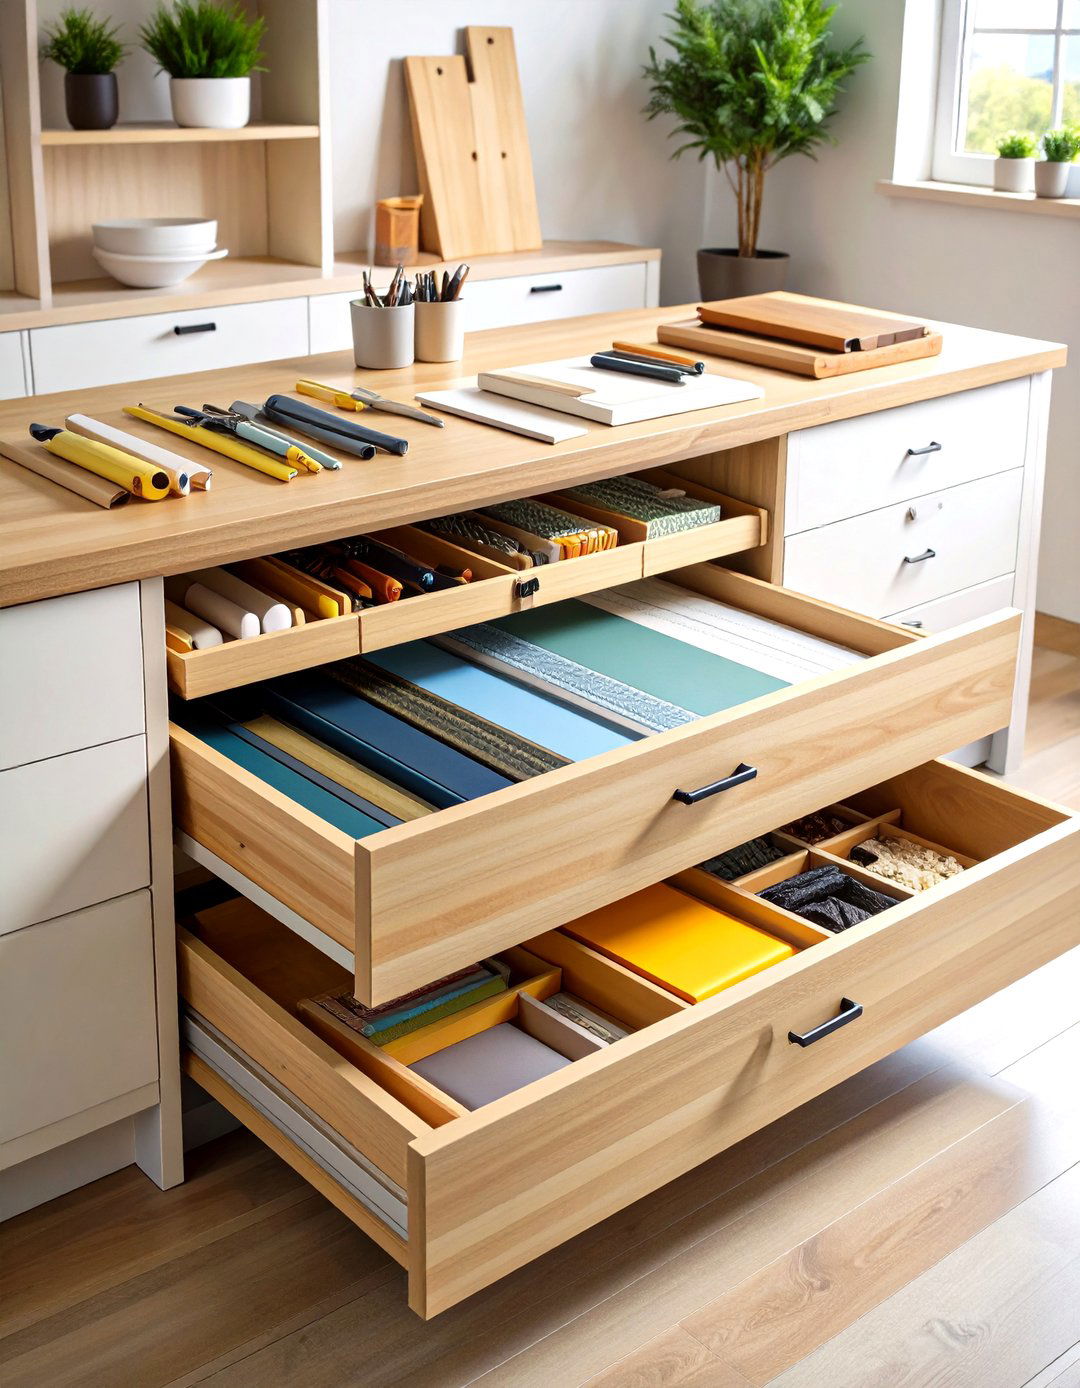
Protect oversized self-healing cutting mats—often awkward to store—by dedicating a wide, shallow drawer fitted with dividers. Sliding the mat flat under your craft-room island prevents warping and minimizes nicks that occur when it leans behind a door. Extra slots in the drawer hold rulers, rotary cutters, and pressing sheets side by side, creating a single stop for prep work. Because the drawer pulls fully forward, you can retrieve large mats without clearing the tabletop, keeping momentum alive in quilt assembly or paper pattern tracing. This simple wood retrofit elevates a standard cabinet from generic storage to specialized maker equipment. Every inch counts, and this drawer proves it.


15. Ergonomic Adjustable Stool for Healthy Craft Sessions
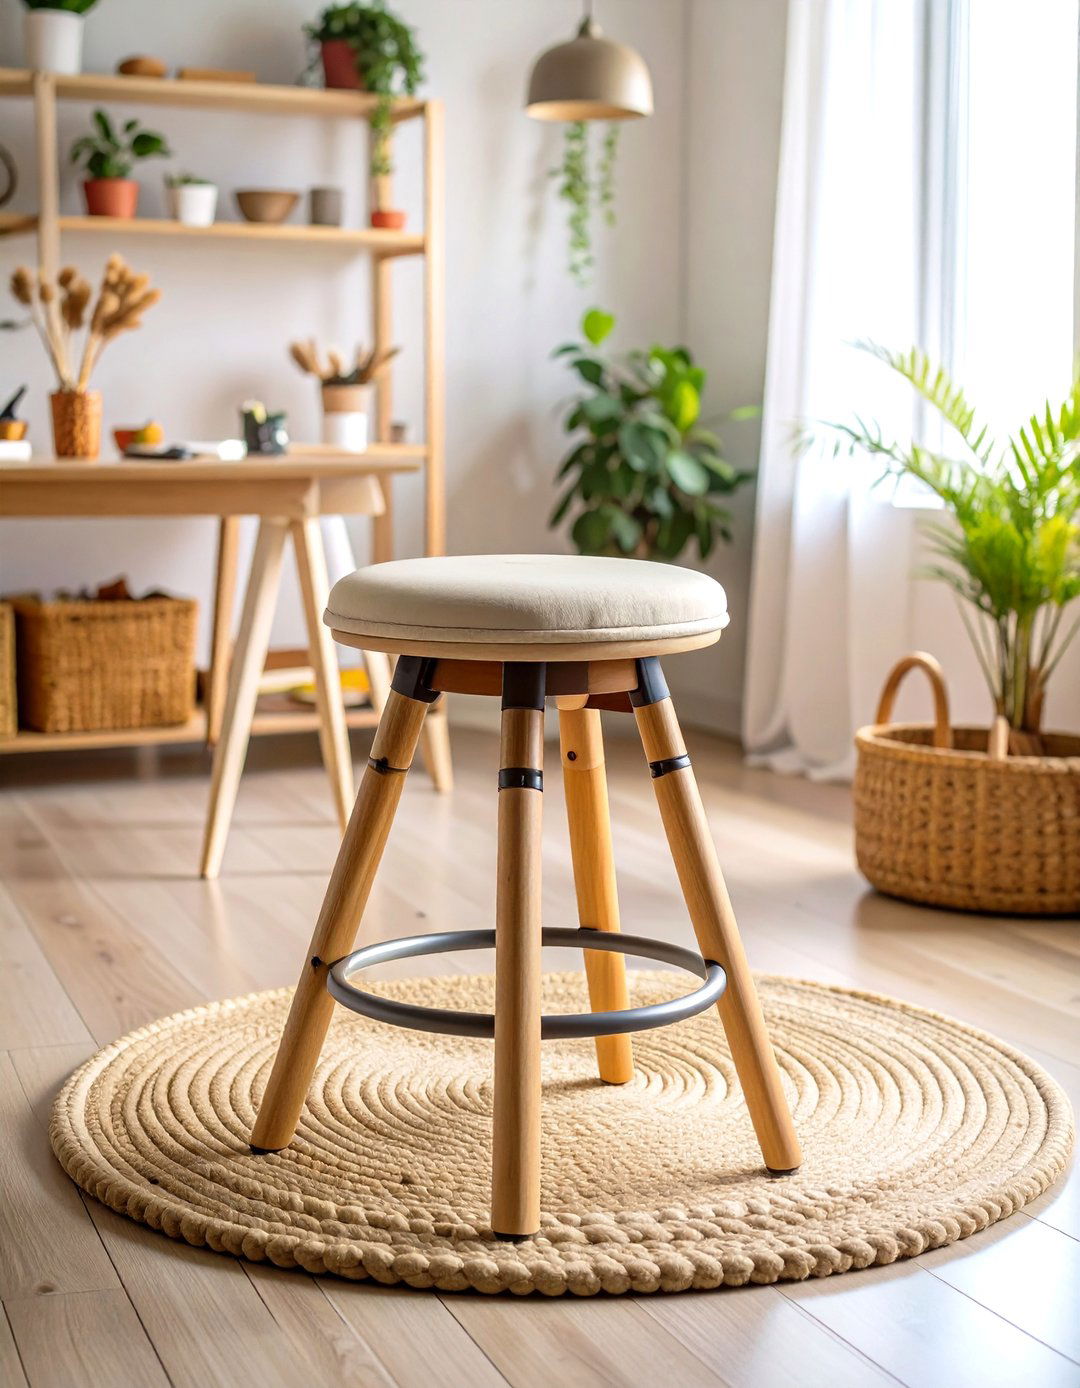
Investing in an ergonomic adjustable stool means your craft room cares for your body as well as your imagination. A height-flexible seat with a foot ring lets you perch at drafting level for pattern tracing, then lower to standard desk height for delicate beadwork, keeping hips and shoulders aligned either way. Swivel casters glide you between sewing machine and vinyl cutter without awkward twisting, while a wipe-clean saddle cushion shrugs off paint splatters. Because the stool occupies less visual weight than a big office chair, small rooms feel airier yet gain professional comfort, reducing fatigue that can cut creative sessions short.
16. Portable Spray Booth and Ventilation for Safe Finishing
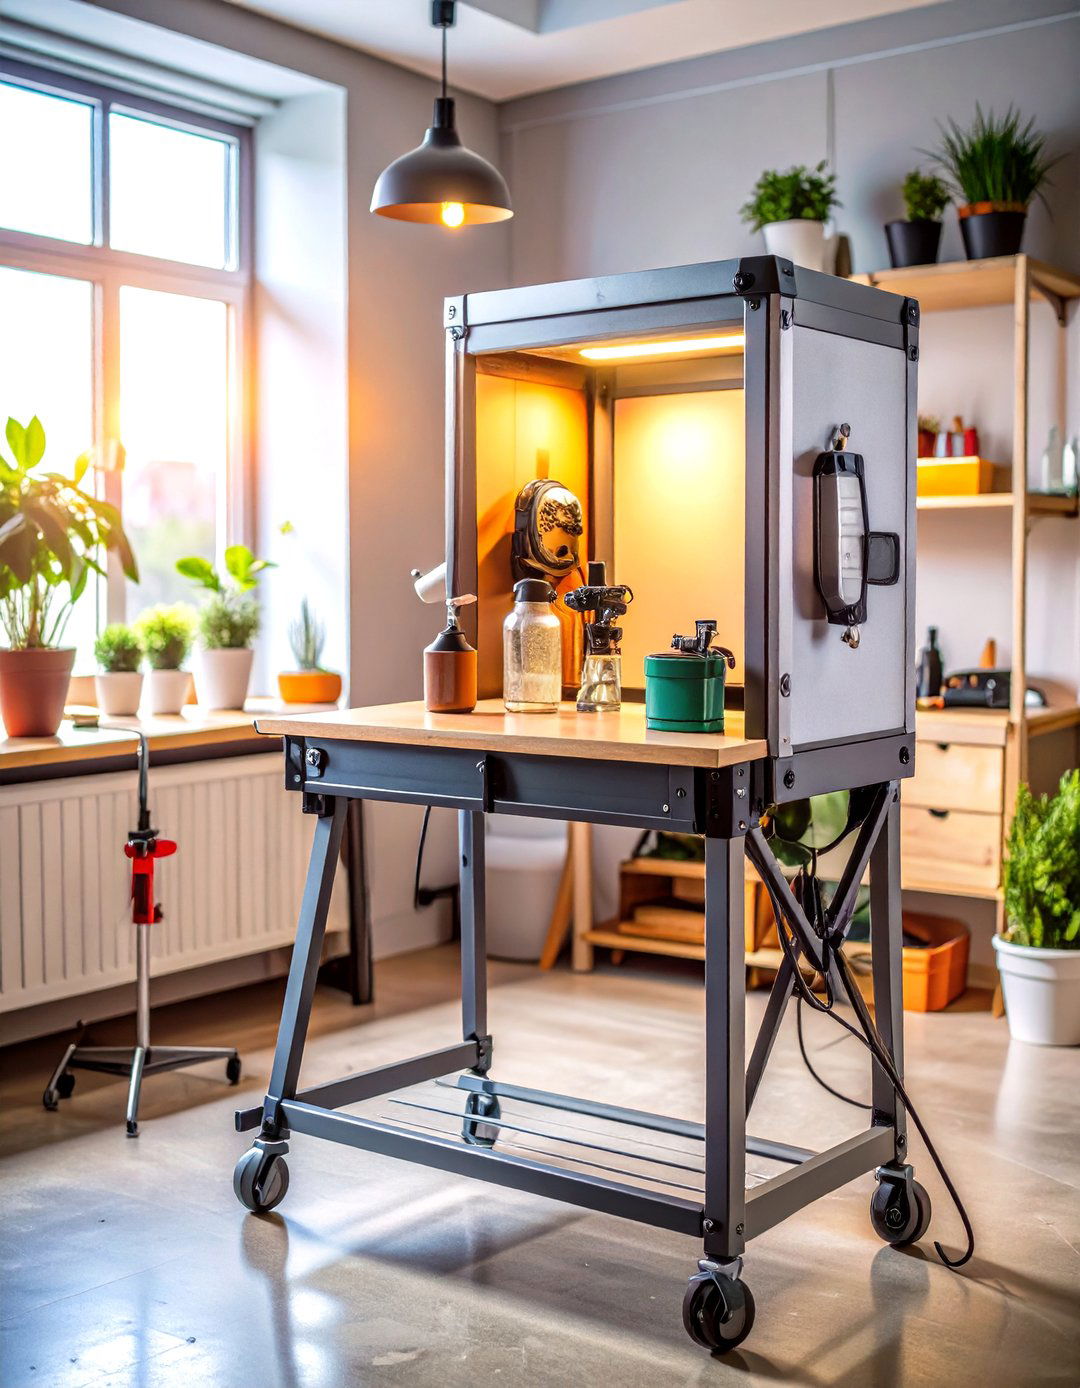
A collapsible tabletop spray booth with an inline fan and replaceable carbon filter safeguards lungs and paint jobs alike in your craft room. Unfold the lightweight panels, attach the vent hose out a nearby window, and overspray from aerosol sealants or airbrush paint is whisked away instead of settling on drying projects. The booth packs flat to magazine thickness when closed, sliding behind a bookcase until the next finishing session. This controlled environment also reduces dust nibs on resin pours and model figurines, saving sanding time. Healthy air plus flawless finishes equal more minutes invested in creating, not in cleanup.
17. Kid-Friendly Craft Zone Inside Your Studio
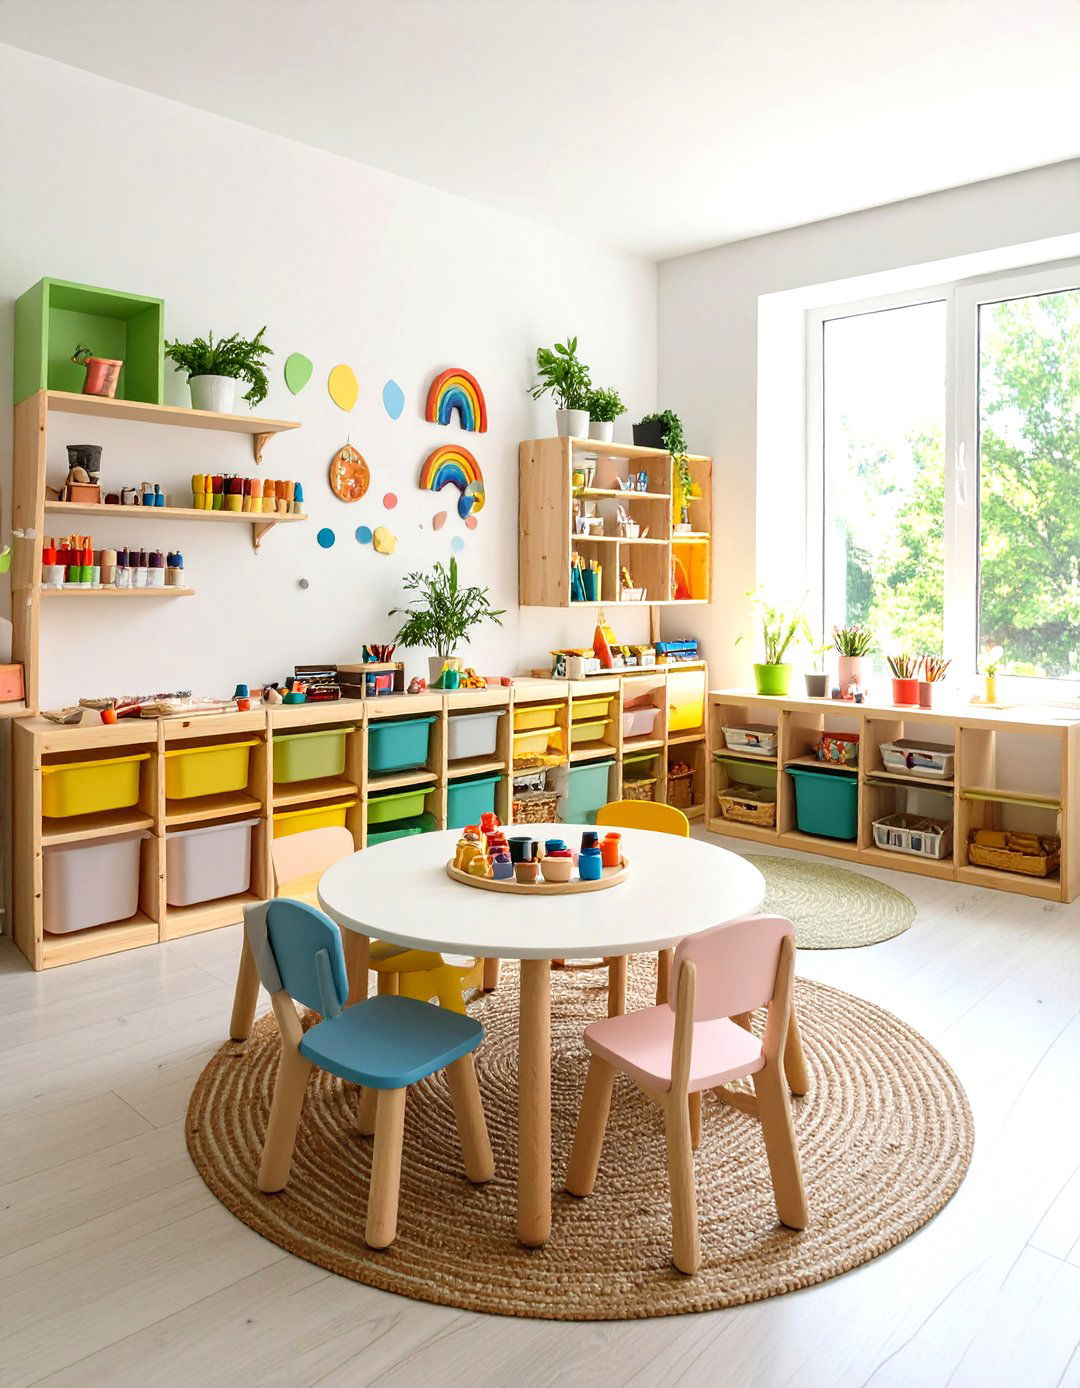
Designate a knee-high shelf and plastic-topped table as a kid-friendly craft zone inside your larger craft room so young makers feel welcome without commandeering your precision tools. Stock the cubbies with blunt scissors, washable paints, and pre-cut cardstock, and mount a roll of butcher paper on the wall for spontaneous murals. Clear visual boundaries—colored floor tape or a small rug—signal where adult-only machines start, reducing accidental button presses. Sharing space this way turns family time into creative collaboration while protecting investments, and it models organization habits kids can carry into homework and hobbies alike. Plus, a rotating gallery of their work keeps walls fresh and pride high.
18. Digital Design Dock for Tech-Heavy Crafting
Give laptops, tablets, and cutting-machine software a permanent, cable-managed home by carving out a digital design dock in the craft room. Mount a slim monitor arm above a shallow shelf that holds keyboard and stylus when not in use, and route charging cables through adhesive clips so they’re never missing mid-download. Pair the dock with a small uninterruptible power supply to shield files from surprise outages and add a USB hub for cameras or drawing pads. Having tech anchored in one spot prevents expensive electronics from mingling with wet glue and ensures design files flow smoothly to the machines that cut or engrave them.
19. Rolling Ribbon & Washi Tape Rack for Tangle-Free Storage
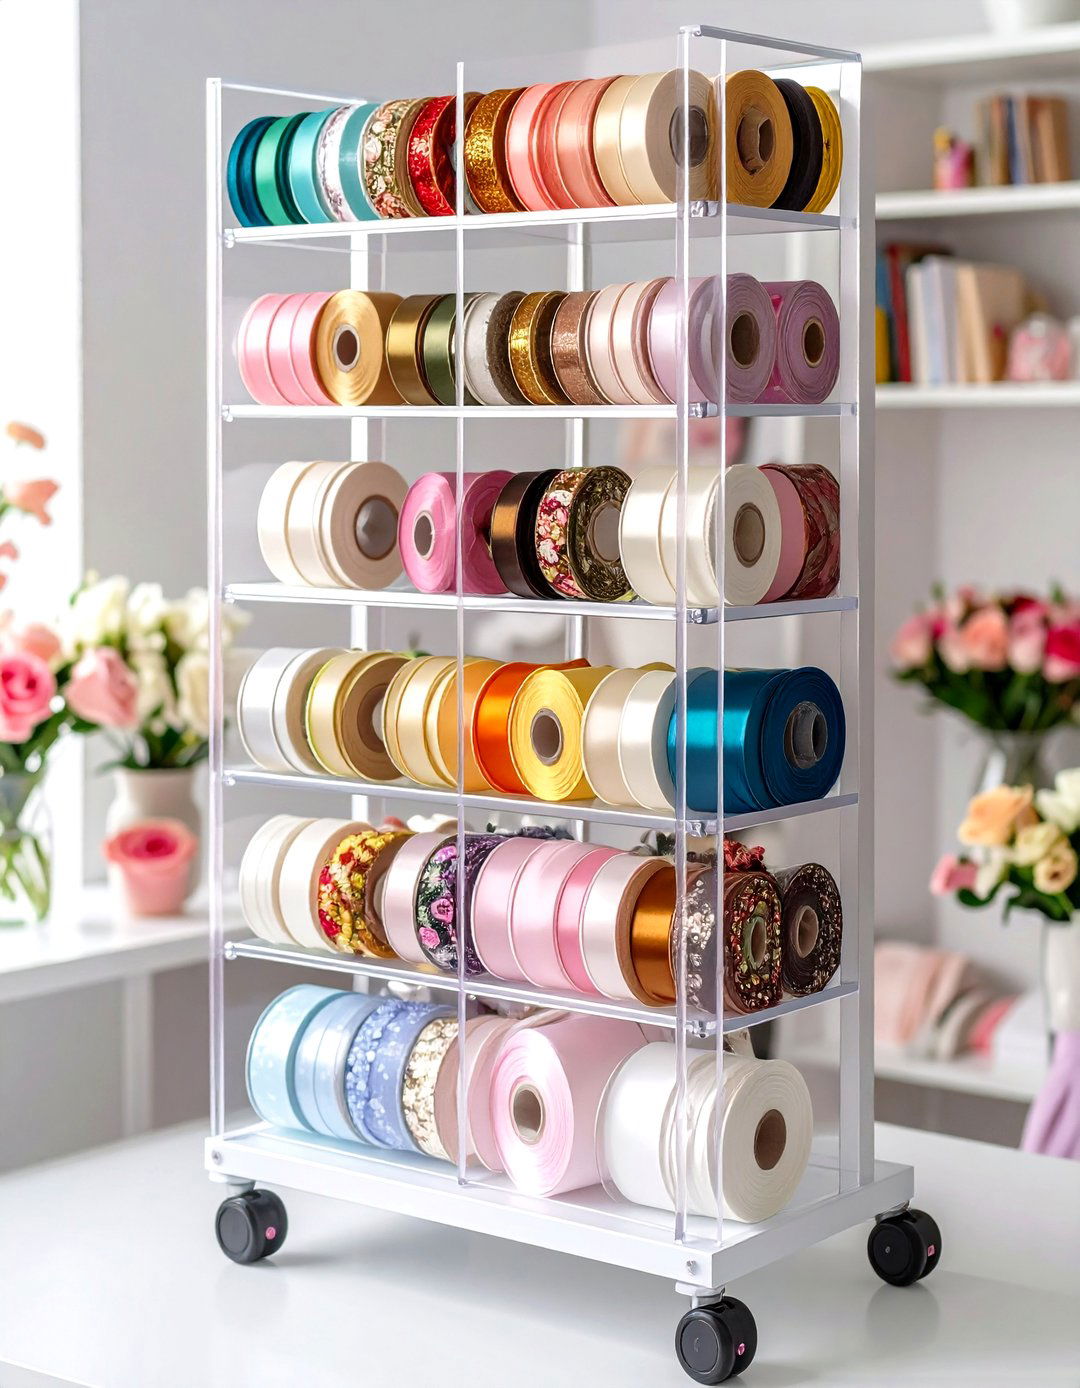
Keep ribbon spools and washi tape rolls from tangling in drawers by installing a vertical rack with dowel rods that rolls like a library ladder across your craft-room wall. Sliding tiers reveal color-coordinated rows at eye level, so you can measure off perfectly uncreased lengths without unrolling half the bundle. Loose tape ends tuck into slots that prevent adhesive dust, and clear acrylic sides showcase gradients like art. Because the rack is mobile, you can wheel it beside the cutting mat for gift-wrap marathons, then park it back in its alcove, freeing aisle space the rest of the week.
20. Finishing & Drying Station for Mess-Free Results
Finish every project with confidence by dedicating a finishing and drying station at the far end of the craft room. Fit a shallow shelf with removable mesh racks where painted figurines, epoxy tumblers, or freshly glued scrapbook pages can cure undisturbed. Mount a small clip-on fan above to circulate air and speed dry times; the gentle breeze prevents dust from settling. Place a timer and note pad on the side so you can jot curing times and avoid fingerprints caused by premature handling. Separating wet pieces from active work zones protects works-in-progress and turns once-cluttered countertops into an efficient production pipeline.
Conclusion:
Across these twenty strategies the message is consistent: an efficient craft room is built vertically, rolls where it must, folds when it can, labels everything, and reserves dedicated zones for every stage of making. Small tweaks—better light, color-smart walls, ergonomic seating—multiply comfort, while hidden gems like a fold-out ironing board or collapsible spray booth protect both projects and health. Most upgrades cost far less than a new machine but deliver priceless minutes back to actual crafting. Use the ideas that fit your space today, then rearrange the modular pieces tomorrow—because a room designed for creativity should evolve as quickly as your imagination.
Related posts:
Leave a Reply