Small spaces need smart solutions to keep craft supplies organized, accessible, and inspiring. By maximizing vertical surfaces, choosing multifunctional furniture, and incorporating both open and hidden storage, even the tiniest craft nook can become a creative haven. From pegboards and magnetic strips to rolling carts and transformable tables, these ideas blend form and function seamlessly. Pops of color, clear containers, and thoughtful labeling ensure every item has its place, while DIY hacks and repurposed materials add personality without breaking the bank. Whether you’re working with a closet, corner, or compact spare room, these 20 small-craft-room ideas will help you craft, create, and conquer clutter.
1. Vertical Pegboard Storage
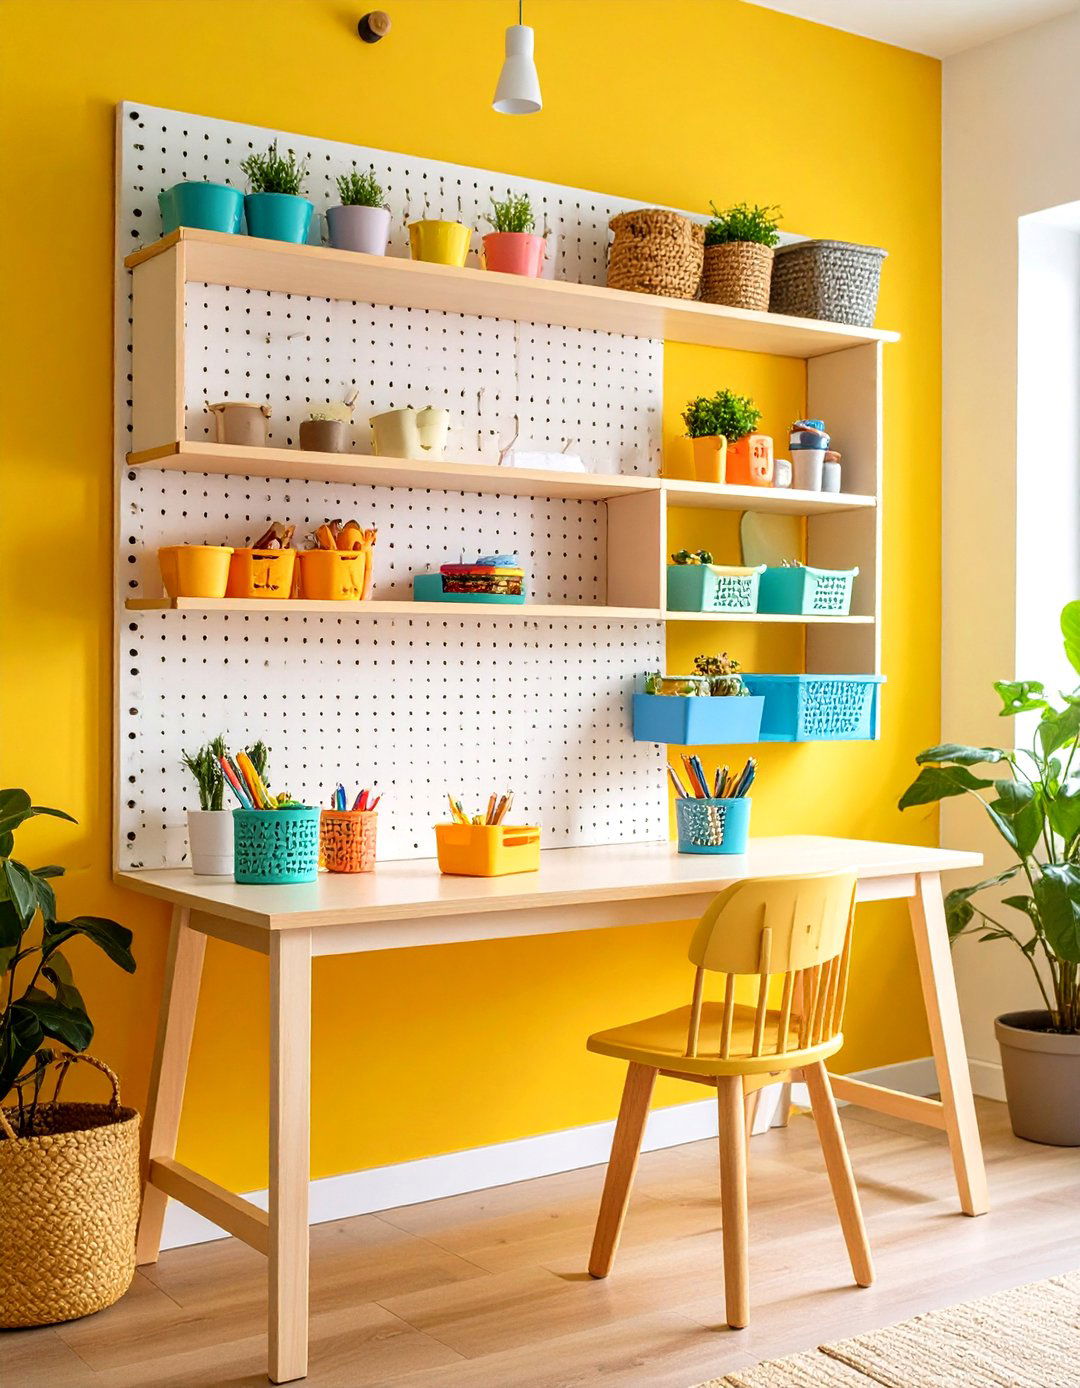
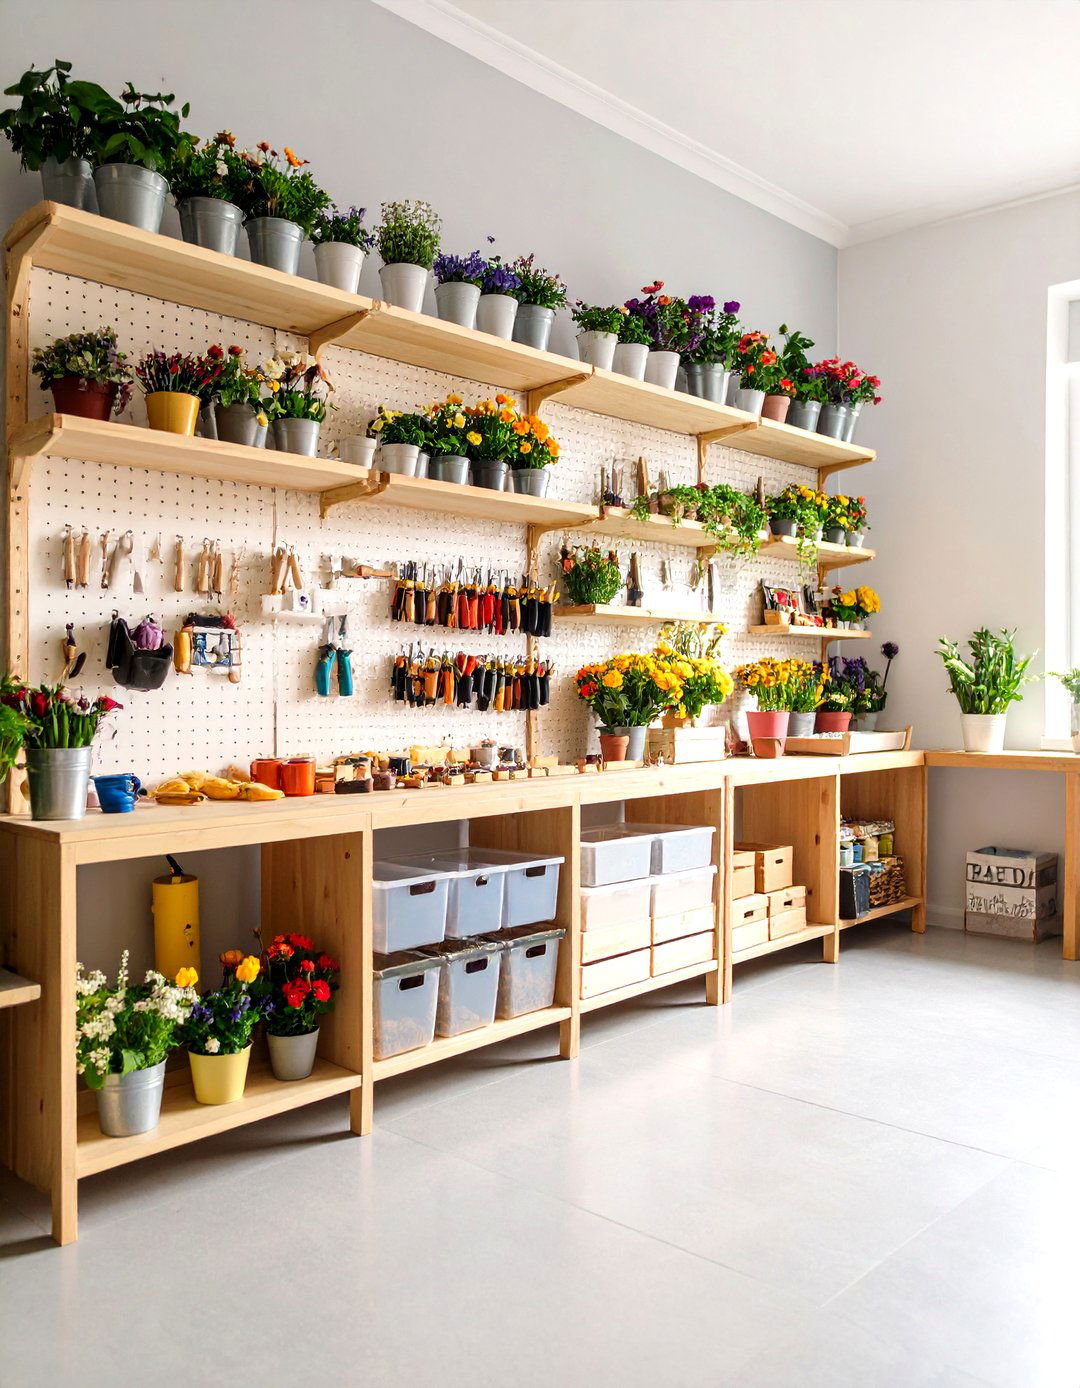
Pegboards turn bare walls into versatile tool organizers by accommodating hooks, baskets, and shelves for scissors, rulers, and paintbrushes. Their open design keeps supplies visible and reachable, reducing countertop clutter and freeing floor space. By painting the pegboard in a cheerful hue, you can introduce a pop of color that doubles as functional décor. Mounting pegboards above your worktable ensures essential tools are always at arm’s length, while adding small ledges or brackets holds jars of pens and embellishments. For heavier items like spray bottles or books, opt for sturdier metal pegboards and heavy-duty hooks.
2. Rolling Utility Carts

A compact rolling cart offers mobile storage for craft supplies and tools, sliding easily under tables or between furniture when not in use. With multiple tiers, these carts can segregate items by project type—yarn on top, paints in the middle, and paper stock below—keeping everything organized. Look for units with drawers of varying depths to accommodate both flat and bulky supplies, or choose open-wire shelves for improved visibility. Locking wheels ensure stability when you’re crafting, while swivel casters make repositioning a breeze. Their slim profile allows storage in narrow gaps or alongside your main workstation.
3. Multifunctional Fold-Down Tables
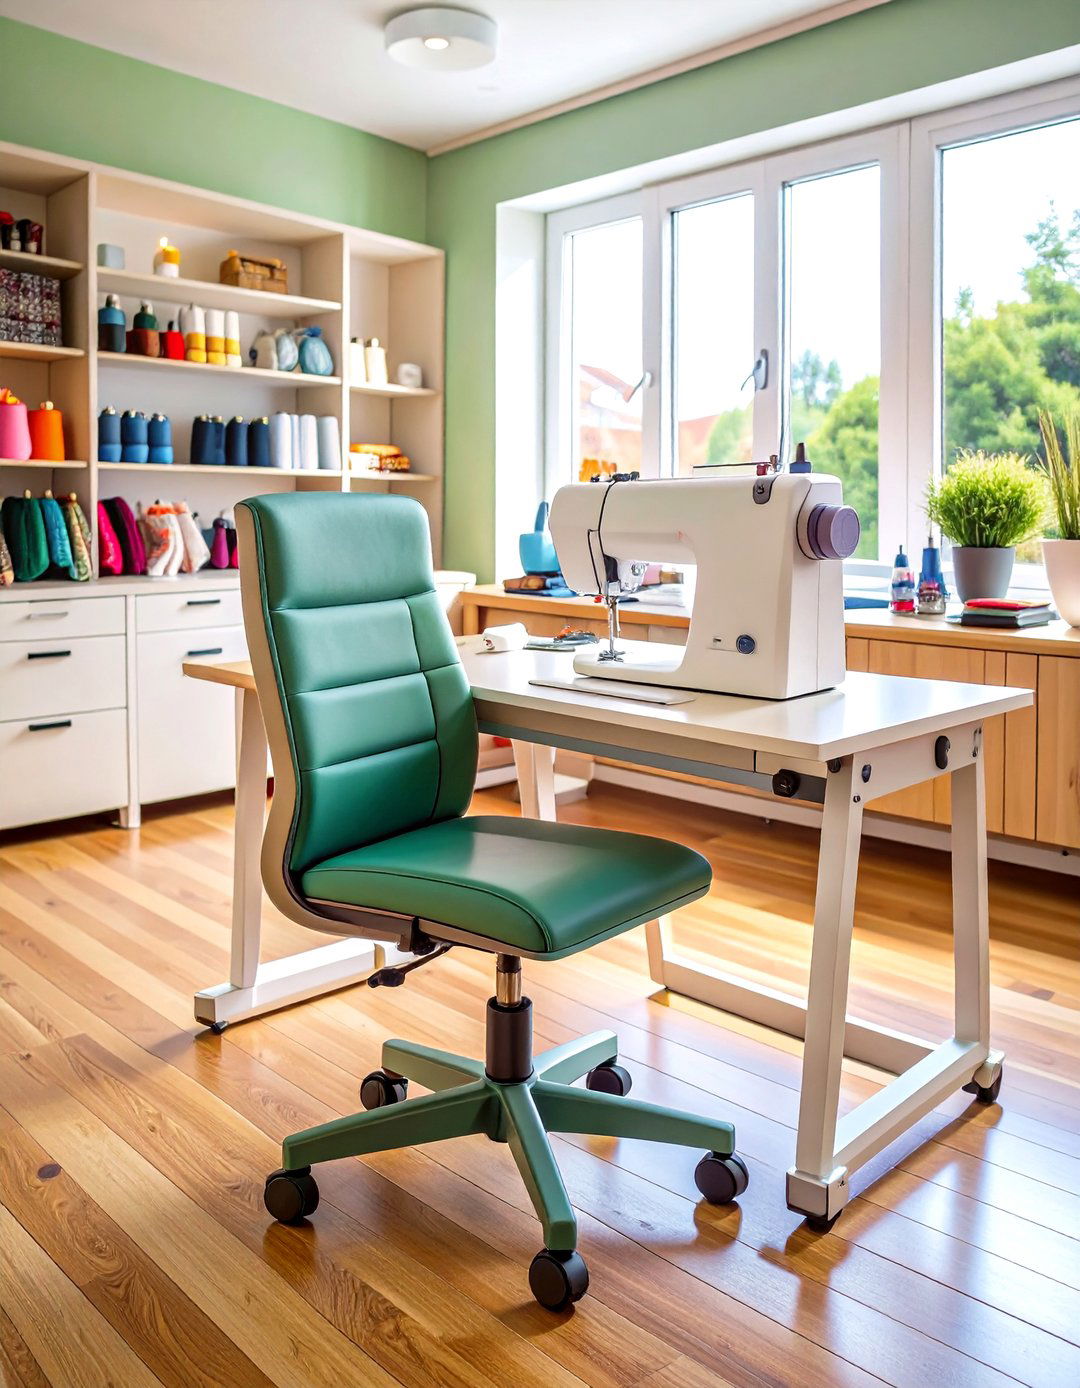
Fold-down or wall-mounted drop-leaf tables provide a dedicated crafting surface that folds away when not in use, ideal for tiny rooms or closets. These tables can be installed at any height, transforming a wall into a bespoke workspace. When collapsed, the underside often features built-in storage racks or peg railings for small tools. Choose models with integrated shelving above the tabletop to hold cutting mats, rulers, and sketchpads. By selecting a neutral finish, you maintain a streamlined look that blends with existing décor, while adding a vibrant stool introduces personality without committing to a bulky desk.
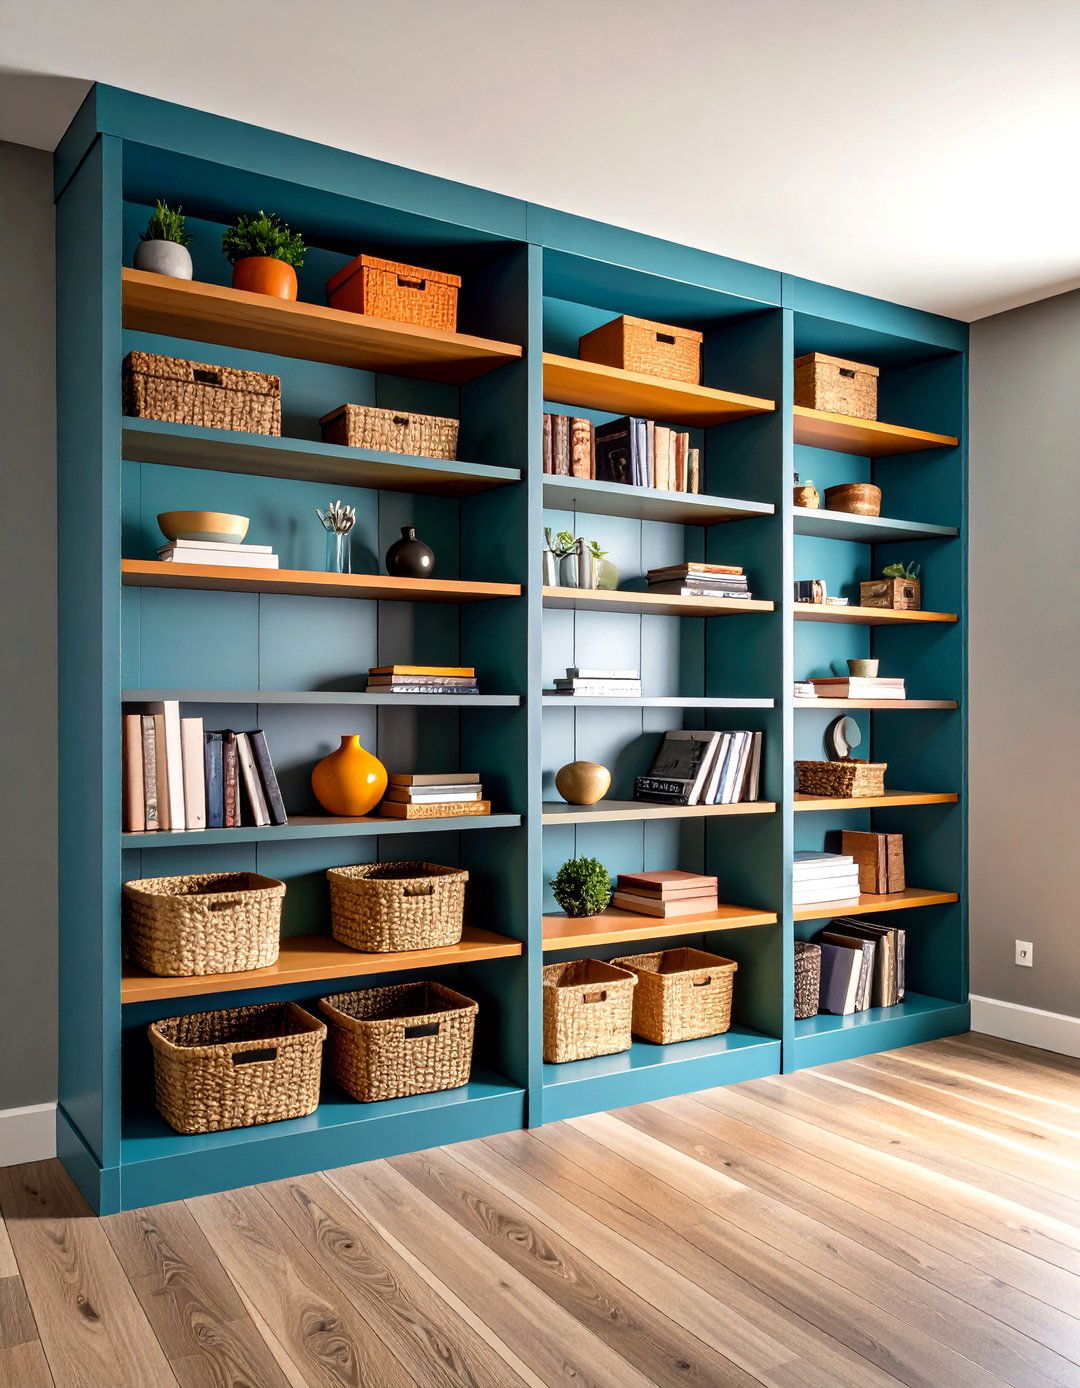
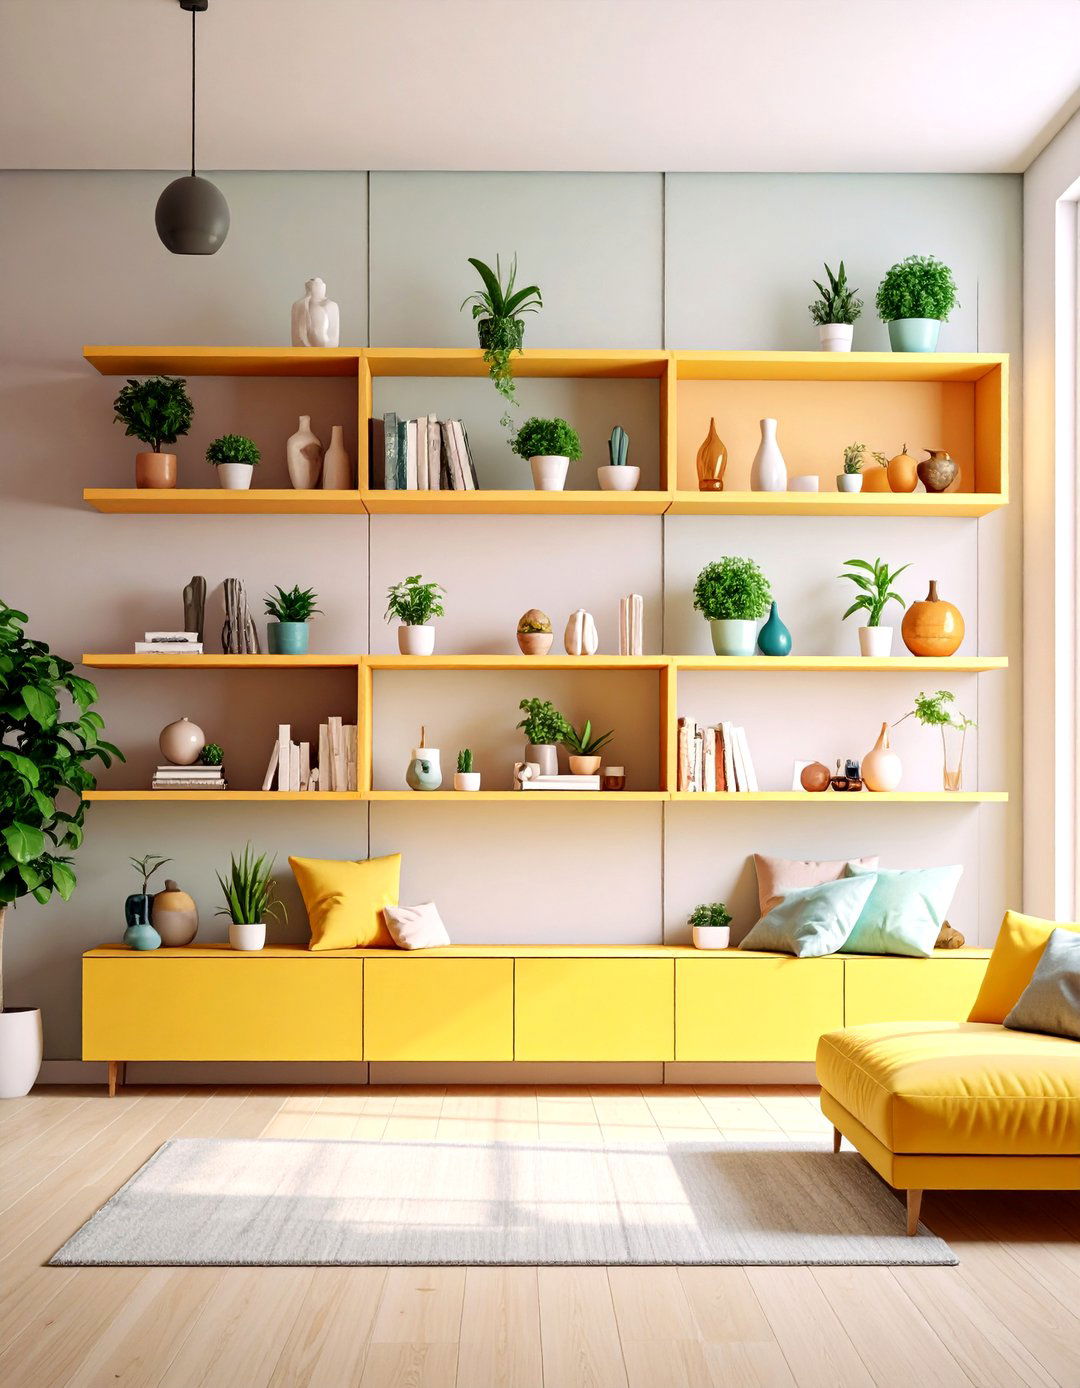
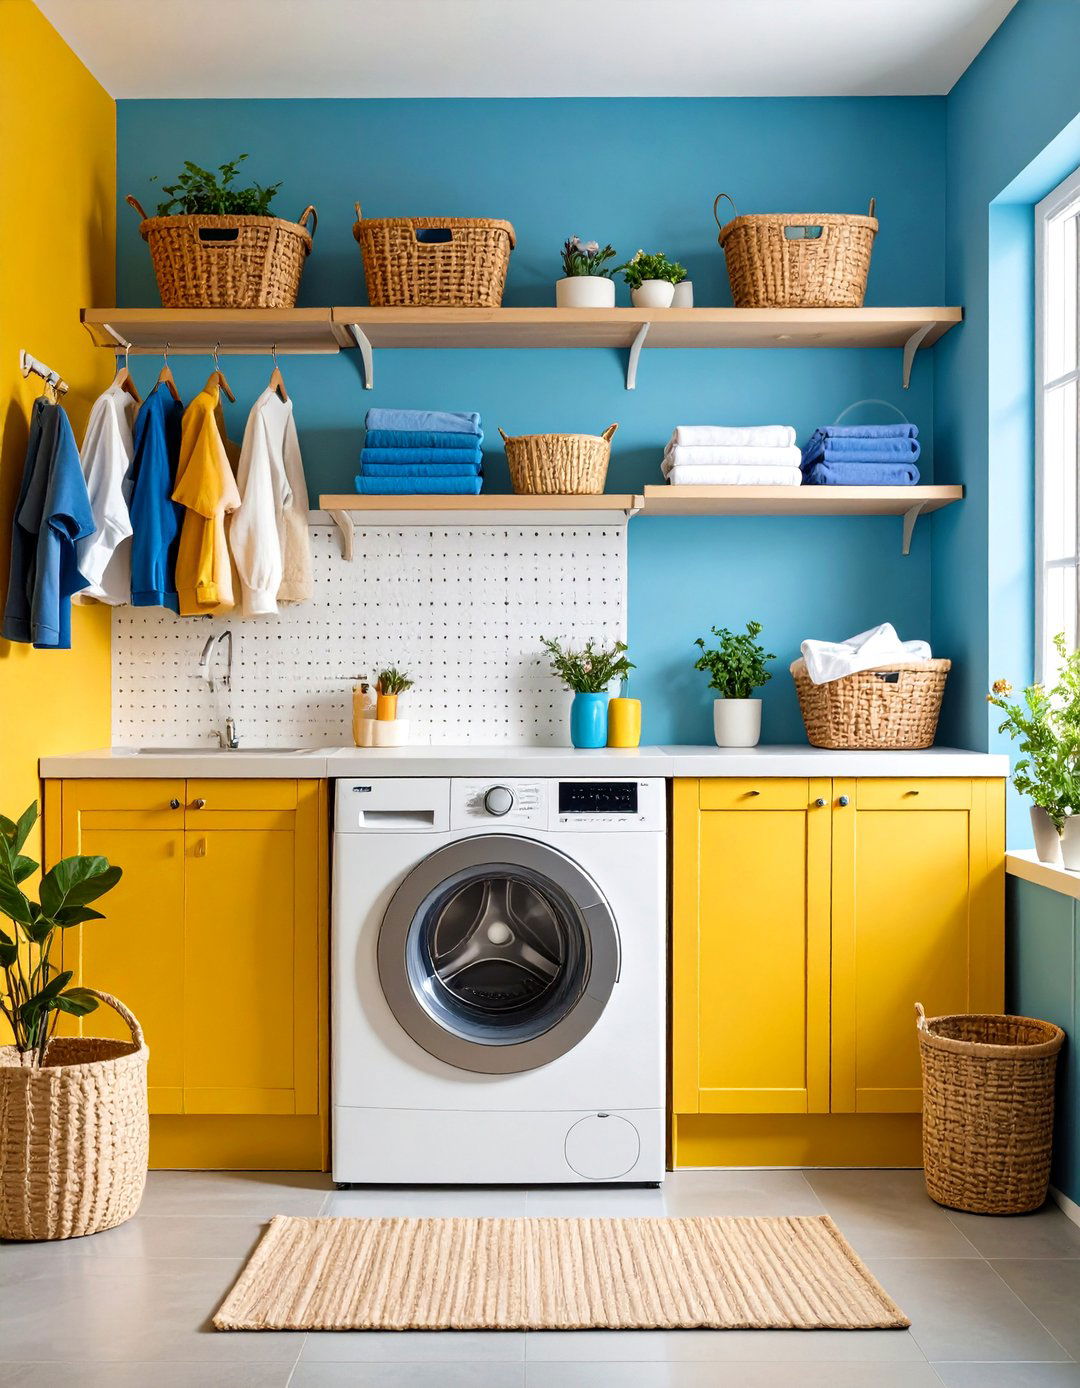
4. Floating Shelves and Ledges
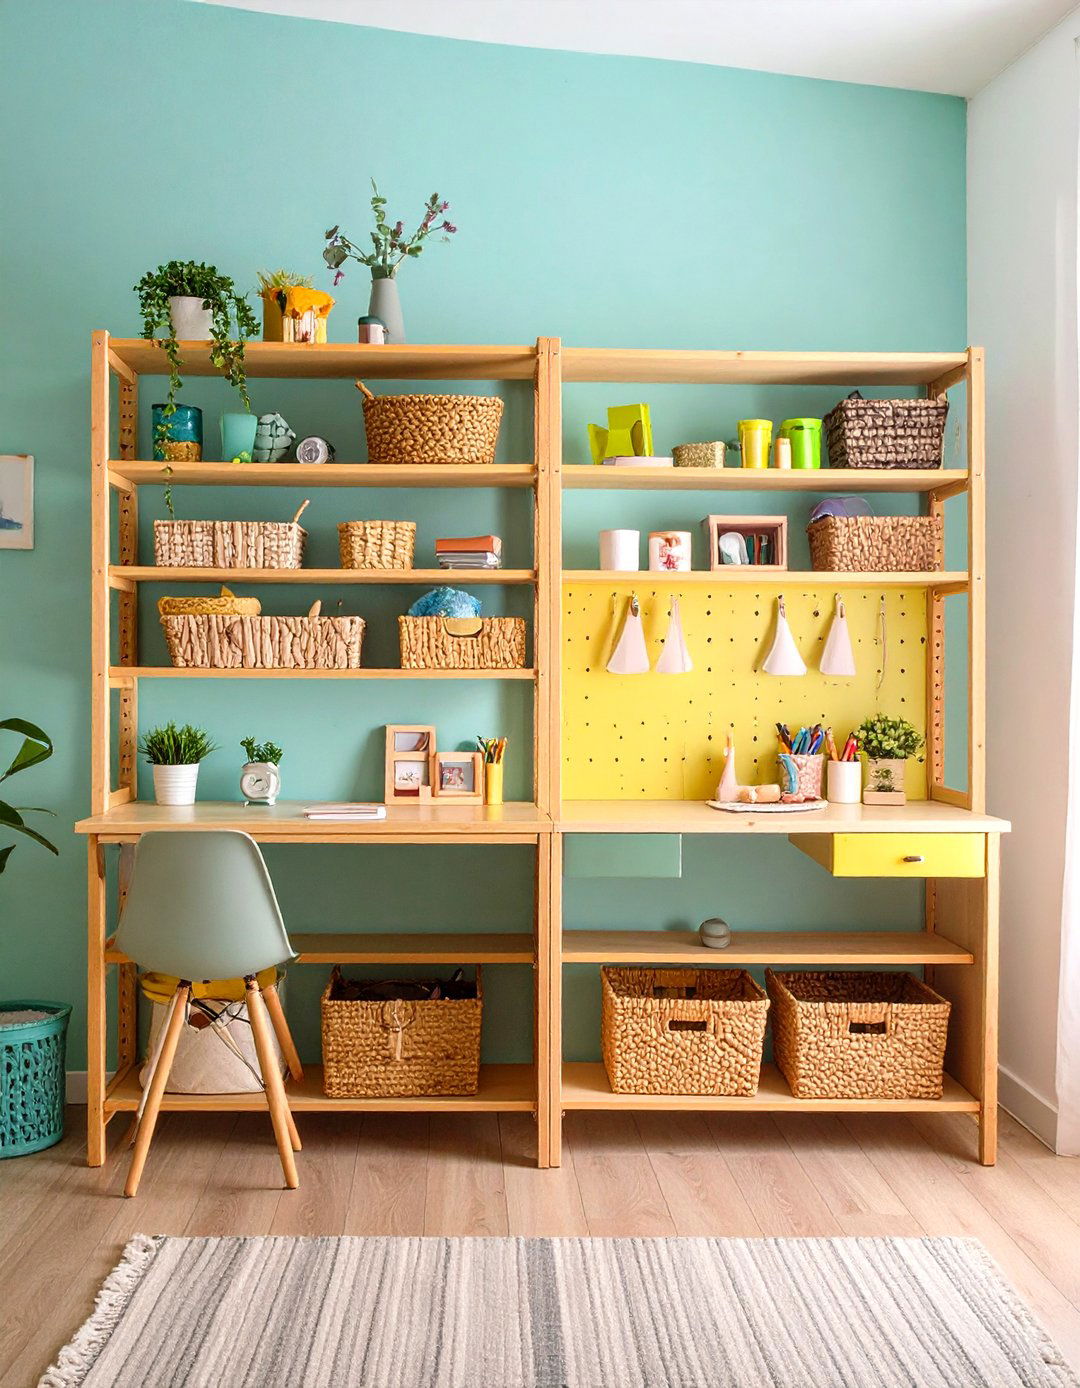
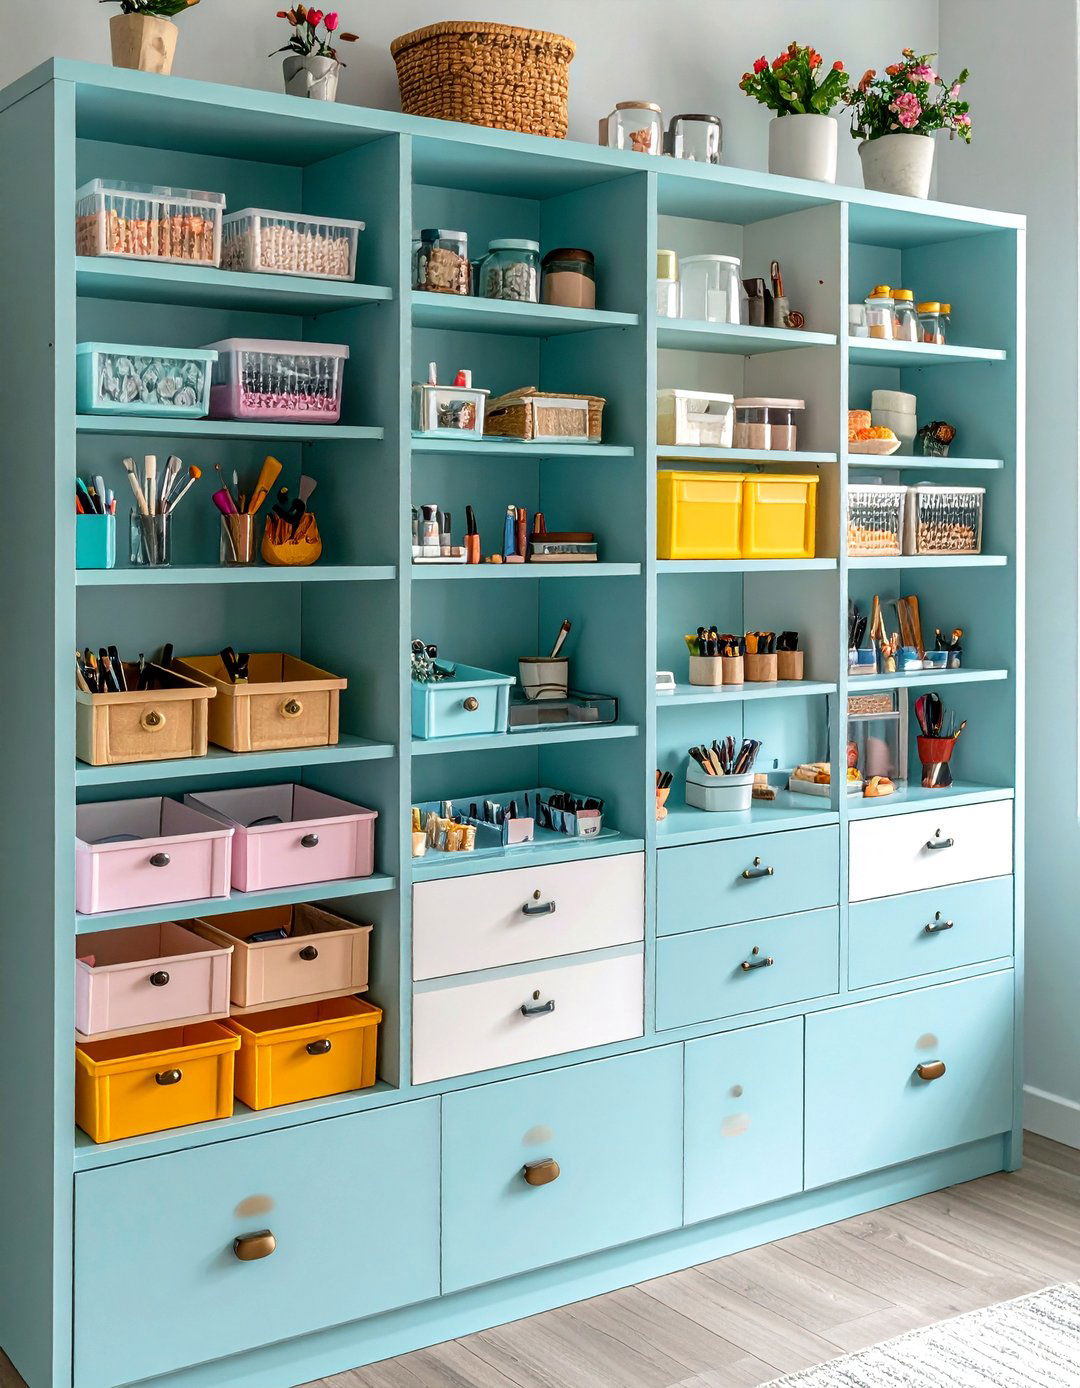
Floating shelves provide open storage for supplies you reach for daily, preventing countertop buildup. Install staggered shelves to accommodate jars of brushes, spools of ribbon, and fabric bundles. Use clear glass or acrylic acrylic shelves for a lightweight visual effect that keeps the room feeling airy. Position longer shelves above shorter ones to create depth and let taller items stand out. Incorporate small ledges at the front to secure bottles or rolls in place. Open displays encourage you to maintain tidiness since everything is on show.
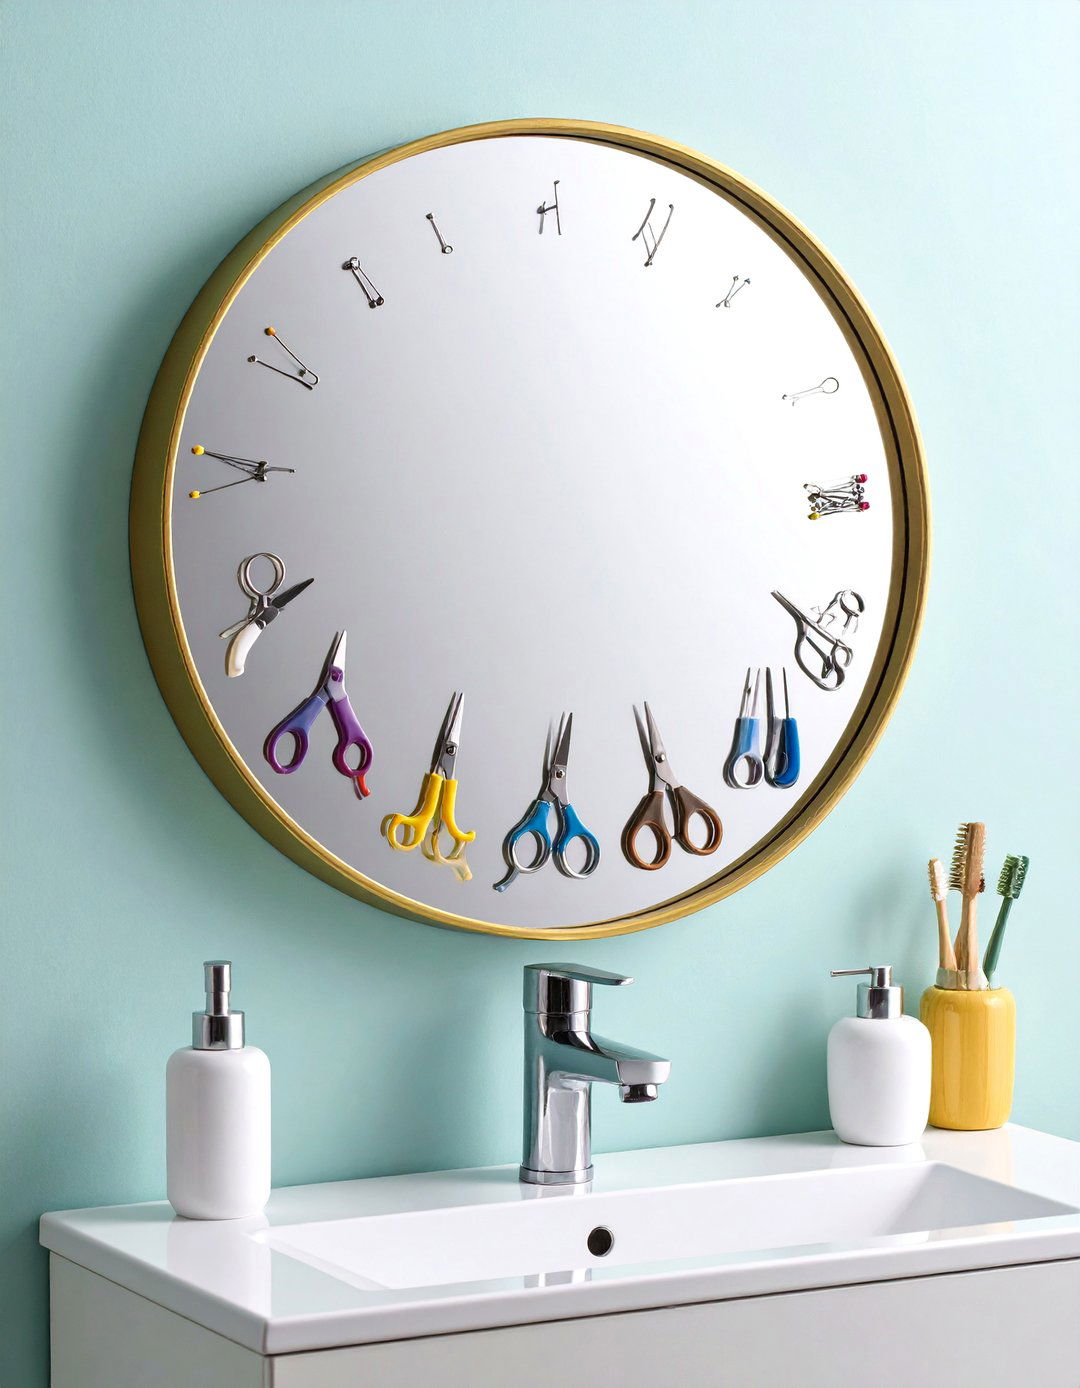
5. Magnetic Tool Rails
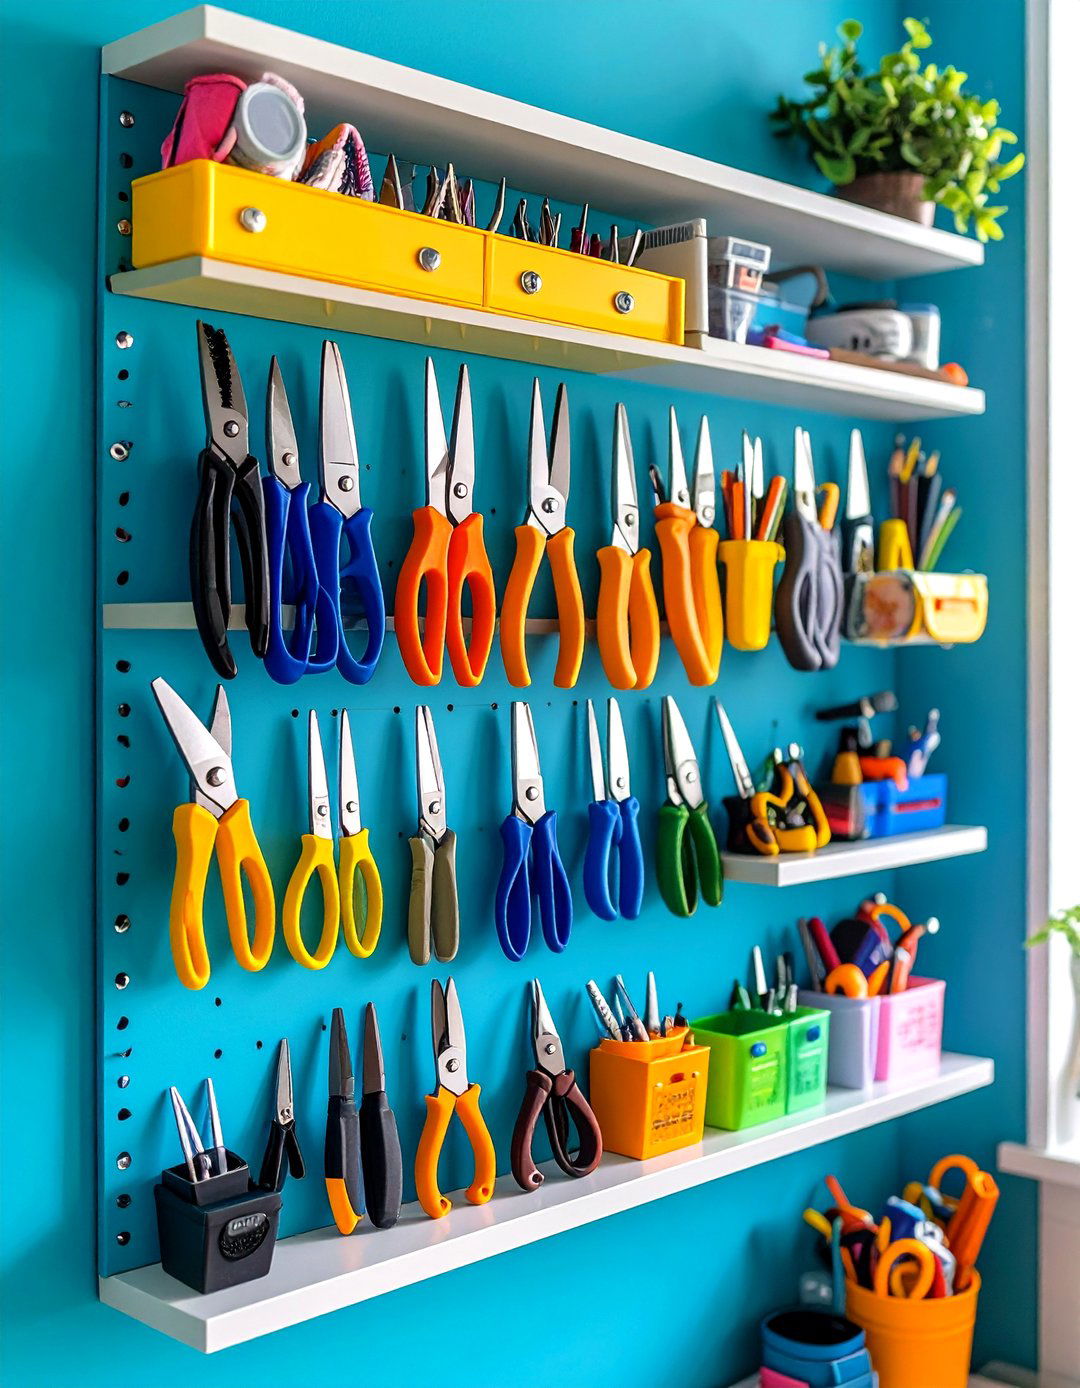
Magnetic strips mounted on walls or the inside of cabinet doors hold metal tools like scissors, tweezers, and pliers safely. This method keeps frequently used implements instantly accessible while clearing drawer space. Adjustable magnetic rails allow you to group tools by project or size and can be reconfigured as your needs change. For a pop of color, choose magnetic tape in bright hues or paint the wall behind the rail. This storage hack works well within narrow craft closets, maximizing every square inch.
6. Clear Acrylic Storage Drawers
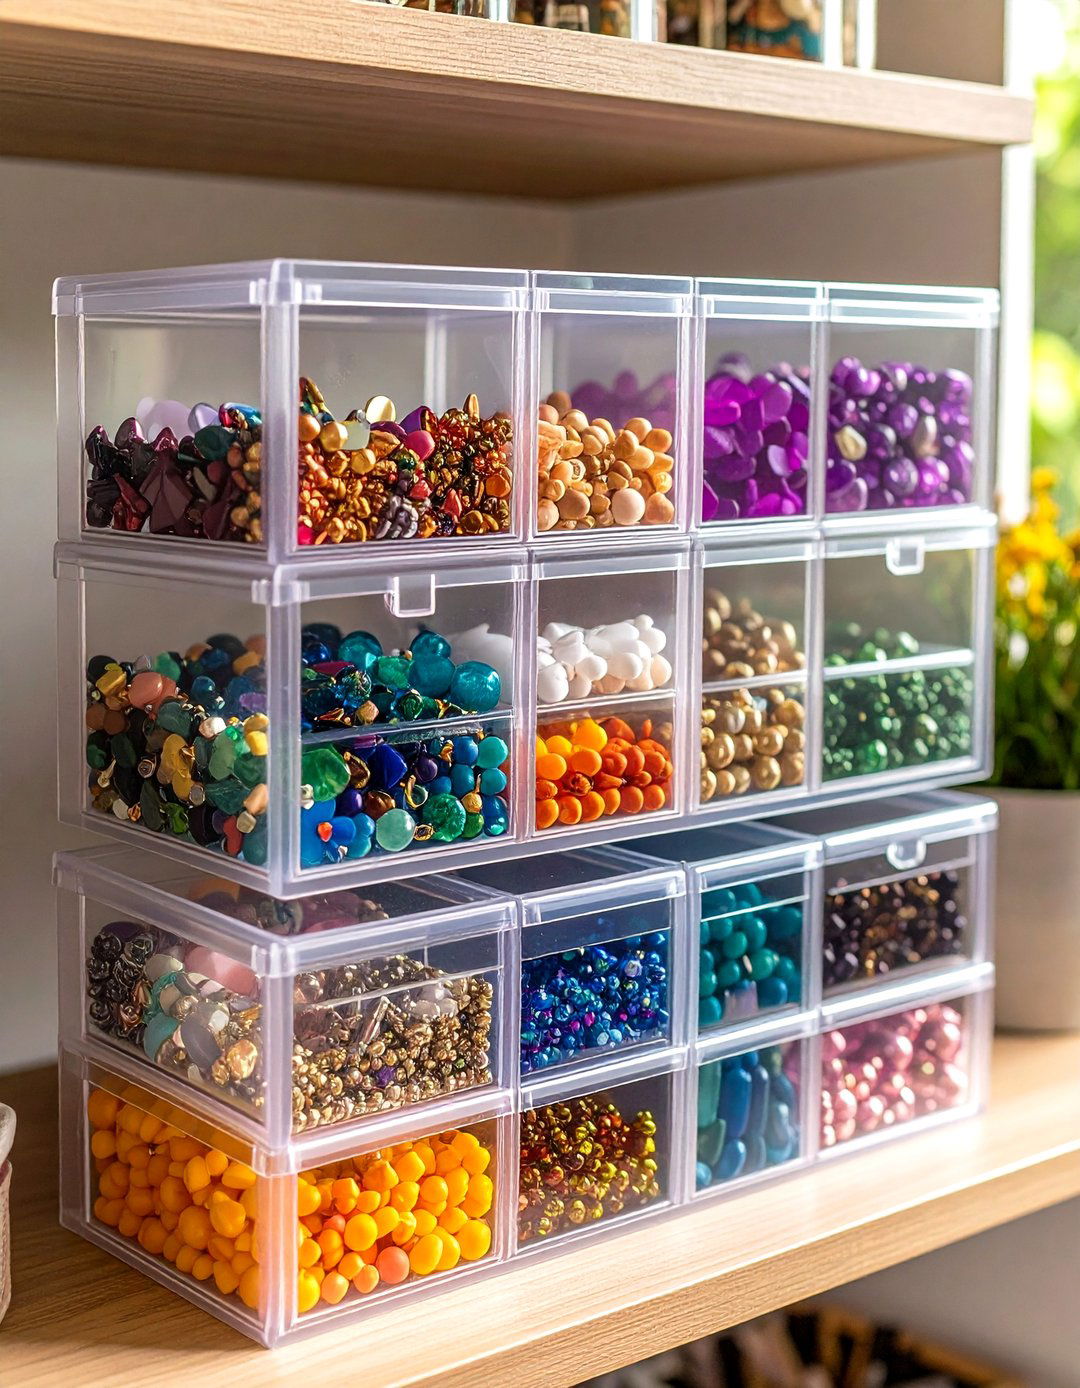
Transparent drawers reveal contents at a glance without opening every bin. Stackable acrylic units come in various sizes to house beads, stickers, and embellishments separately. Label each drawer with vinyl decals or chalkboard stickers for easy identification. The sleek look complements any décor style, from modern minimalism to eclectic vintage. Choose modular kits that click together securely yet allow you to pull out individual units when needed. Their lightweight construction simplifies repositioning on shelves or inside cabinets.
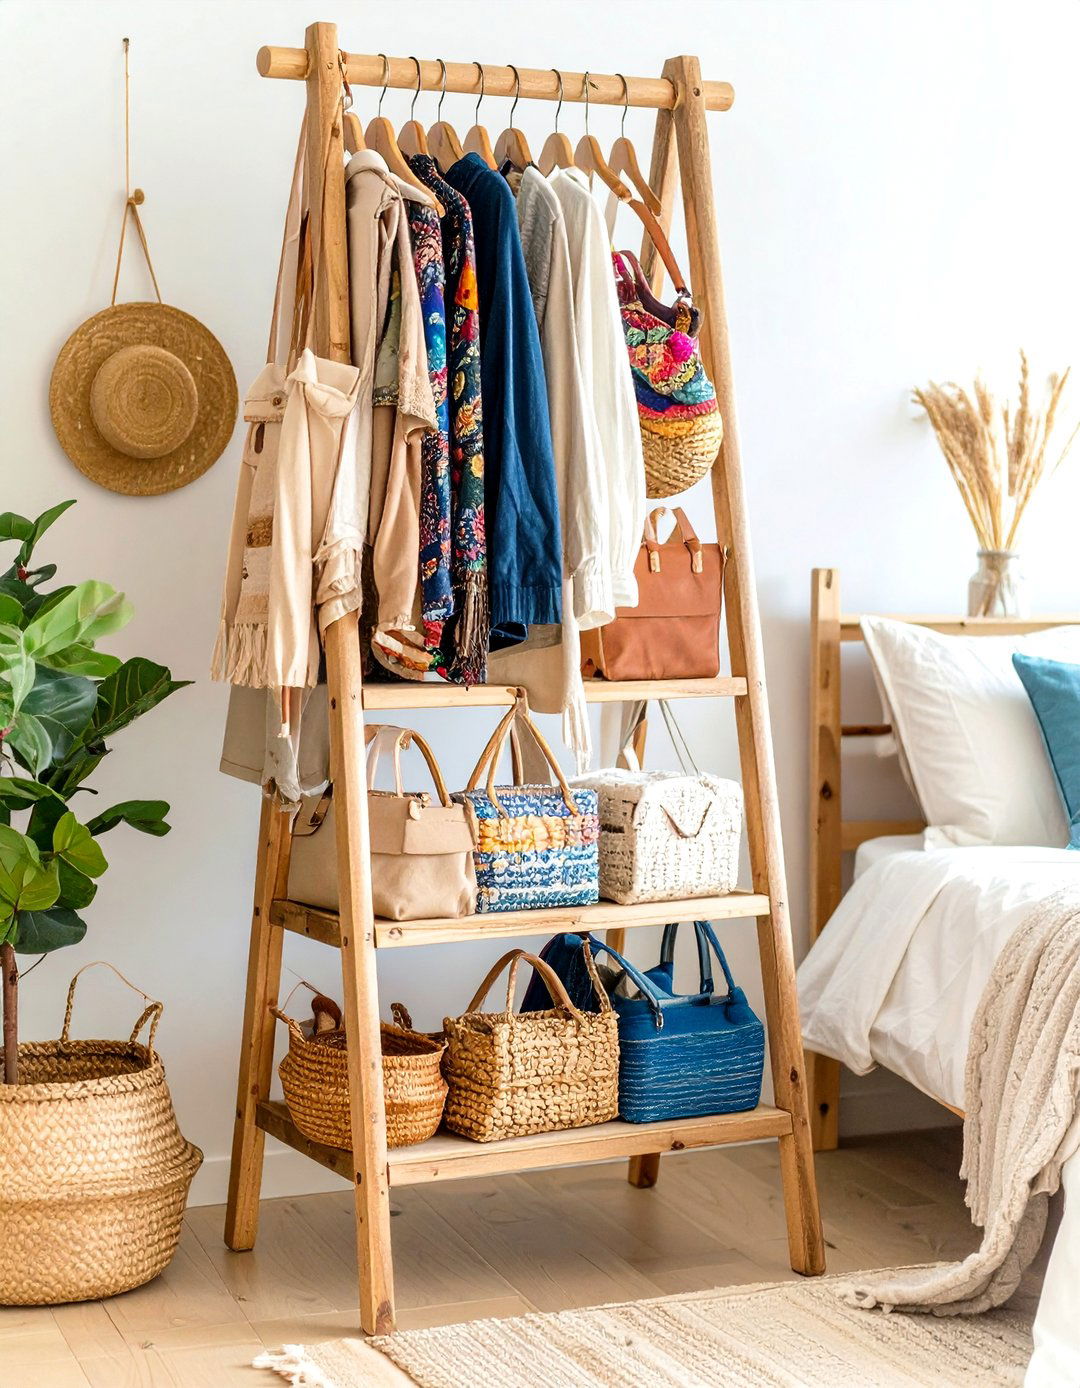
7. Repurposed Wooden Crates
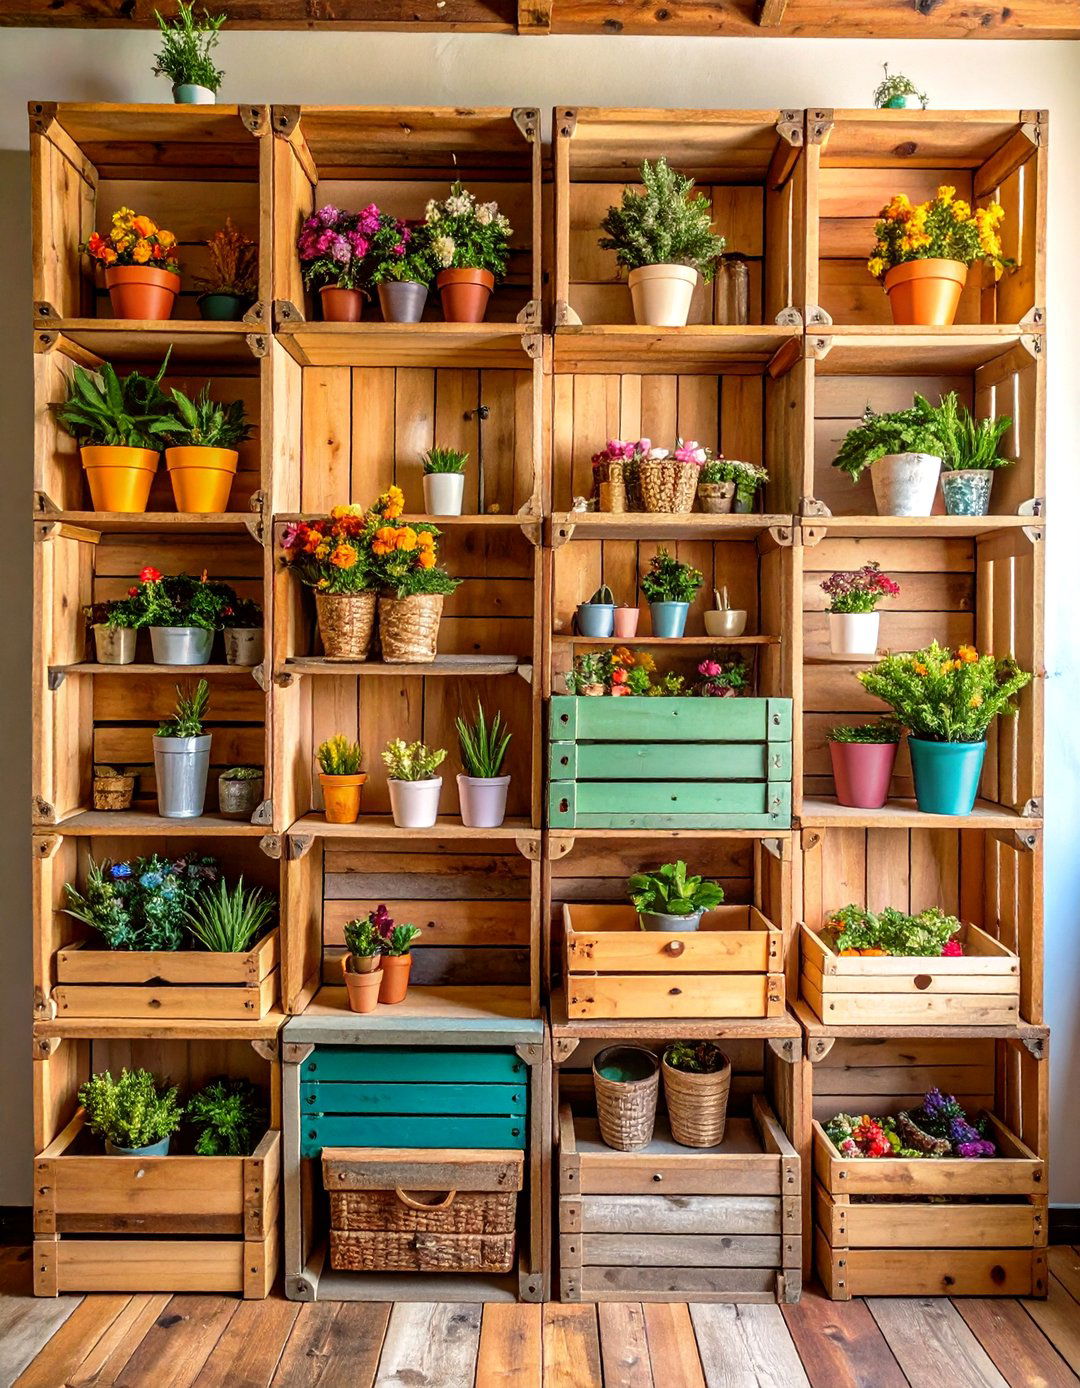
Wine or fruit crates provide rustic, budget-friendly shelving that can be stacked or wall-mounted. Use crates upright to house notebooks and paper pads, or lay them on their side to display jars and baskets. Sand and stain for a polished finish that suits your room’s aesthetic. Crates are easily customized—add casters underneath for mobile storage or brackets to hang on the wall. Group crates in clusters to form a gallery-wall effect that’s both decorative and functional.
8. Under-Table Bins
Slide shallow bins or baskets under your craft table to corral less-frequently used supplies. Clear plastic totes with lids prevent dust accumulation, while woven baskets add texture. Label each bin by project or medium to streamline setup and teardown. Ensure bins have handles or front pulls for easy access. This hidden storage solution keeps surfaces tidy and allows the table to double as a workspace for other activities when craft time is over.
9. Ceiling-Mounted Ribbon Holders
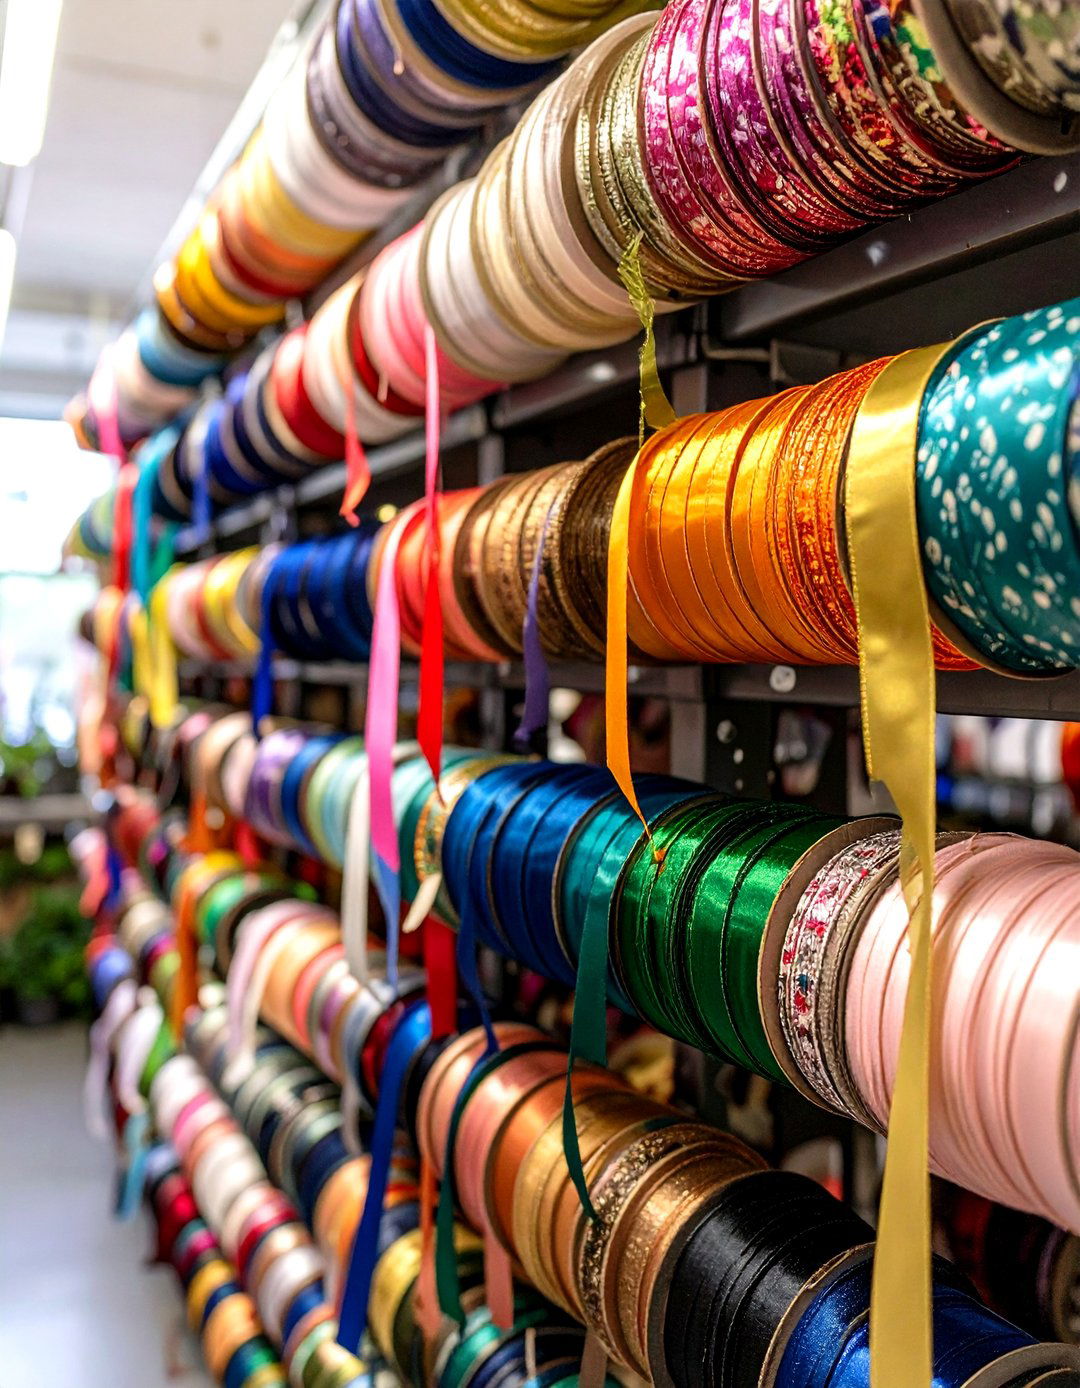
Install dowels or rods near the ceiling to display spools of ribbon and trim. This high-level storage uses otherwise wasted airspace, leaving walls and drawers free for other tools. Spools slide on and off easily, making selection quick. Use uniform dowels and matching brackets for a cohesive look. Paint rods in metallic hues for a stylish accent. Coordinating ribbon colors also create an eye-catching rainbow effect that inspires creativity.
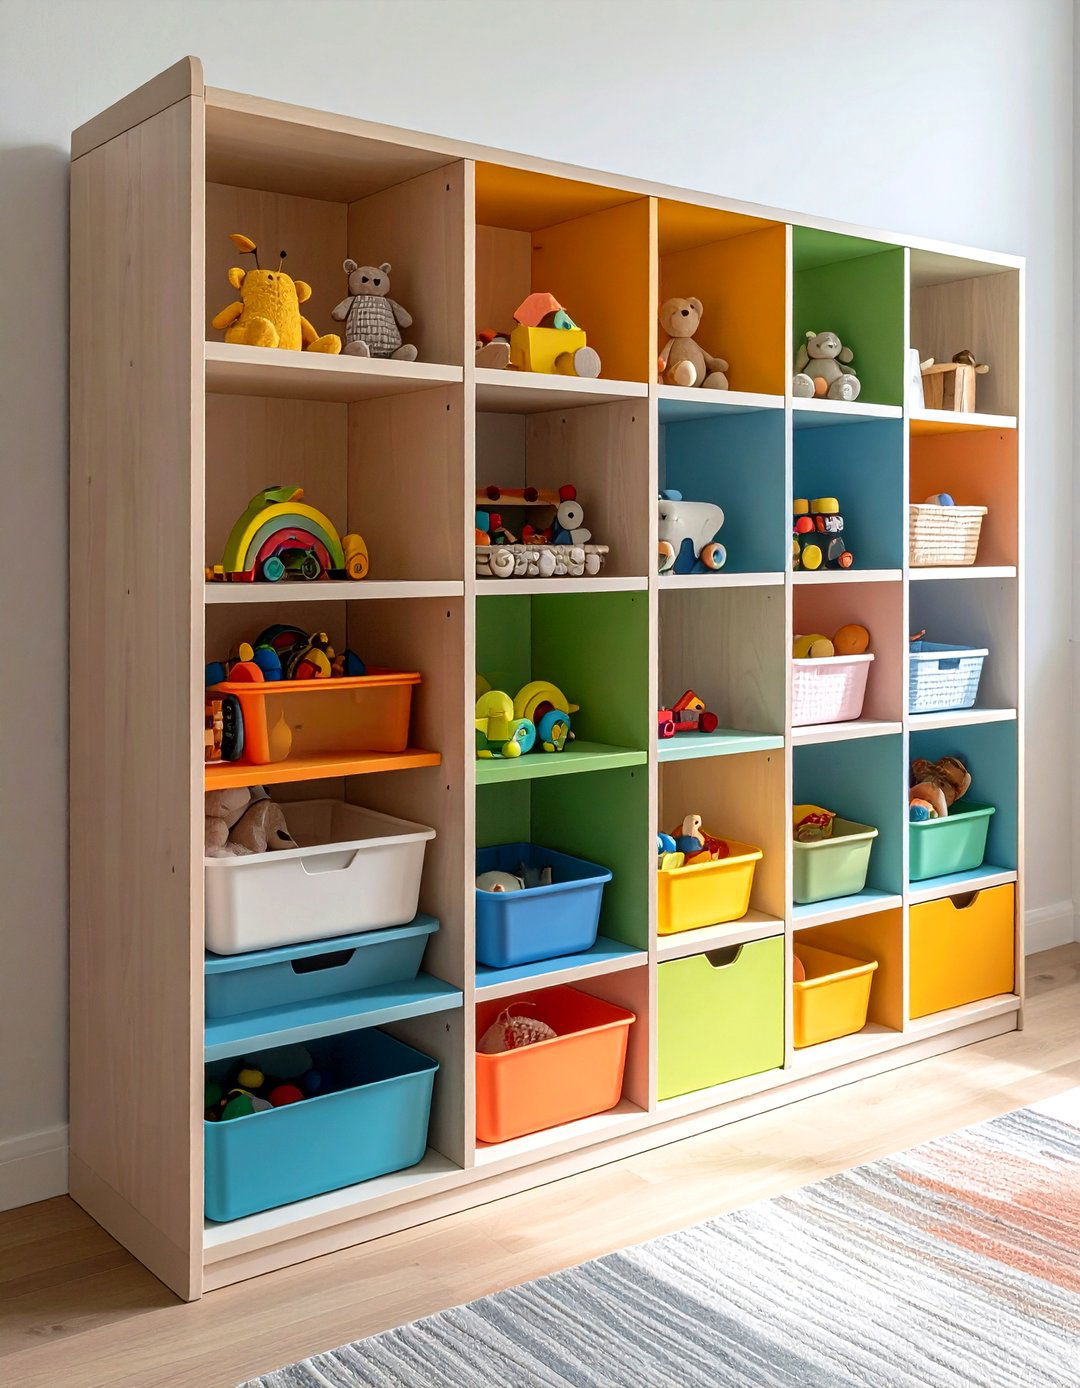
10. Modular Cube Systems
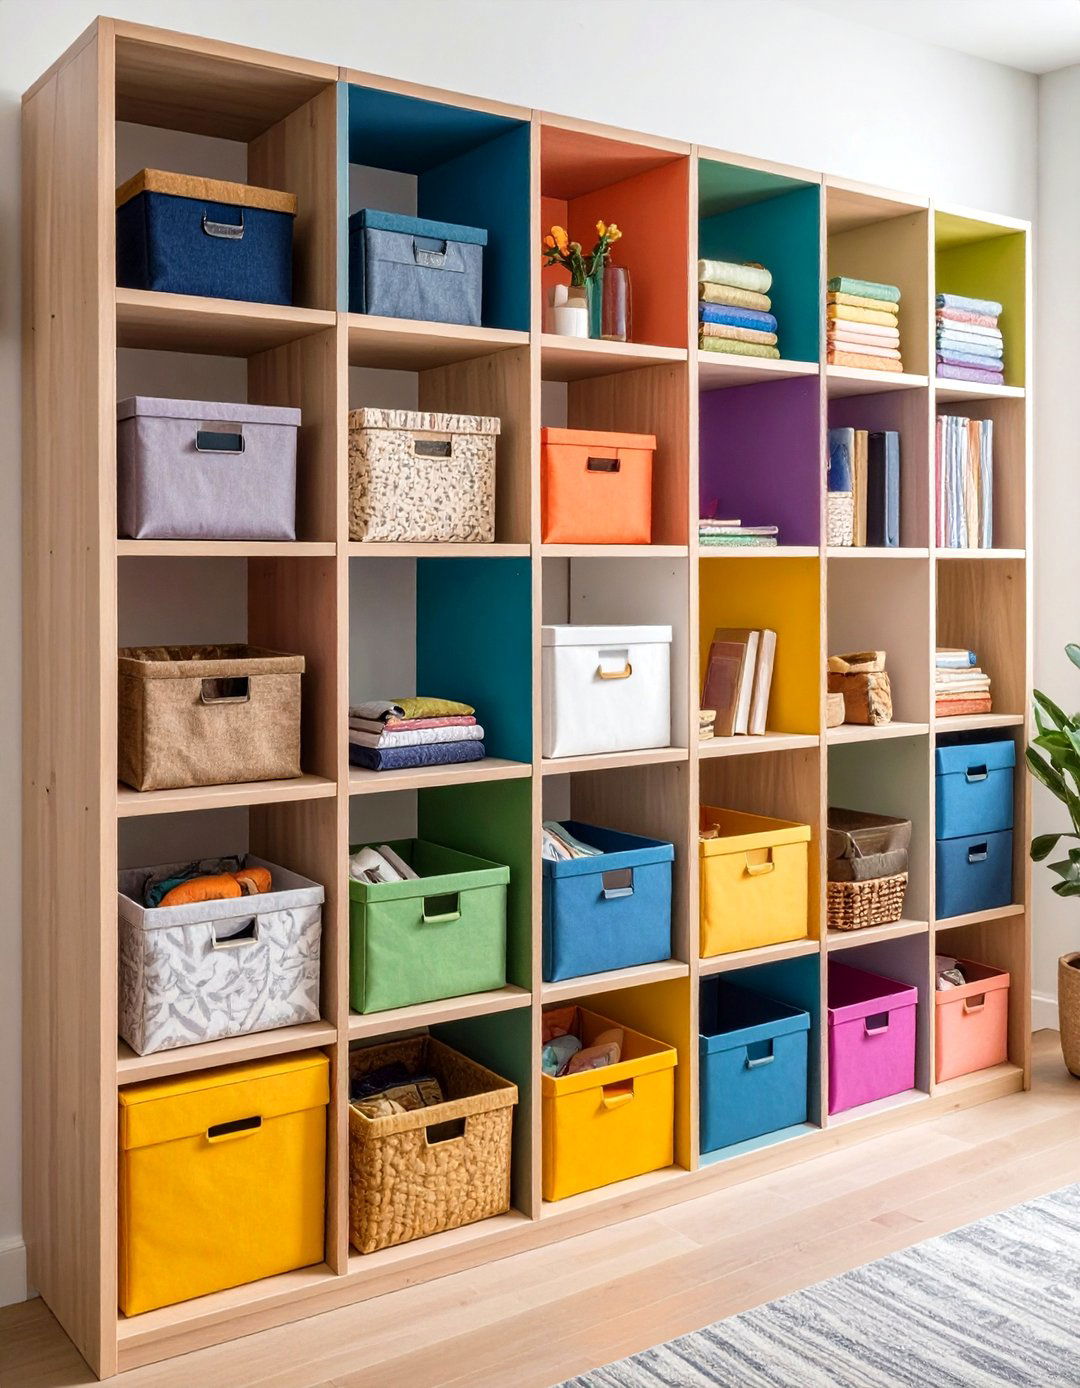
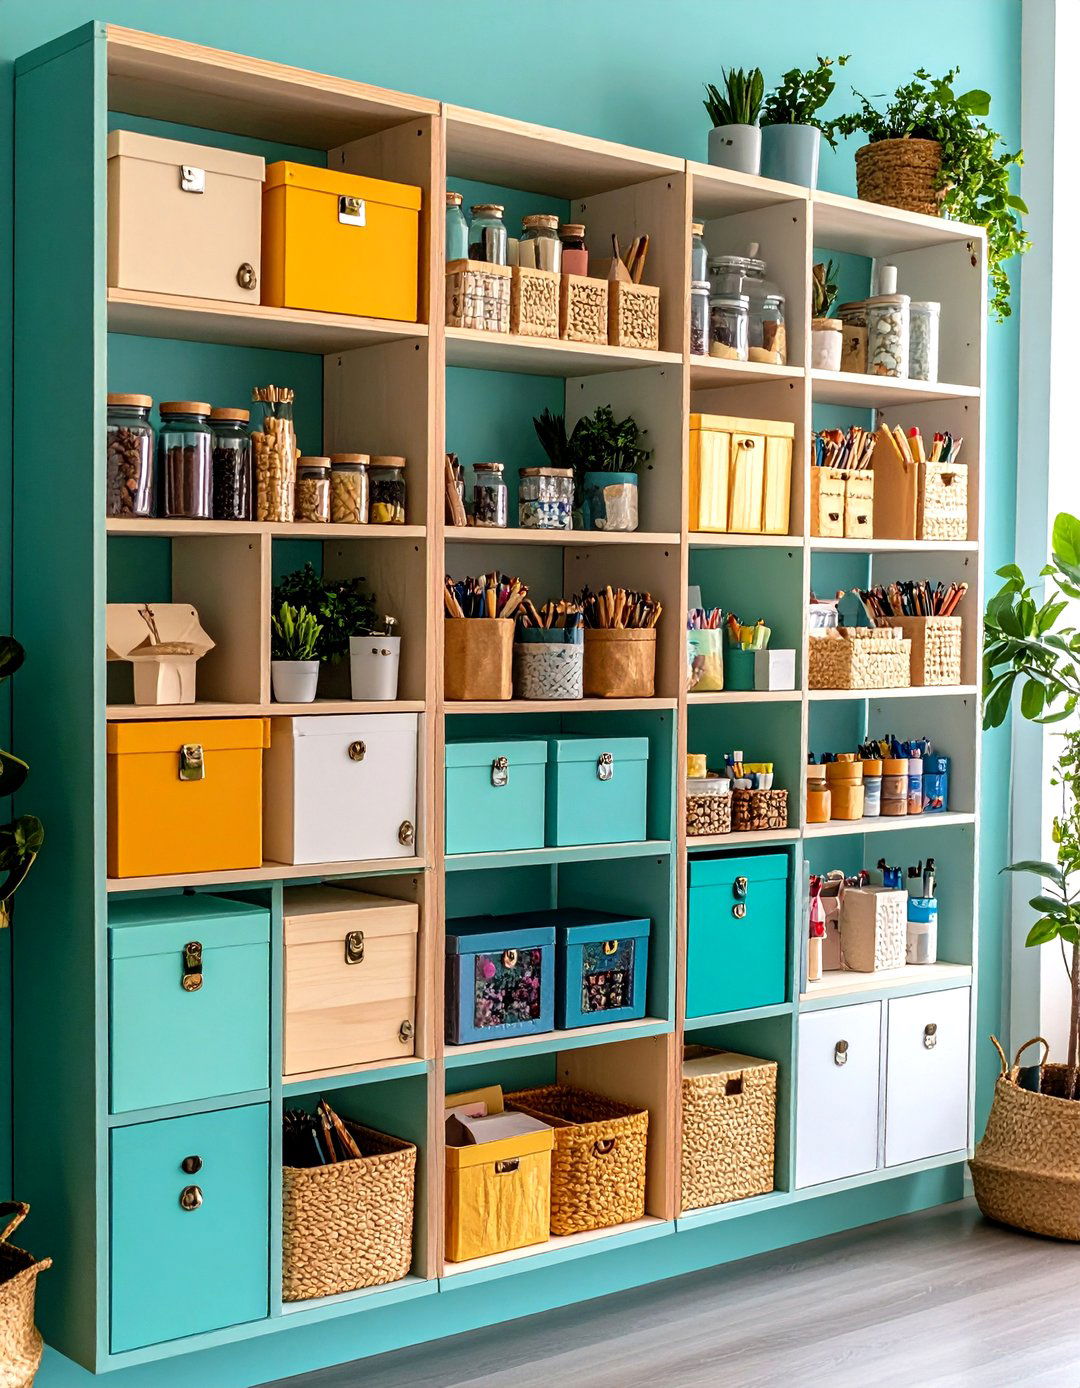
Cube shelving units allow you to mix and match bins, baskets, and open cubes to suit changing storage needs. Use fabric drawers in some cubes and open storage in others for visual balance. Stack units vertically for ample storage without expanding the footprint. Choose lightweight materials to avoid overloading walls or floors. Label cubes externally with chalkboard paint panels or removable tags. The grid format helps maintain order and prevents small items from floating around in one large bin.
11. Wall-Mounted File Organizers

Vertical file holders mounted on walls store paper, cardstock, and project files neatly. Assign each slot to a paper type or color family for swift retrieval. Metal or acrylic wall files are both sturdy and stylish. Install a trio of holders above your desk to keep your main workspace clear. Adding labels or chalkboard tags to each organizer enhances functionality and gives a tailored look.
12. Decorative Pegboard Frames
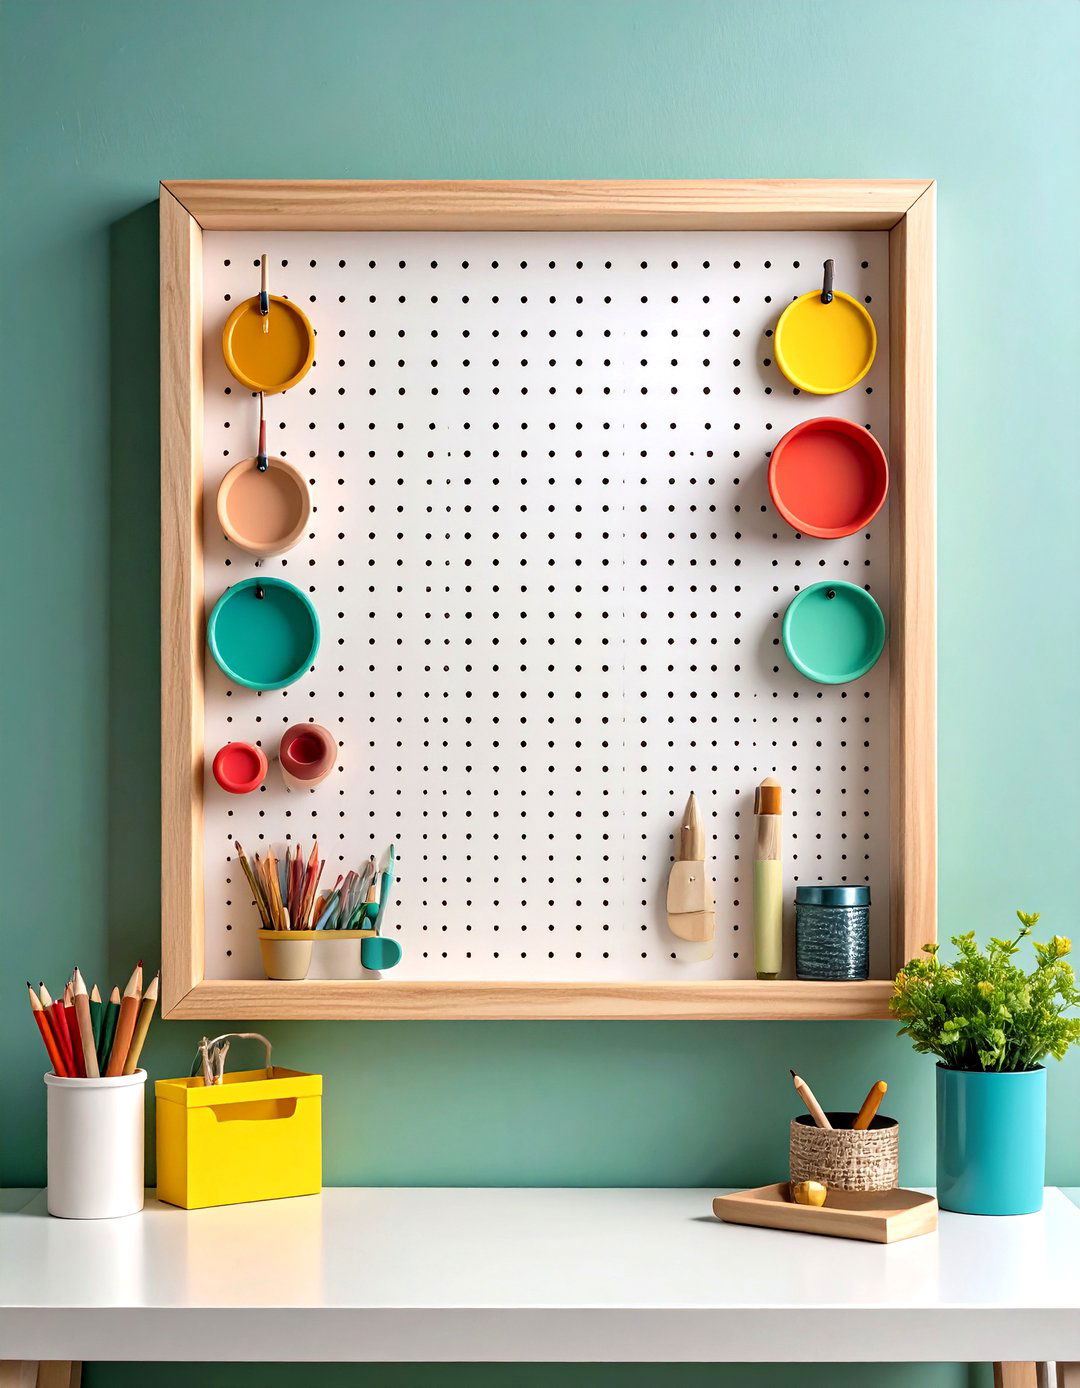
Upgrade basic pegboards with picture-frame moulding to create a polished look that blends with décor. Paint the frame to match furniture or contrast for a statement piece. Inside the frame, use small hooks, wire baskets, and magnetic strips to arrange tools and supplies. This framed pegboard can serve as both an art feature and a storage solution, making it ideal for guest rooms or multi-use spaces where style counts as much as function.
13. Repurposed Matchboxes and Small Containers
Tiny matchboxes, pill organizers, or tic-tac containers make perfect homes for beads, sequins, and small embellishments. Glue boxes inside a larger drawer lid or mount them on the wall in a grid formation. Their uniform size creates a neat visual effect and prevents tiny items from getting lost. Label each box’s top or front with a fine-tip marker. This DIY hack is cost-effective and eco-friendly, using items you likely already have.
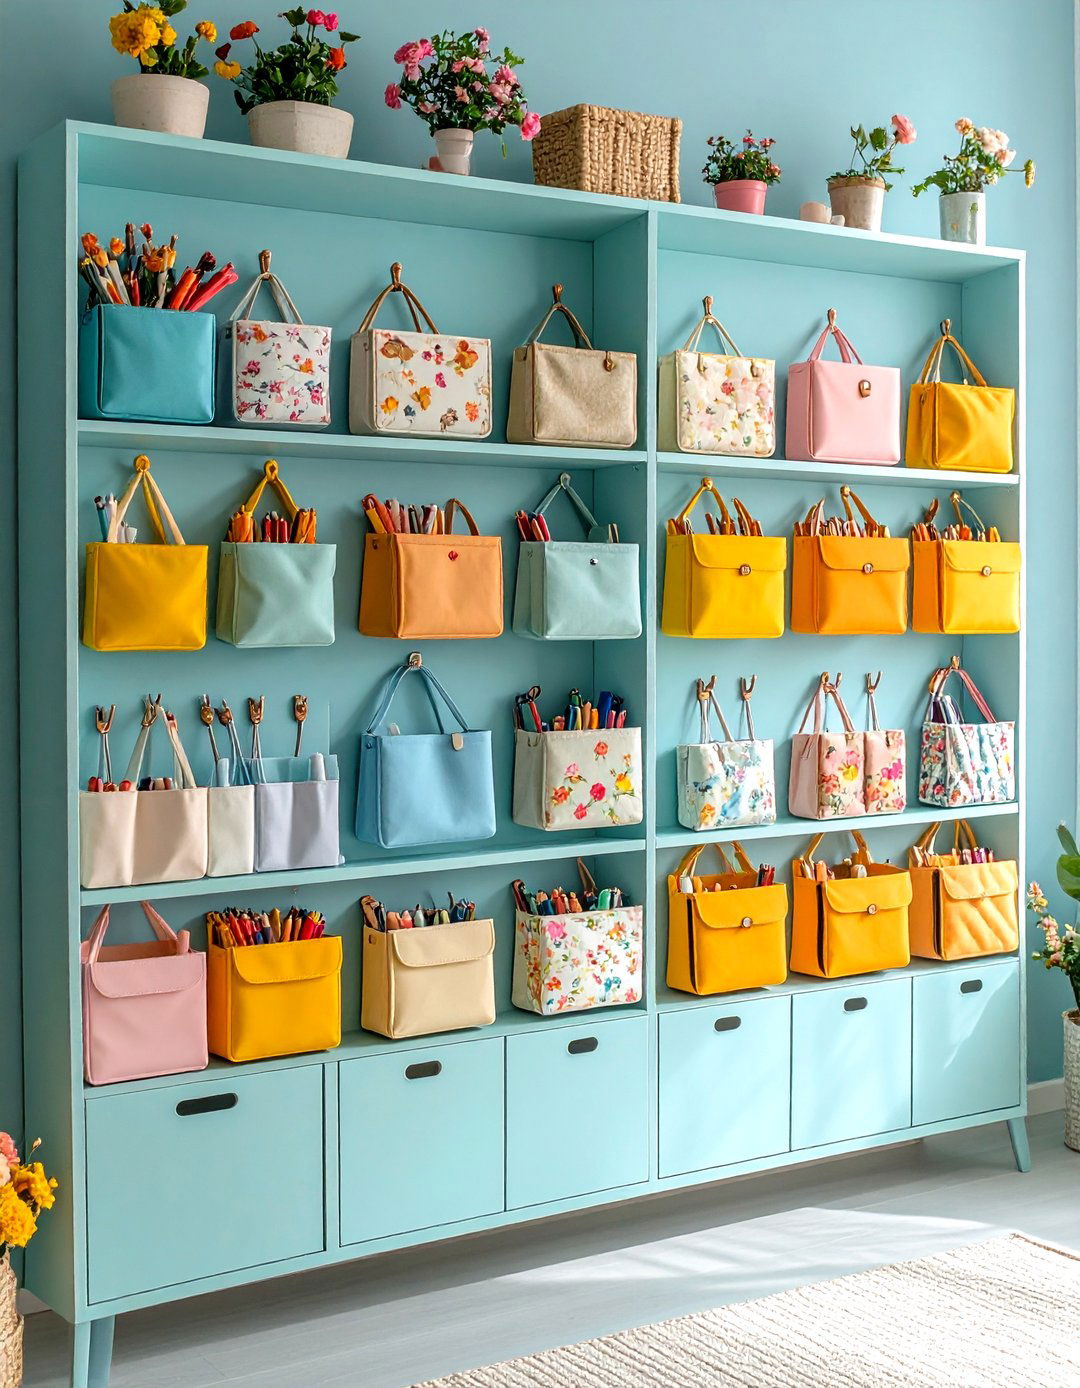
14. Draped Fabric Storage
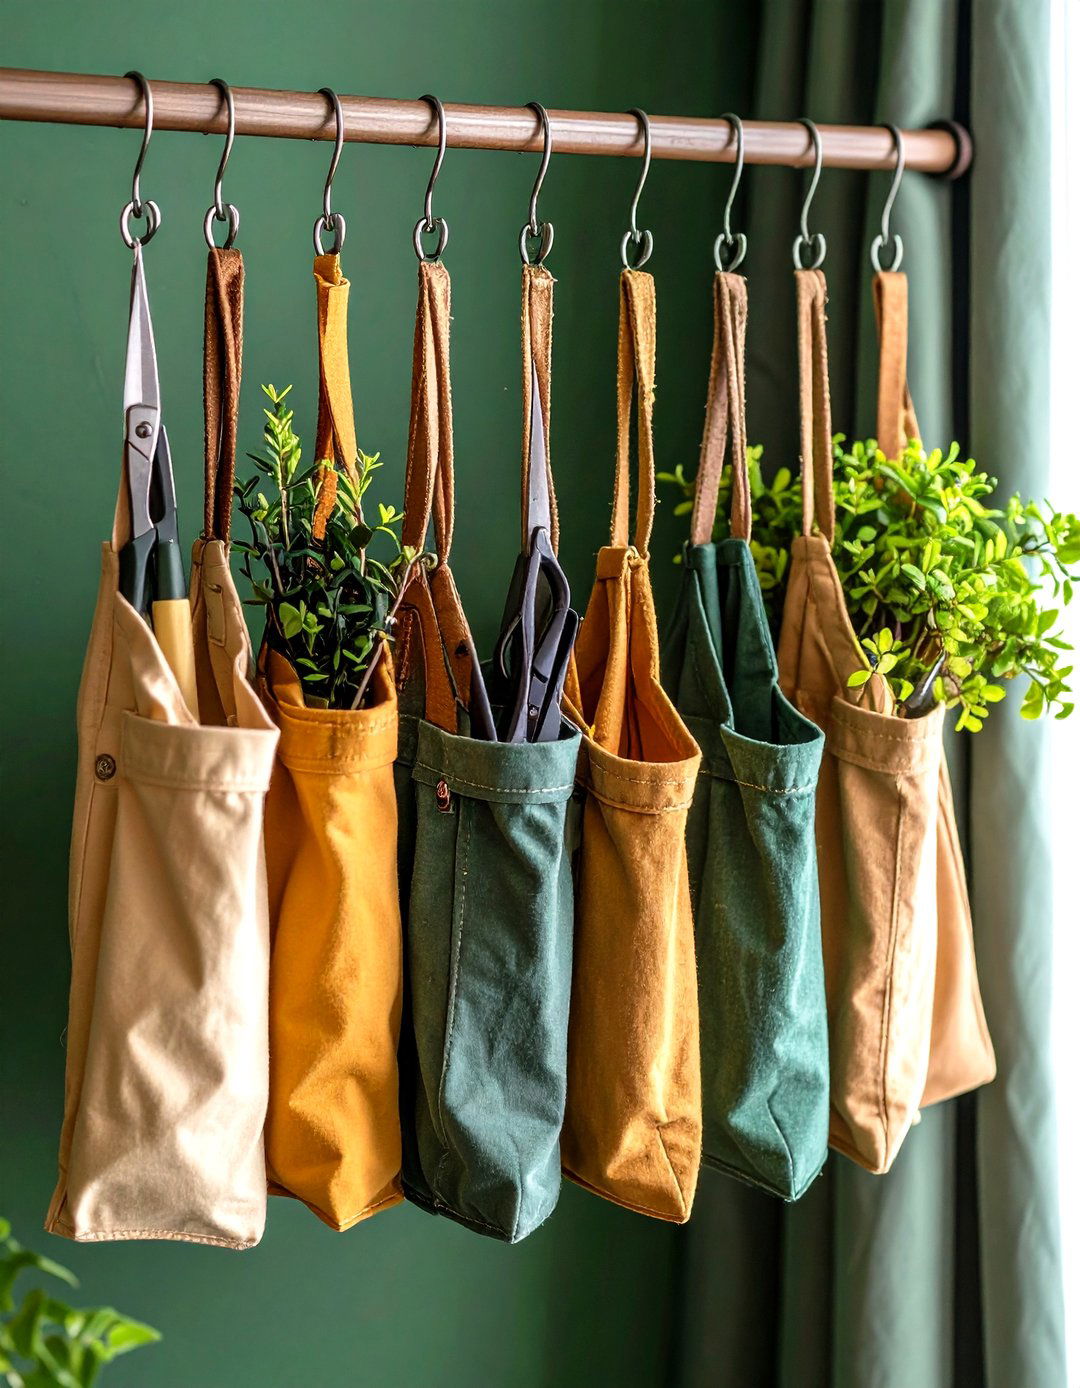
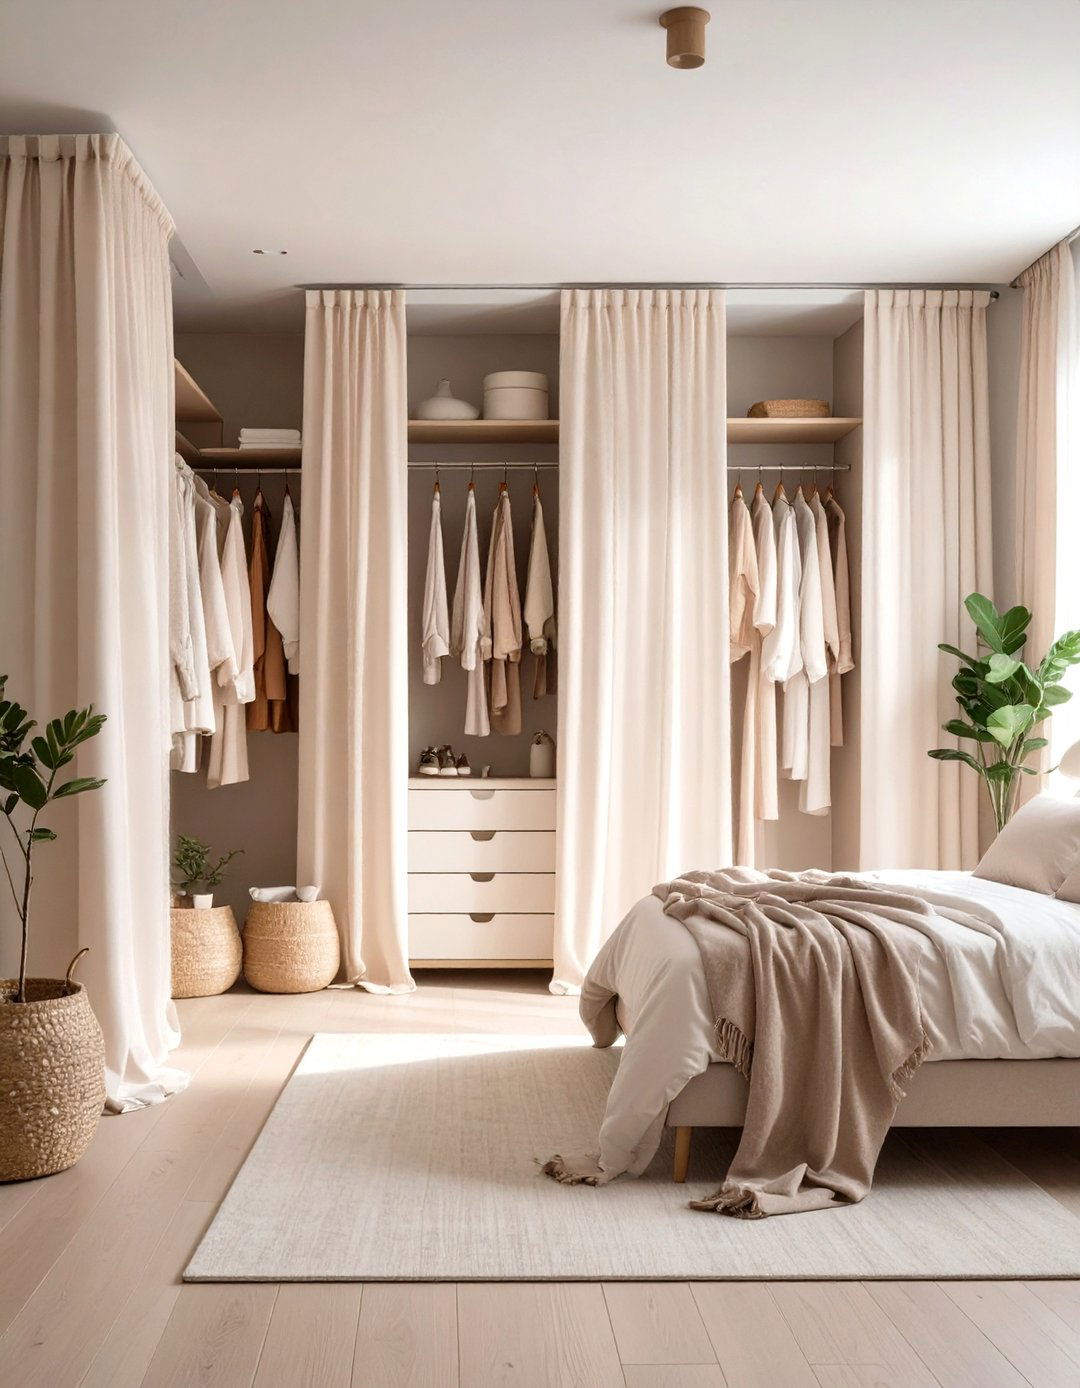
Hang fabric pockets or tool rolls from a curtain rod to hold scissors, markers, and small tools. This soft-storage solution adds texture and can be swapped out seasonally. Choose durable canvas or denim for longevity. Arrange pockets by size for a tidy appearance. When open, the pockets fan out for full visibility; when closed, they hide clutter. This approach works well in repurposed closets or alcoves, adding a decorative element that doubles as storage.
15. Chalkboard Inspiration Wall
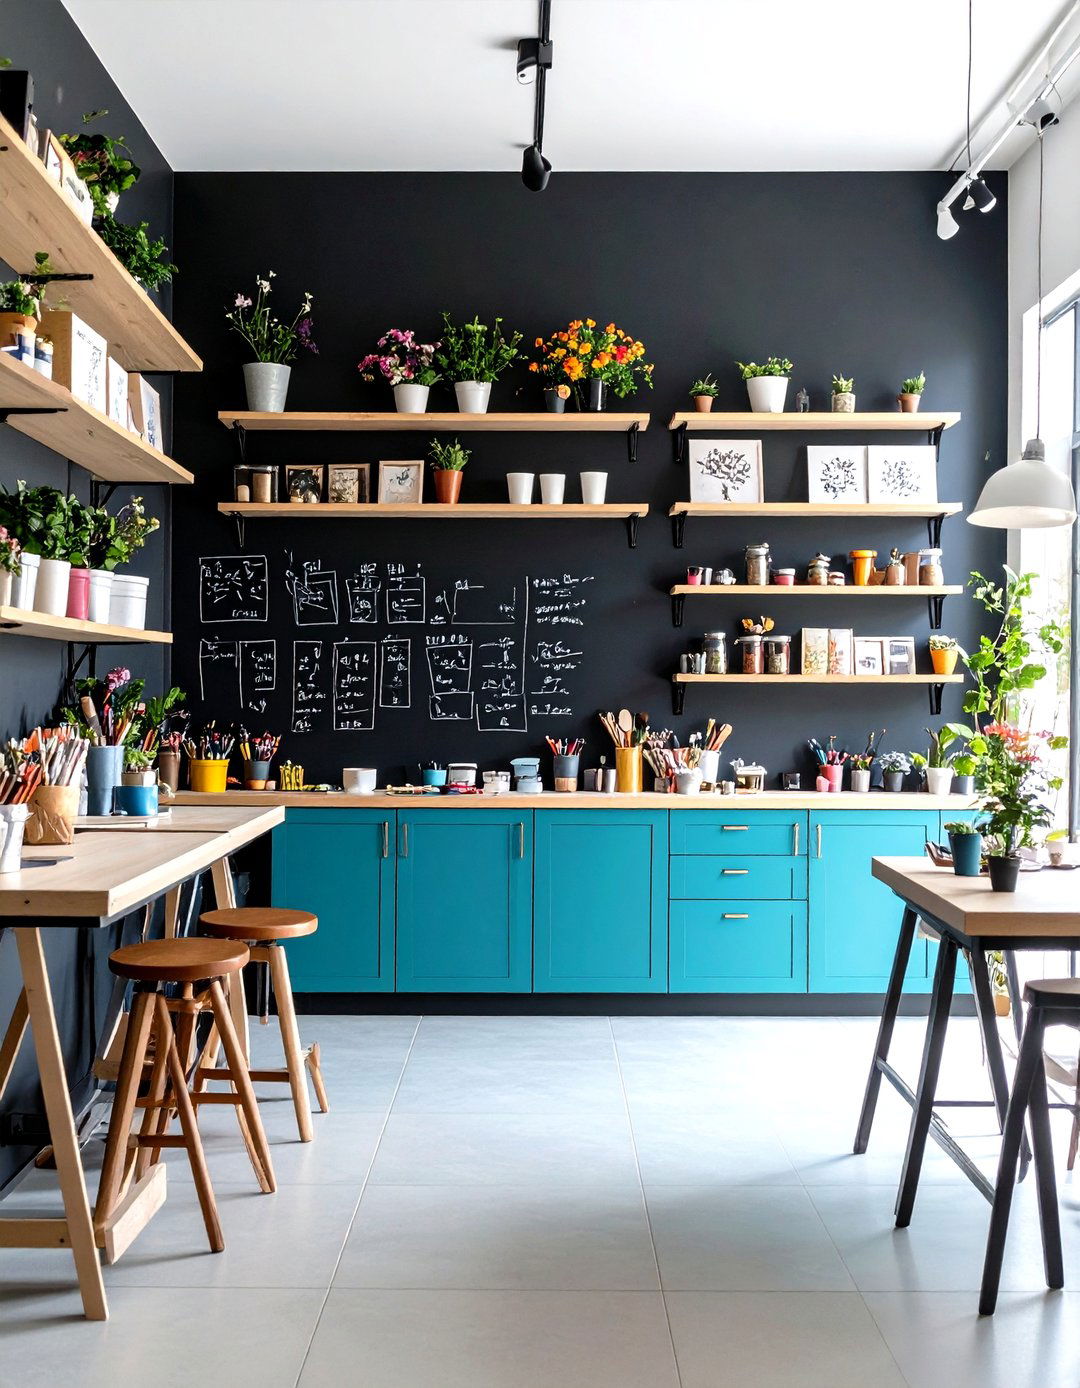
Paint part of a wall with chalkboard paint to jot down project ideas, measurements, and supply lists. This writable surface keeps your creative process visible and editable. Surround the chalkboard with slim ledges or small clips to display sketches and inspiration photos. Use contrasting chalk colors for better readability and to highlight urgent tasks. The chalkboard adds a functional focal point to any small space without the need for bulky bulletin boards.
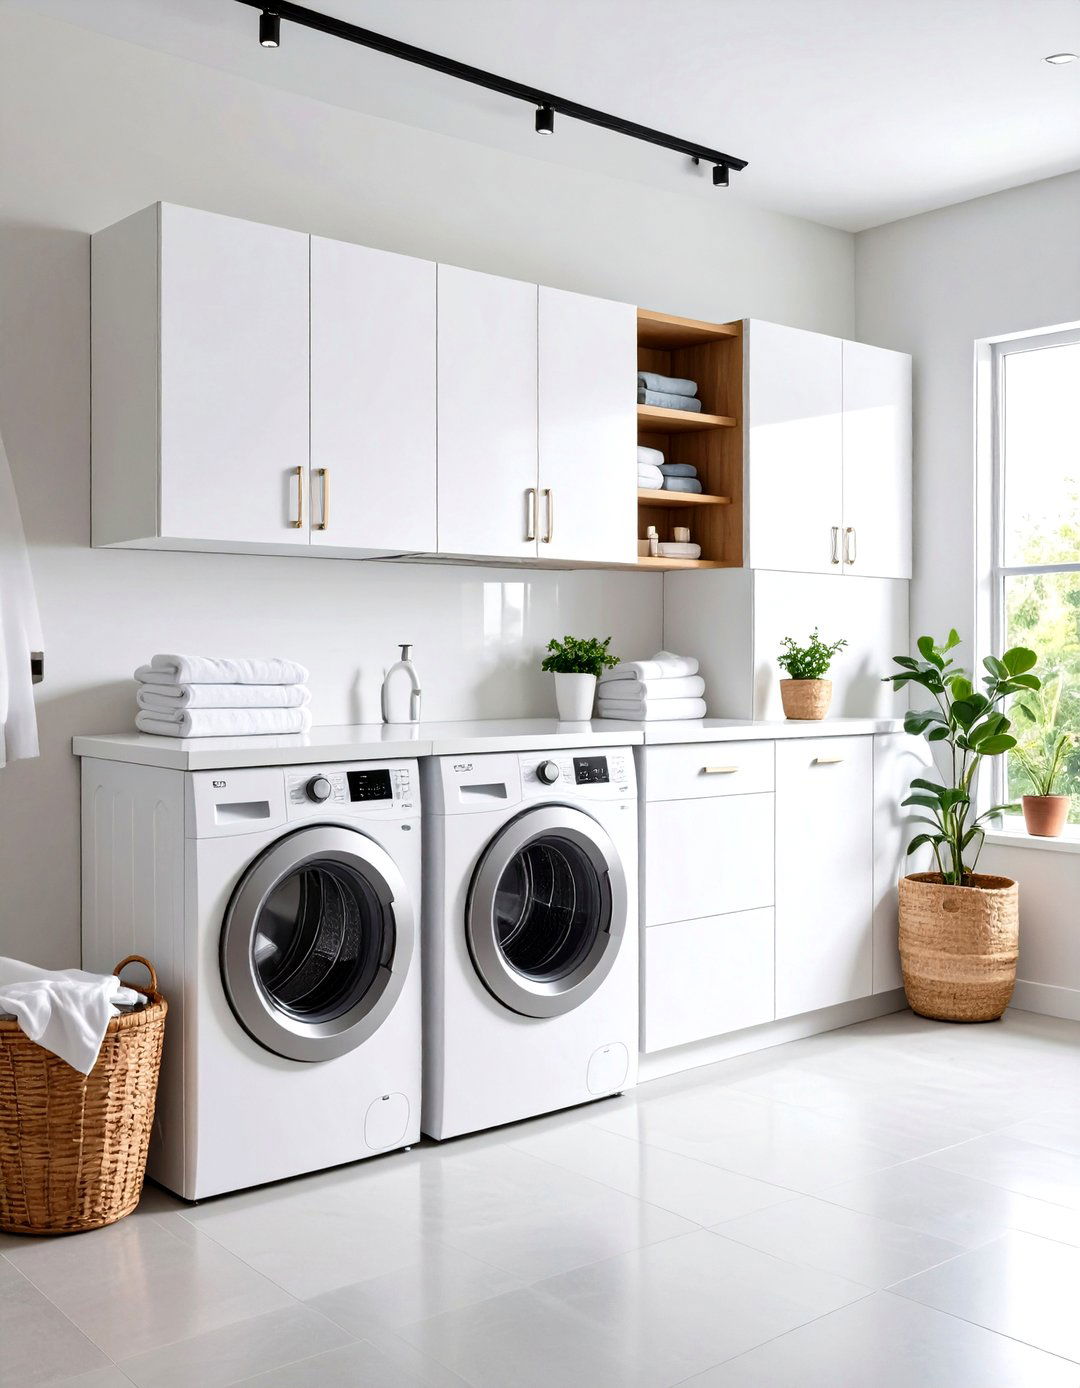
16. Hidden Cabinet Inserts
Install pull-out trays, lazy Susans, or tiered inserts inside cabinets to maximize depth and keep items organized. These inserts make use of dark corners where items often get lost. Choose clear acrylic or wire inserts for better visibility. Label each tray for quick access. When planning, measure cabinet dimensions carefully to ensure smooth sliding and to avoid wasted space.
17. Mobile Wall Panels
Mounted sliding panels or accordion-style room dividers equipped with storage pockets and hooks create pop-out workstations in multipurpose rooms. Panels can hide supplies when not in use, keeping living spaces neat. Opt for lightweight materials and secure anchoring to support tools without sagging. This solution lets you craft in a living area, then tuck everything away behind closed panels.
18. Concealed Power Strips
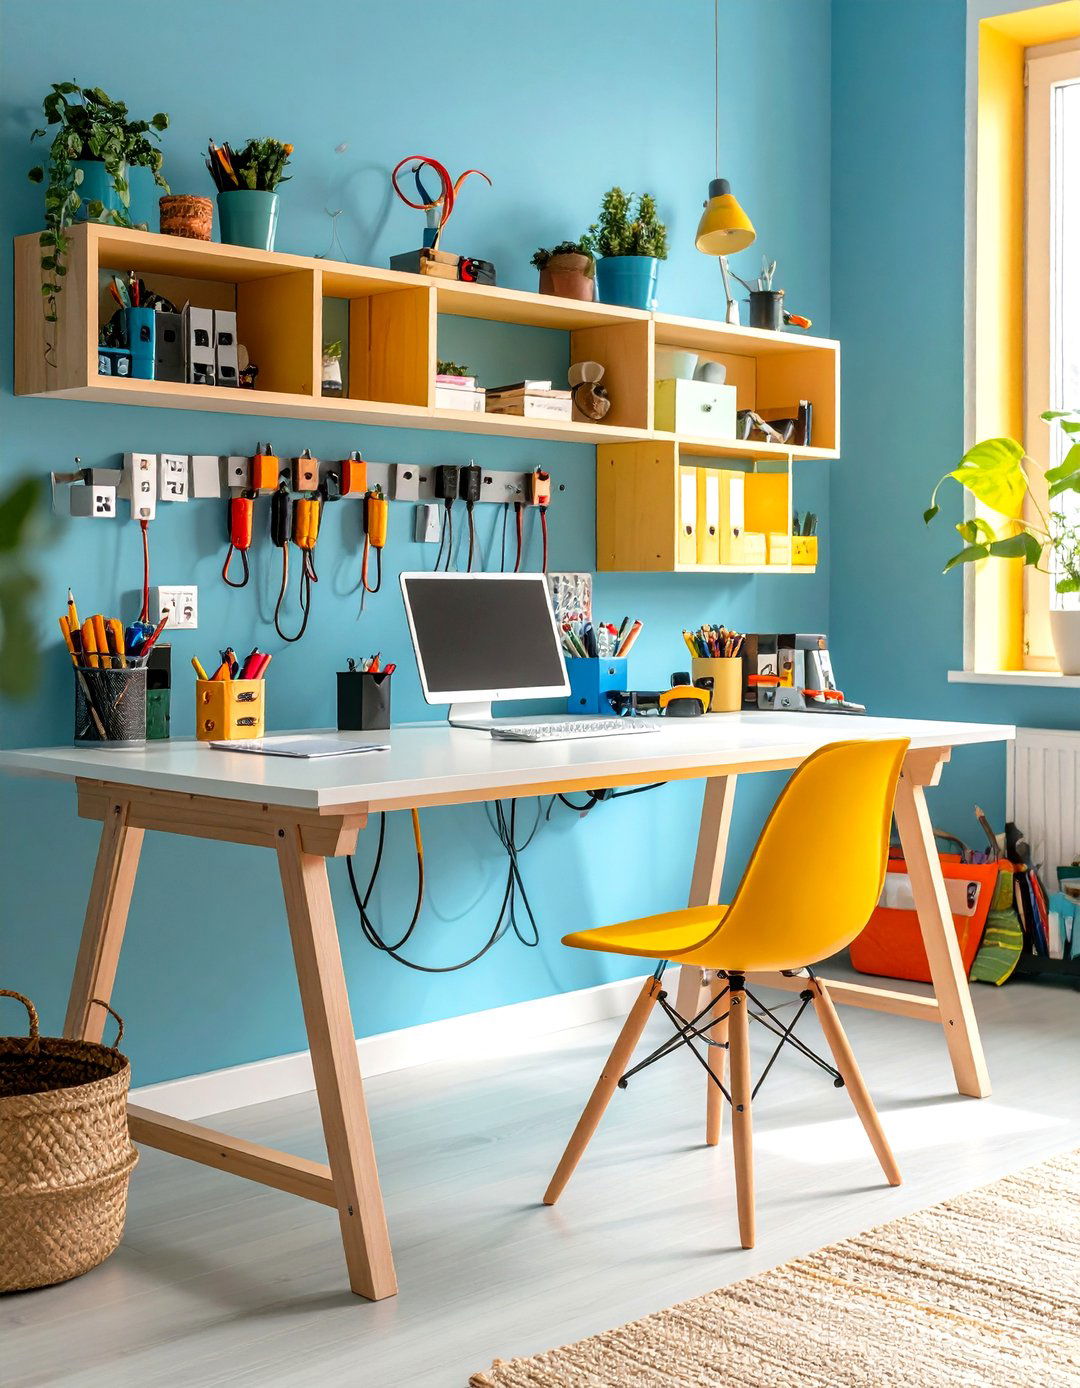
Mount power strips under shelves or on the underside of tables to keep cords off the floor. Use cable clips or tubing to guide cables neatly along the legs or frame of your workspace. This approach prevents tripping hazards and maintains a tidy appearance. Label each cord at both ends for easy identification and quick replacement if needed.
19. Inspiration Bulletin Grid
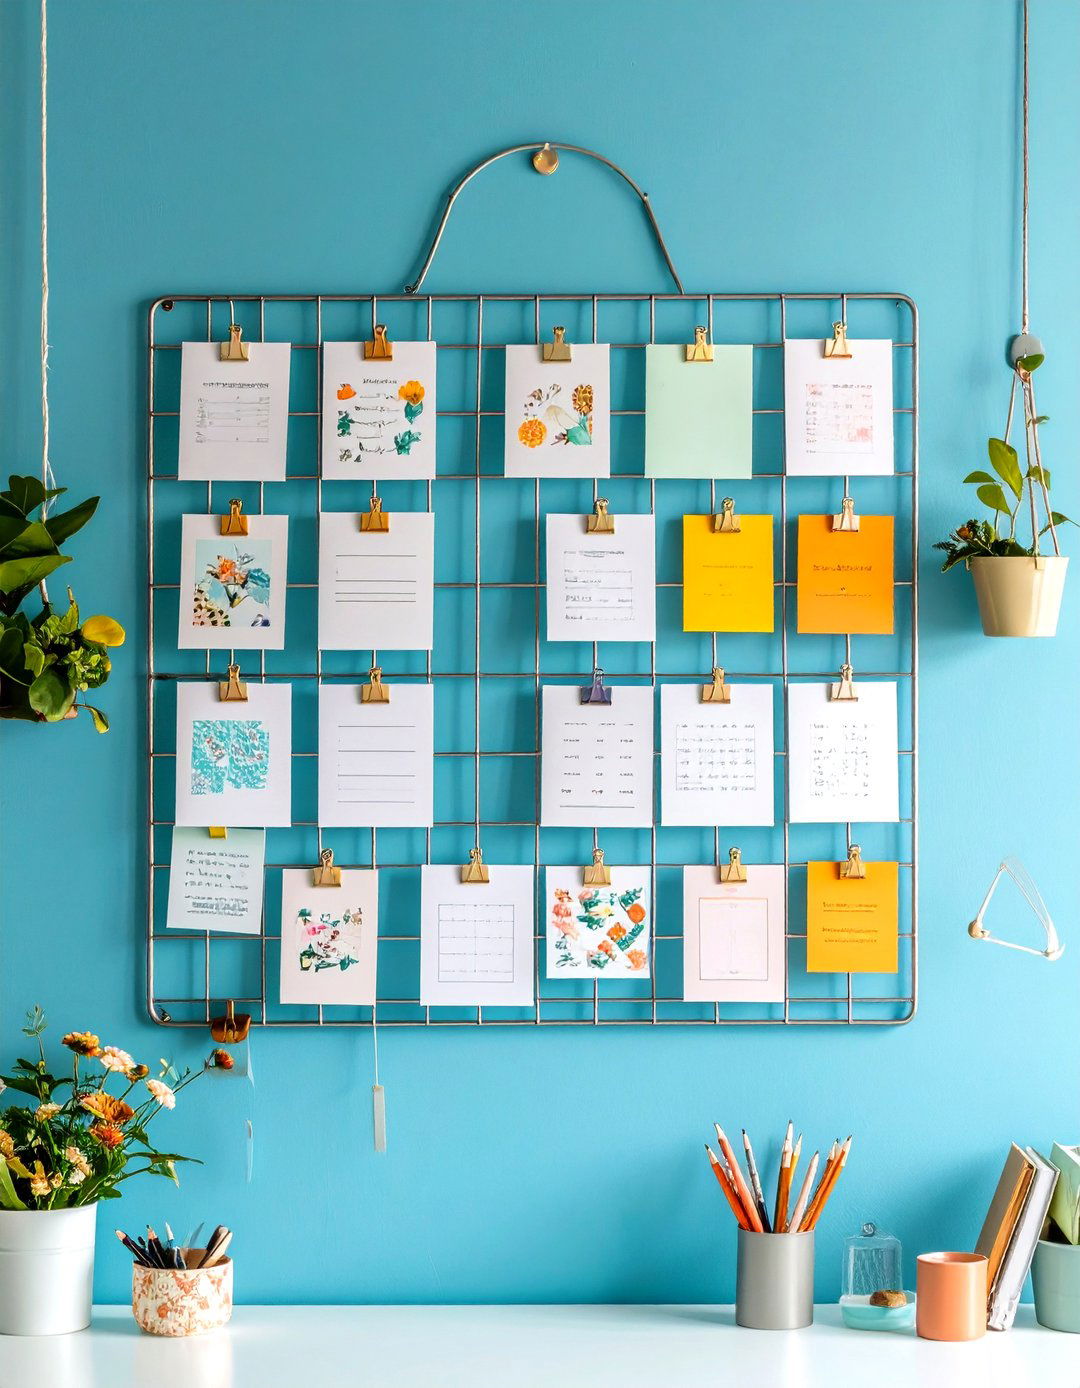
Combine a metal grid panel with binder clips and hooks to display photos, fabric swatches, and to-do lists. The grid serves as a dynamic mood board that you can rearrange at will. Mount it above your desk or use as a room partition. Add fairy lights for ambiance, and attach small baskets to hold pens and tools. This visual organizer keeps your creative vision front and center.
20. Color-Coded Storage Baskets
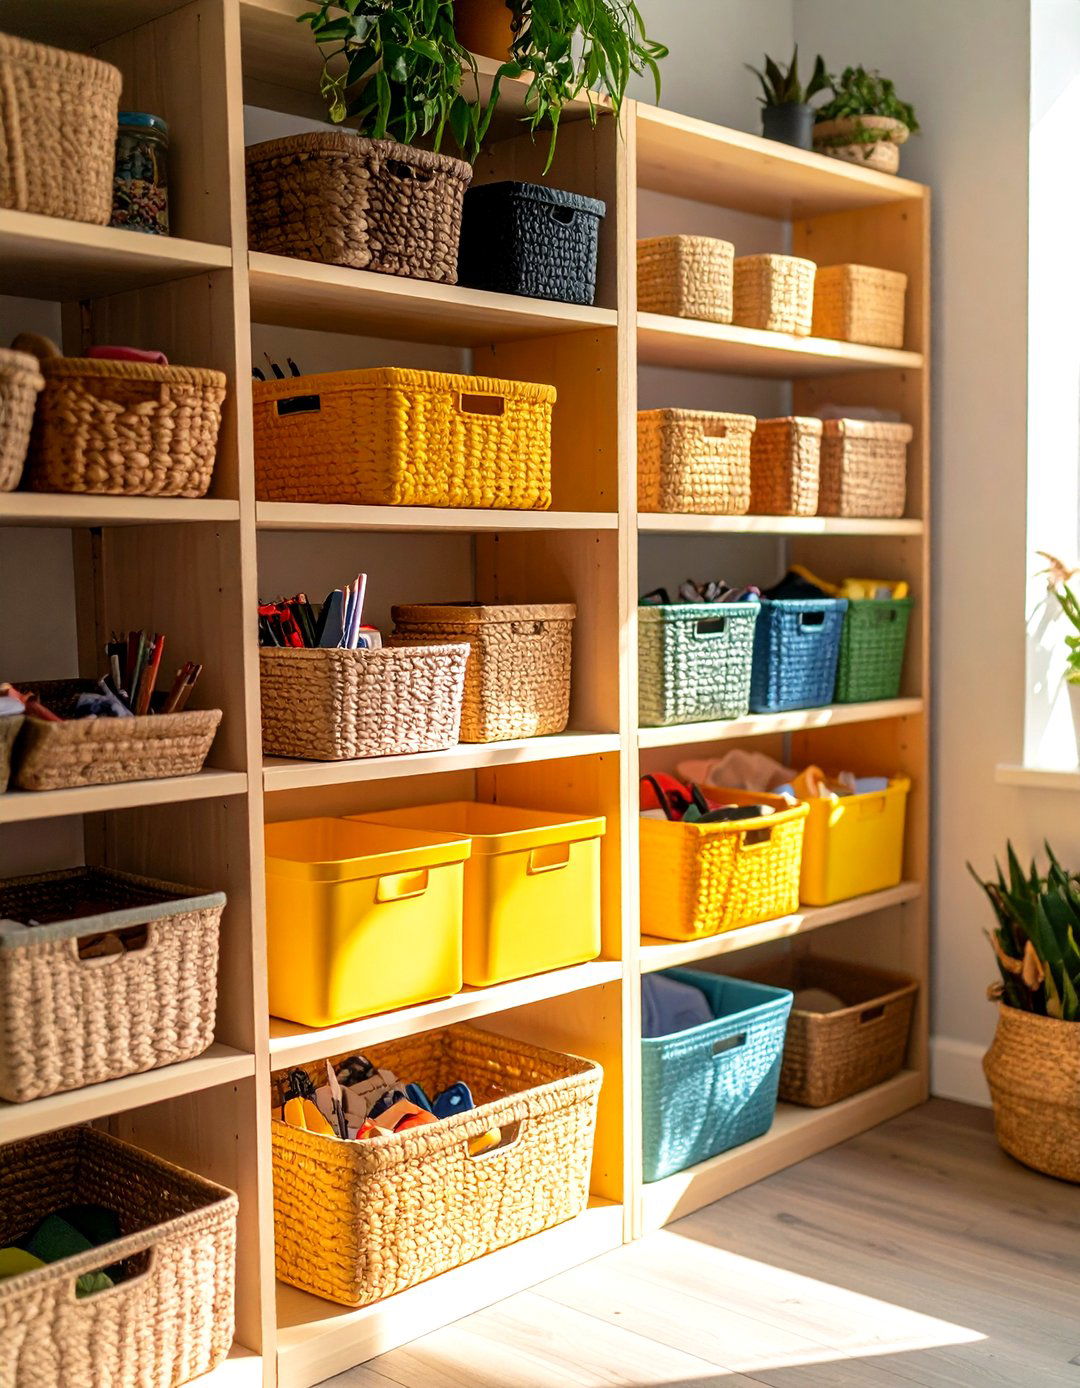
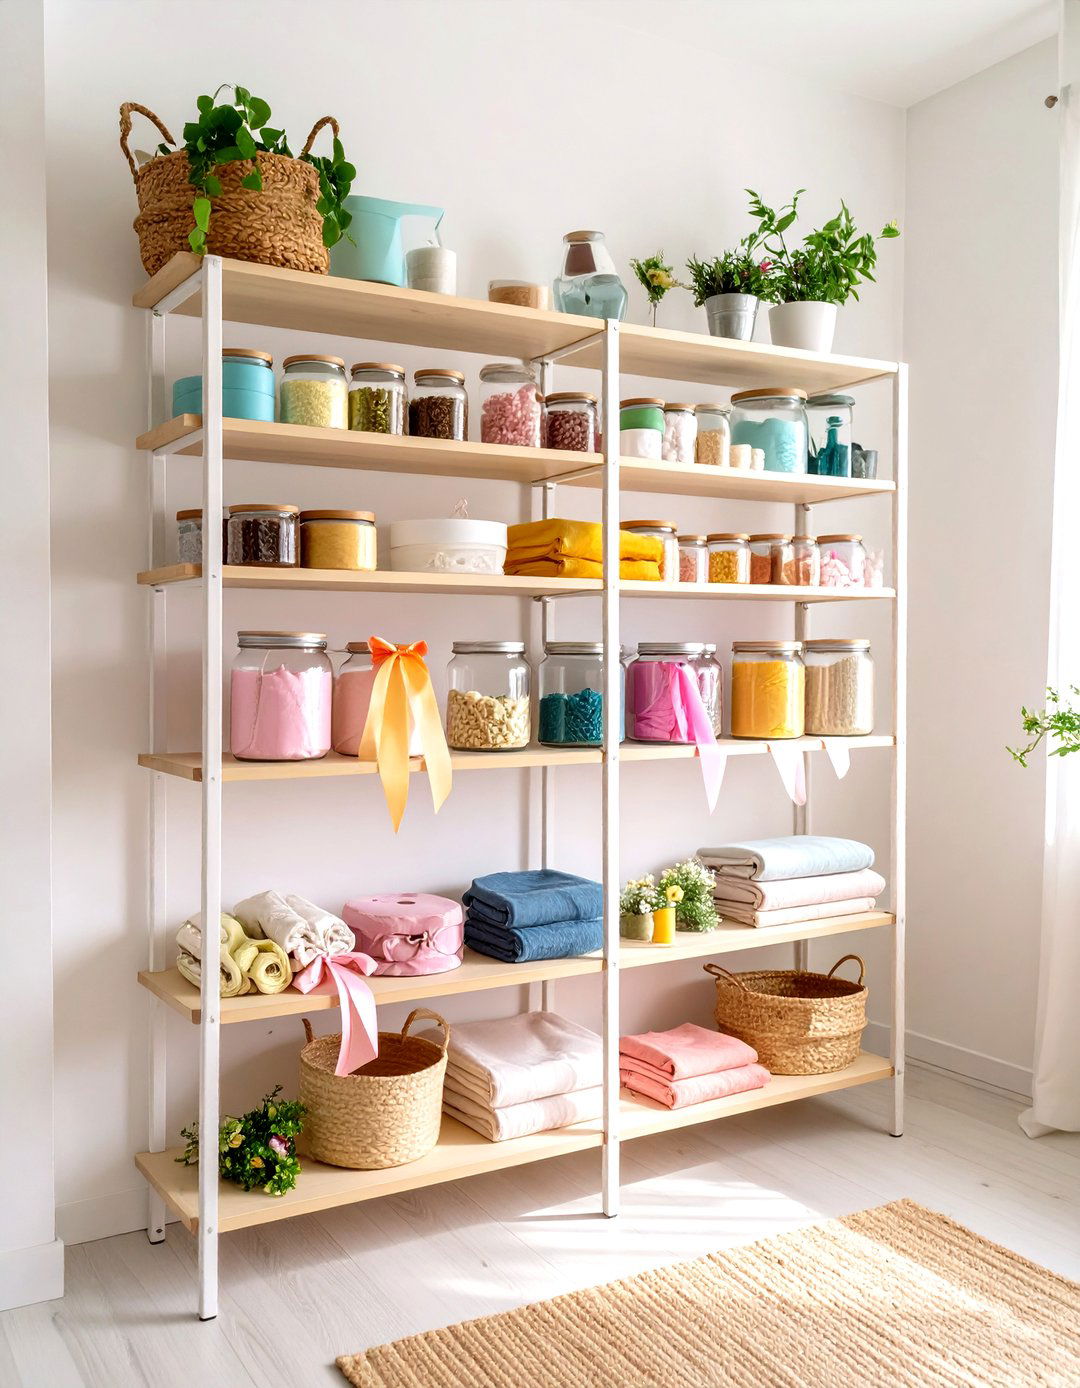
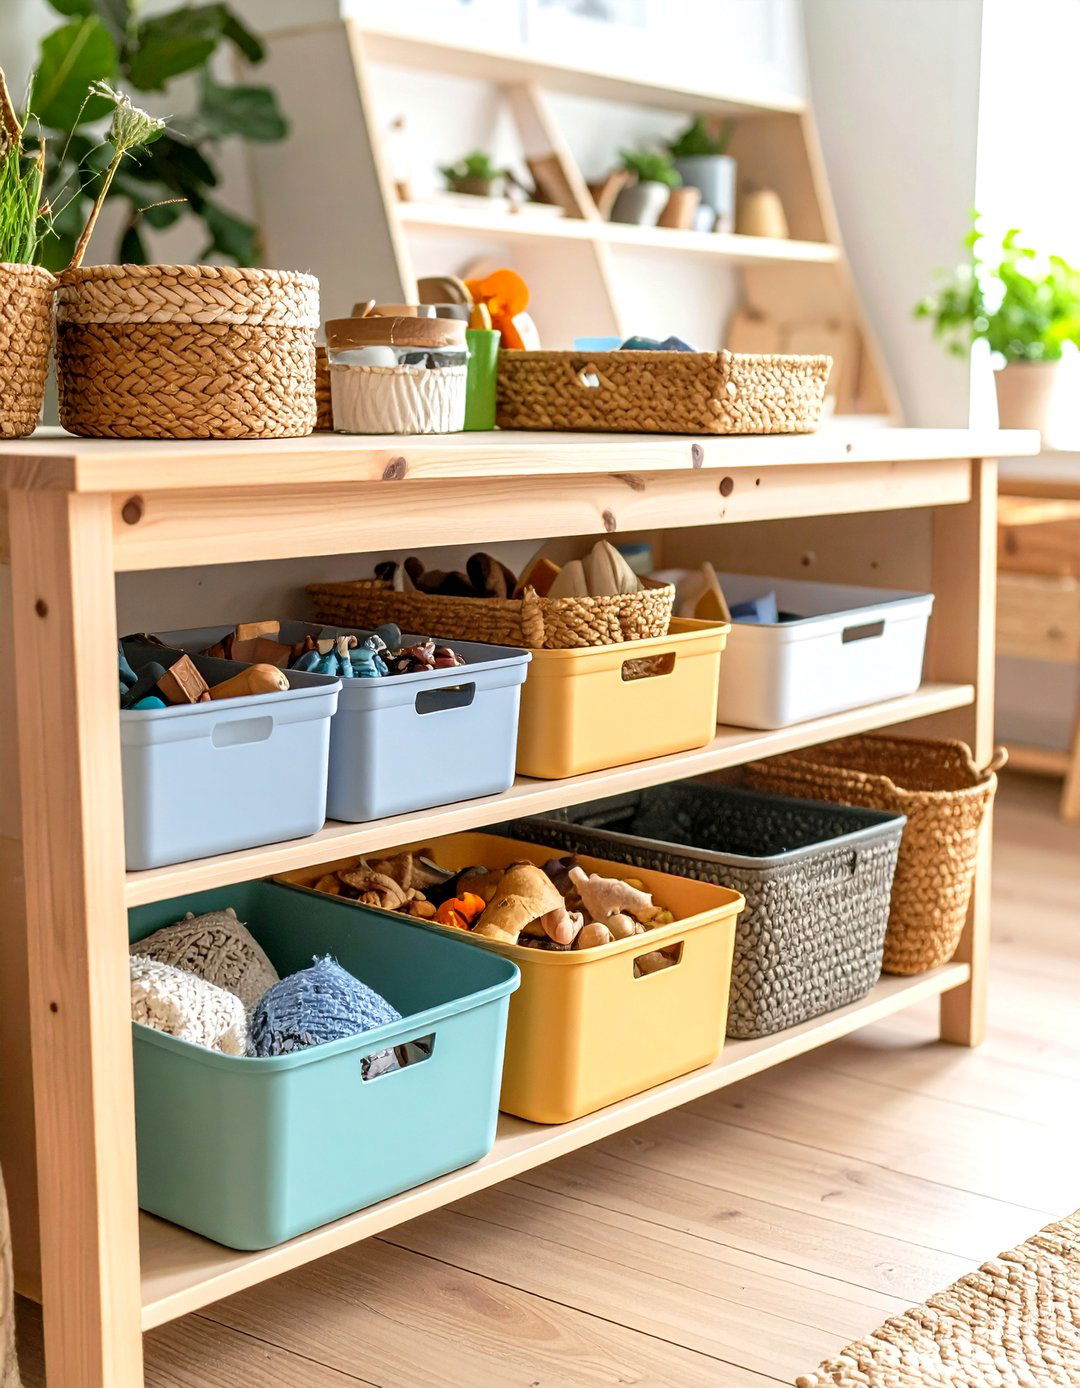
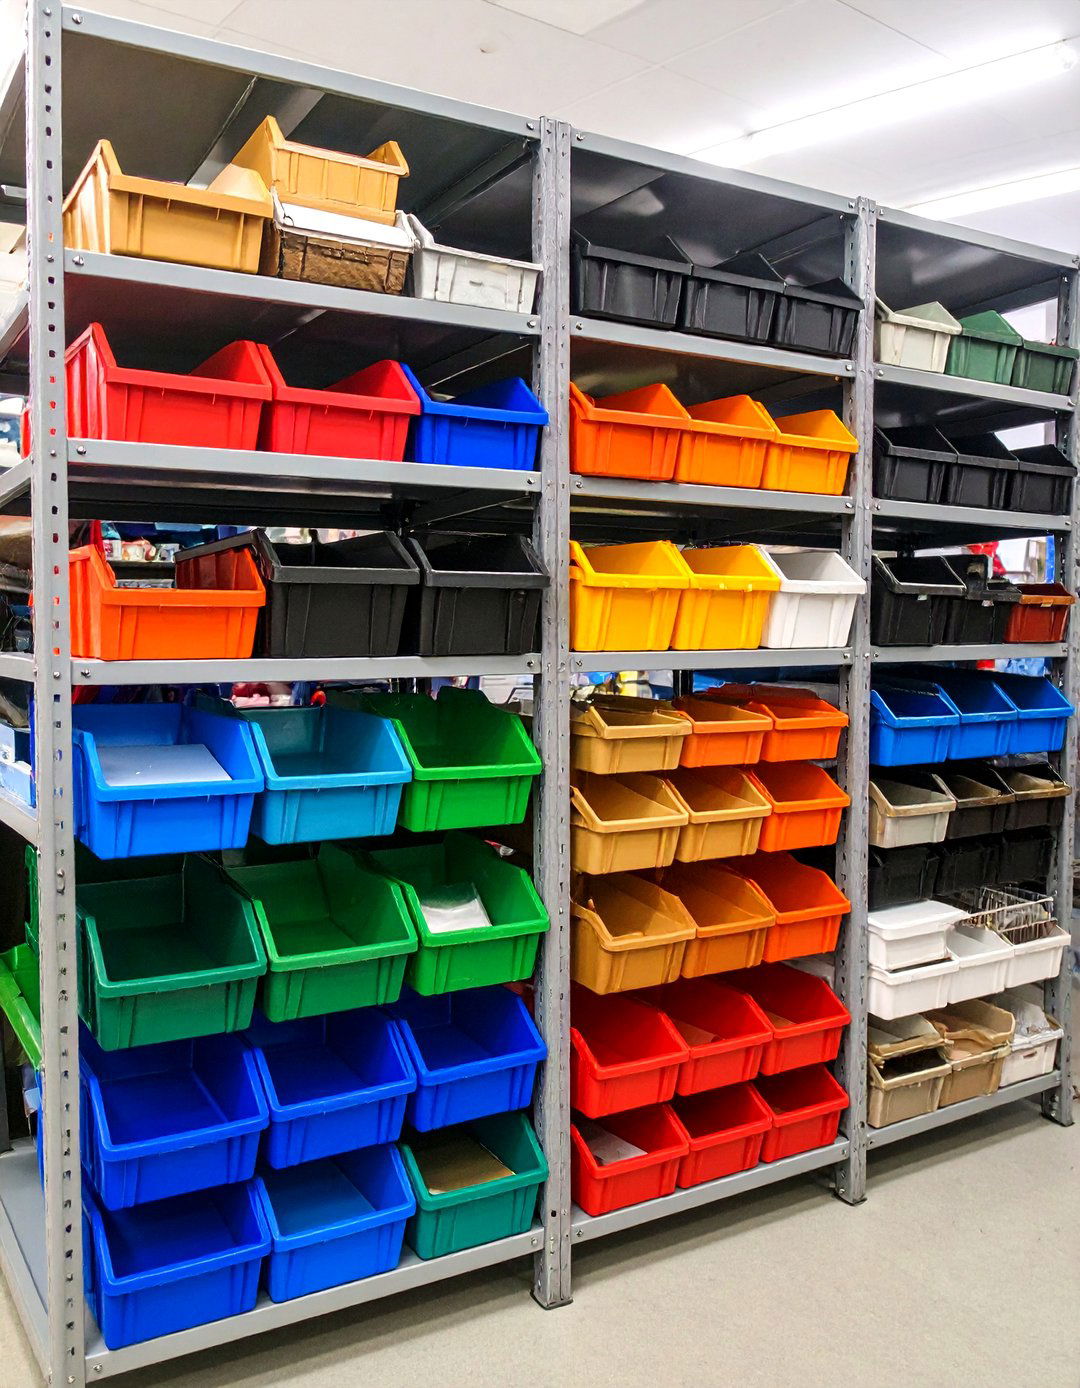
Use baskets in a color-coded system—one hue for fabrics, another for paints, and a third for papers—to streamline organization and enhance your room’s aesthetic. Choose stackable woven or plastic baskets that fit your existing shelving units. Label each basket’s front with chalkboard tags or vinyl decals for added clarity. The uniform shapes keep your space looking orderly while allowing quick access to supplies when inspiration strikes.
Conclusion:
By leveraging vertical space, multifunctional furniture, and creative storage hacks, even the smallest craft rooms can become highly organized and visually appealing. From pegboards and floating shelves to rolling carts and hidden inserts, these ideas maximize every inch without sacrificing style. Incorporating clear containers, color-coding, and thoughtful labeling ensures that all supplies stay accessible and inspiring. Whether you’re working with a closet, nook, or tiny spare room, these 20 small craft room ideas demonstrate that clever design and strategic organization can transform compact spaces into productive, clutter-free environments.
Related posts:
Leave a Reply