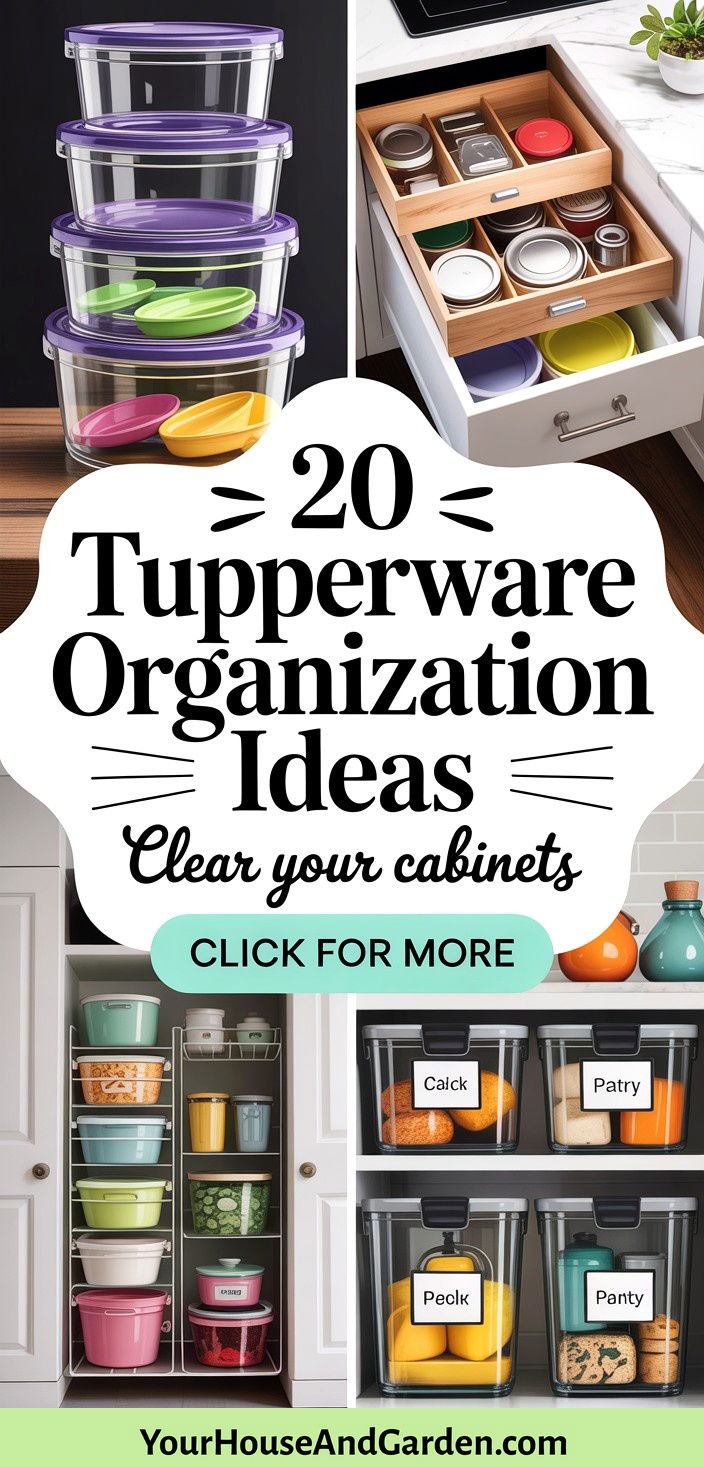
Taming a jumbled collection of food storage containers and lids can transform your kitchen from chaotic to calm. Across expert recommendations, the consensus is to first declutter—discard mismatched, stained, or orphaned pieces—and then group like with like. From pull-out drawers and adjustable dividers to creative repurposing of office organizers, there’s no shortage of clever solutions. Key strategies include maximizing vertical space with magazine files or tiered risers, corraling lids separately for easy pairing, and leveraging specialized tools like tiered Lazy Susans or YouCopia lid organizers. Implementing just a few of these ideas will save time, free up cabinet space, and ensure you can always find the right container when you need it.
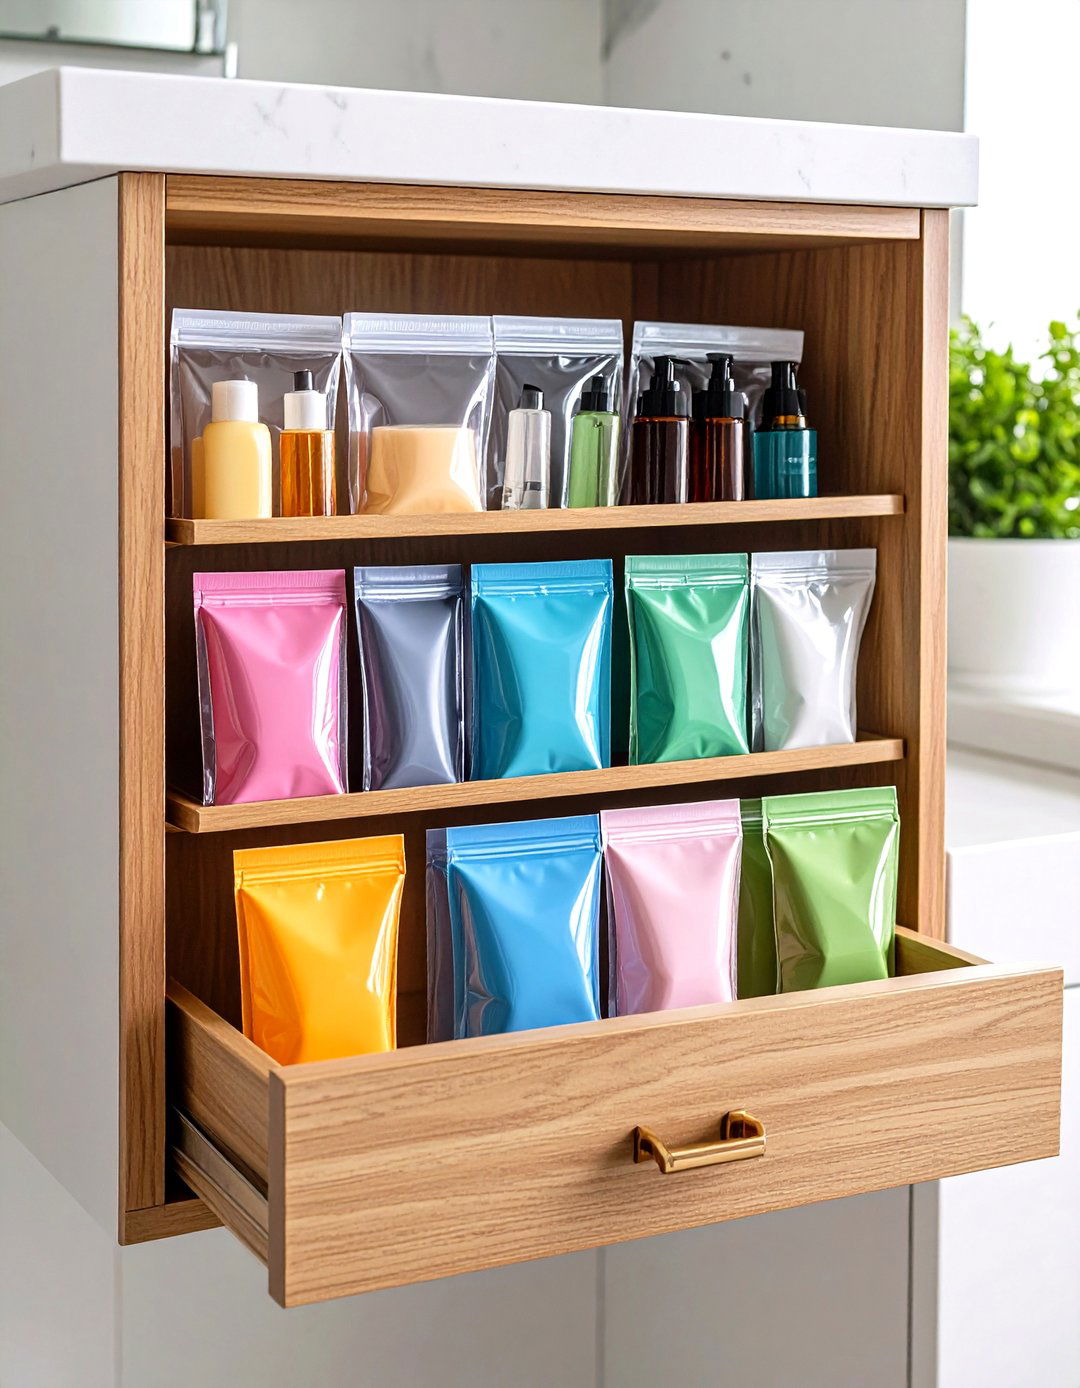
1. Use Pull-Out Drawers
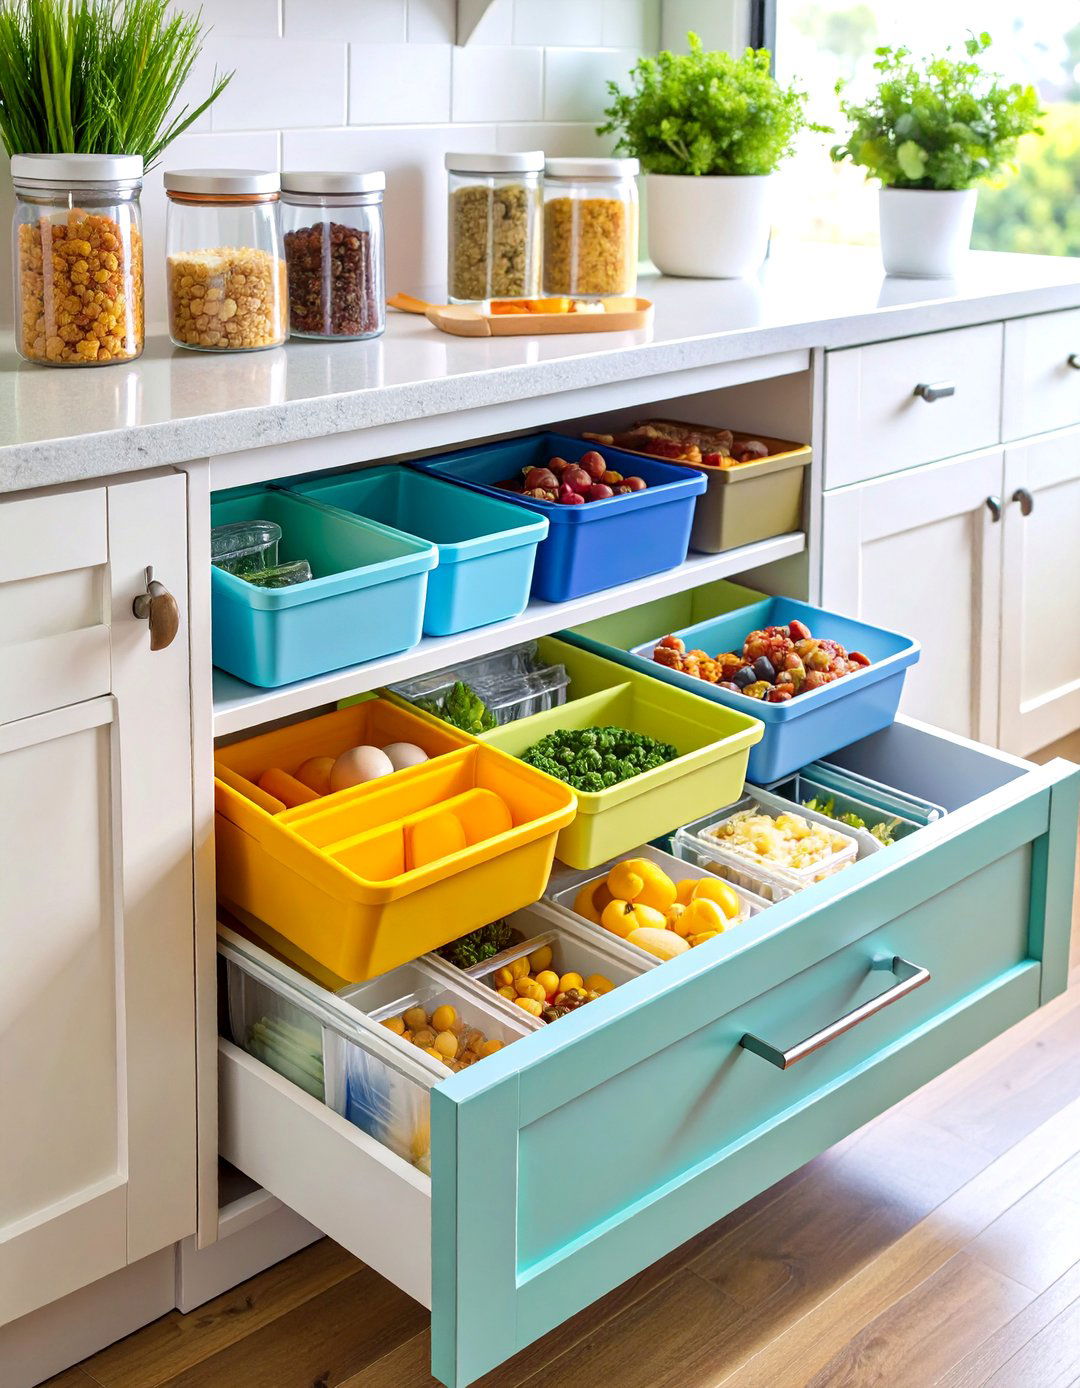
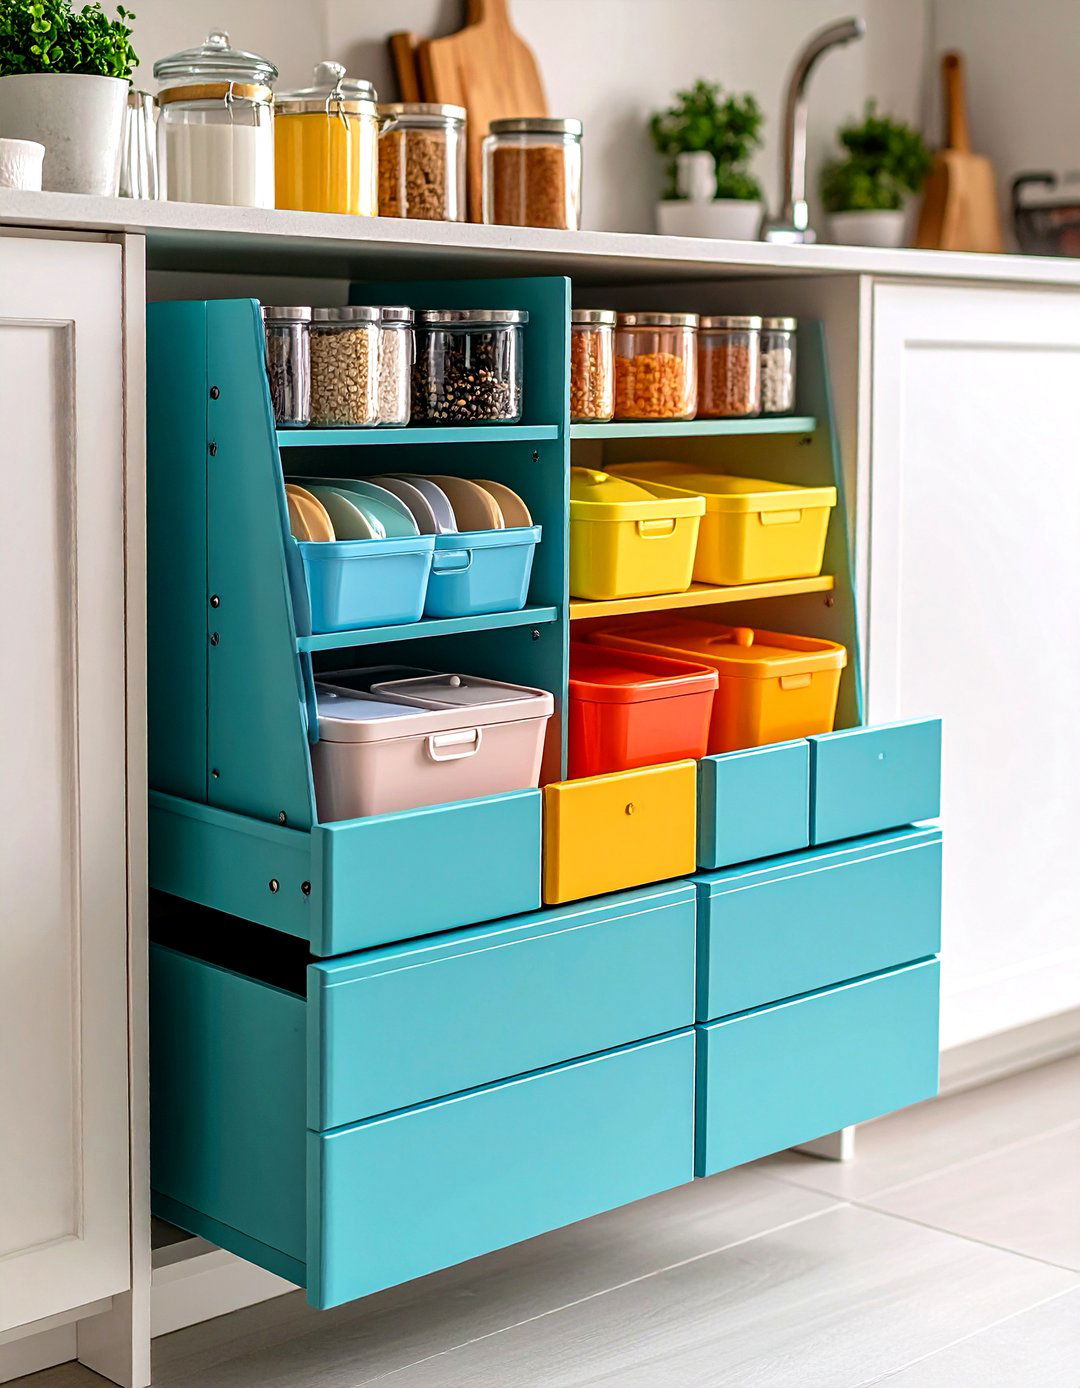
Pull-out drawers in lower cabinets allow you to slide out your Tupperware stash for full visibility and easy access, preventing you from reaching into the back and knocking over half the stack. By stacking containers from largest at the bottom to smallest on top, you maintain stability and reduce the likelihood of toppling piles. This system is ideal for deep cabinets where fixed shelving leaves wasted space at the rear, turning lost corners into prime real estate for food storage solutions.
2. Install Drawer Dividers
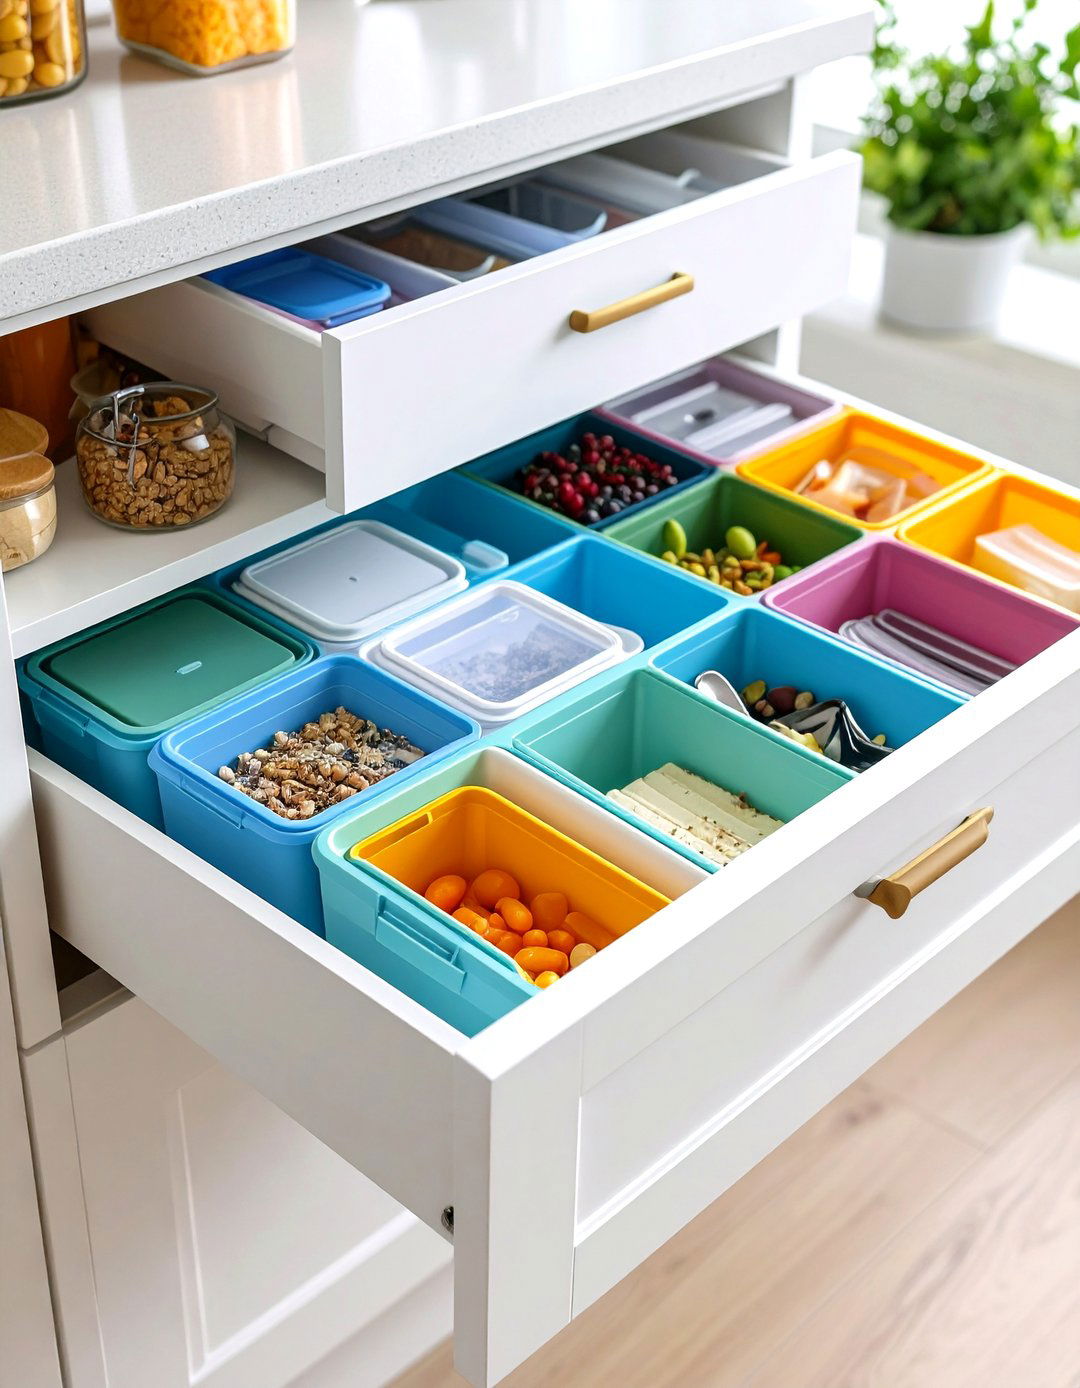
Dividers create designated sections within a drawer, separating containers from lids or different size groups. Built-in or expandable dividers slot into drawers to form neat columns, making it simple to “file” lids upright or nest containers side by side. This approach not only streamlines retrieval but also prevents lids from slipping under stacks or getting lost entirely, a common source of frustration in mixed storage drawers.
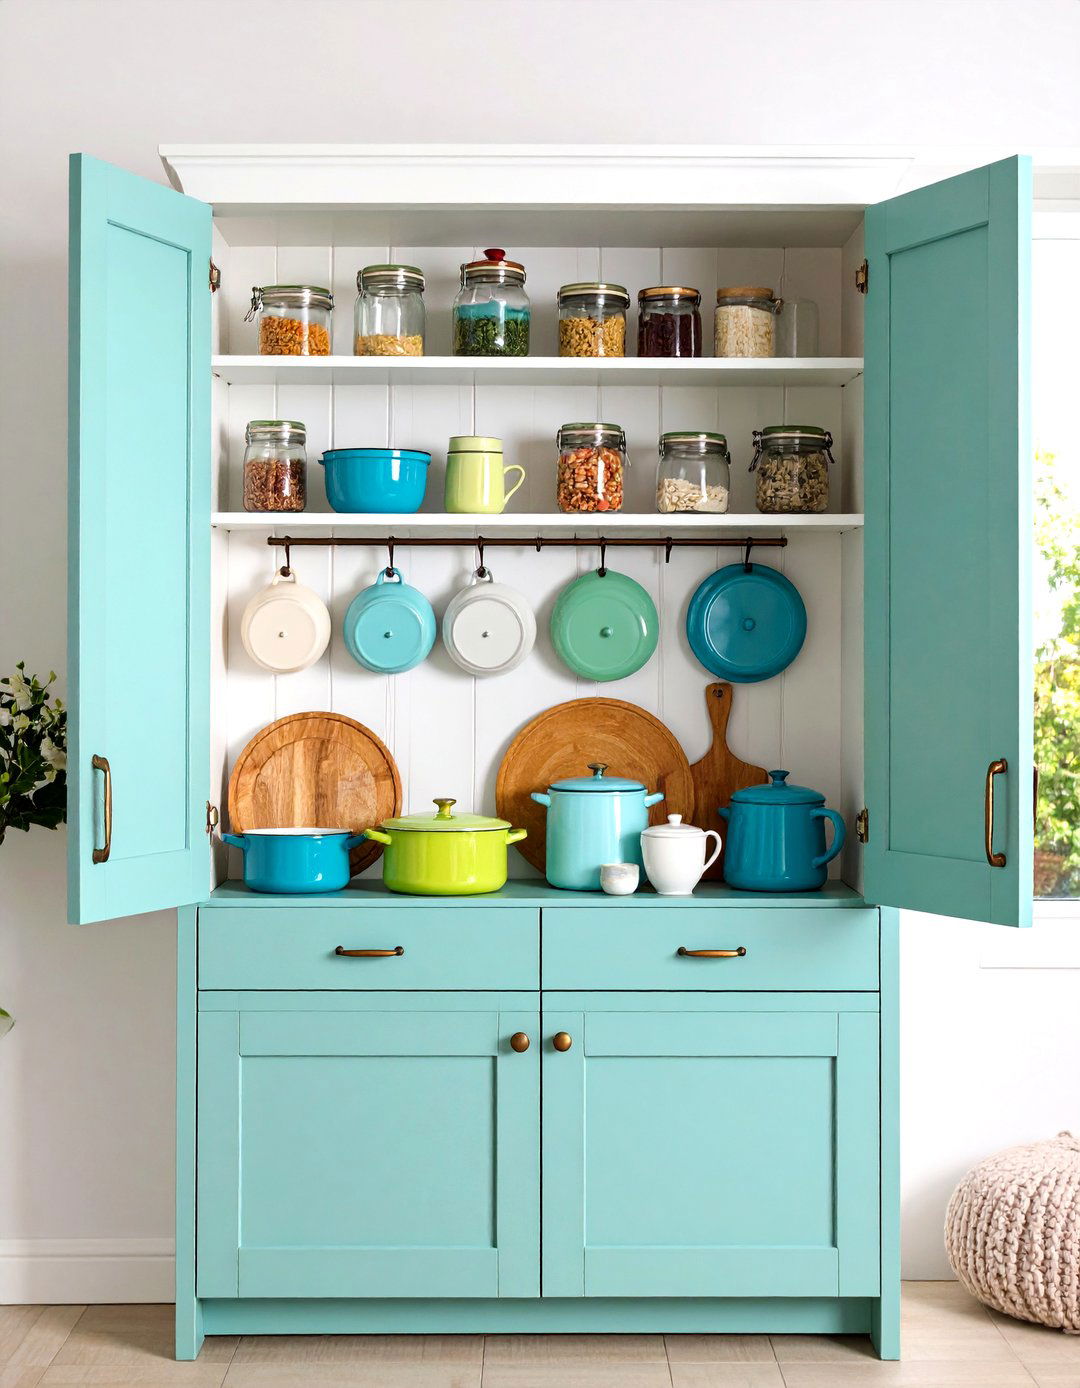
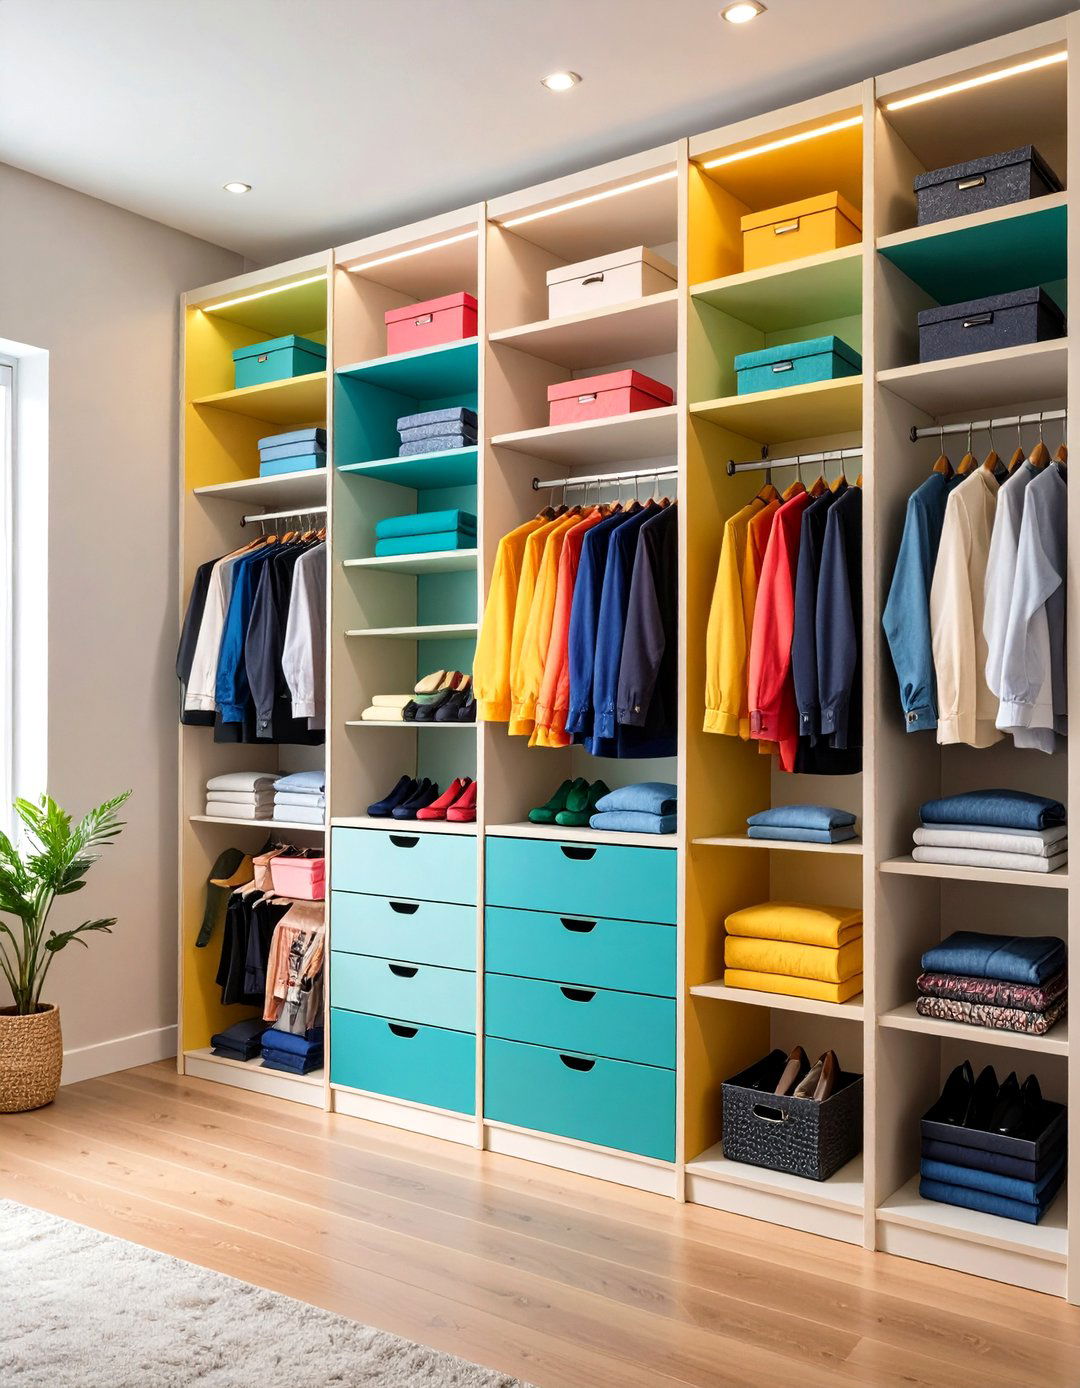
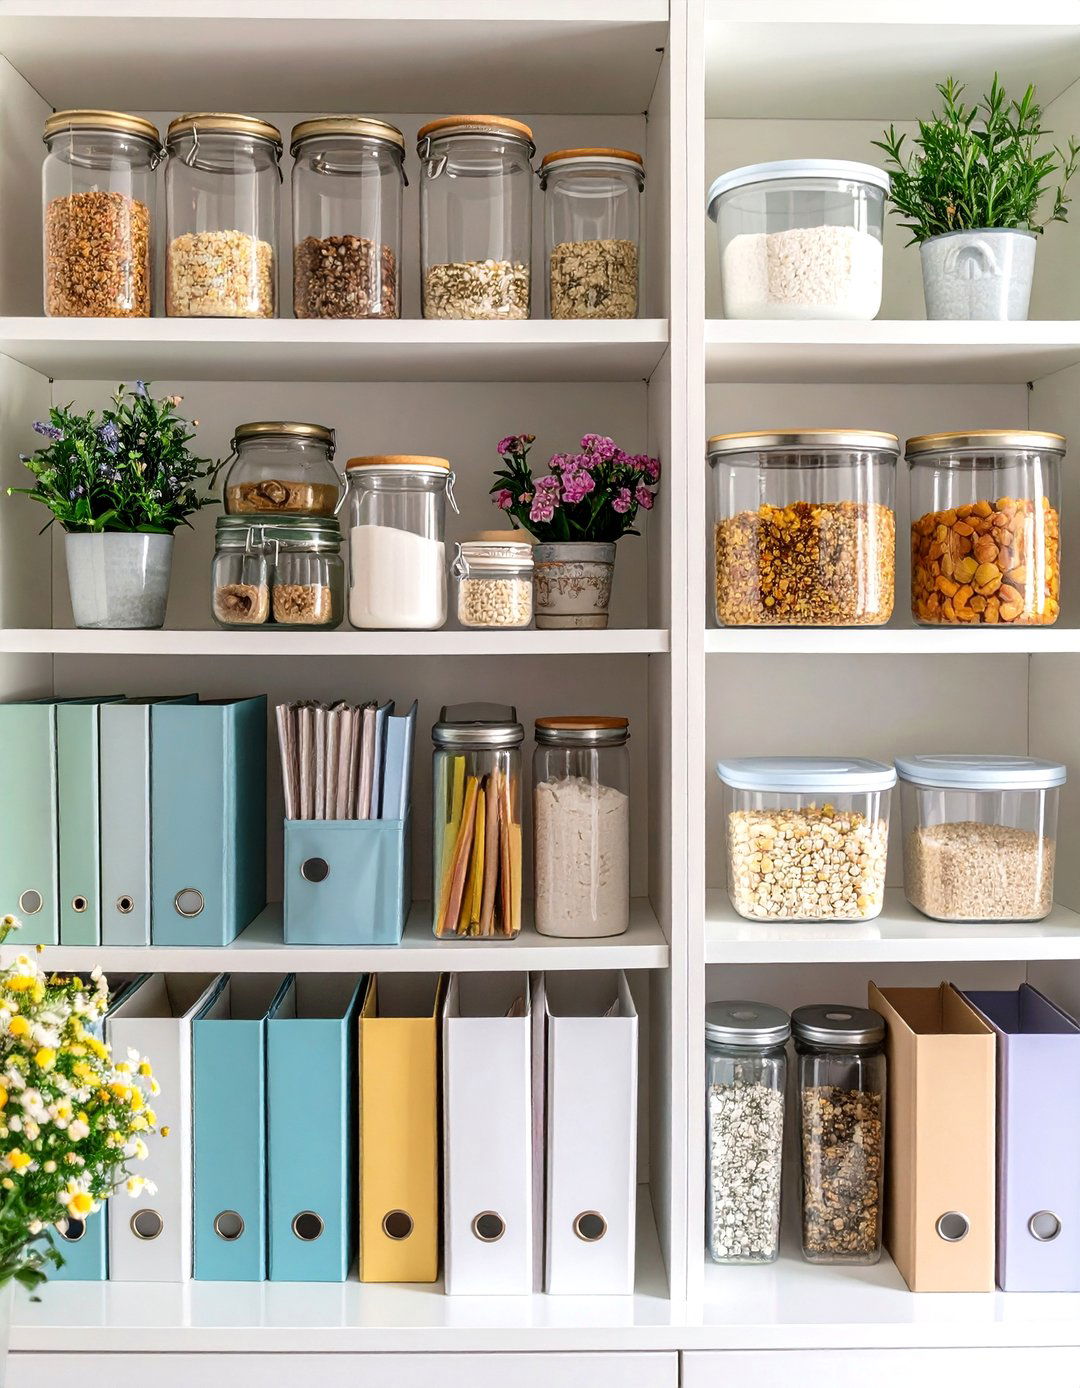
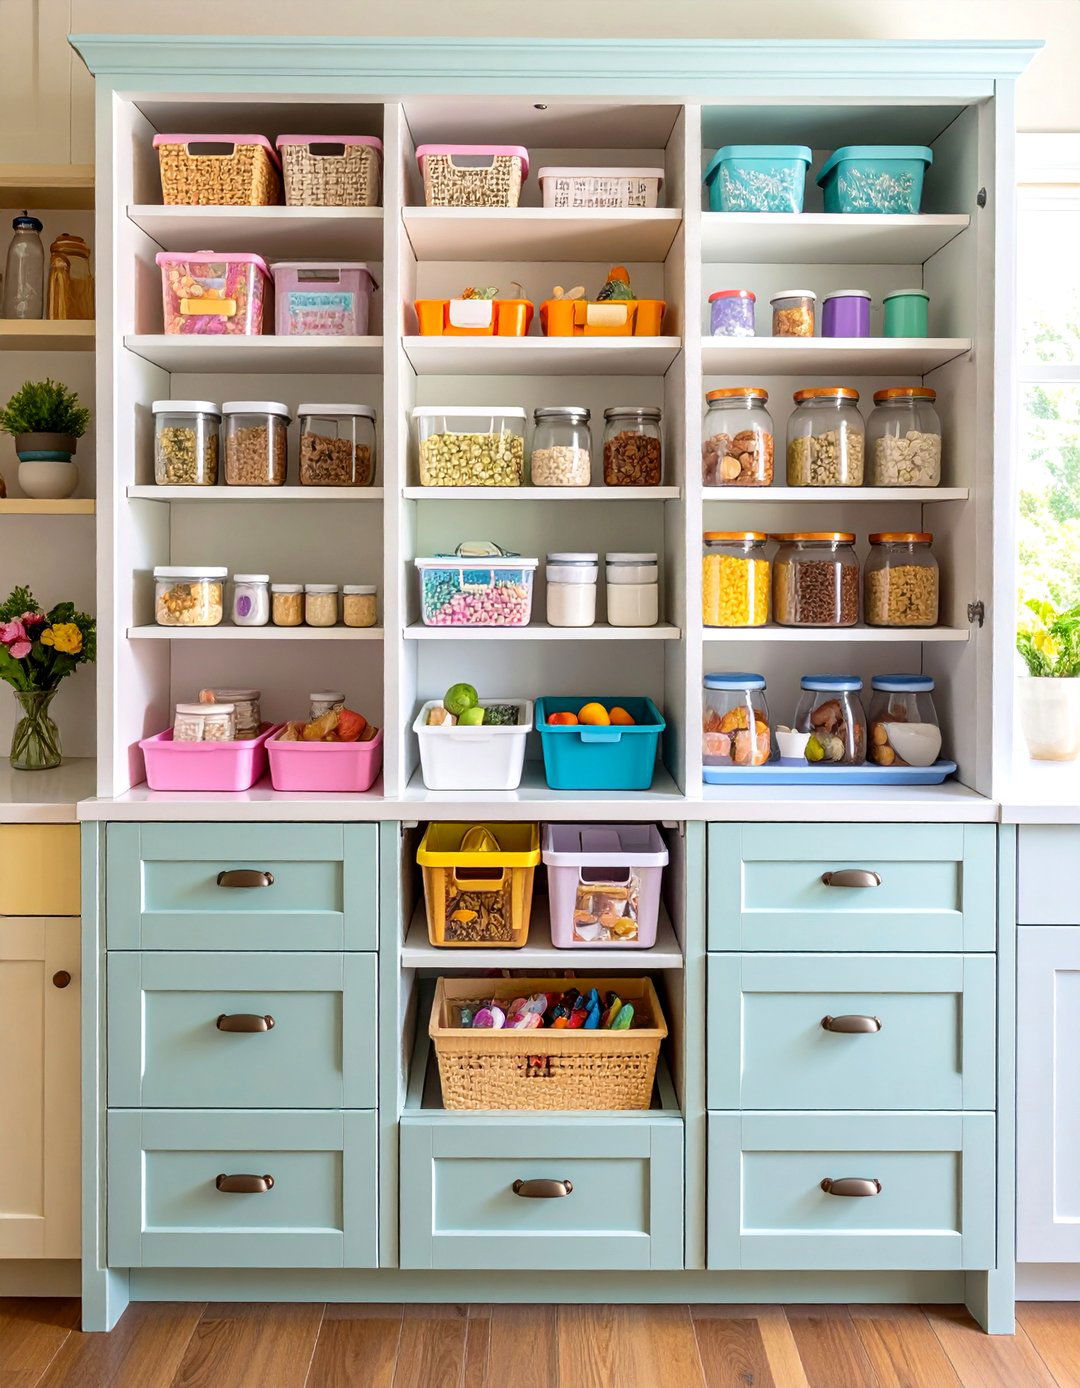
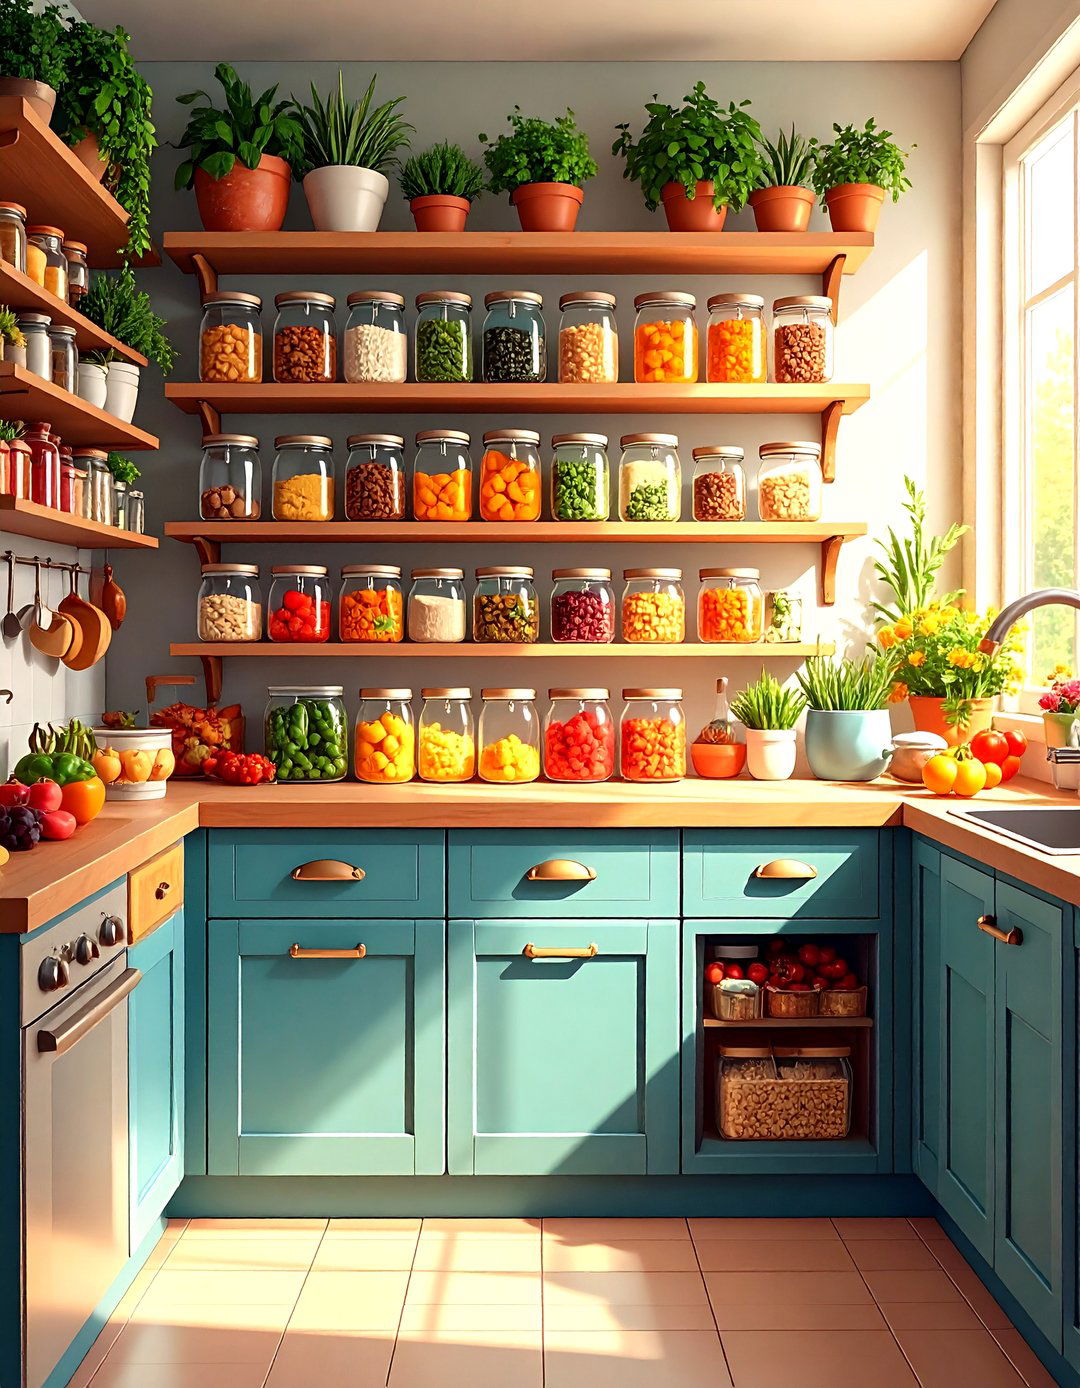
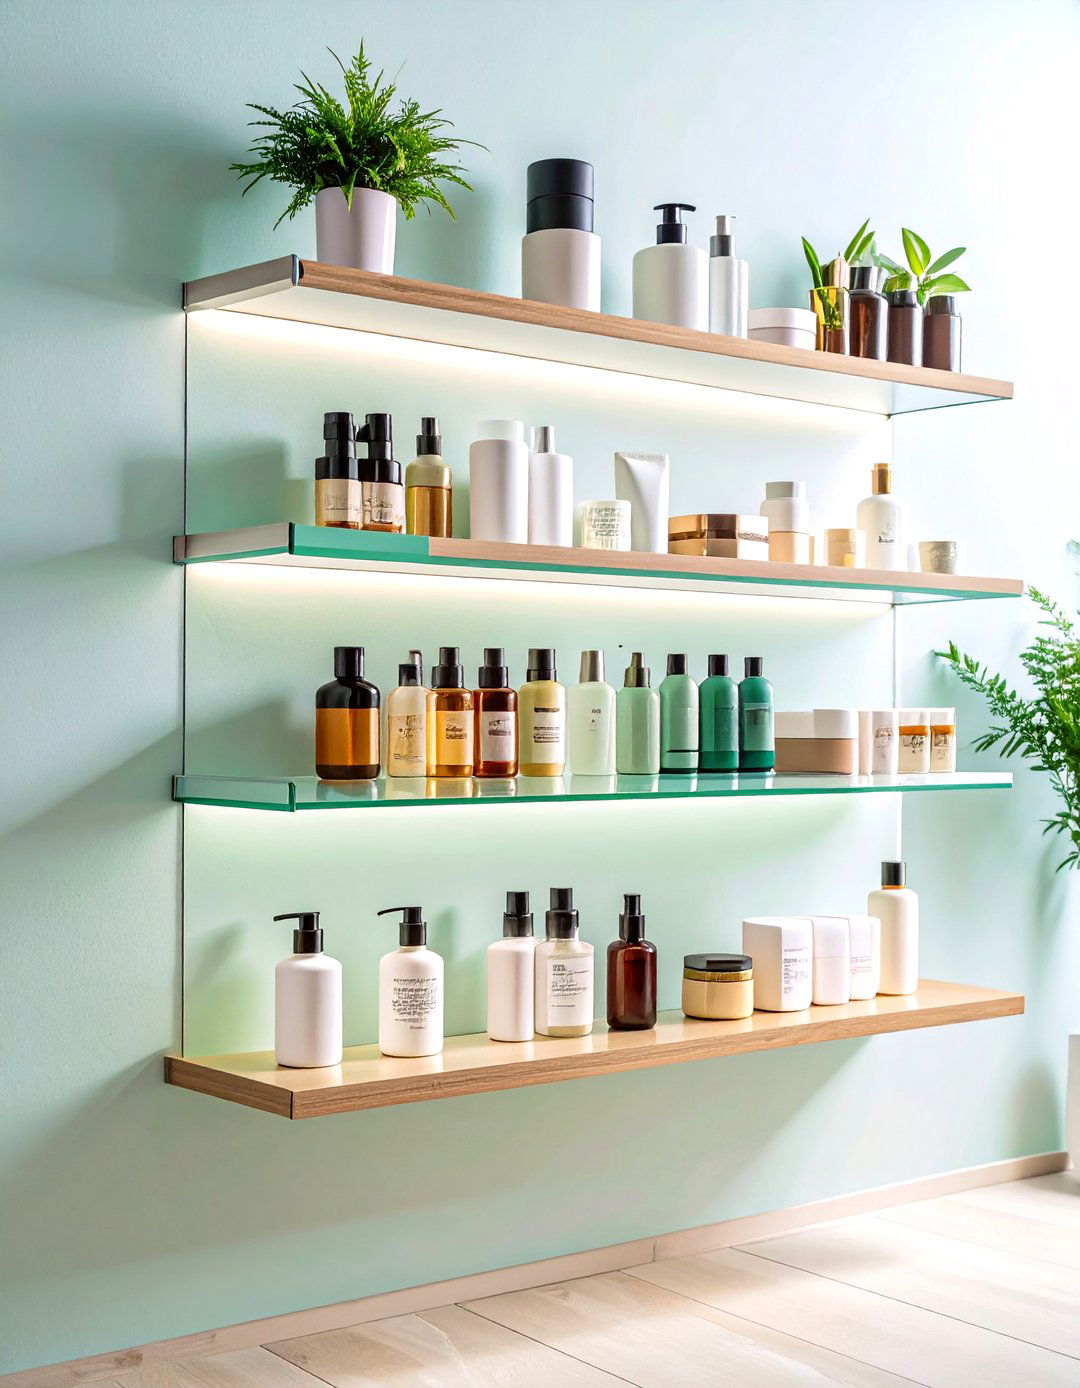
3. Create Dedicated Shelves
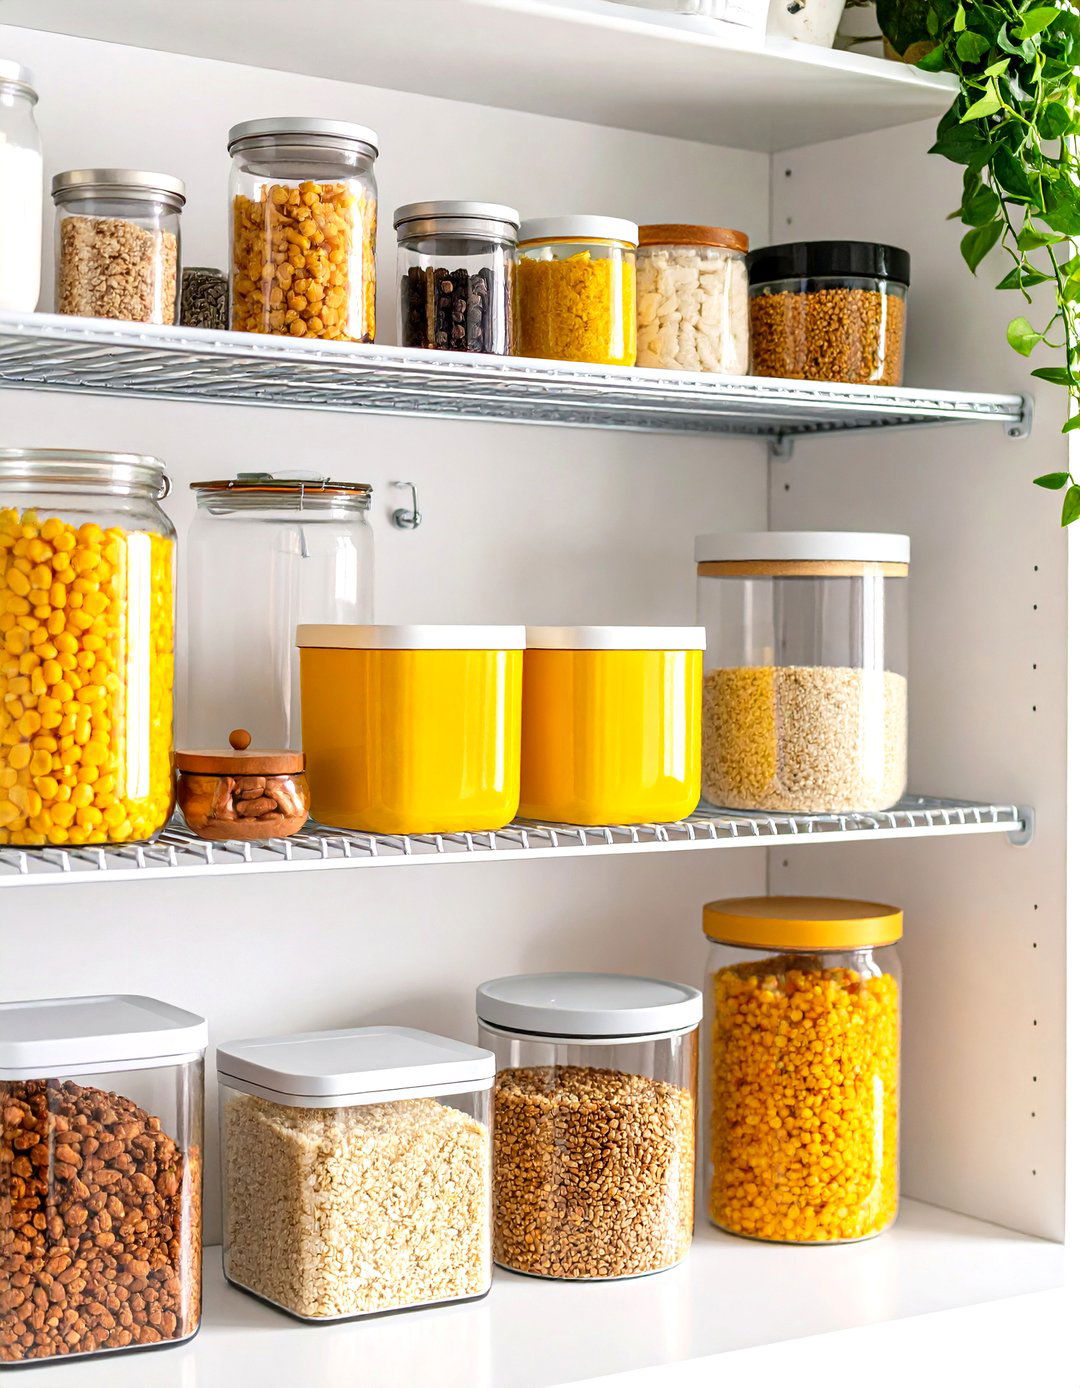
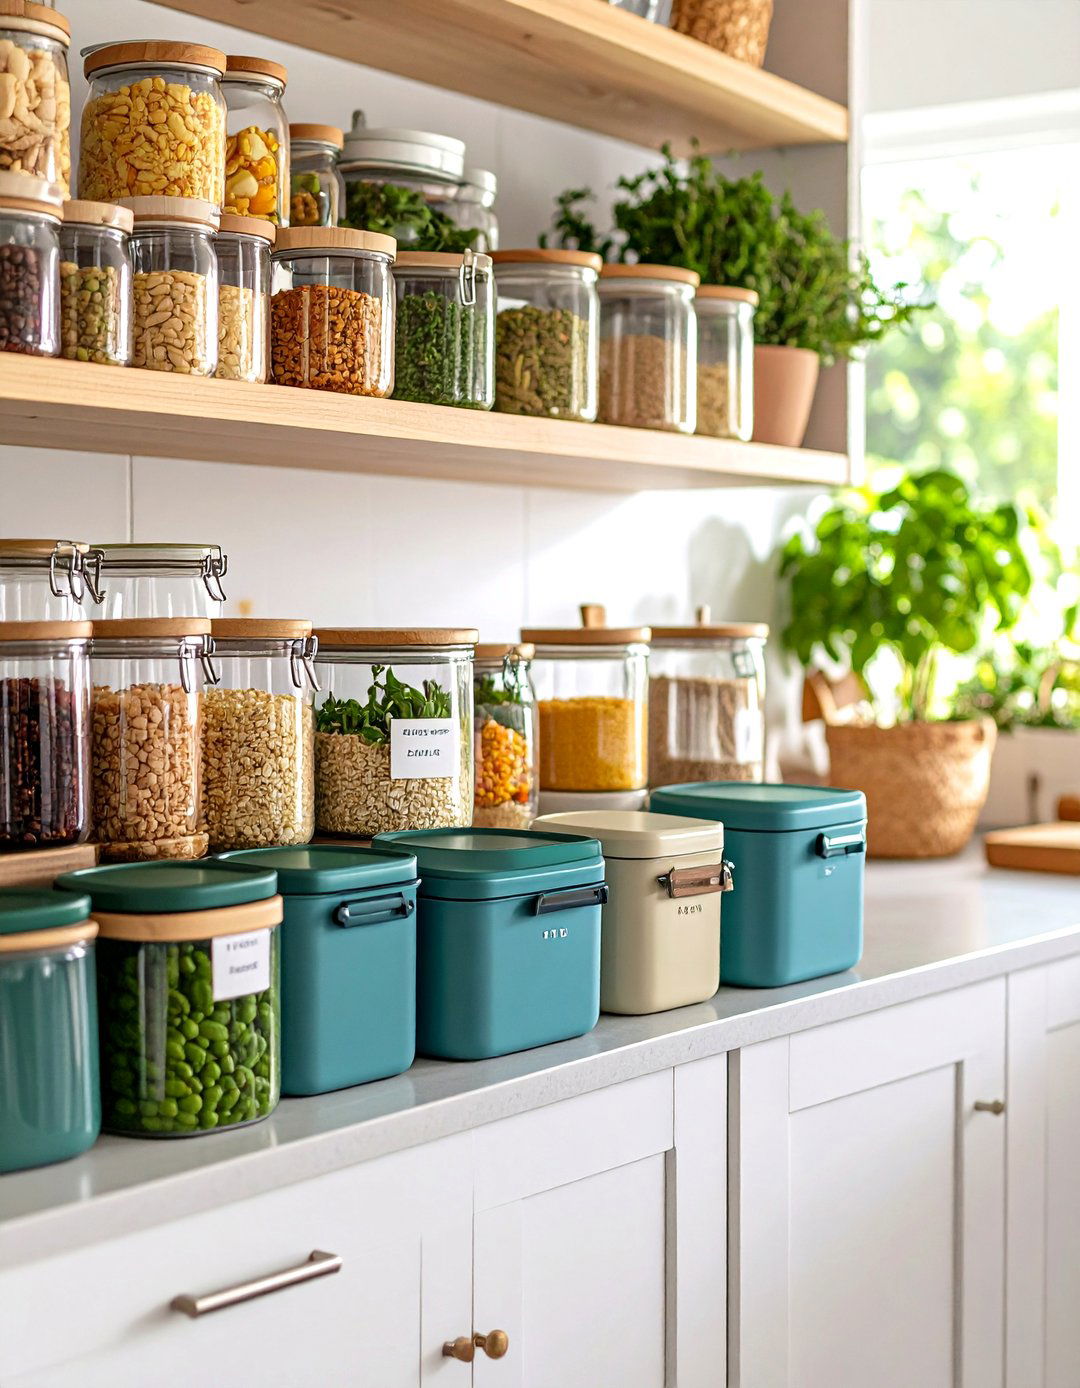
If you have pantry or open shelving space, designate one shelf exclusively for food containers. Arrange containers by size on wire or wooden shelving, leaving room to slide things forward without disturbing the back row. A dedicated shelf system visually separates your food storage from canned goods or baking supplies, making mealtime prep quicker and more enjoyable. For larger collections, consider adjustable shelving to accommodate varying container heights.
4. Repurpose Letter Organizers
An inexpensive office letter organizer or magazine file makes an excellent Tupperware lid holder. Slide vertically stored lids into individual slots, sorted by size, for an at-a-glance match with the corresponding container. This trick harnesses the same “file” principle office workers use for paperwork, keeping lids upright and preventing them from becoming a jumbled mess in the bottom of a drawer.
5. Employ Pegboards Inside Cabinets
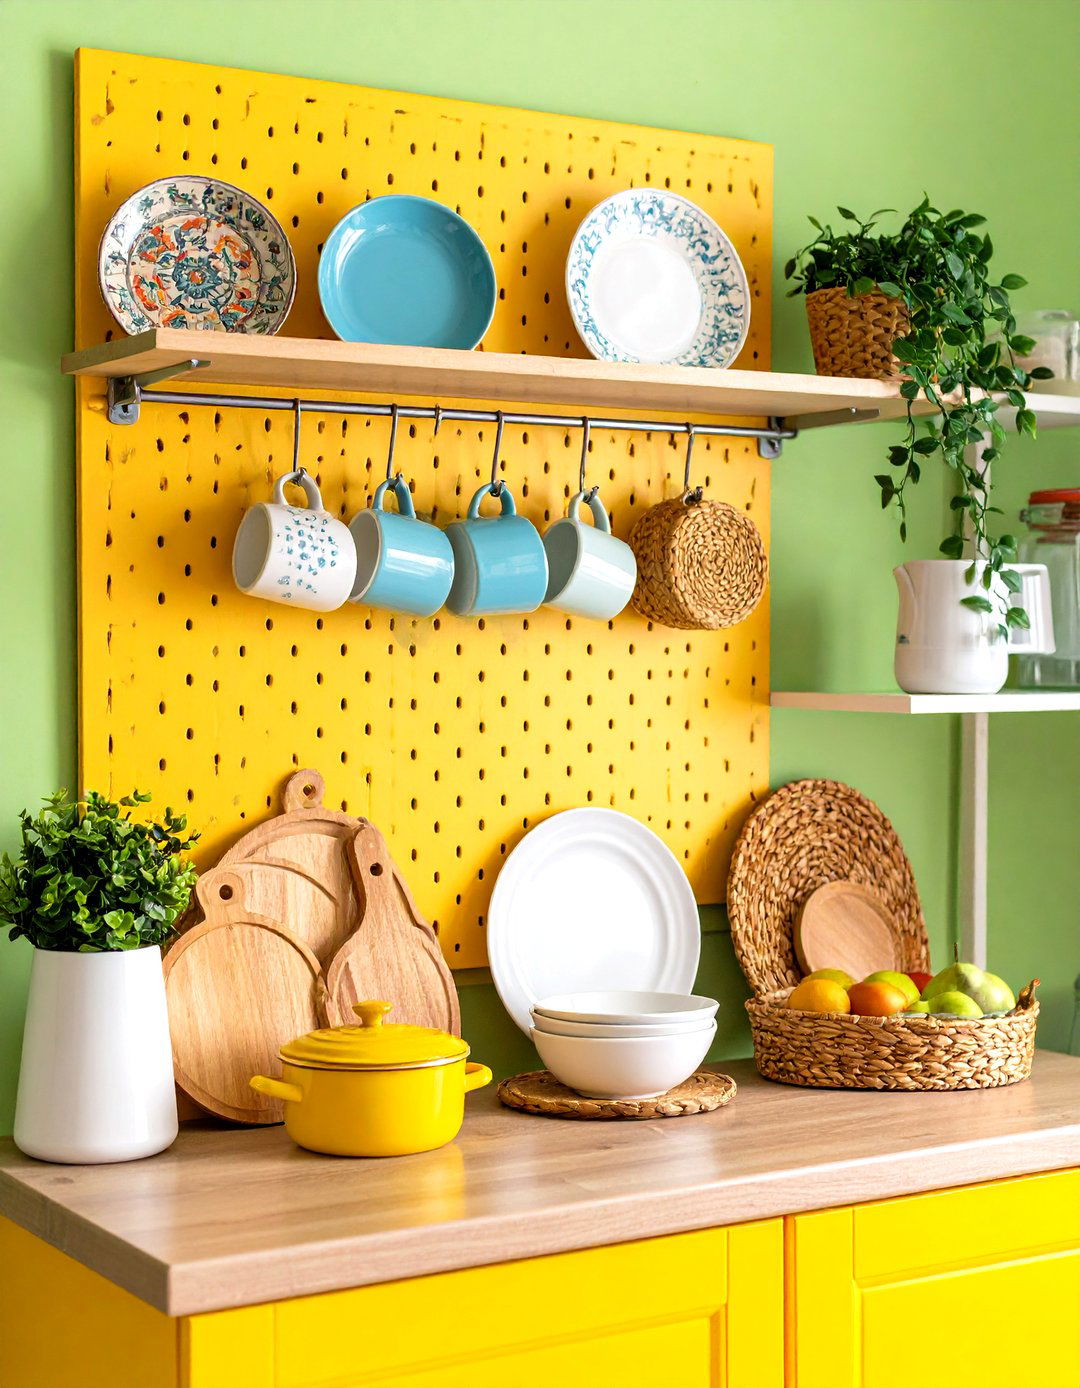
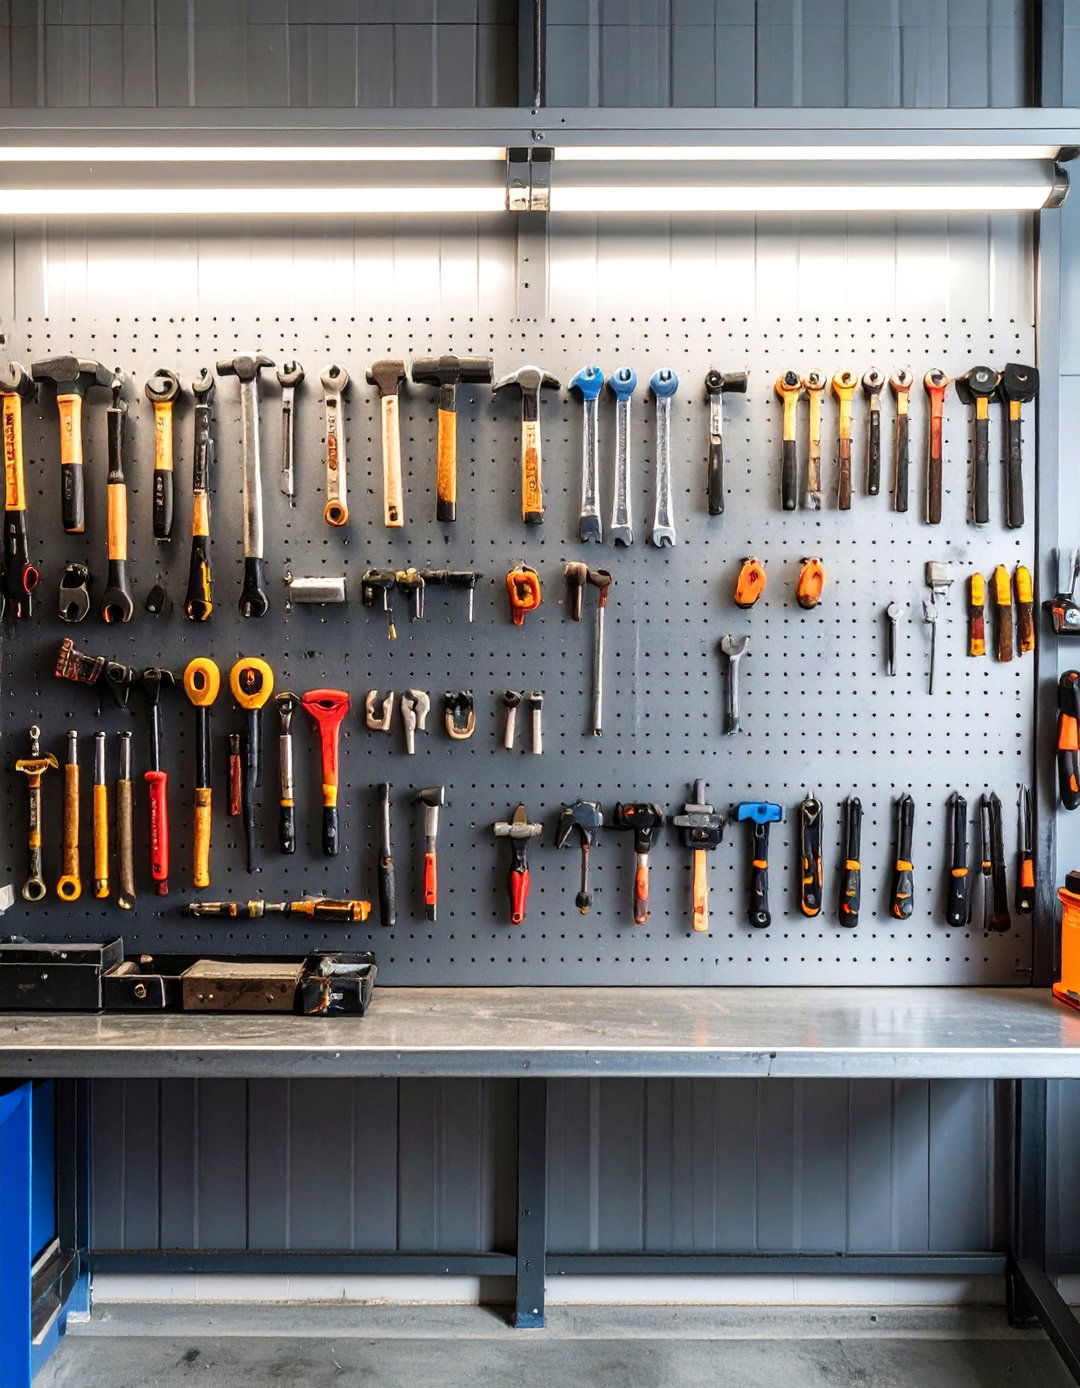
Mount a small pegboard or perforated panel on the inside face of a cabinet door or within a slide-out rack. By fitting pegs or hooks, you can hang lids vertically or attach shallow baskets for containers, freeing up drawer space. Pegboards offer adjustable layouts, so you can reposition hooks as your collection changes. This solution adds a vertical layer of storage that’s both sturdy and customizable.
6. Invest in Lid Organizers
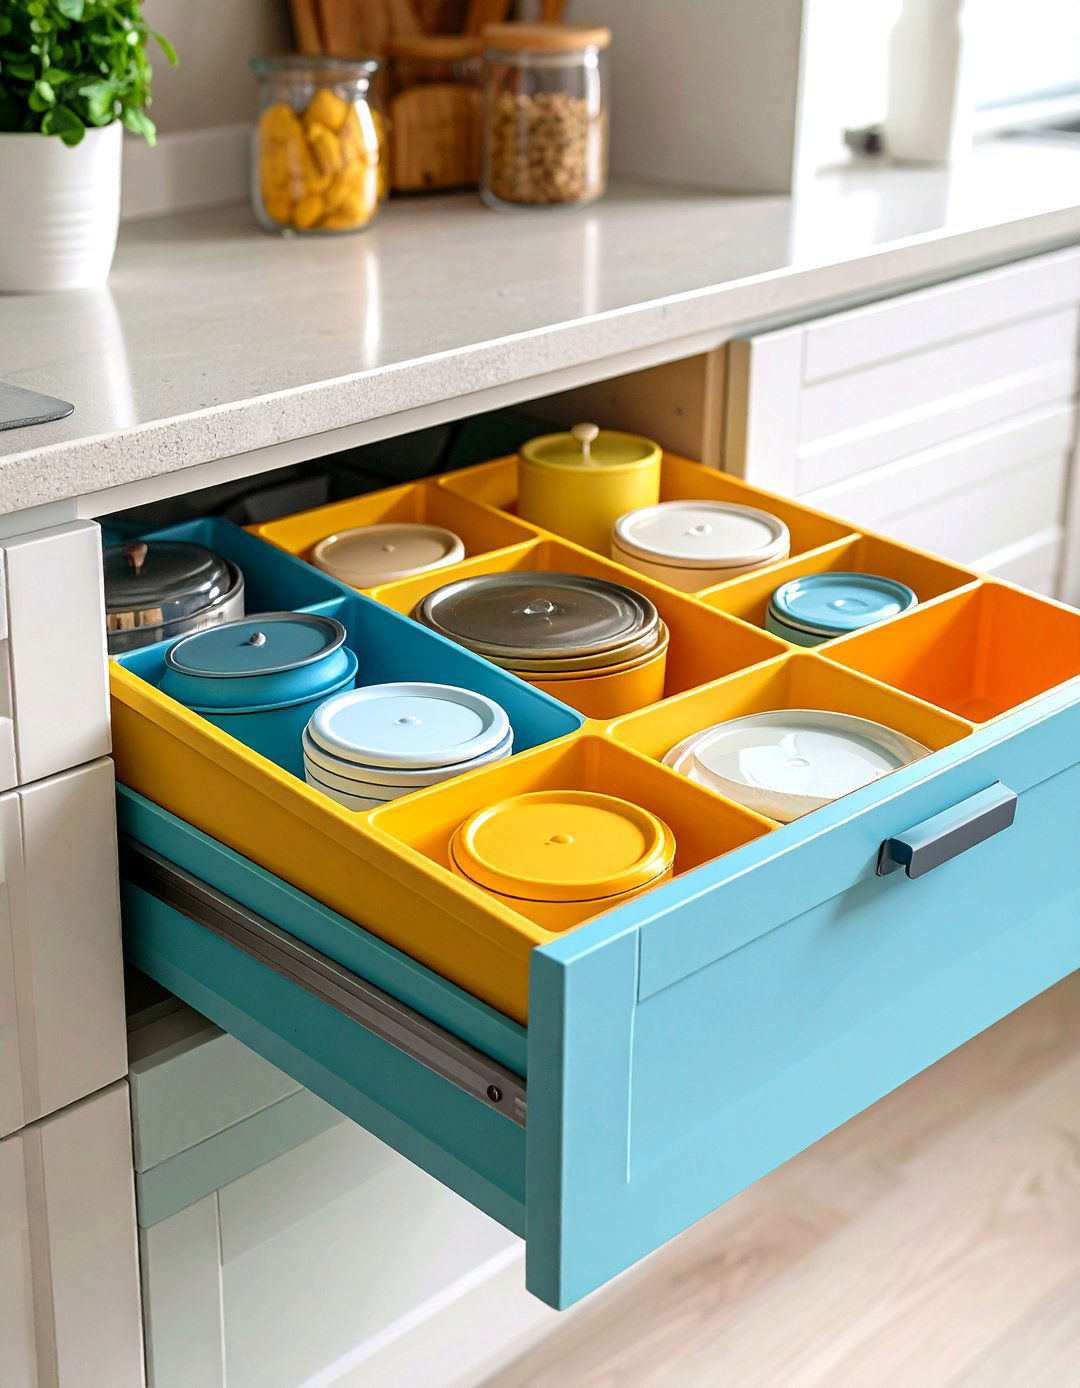
Specialty products like the YouCopia StoraStack expand within a drawer to cradle lids in separated grooves, locking into standard cabinet widths without installation. These organizers hold lids upright and sorted, ensuring you always grab the correct size on the first try. They’re expandable, adjustable, and removable, making them a versatile investment for renters or those hesitant to modify cabinetry.
7. Utilize Lazy Susans in Corner Cabinets
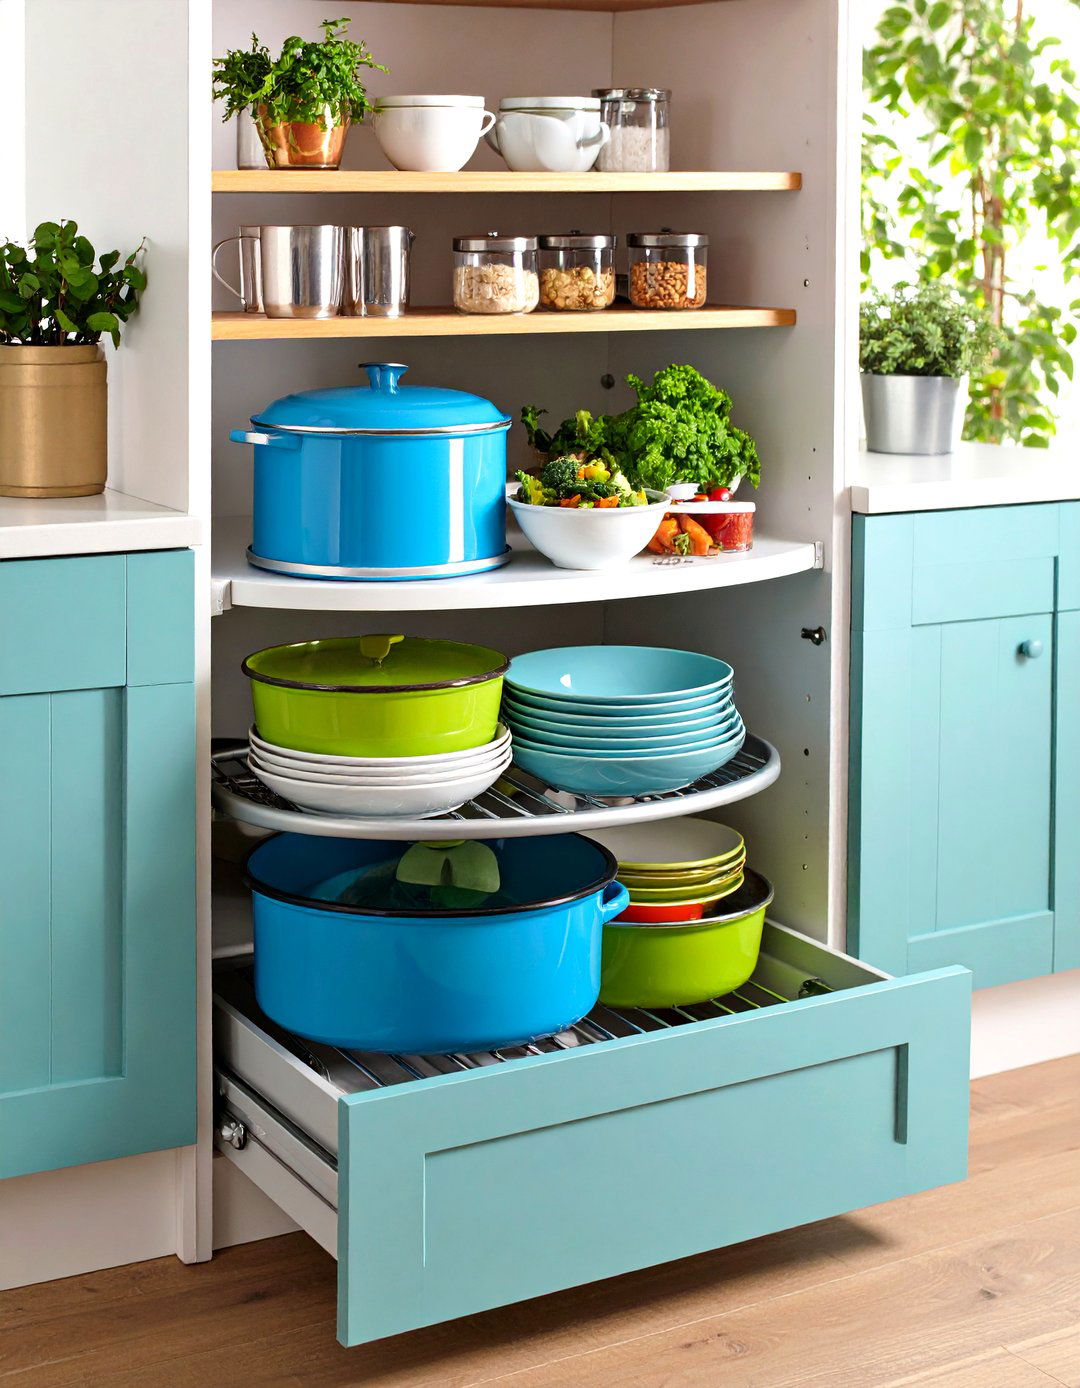
A rotating Lazy Susan disc turns awkward corner cabinets into efficient storage zones, especially for larger containers and seldom-used bowls. Placing your bulkier, less-frequently used items on the turntable means you can spin the tray to access anything in the back without digging. Lazy Susans also work on countertops for prep areas, keeping oils or condiments at arm’s reach in a compact footprint.
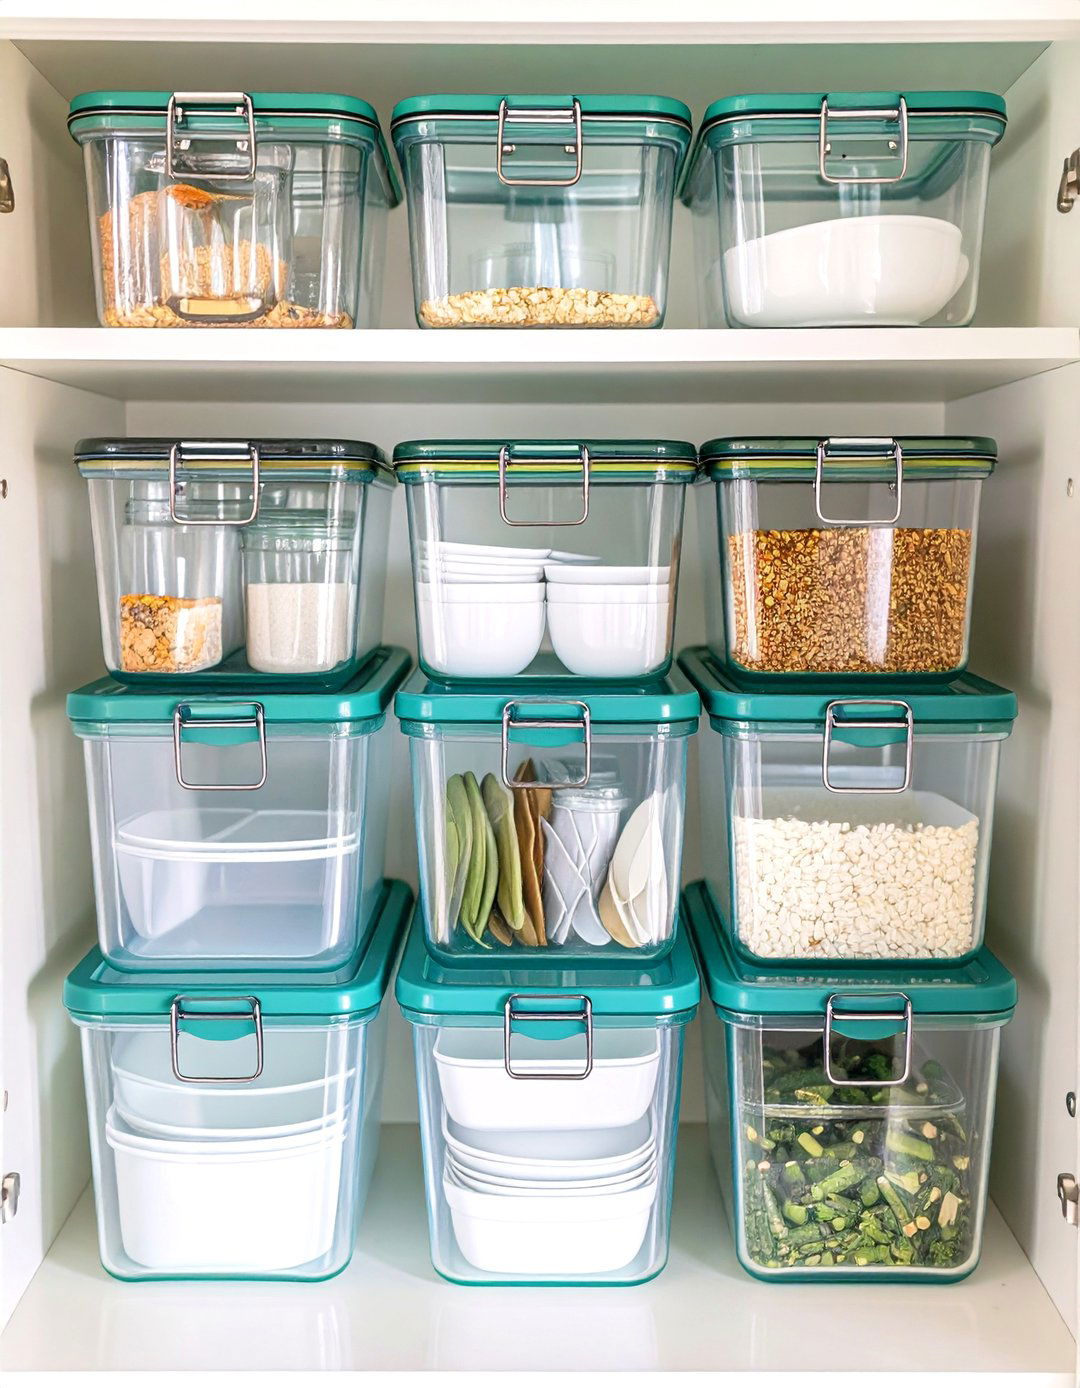
8. Nest Containers by Size
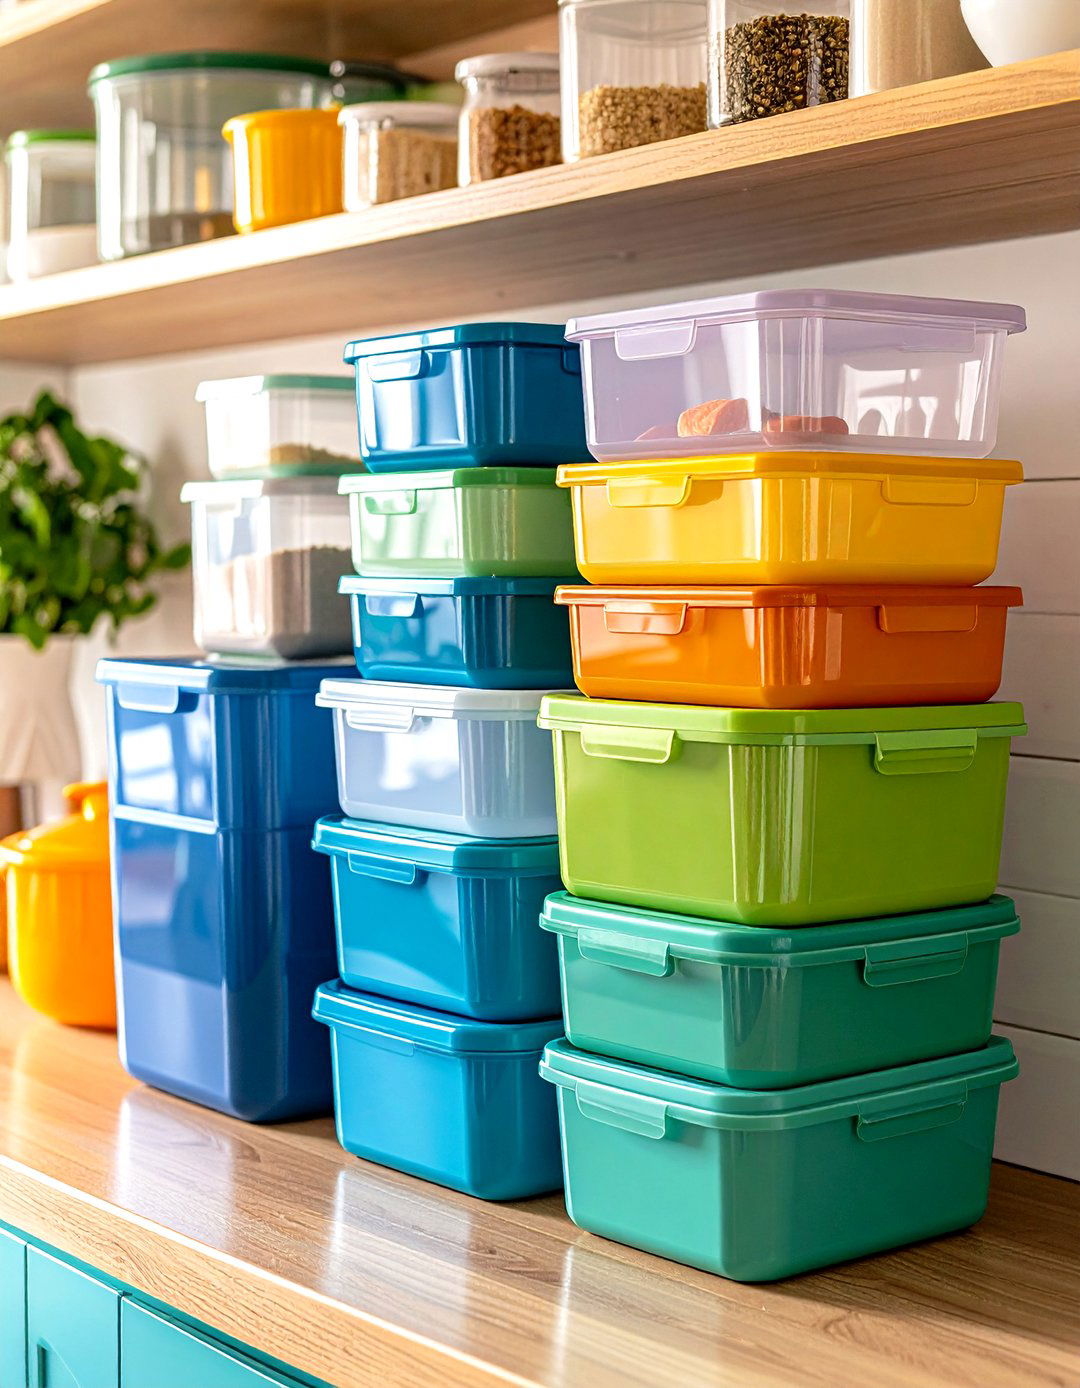
Group similar-shaped containers and nest them from largest down to smallest, then stack lids separately beside or beneath the nested set. This minimalist method reduces the overall footprint and keeps components together, cutting off the need to search through multiple stacks. It works best if you standardize on one brand or line of containers, ensuring a perfect nesting fit each time.
9. Label Containers and Lids
Clear labeling with erasable markers or adhesive labels helps you identify lid-container pairs at a glance. Writing size or volume on each item prevents confusion, especially in mixed-brand collections. For leftovers, date labels ensure you use older items first. Label zones within drawers or shelves—“small lids,” “medium bases,” “extra-large items”—to reinforce the system and keep everyone in the household on the same page.

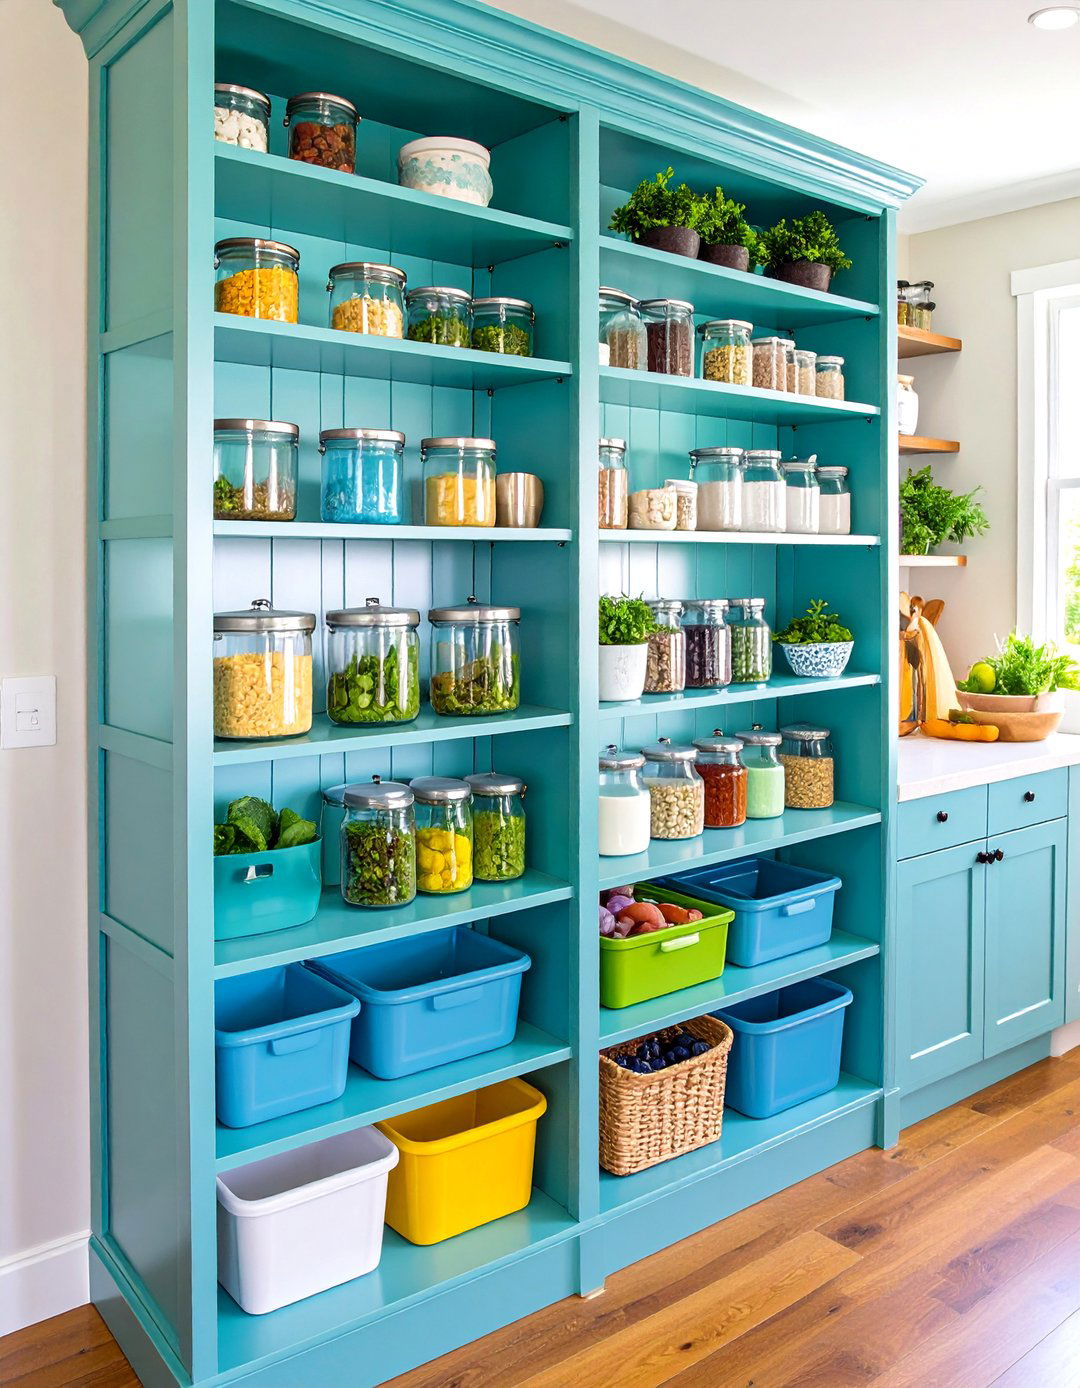
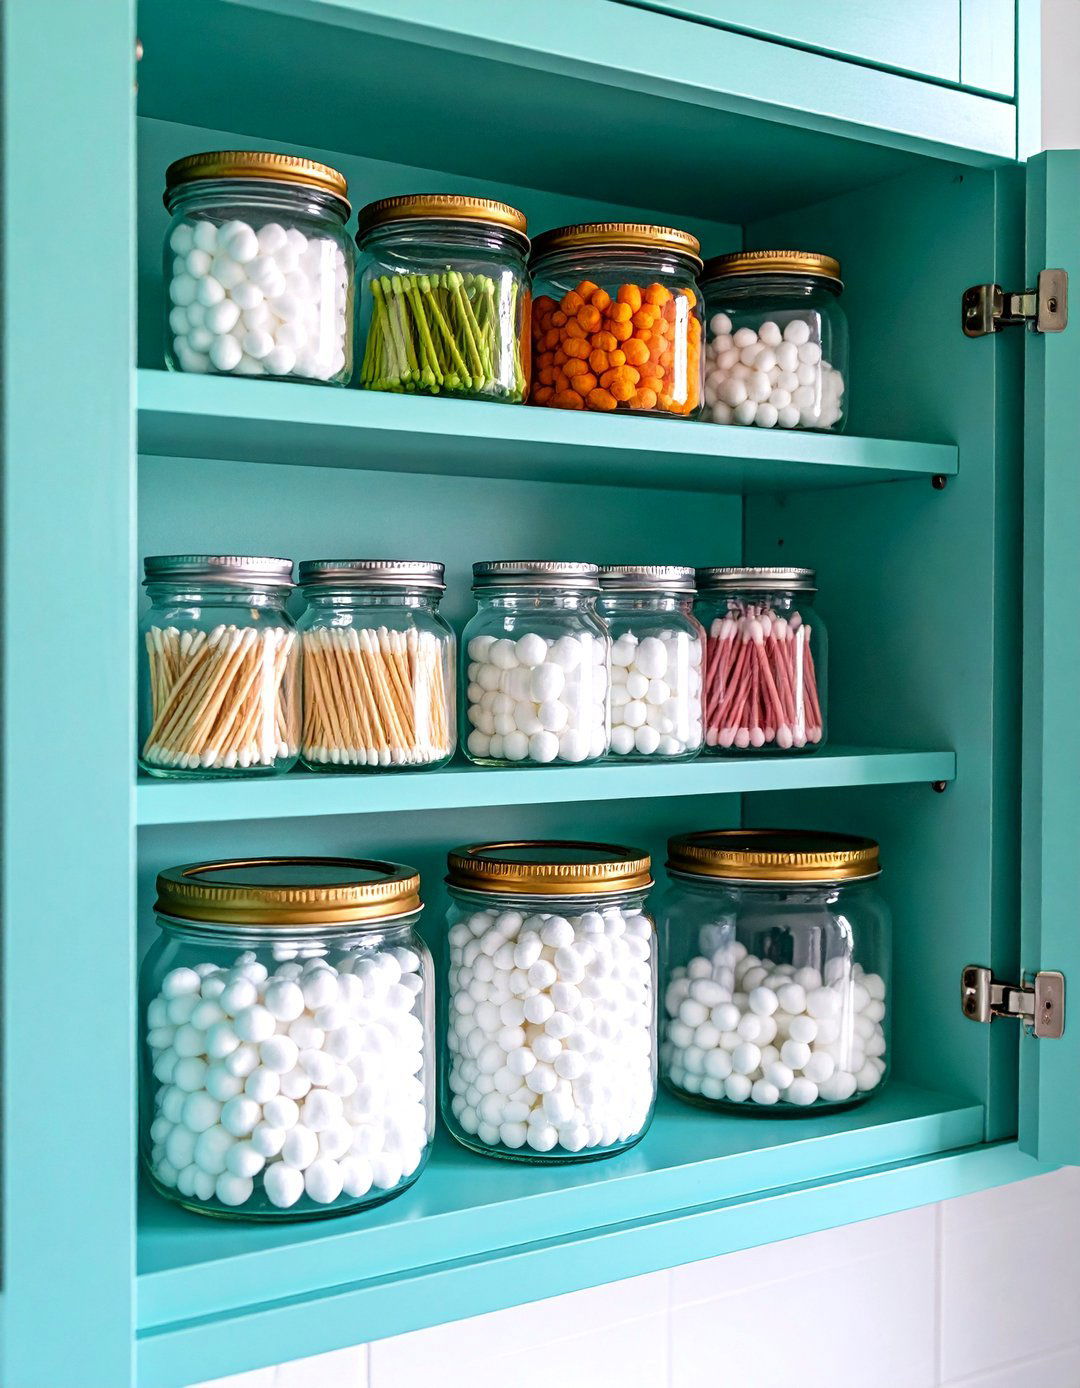
10. Use Clear Bins for Grouping
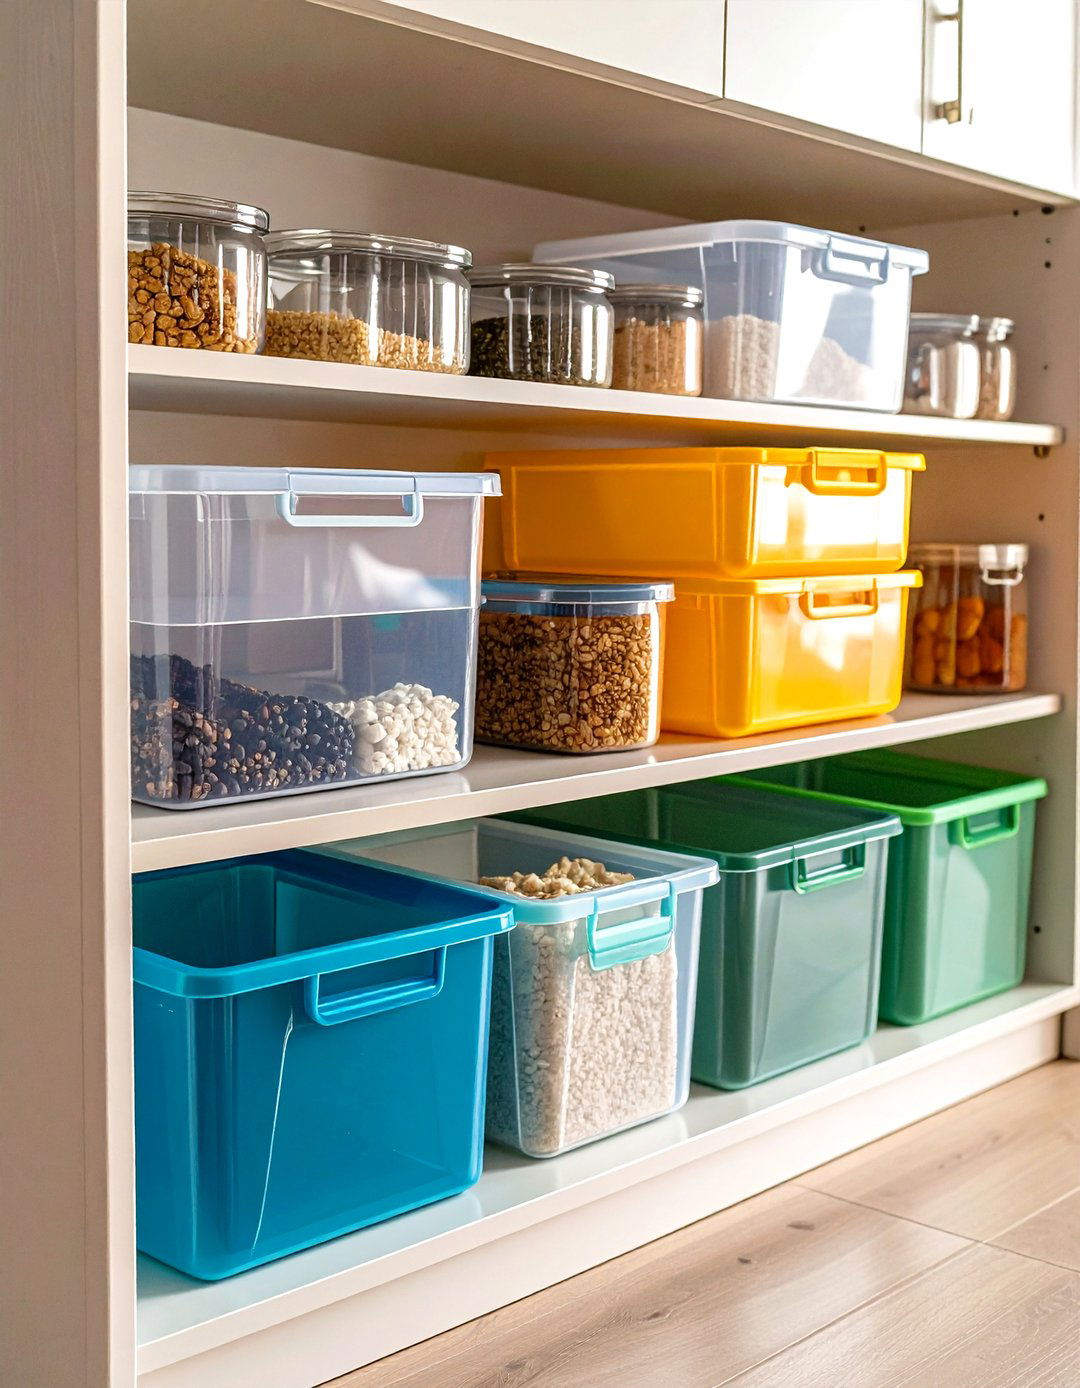
Plastic or acrylic bins corral containers or lids by type or frequency of use. Place frequently accessed items in front bins and less-used pieces in rear bins. Clear materials allow visual inventory checks without opening each bin, while handles make it easy to pull an entire bin out of a cabinet or pantry. This modular approach keeps cabinets tidy and prevents loose items from sliding around.
11. Hang Lids on Cabinet Doors with Hooks
Adhesive or screw-in hooks on the inside of cabinet doors can hold Tupperware lids by their edges. Group hooks in size order or use small baskets hung from hooks to cradle lids. This frees up drawer space for bases and keeps lids at eye level. Just be sure to choose sturdy hooks rated for kitchen use to support the weight of multiple lids without slipping.
12. Employ Stackable Bins
Stackable storage bins available at home-goods stores provide an extra layer of carton within cabinets. Look for BPA-free, clear plastic bins that lock or clip together vertically. Utilizing these, you can stack grouped containers or lids while still being able to pull out just one bin at a time. Stackable bins are ideal for deep cabinets and pantries, where loose items tend to get lost behind newer purchases.
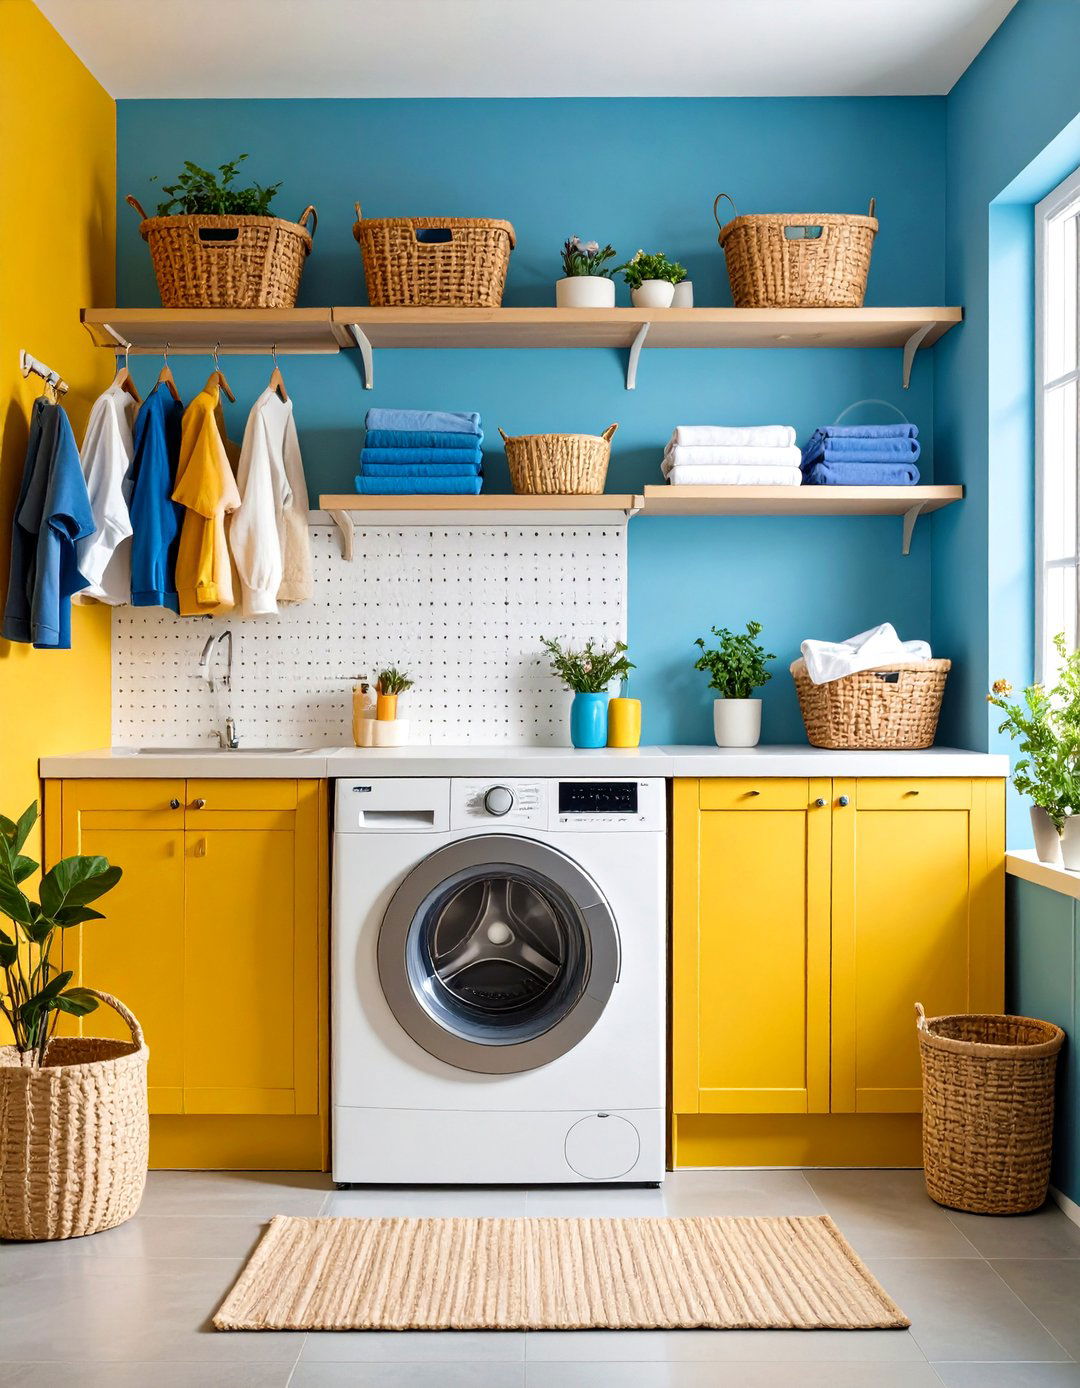
13. Implement Under-Shelf Baskets
Under-shelf baskets hook onto existing shelving and create an additional level beneath each shelf. They’re perfect for holding lids or smaller containers without taking up drawer or counter space. Because they hang below, these baskets turn wasted vertical space into functional storage, especially in taller cabinets or pantries with large gaps between shelves.
14. Use Tiered Shelf Risers
Tiered risers mimic the display style in grocery stores, elevating back rows above front rows for full visibility. Place containers or lids on each level to quickly find what you need without shuffling stacks. Risers come in metal, bamboo, or plastic, and some offer adjustable heights. This choice is great for open shelving or pantries where you want a neat, market-style look.


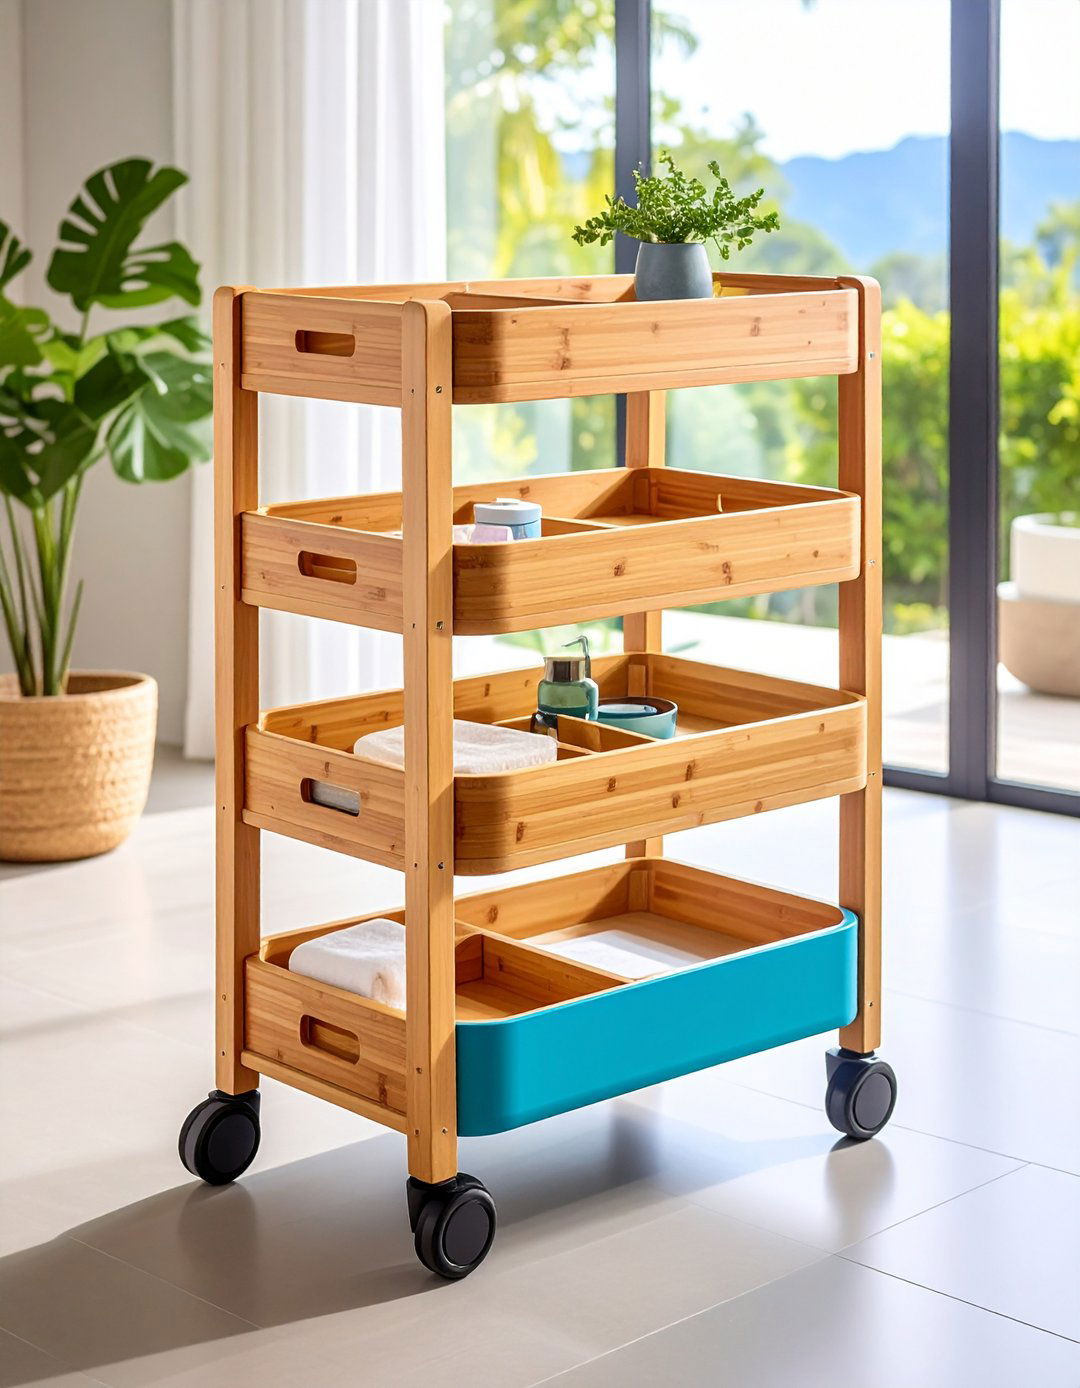
15. Store Containers in Pull-Out Carts
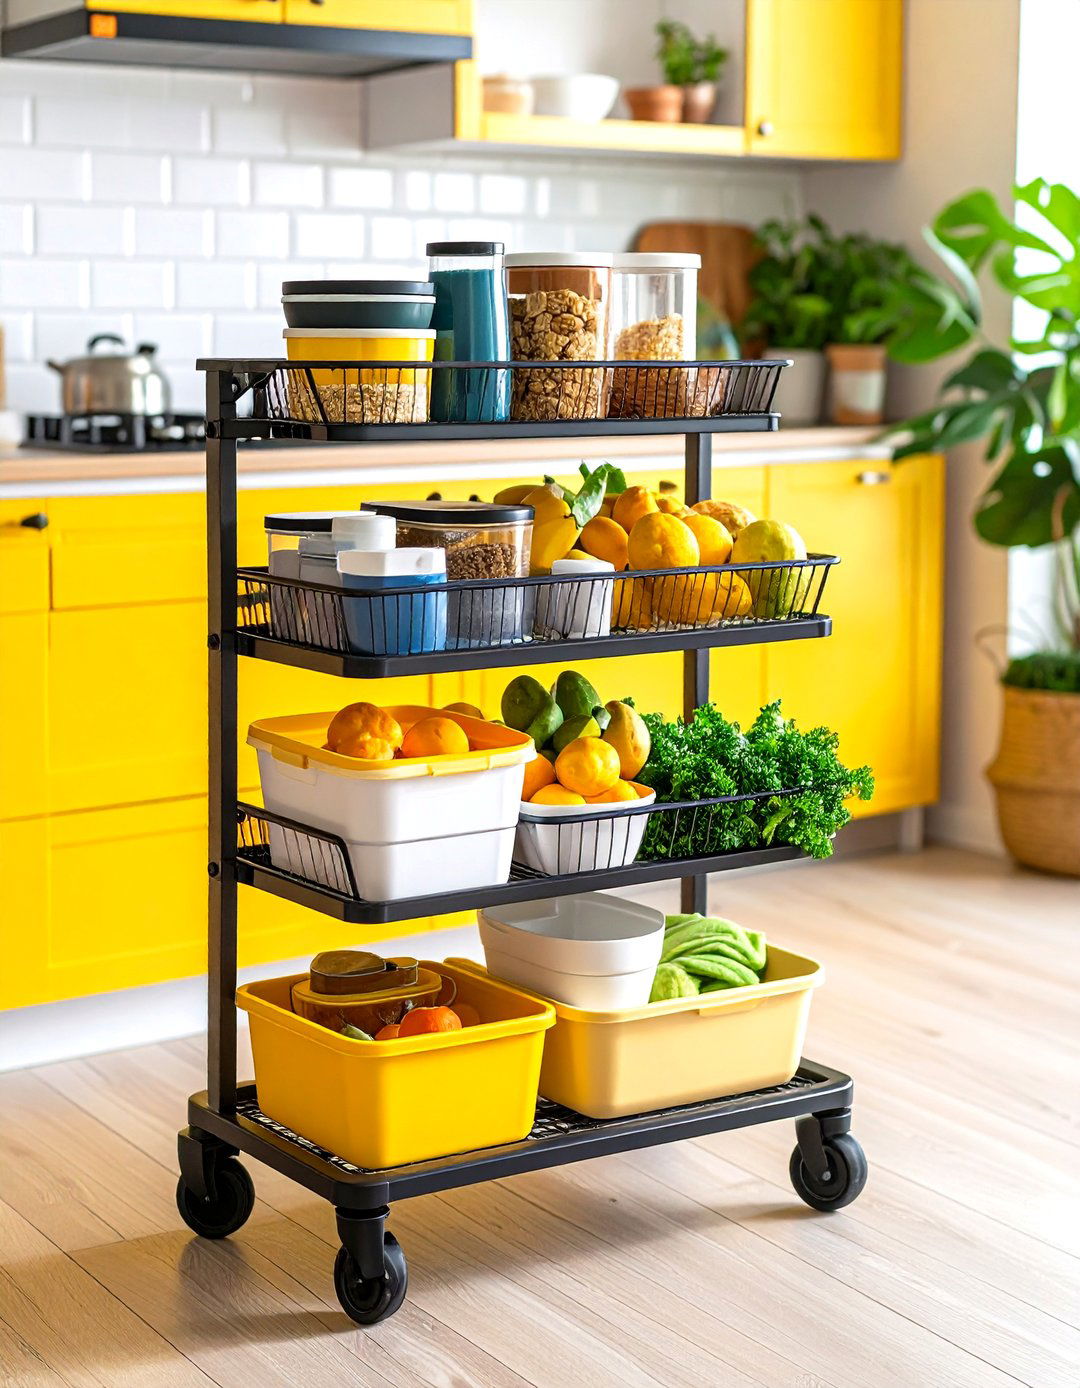
A narrow, rolling utility cart tucks between cabinets or in pantry corners, giving you mobile storage that can be wheeled out to your workspace. Assign each shelf of the cart to different container sizes or lids. This portable caddy also serves as a staging area during meal prep—just roll it to where you’re working, then roll it back when you’re done.
16. Try Vertical Storage with Magazine Files
Beyond letter organizers, upright magazine files designed for shelving can hold both containers and lids vertically. This technique turns items into “files” that slide out for easy access and slot neatly side by side. It’s especially useful for shallow cabinets or open shelves, maximizing vertical height and preventing piles from toppling.
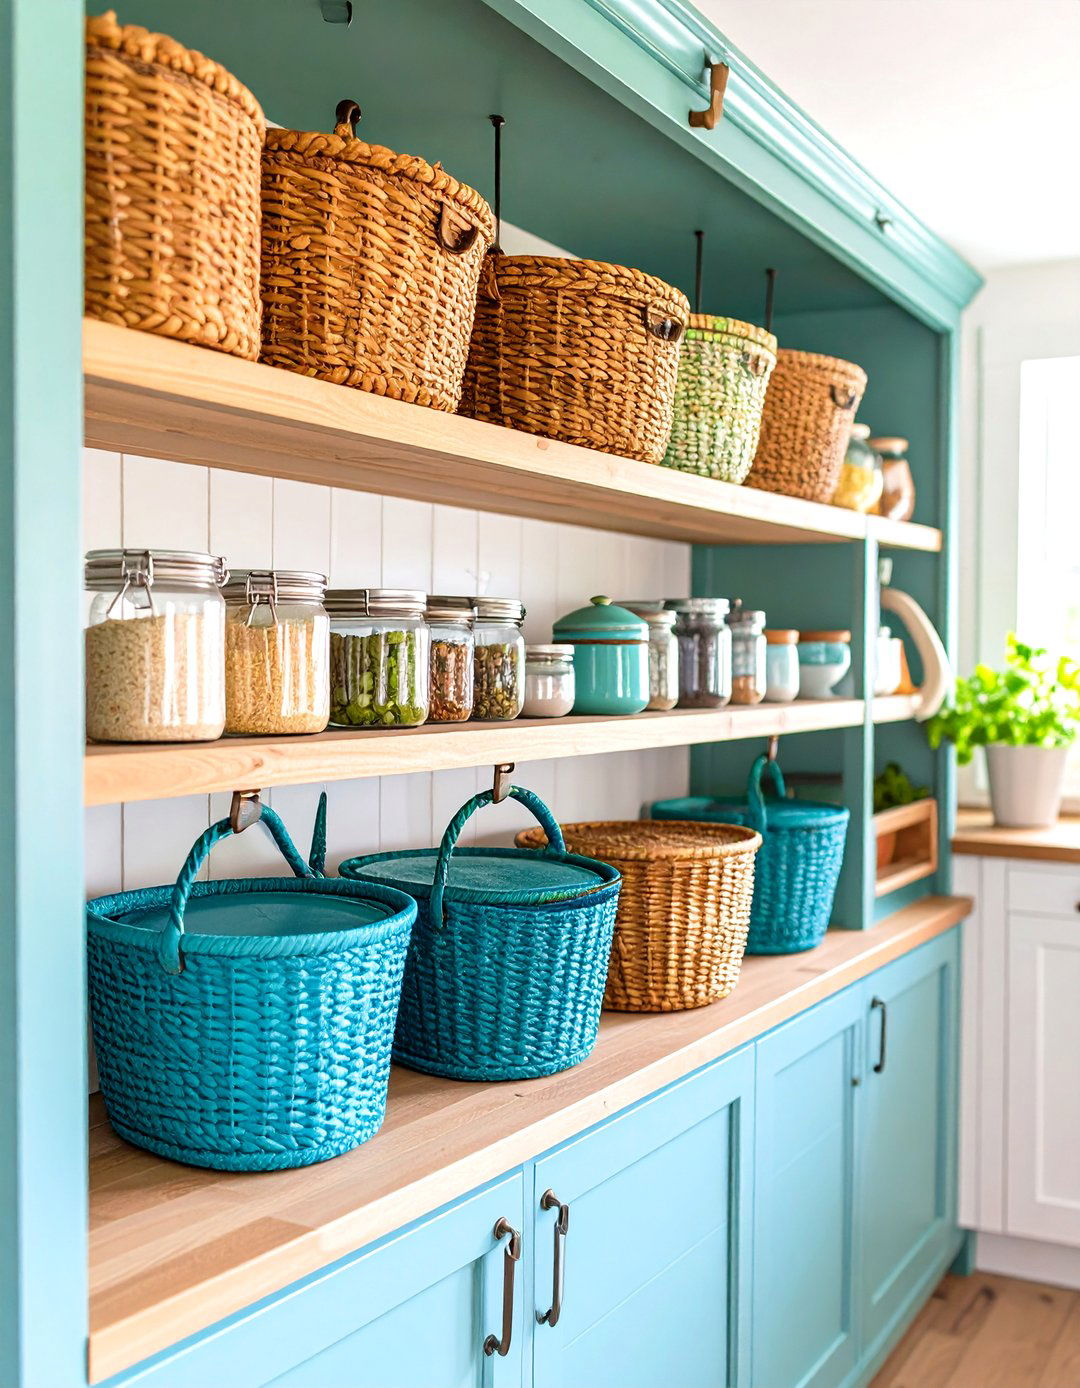
17. Contain with Wire Baskets
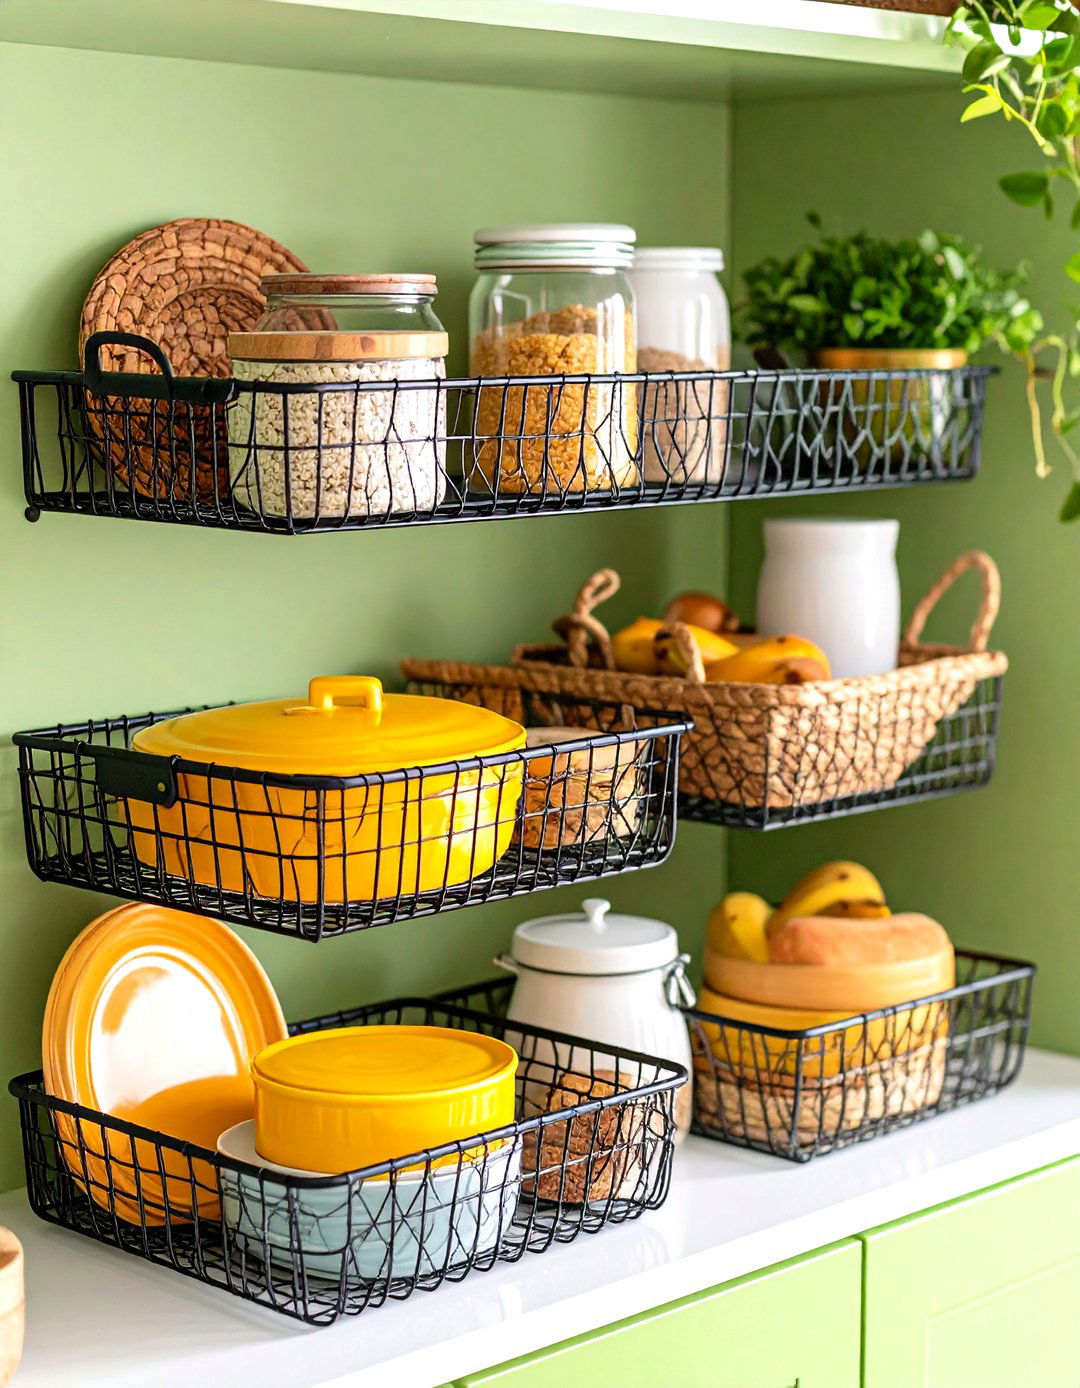
Wire baskets lend a farmhouse-chic look while corralling loose containers or lids. Choose baskets with handle-height rims so you can extract them easily. Baskets allow air circulation, reducing moisture buildup, and are robust enough for heavier items like glass storage sets. They work well in pantries or atop refrigerator surfaces.
18. Utilize Pro Organizer Hacks
Professional organizers often recommend using pull-out trays, adjustable shelving, and color-coding systems to segment containers by purpose—meal prep, leftovers, bulk storage, etc. Domino magazine highlights these expert tips, emphasizing that combining several methods (e.g., drawer dividers plus label systems) yields the most streamlined results. Layering solutions adapts to your habits and ensures your Tupperware grows with your needs.
19. Standardize on Uniform Container Sets

Switching to a single brand or collection ensures all pieces nest perfectly and lids stack uniformly. This strategy avoids the mismatches that make finding pairs a headache. Uniformity also enhances the aesthetic of open shelves and simplifies labeling because you have one set of sizes to manage.
20. Rotate Seasonally and Declutter Regularly
Every few months, review your collection: discard cracked pieces, recycle orphaned lids or containers, and donate extras. Rotating according to seasonal needs—keeping picnic-sized sets out in summer, soup containers out in winter—ensures you use what you have and avoid overaccumulation. Regular purges maintain order and give you a reason to reassess your storage system’s effectiveness.
Conclusion:
Effective Tupperware organization hinges on pairing decluttering with smart storage solutions that match your kitchen’s layout and your cooking habits. From simple drawer dividers and letter-file lid holders to specialized gadgets like Lazy Susans and YouCopia organizers, you can tailor a system that maximizes space, enhances visibility, and saves time. Regularly purging unused items and standardizing your collection further ensures your setup remains functional and clutter-free. Implementing even a handful of these 20 ideas will create a streamlined, harmonious kitchen where finding the perfect food storage solution is effortless every time.
Related posts:


Leave a Reply