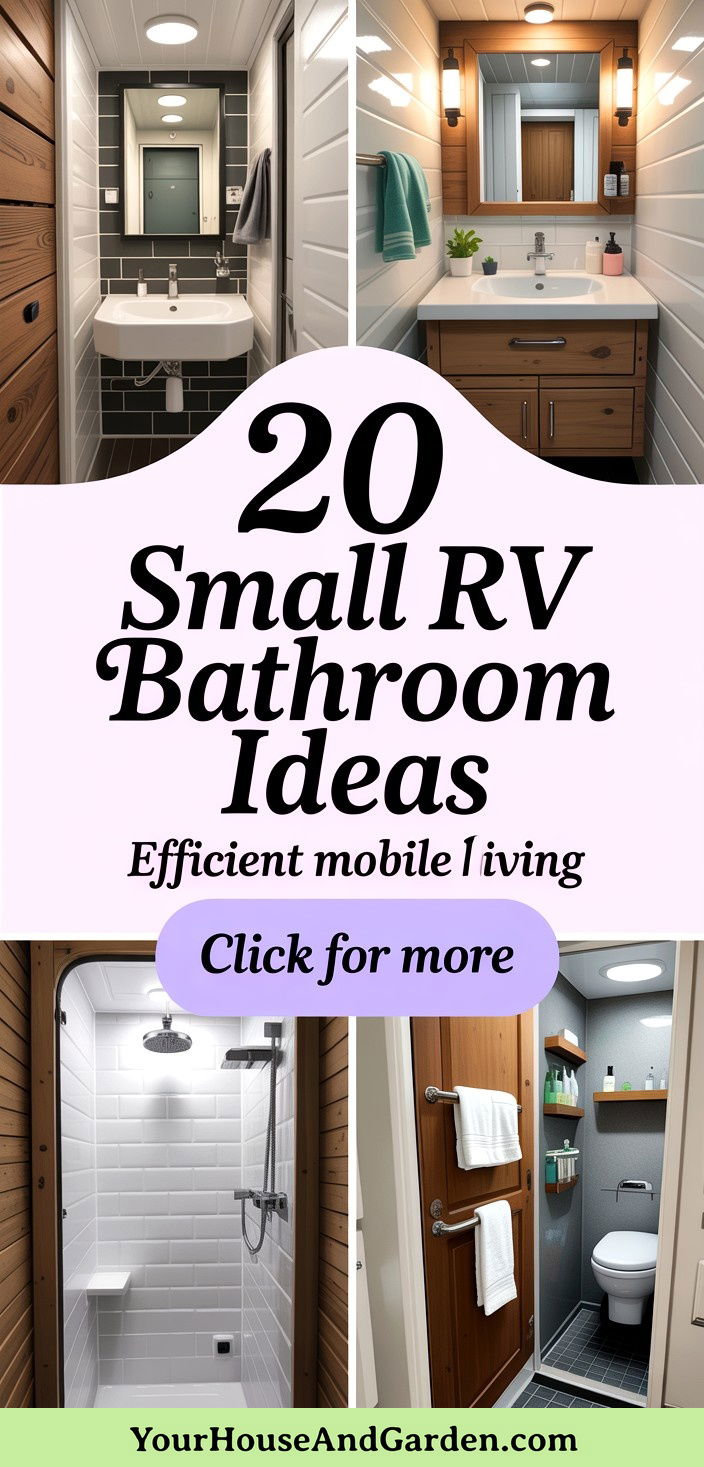
Drawing from the latest RV-specific insights and small-space design strategies, this article compiles twenty practical, budget-friendly ideas to transform a cramped RV bathroom into a functional, comfortable retreat. You’ll find clever storage hacks—like wall-mounted organizers and over-the-door caddies—alongside fixture upgrades such as fold-down sinks and waterless toilets to maximize every inch. Space-saving door and shower solutions, from pocket doors to pleated shower screens, free up valuable floor area, while hidden compartments and under-floor storage keep clutter at bay. Lighting and ventilation enhancements, including LED fixtures and skylights, improve comfort and usability. Finally, durable, moisture-resistant materials and peel-and-stick finishes allow easy, cost-effective refreshes that withstand the rigors of life on the road.
1. Maximize Vertical Storage with Wall-Mounted Solutions
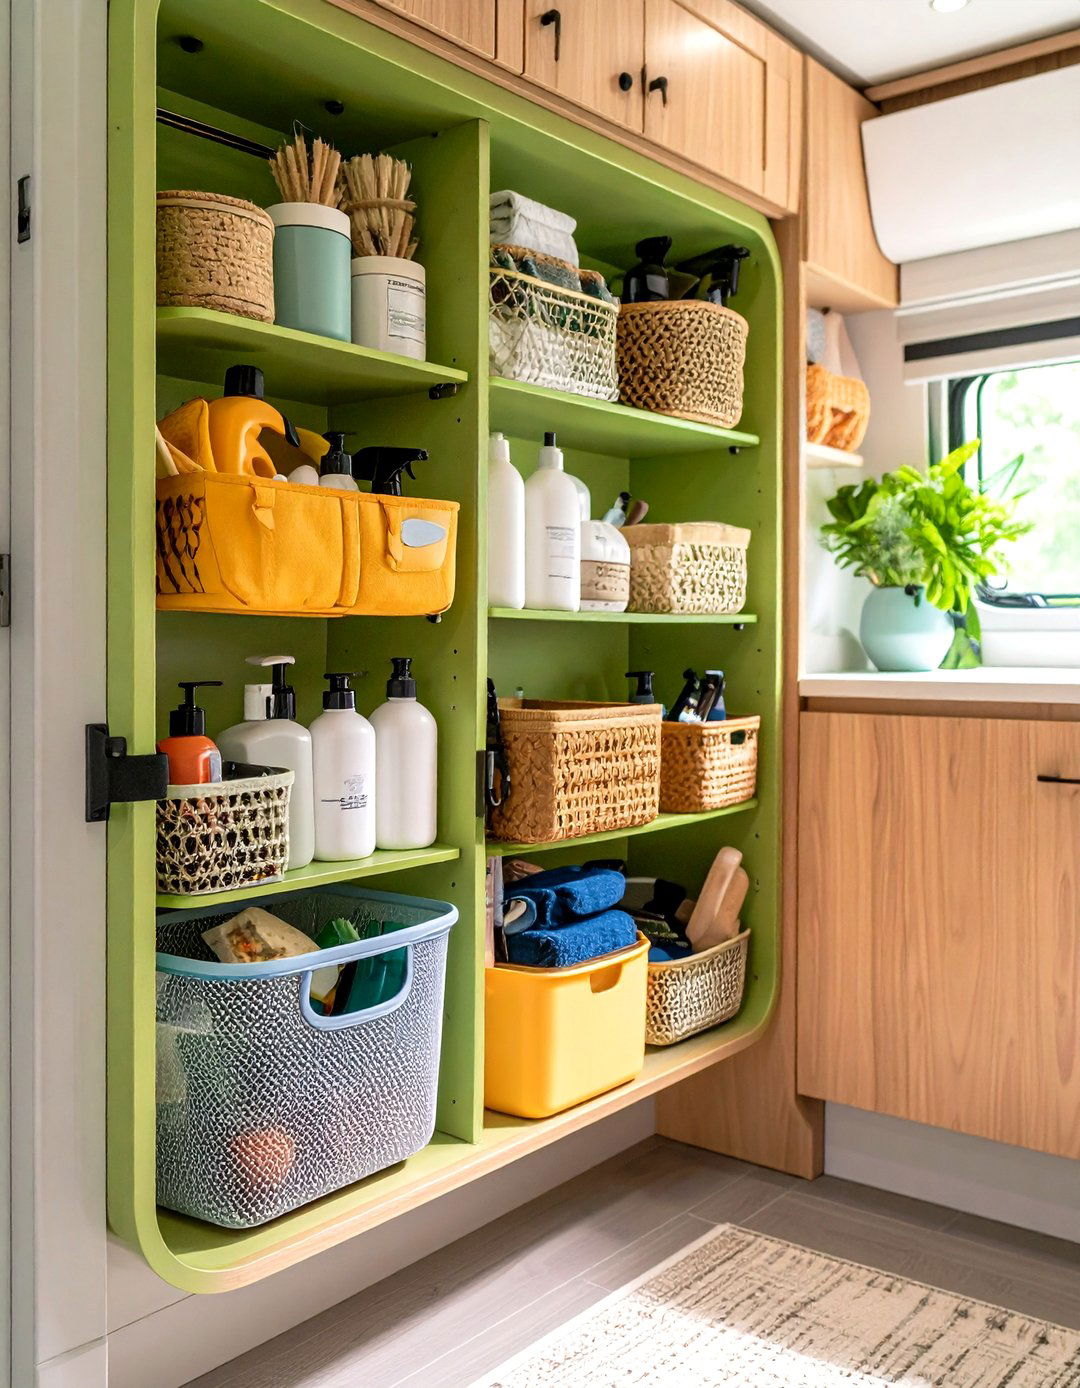
Utilizing vertical space in your RV bathroom is one of the most effective ways to combat clutter without encroaching on precious floor space. Wall-mounted organizers—such as pocket shelves, mesh baskets, and magnetic strips—keep toiletries and cleaning supplies neatly off countertops and out of drawers. One popular option is a shower curtain organizer that hangs inside the stall, providing designated spots for shampoos and soaps while remaining retractable when not in use. These lightweight, low-profile solutions install with minimal hardware, making them ideal for renters or DIYers looking to avoid permanent modifications.
2. Use Over-the-Door Pocket Organizers
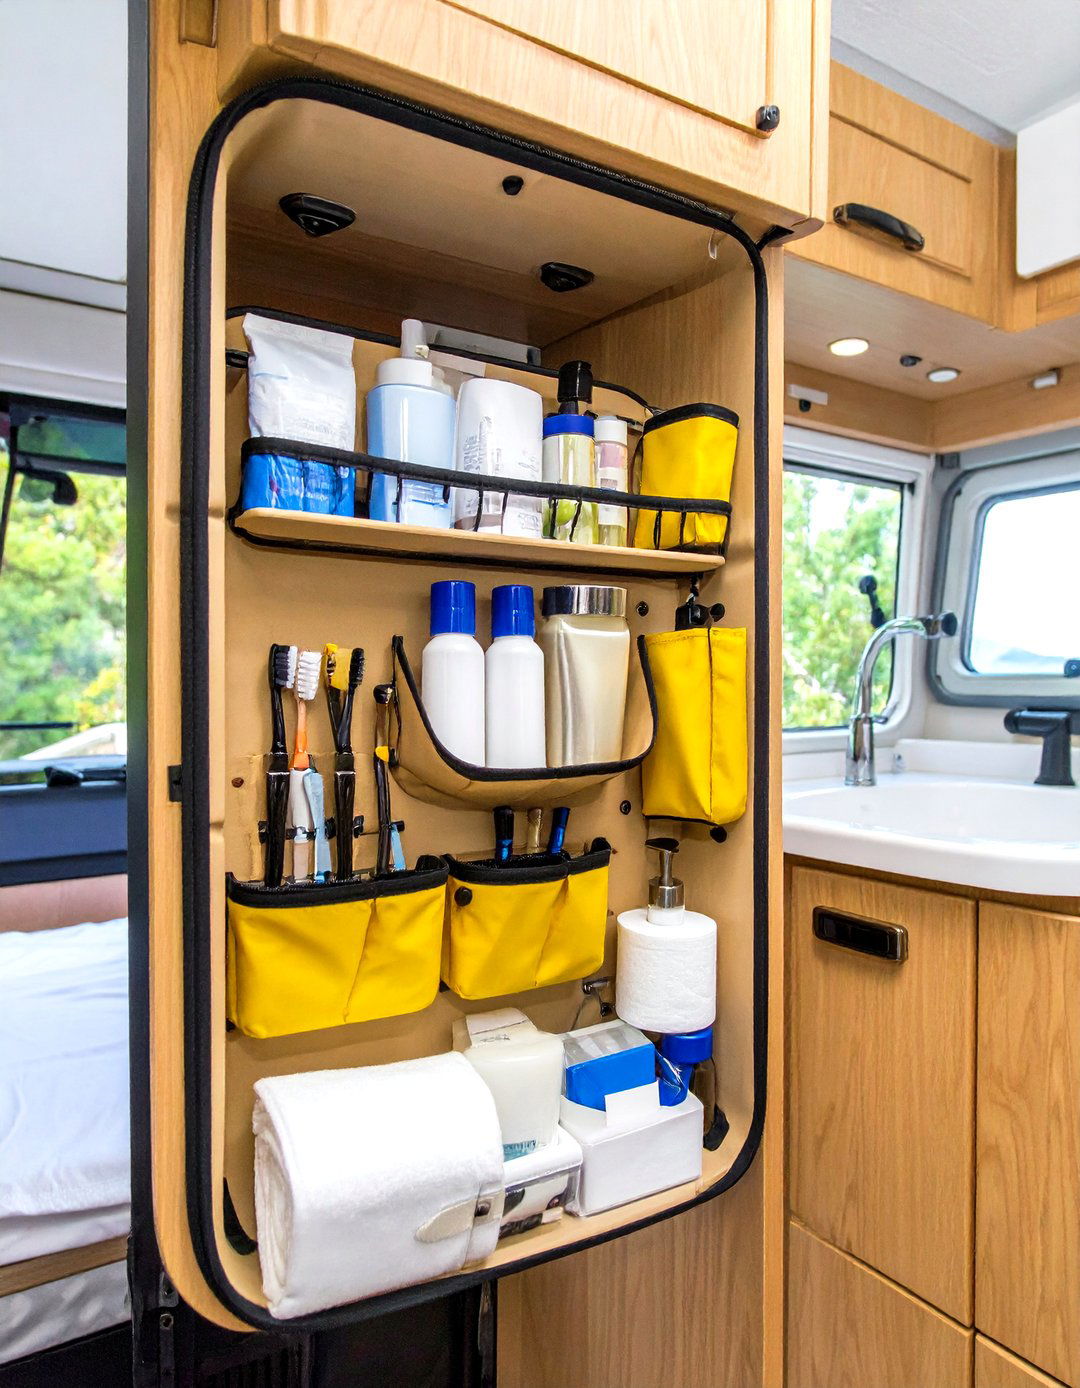
The blank expanse of your bathroom door can become prime real estate with an over-the-door pocket organizer. These hanging organizers require no drilling—simply hook them over the top of the door—and offer multiple compartments for toothbrushes, bandages, and small bottles. By assigning each pocket a specific category, you streamline your morning routine and eliminate countertop clutter. Many RVers praise this method for its ease of installation and versatility, as you can quickly remove and relocate the organizer when packing up or cleaning.
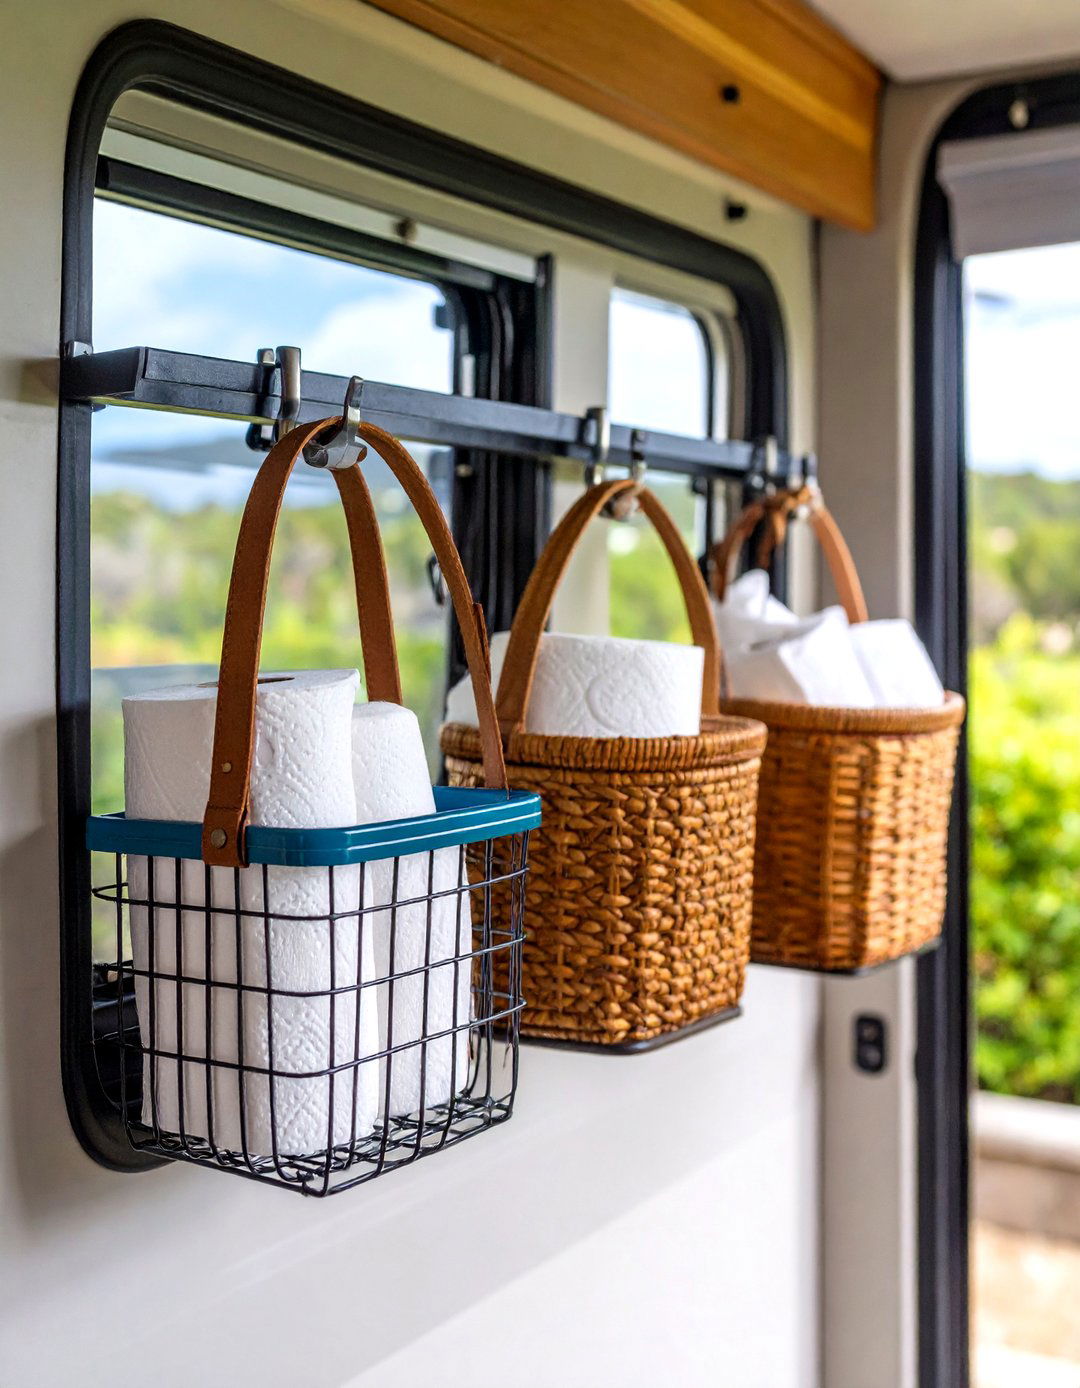
3. Incorporate Mounted Baskets for Bulkier Items
For items that won’t fit in narrow pockets—like extra rolls of toilet paper or large shampoo bottles—mounted wire or plastic baskets are a smart choice. These baskets attach to the door or wall using hooks or adhesive strips, providing sturdy storage without permanent screws. Their open design allows water to drain, preventing mold and mildew growth. When selecting baskets, look for ones with curved or padded hooks to protect painted surfaces, and choose removable styles so you can easily transfer them between campsites or rigs.
4. Install Portable Hanging Shower Caddies
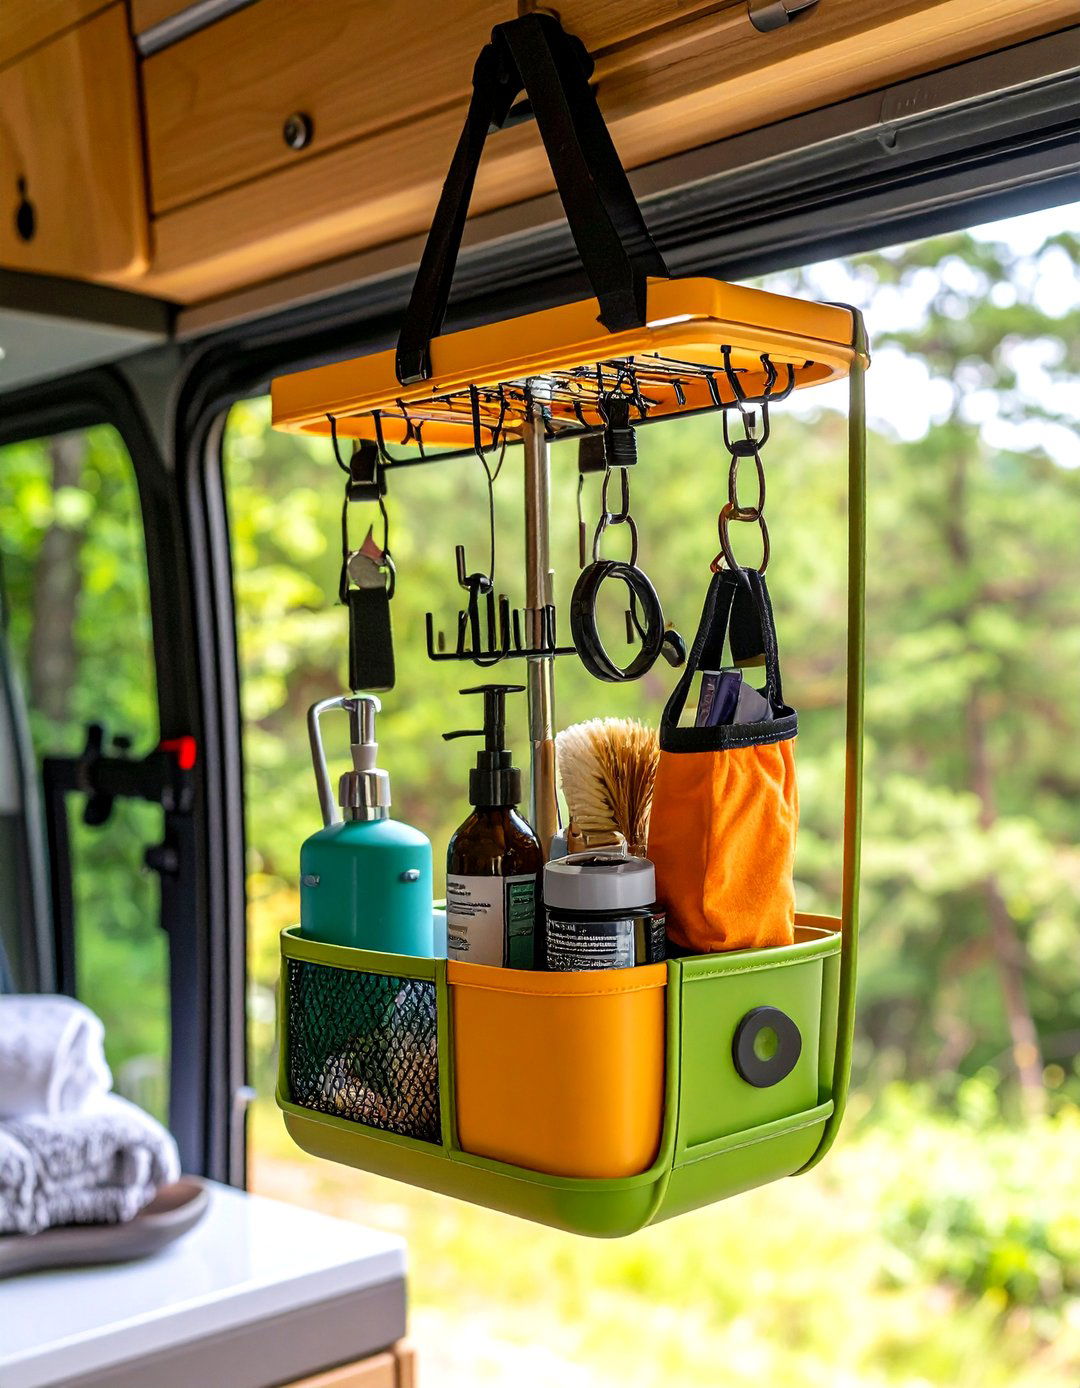
A portable hanging shower caddy is perfect for RVers who alternate between campground showers and onboard facilities. This caddy straps over the door or hooks onto a rail, keeping all your shower essentials together in one compact package. When heading to a public bathhouse, simply lift the caddy off its mount and carry it with you—no more juggling bottles or tracking water across the floor. Once back on board, hang it inside your RV shower to maintain easy access and tidy storage.
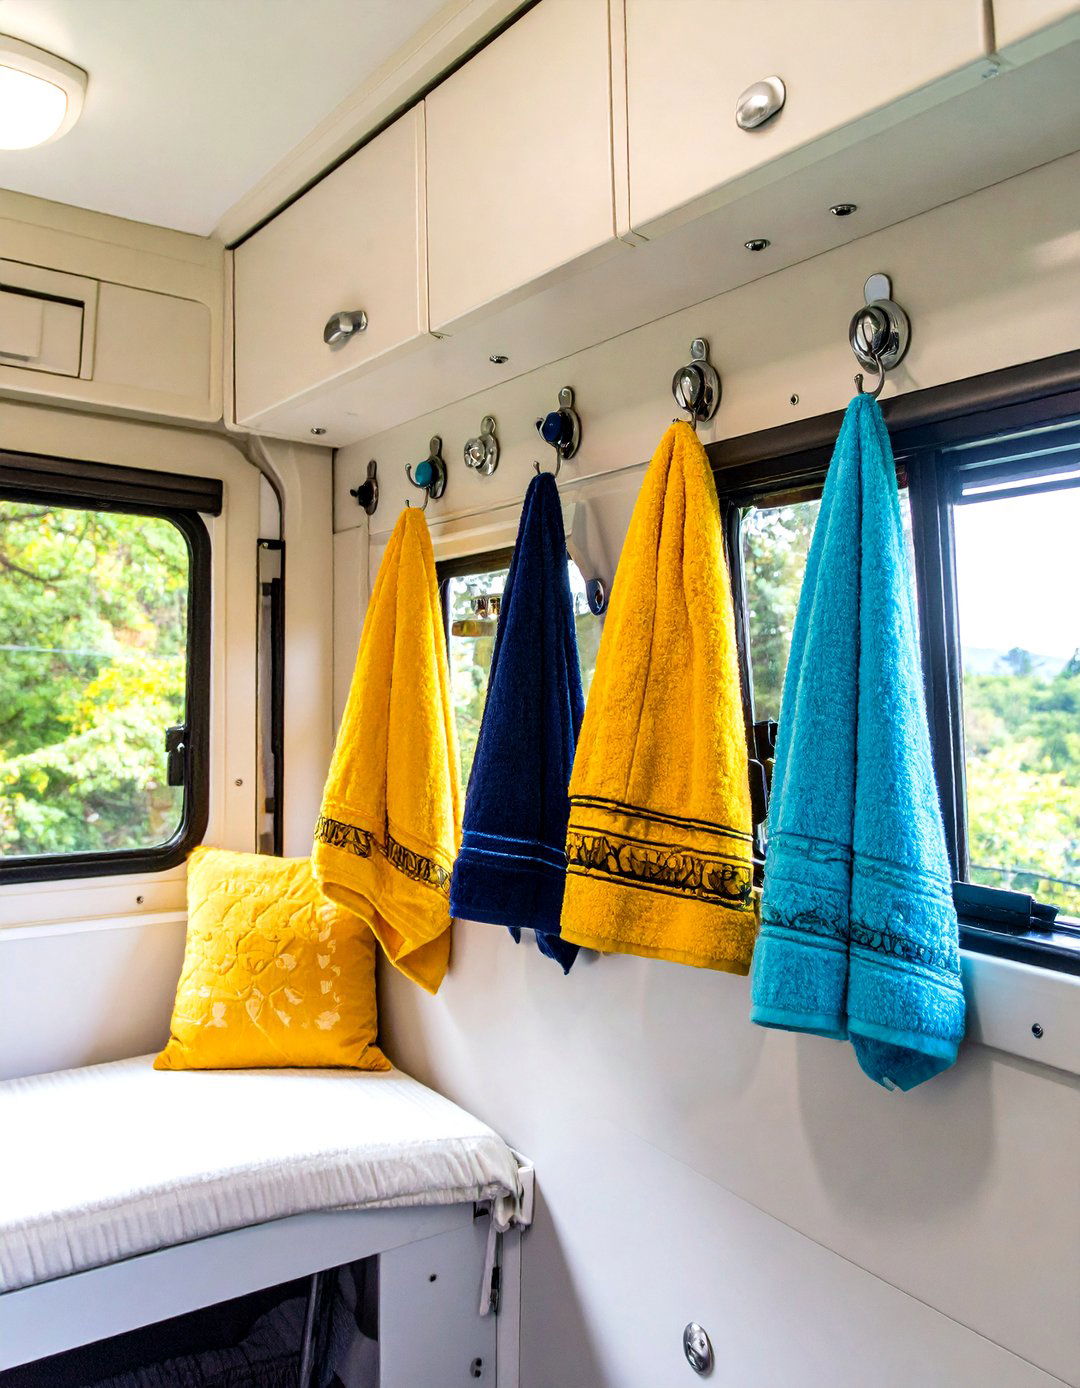
5. Opt for Command Hooks and Suction Cup Accessories
To avoid drilling holes in fiberglass or composite walls, leverage heavy-duty Command hooks and suction cup accessories. Command hooks use adhesive strips that peel off cleanly, offering a damage-free solution for hanging towels, loofahs, and washcloths. Suction cup hooks, ideal for glossy tile or acrylic shower surrounds, can hold sizeable loads—just be sure to choose models rated for high humidity. Both options allow flexible placement and quick reconfiguration as your storage needs evolve.
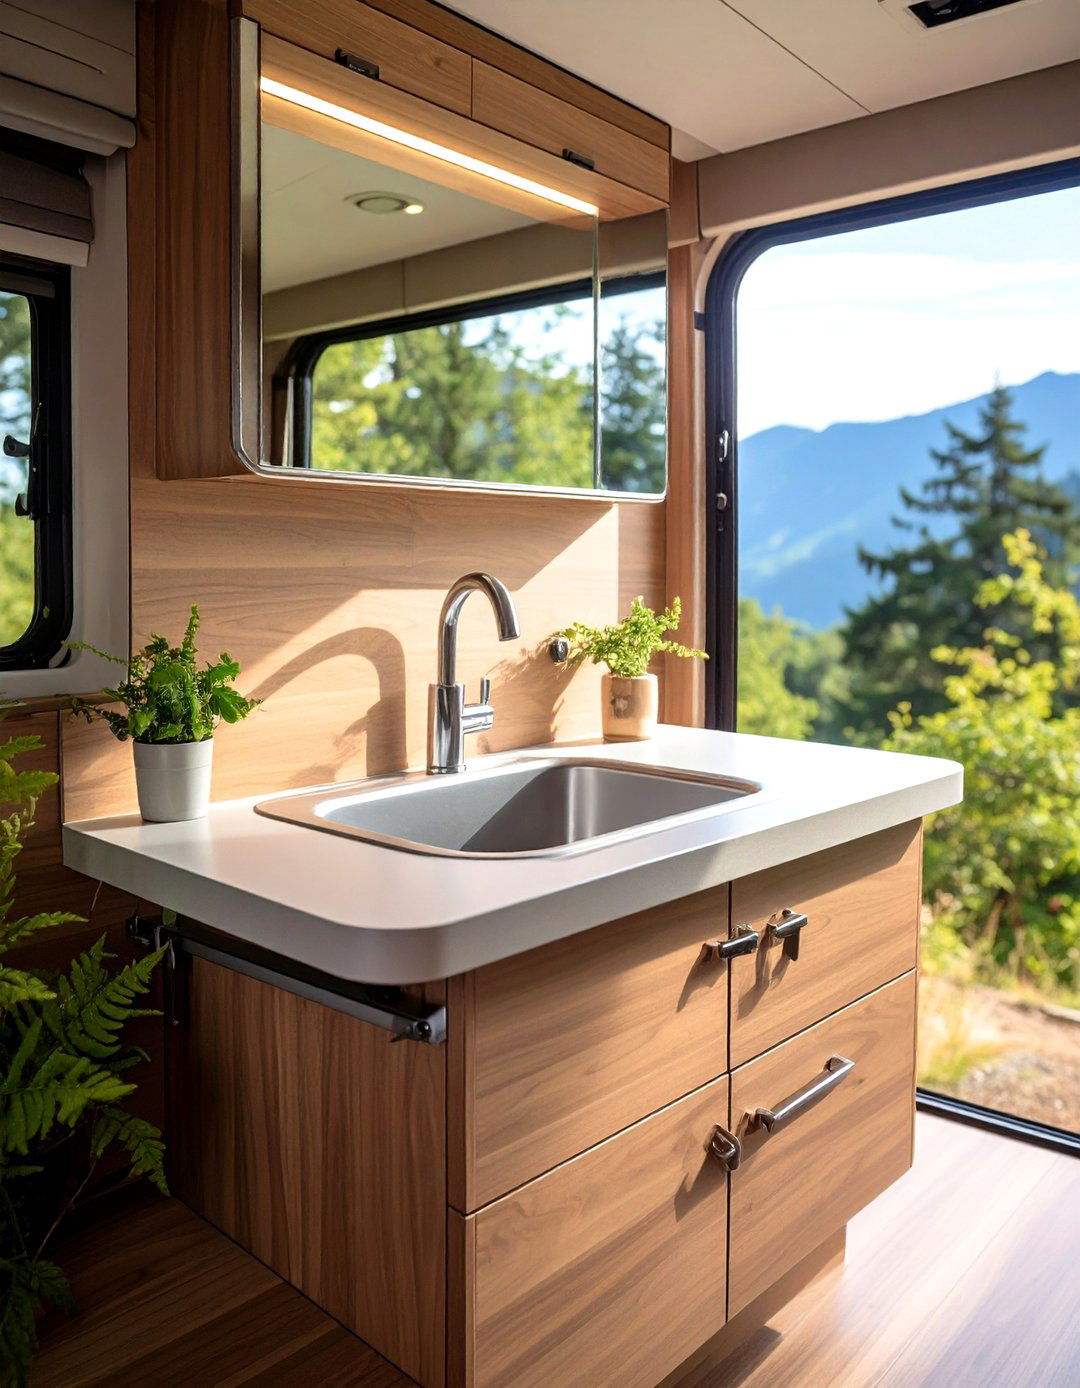
6. Invest in Fold-Down/Flip Sinks to Free Up Counter Space
When every square inch counts, a fold-down or flip-up sink can be a game-changer. These sinks fold flat against the wall when not in use, then pivot down for handwashing. Engineered from heavy-gauge ABS plastic, flip sinks are lightweight yet durable, and often come with all necessary mounting hardware for a straightforward install. Beyond the space savings, they offer the convenience of a dedicated sink without sacrificing room for toiletries or cleaning supplies on the countertop.
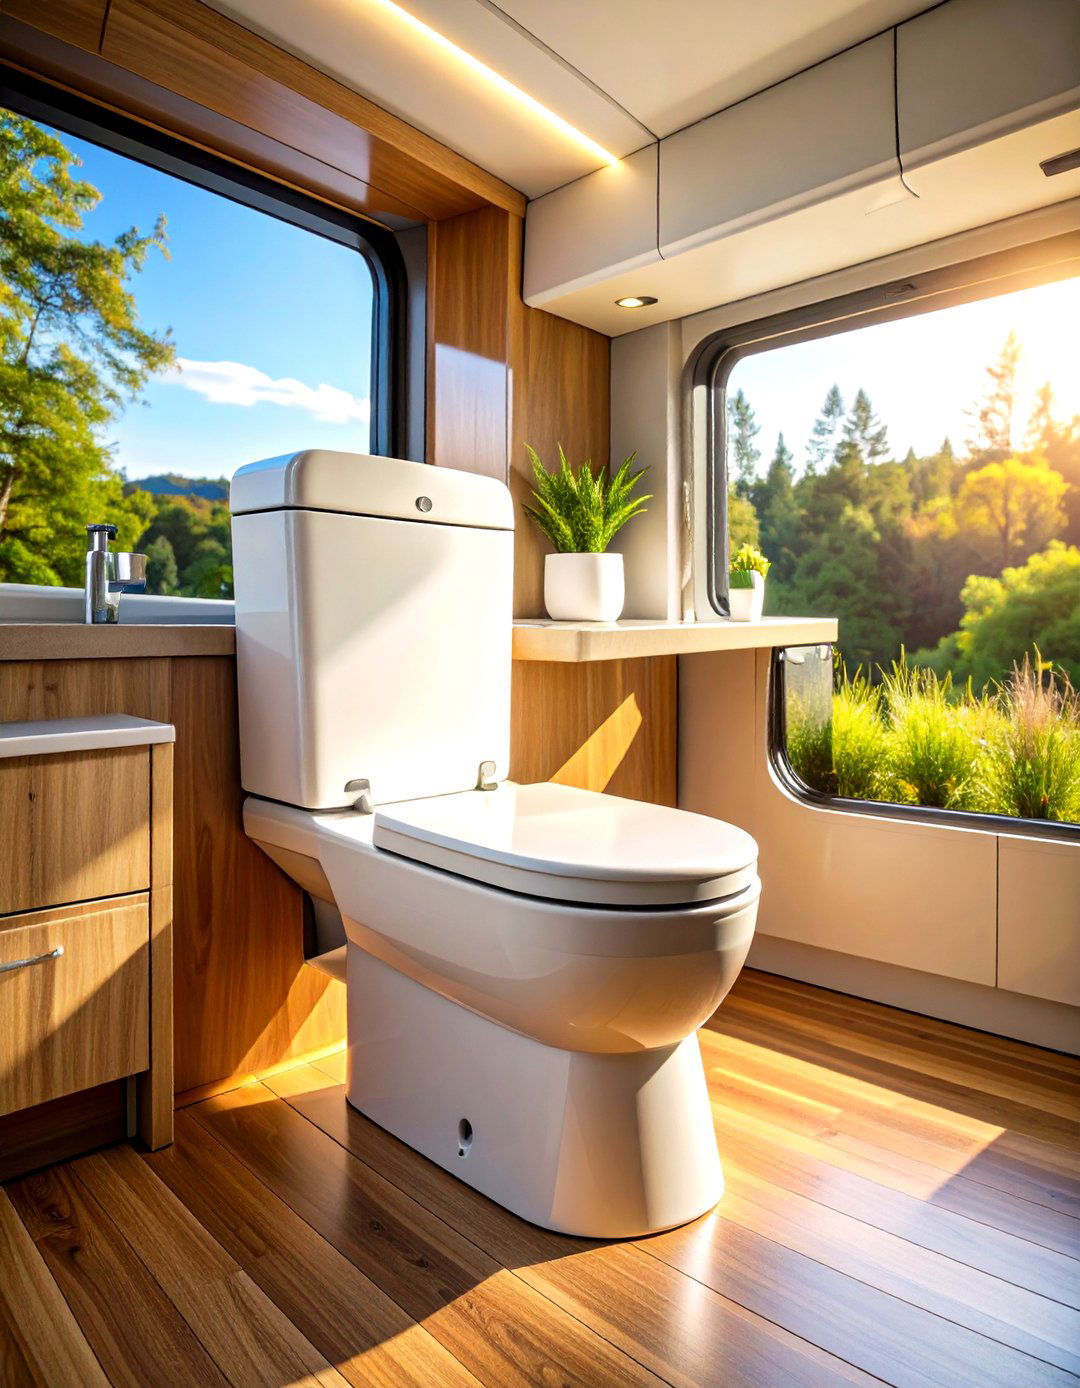
7. Upgrade to Waterless or Low-Flow Toilets
Traditional RV toilets use up to half a gallon per flush, but modern waterless or low-flow models drastically reduce water consumption and tank fill-ups. Composting toilets separate liquid and solid waste, requiring no black-water tank, while dry-flush units mechanically seal off waste with each use. For those preferring a conventional look, low-flow porcelain or plastic toilets connected to precision regulators can minimize water usage to less than a quarter-gallon per flush. These upgrades not only stretch your fresh-water and holding-tank capacities but also lighten the load on septic maintenance.
8. Replace Shower Doors with Curtains or Pleated Doors
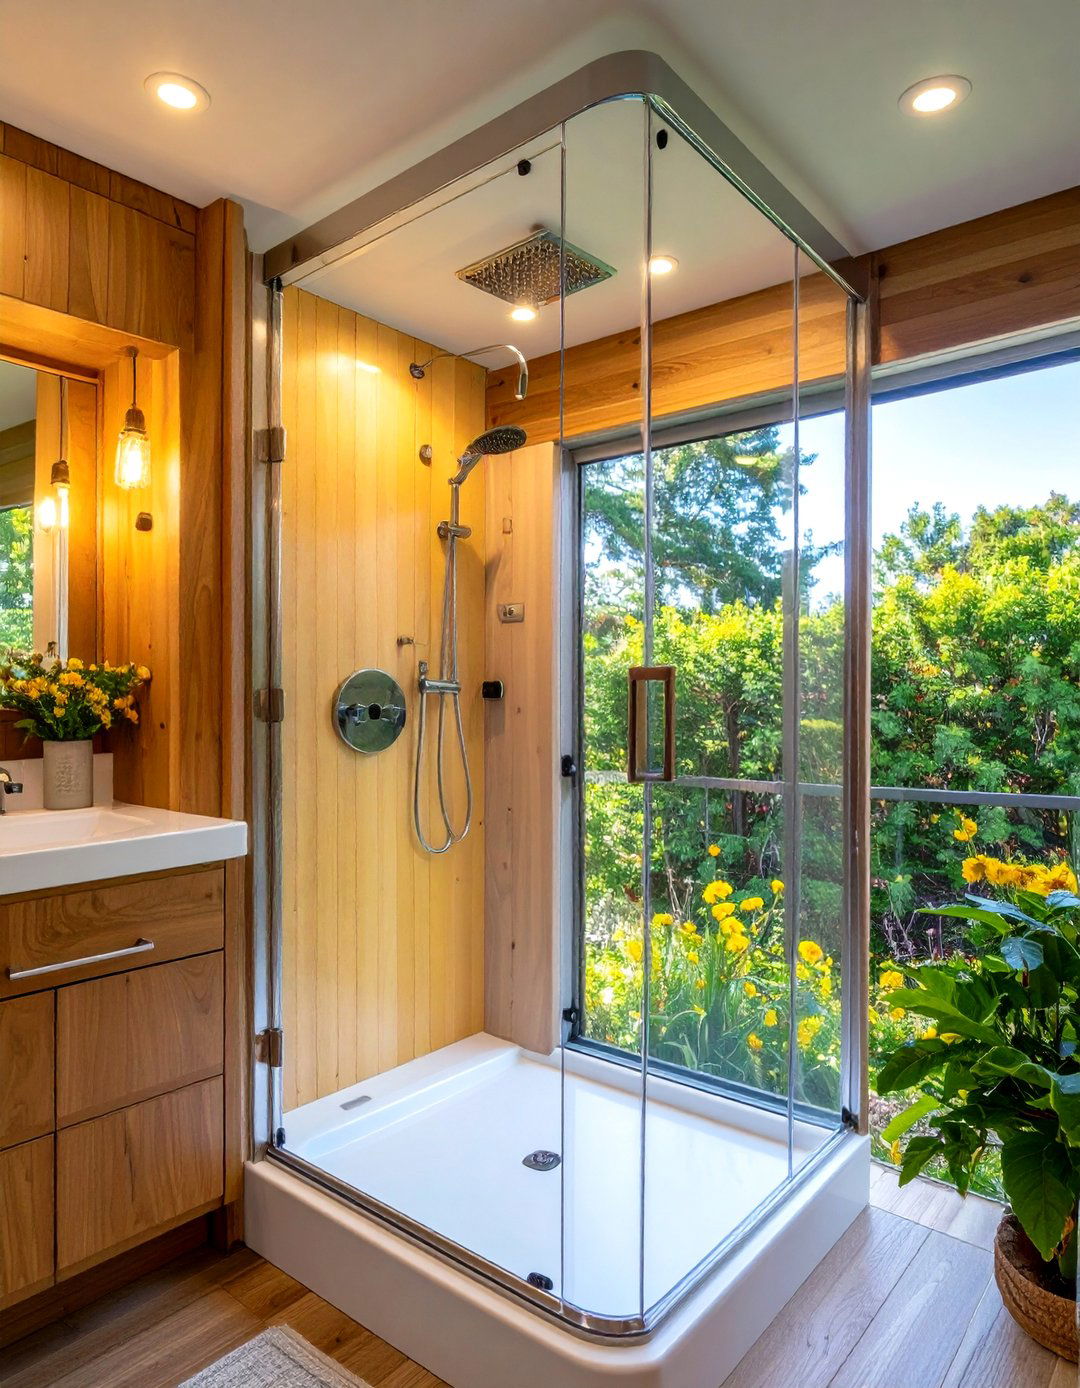
Rigid glass or plastic shower doors can feel claustrophobic in an RV’s tight bathroom, and they’re prone to rattling on the road. Pleated shower doors and lightweight curtains offer a flexible alternative: they fold neatly out of the way, take up minimal storage when removed, and can be washed or replaced easily. Curtains with magnetic or weighted hems stay snug against the doorless opening, containing water spray while adding a decorative touch. Pleated vinyl doors provide a middle ground, combining door-like functionality with compact folding action.
9. Install Fold-Up Shower Seats or Benches
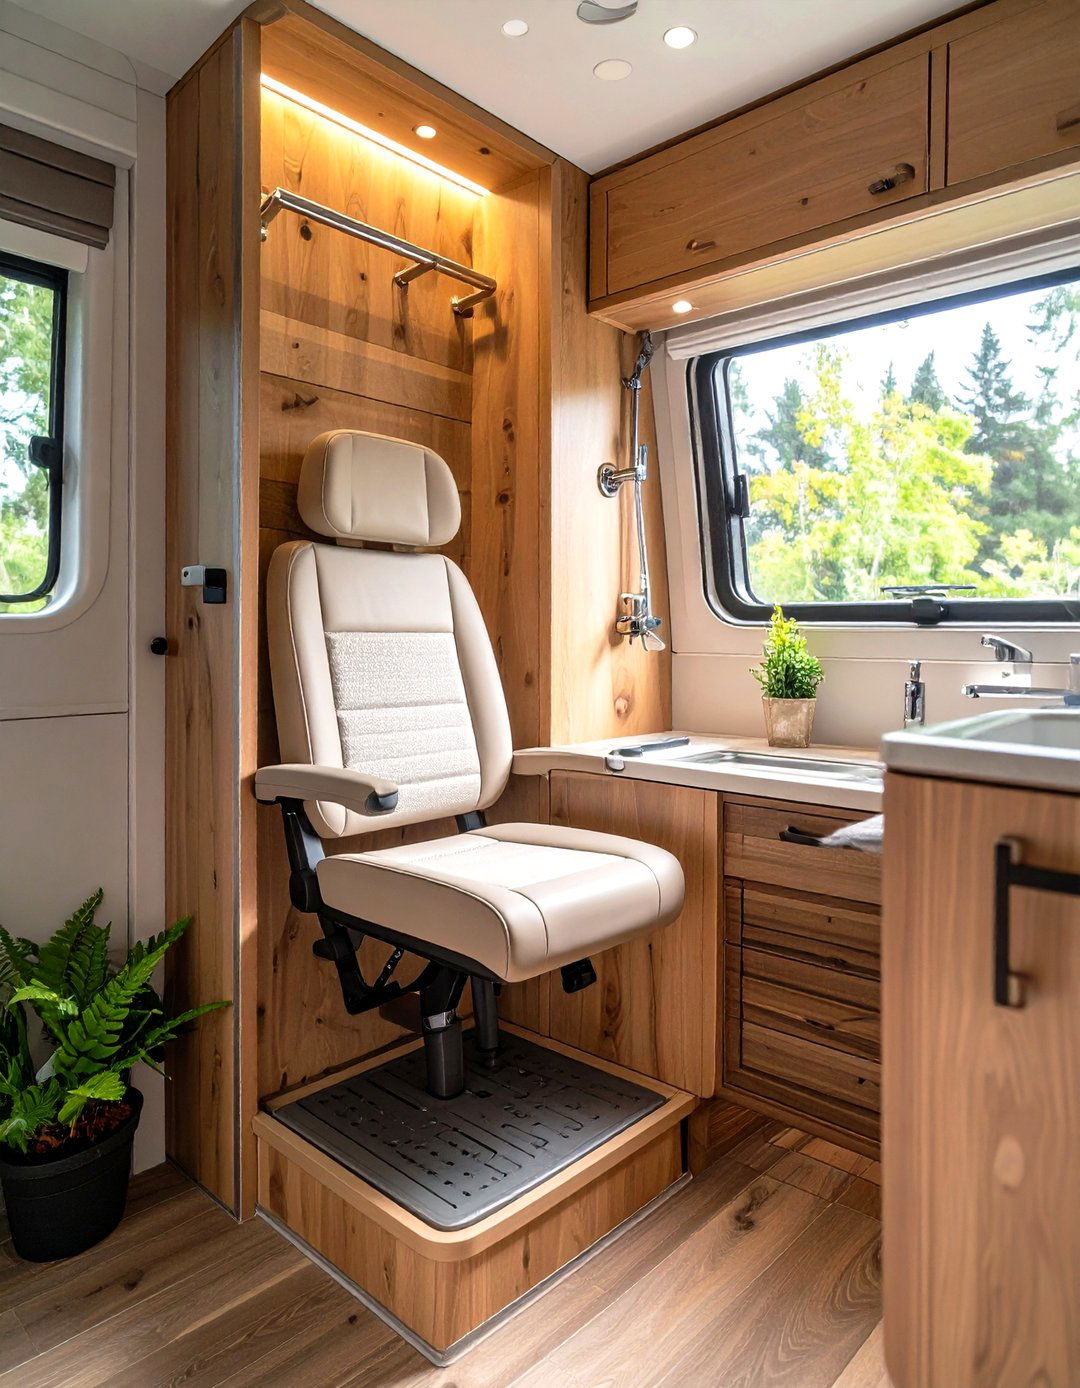
For added comfort and safety—especially useful for older travelers or those with mobility challenges—a fold-up shower seat can be a worthwhile install. These stainless-steel or teak models mount to the shower wall, folding up flush when not in use to preserve space. With weight ratings up to 300 pounds and easy-to-clean materials, they transform a cramped wet bath into a more user-friendly environment. Many come with simple installation instructions and all necessary fasteners, making them accessible to even novice DIYers.


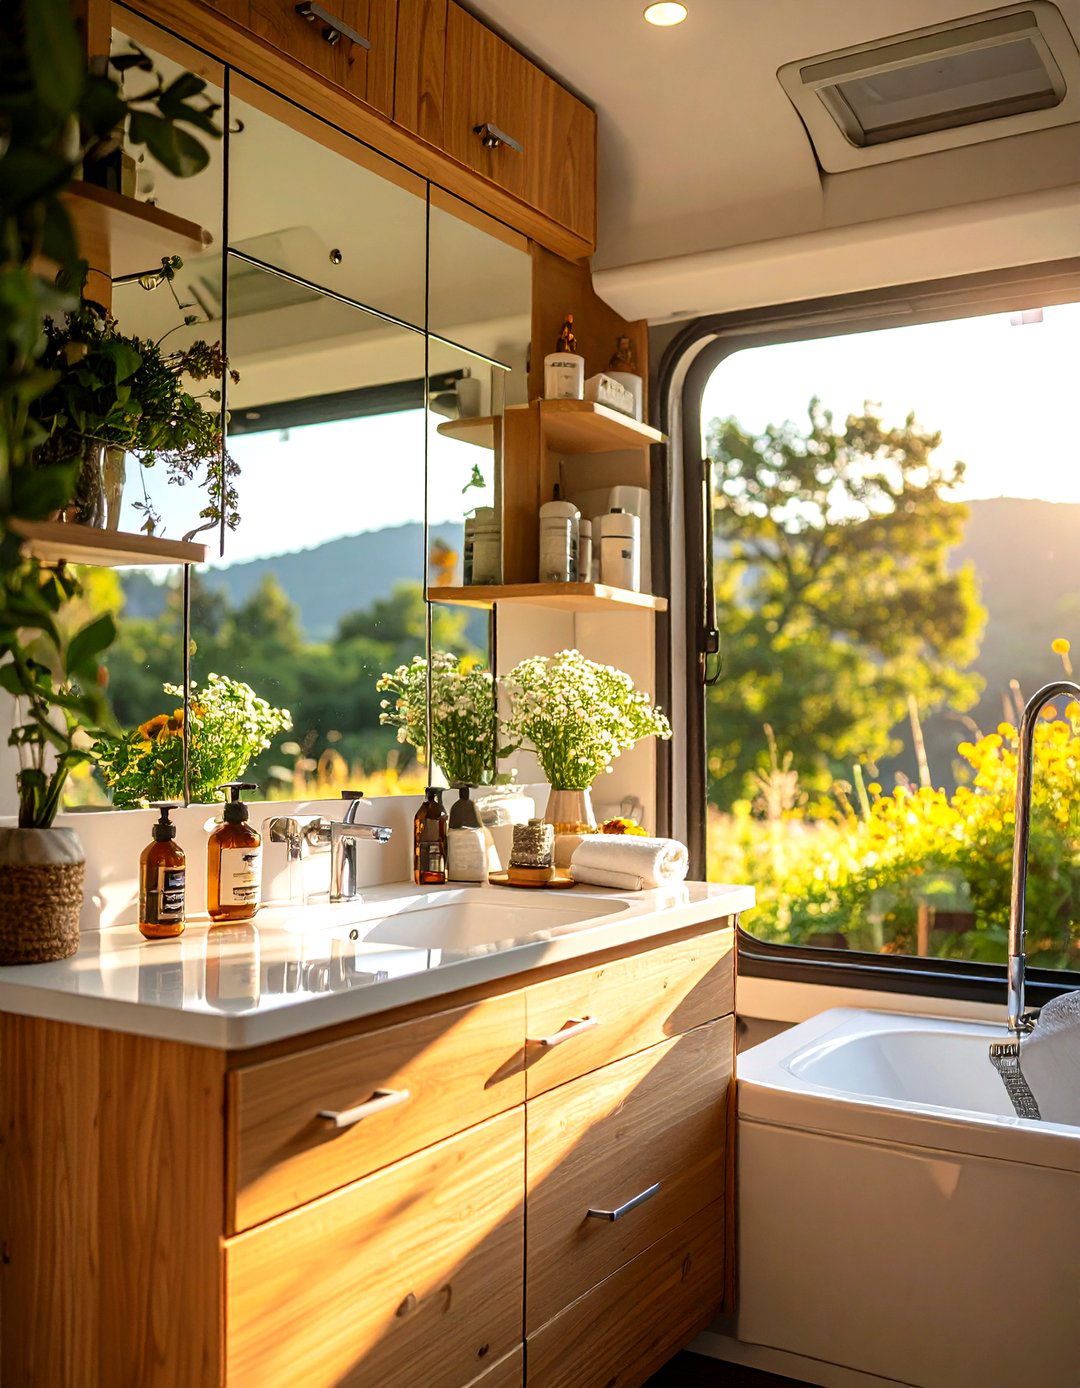
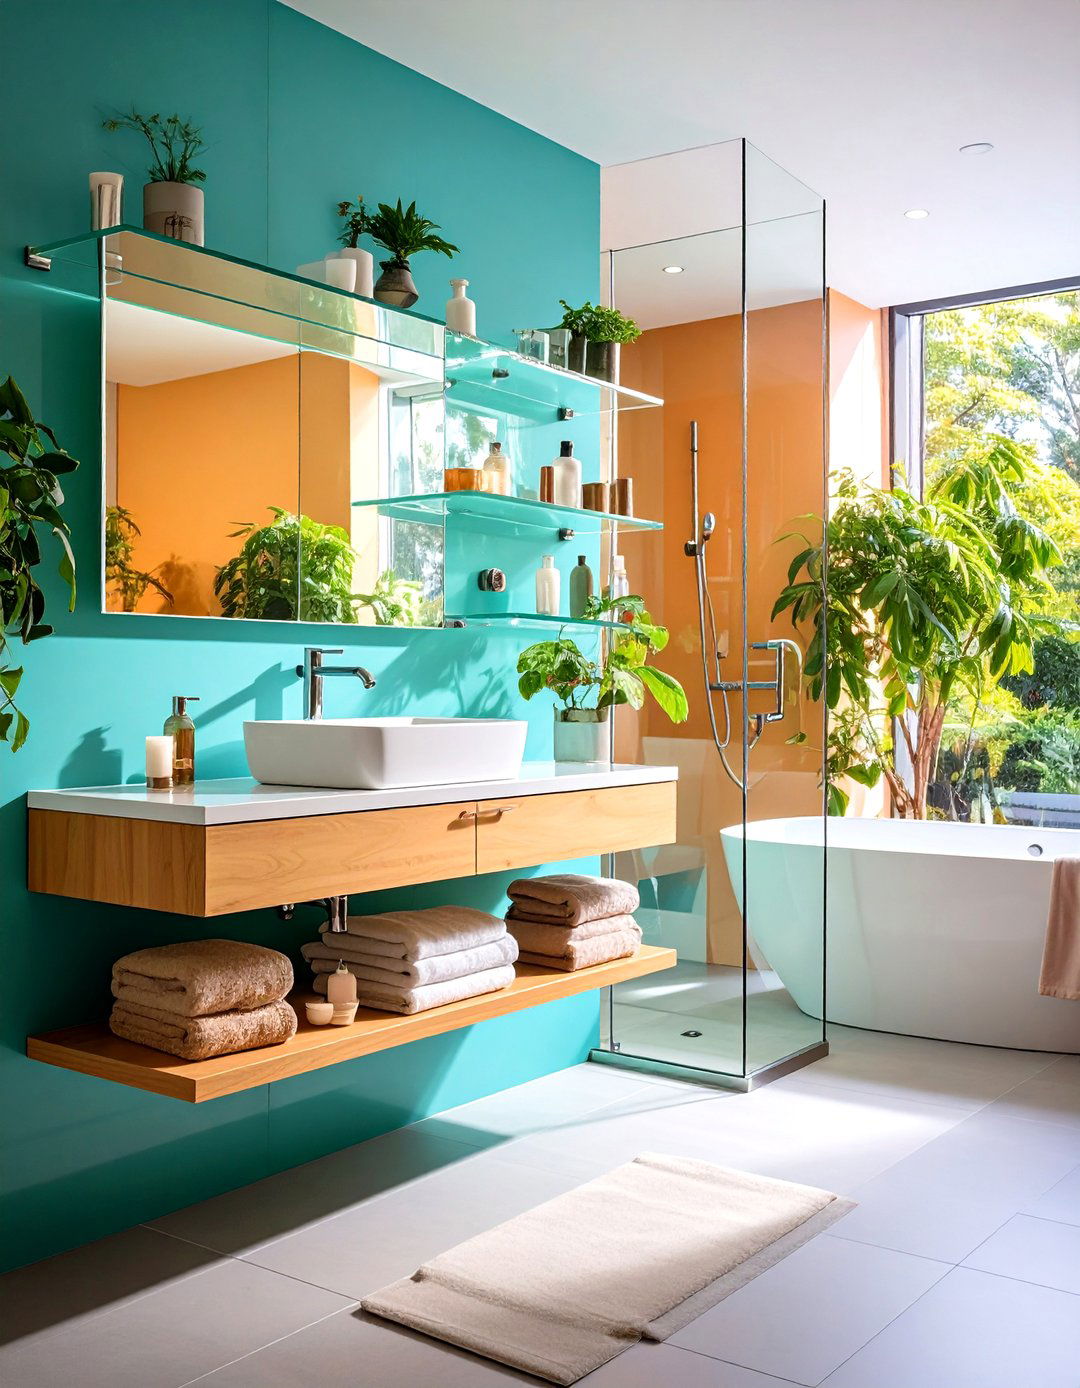
10. Expand Your Corner with Space-Saving Sinks or Vanities
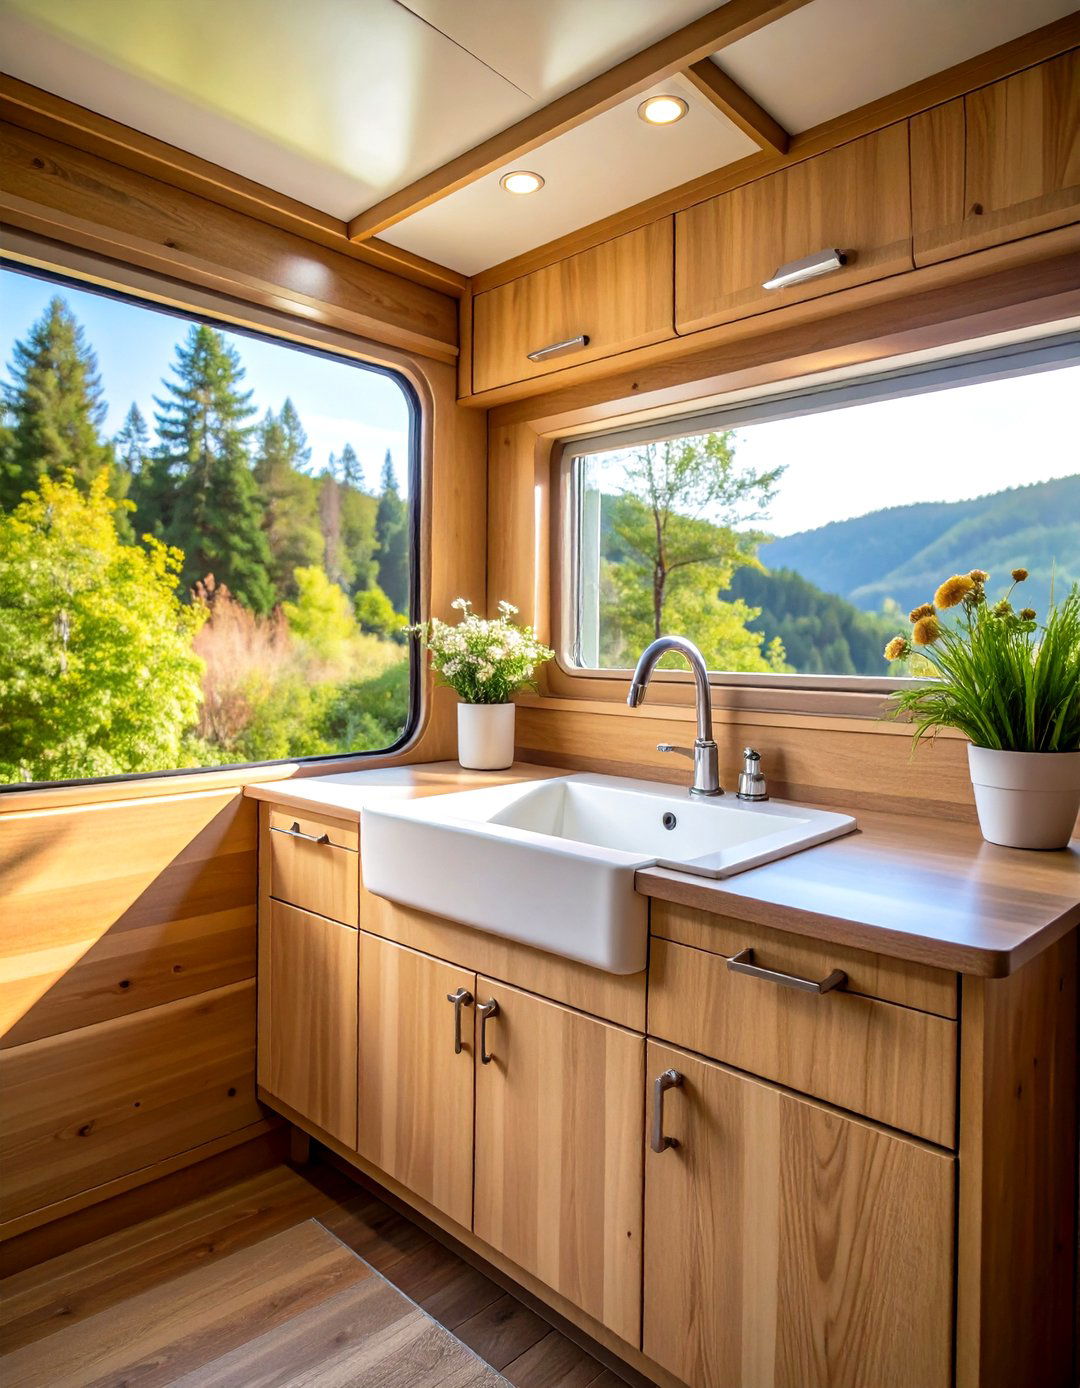
Corner wall-mount sinks tuck neatly into unused angles, opening up central floor space and creating room for small accessories or a narrow cabinet underneath. Modern corner sinks come in a variety of styles—from minimalist porcelain basins to vessel sinks—while some include integrated soap dishes or towel bars. Wall-mounted designs free up the area beneath the sink for a slim rolling cart or additional storage bins, maximizing every inch of real estate in your compact RV bath.
11. Opt for Sliding Pocket or Barn Doors to Save Floor Space
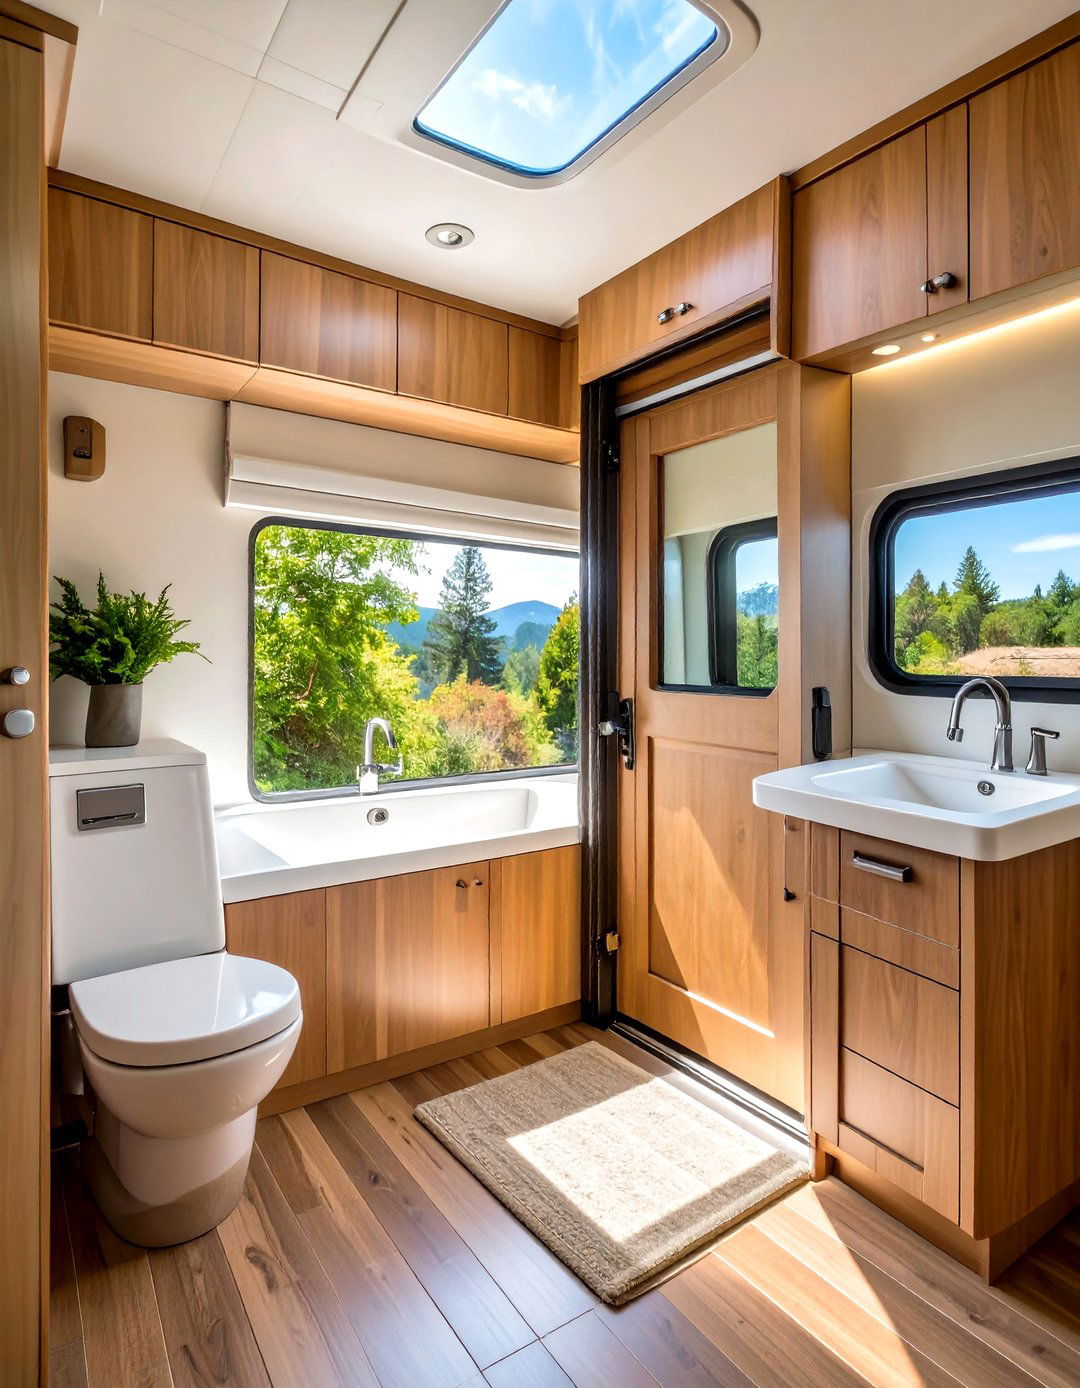
Traditional swinging doors can restrict movement and block cabinets or fixtures when open. Sliding pocket doors or barn doors that run along an exterior track eliminate this problem, tucking neatly along the bathroom wall. Pocket doors slide into a cavity, while barn doors ride on a rail above the entry. Both keep pathways clear, improve accessibility, and add a modern stylistic element. Installing these requires framing adjustments but yields significant long-term benefits in traffic flow and ease of entry.
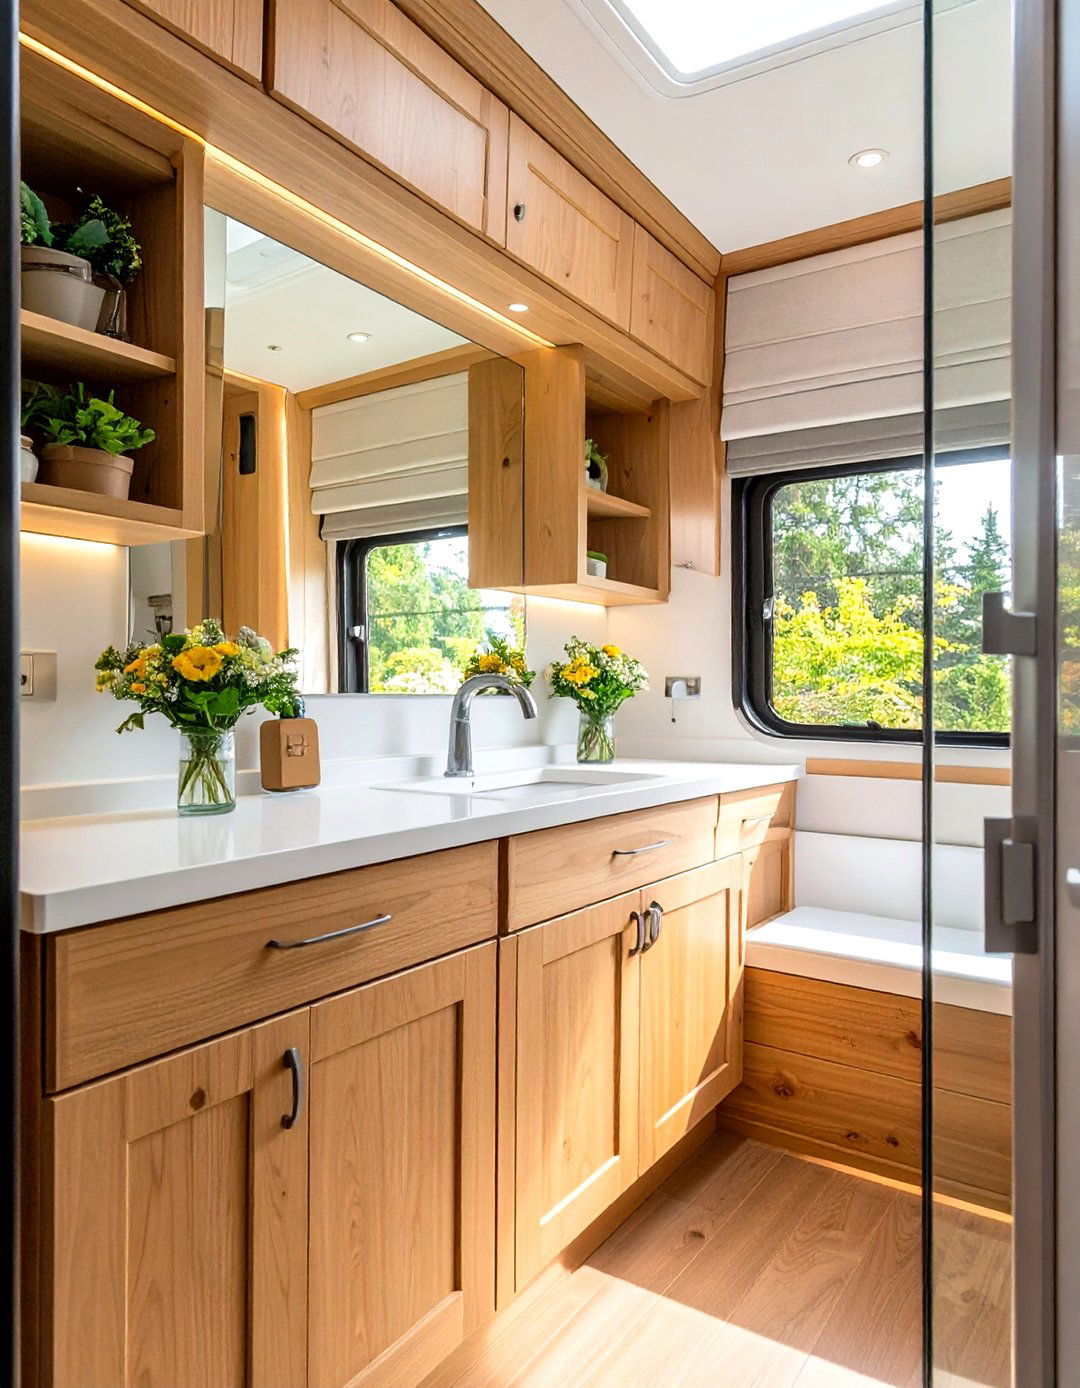
12. Add Mirrored Medicine Cabinets for Storage and Light Reflection
Mirrored cabinets serve double duty: they conceal toiletries behind reflective panels, and they visually enlarge the space by bouncing light around the room. Cabinet depths of just a few inches accommodate everyday items—like toothpaste, razors, and first-aid supplies—while maintaining a slim profile. Placing one opposite a light source or window amplifies brightness, reducing the need for additional fixtures. DIY models can be secured with minimal anchors and come in various mirror finishes to match your RV’s interior aesthetic.
13. Leverage Hidden and Under-Table Storage Compartments
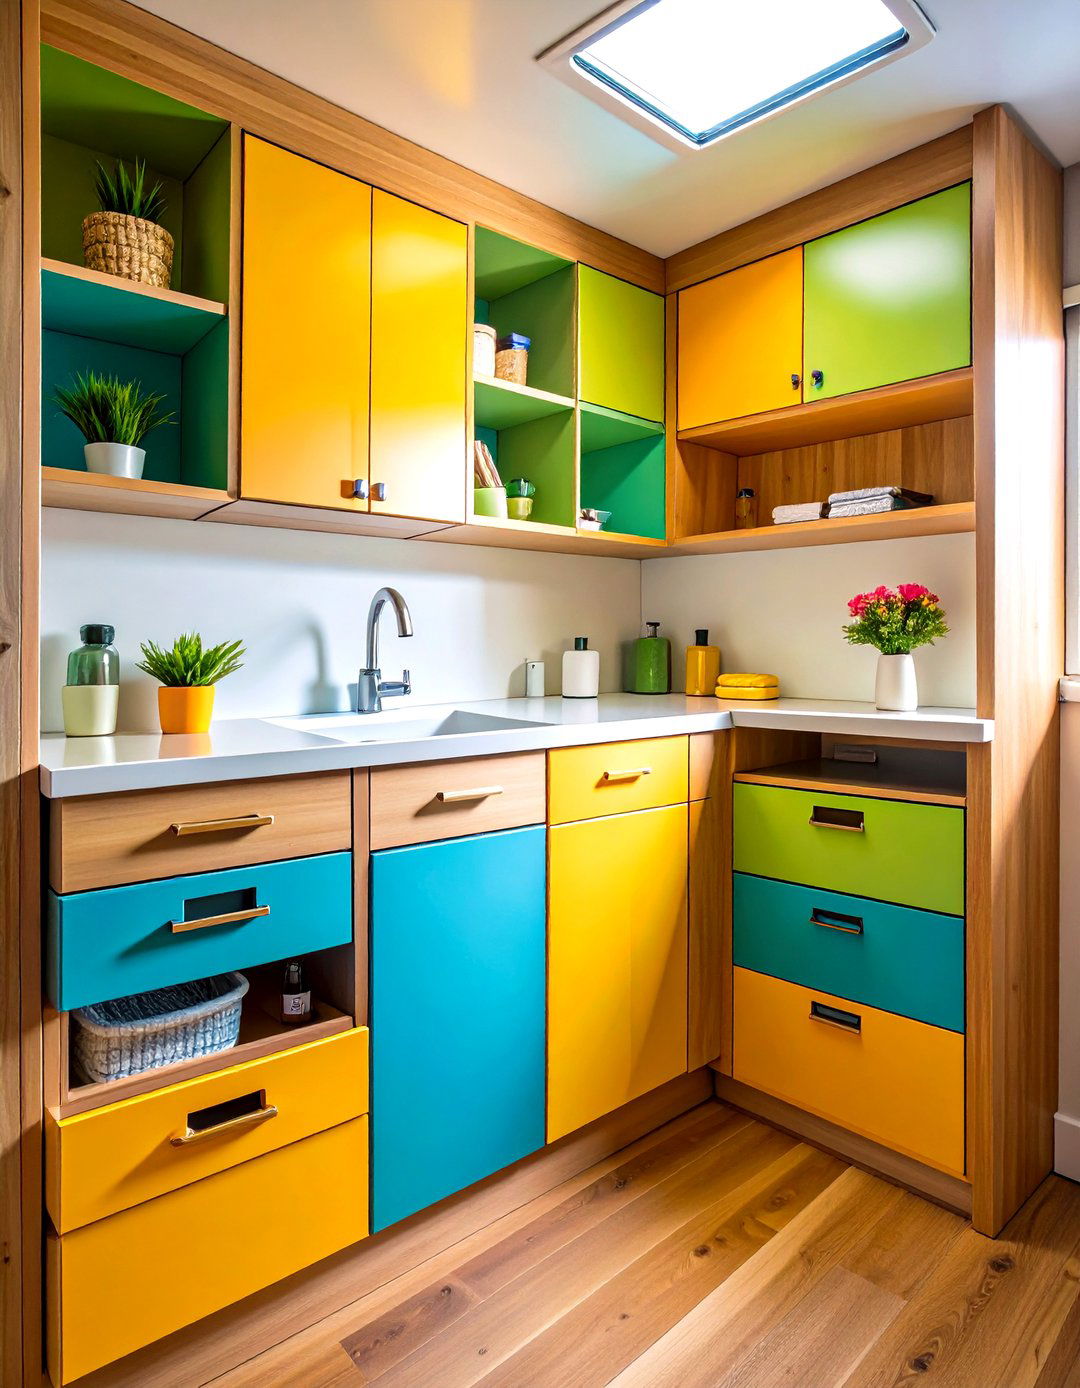
Beyond cabinets and drawers, consider hidden compartments under the sink, behind false panels, or beneath the floor. CampgroundViews recommends using mesh bins under the table or benches for overflow storage of toiletries, cleaning products, and spare linens. Even hollow seating or toe-kick spaces beneath cabinets can house slim containers, keeping less-frequently-used items out of sight but within reach. These discreet areas help maintain a streamlined, clutter-free look while optimizing every nook of your RV bathroom.
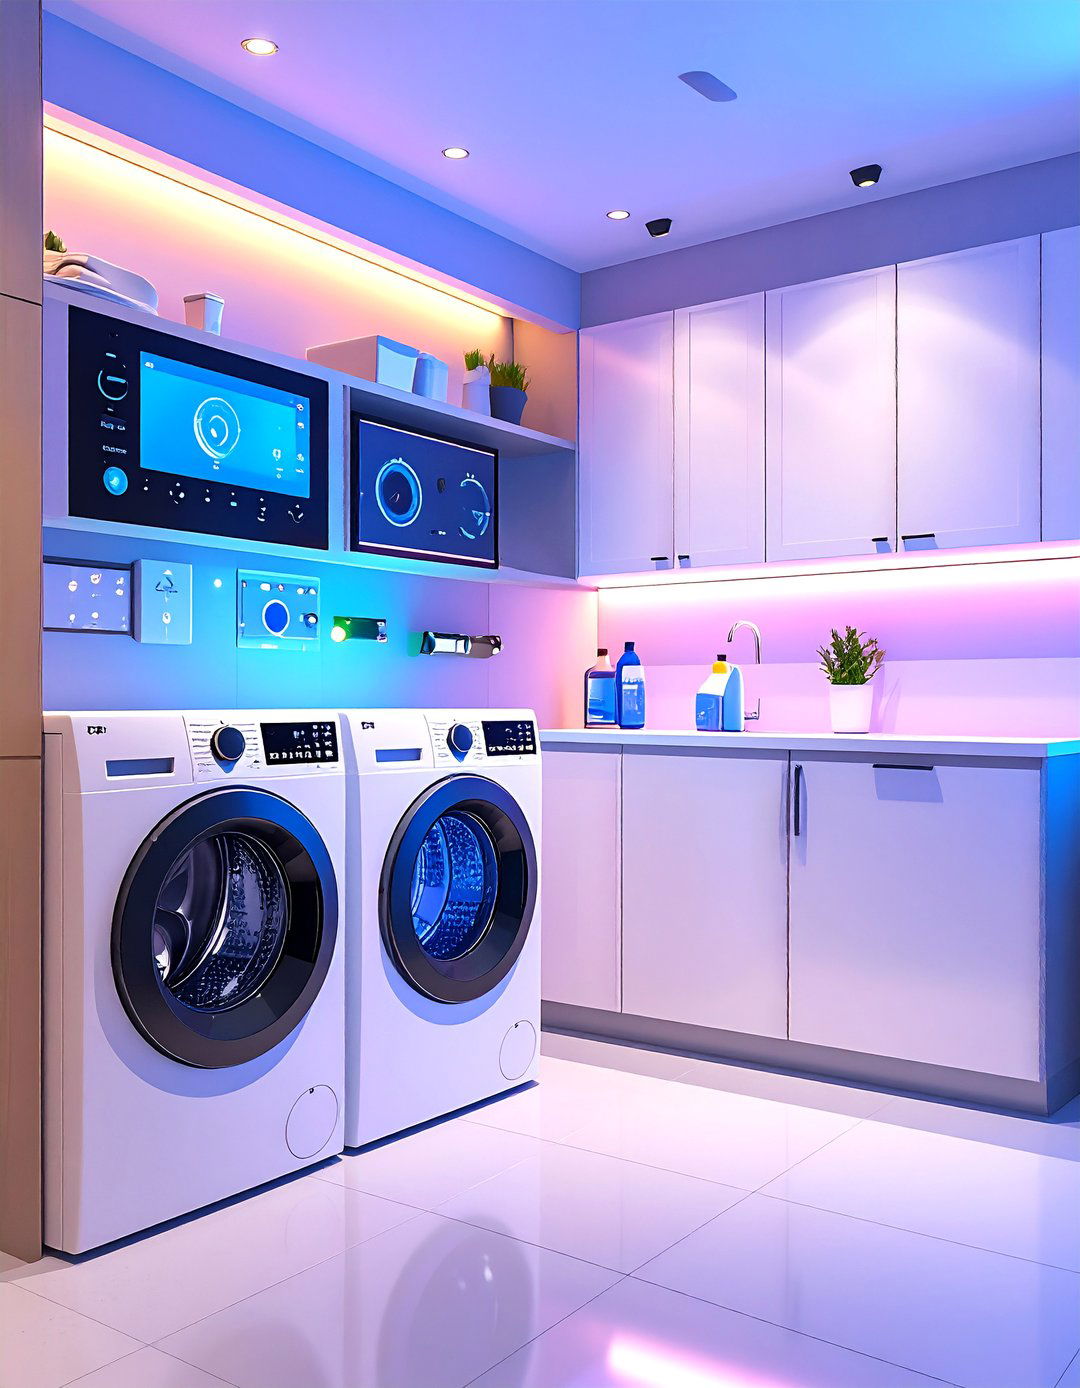
14. Incorporate LED Task and Accent Lighting for Ambiance
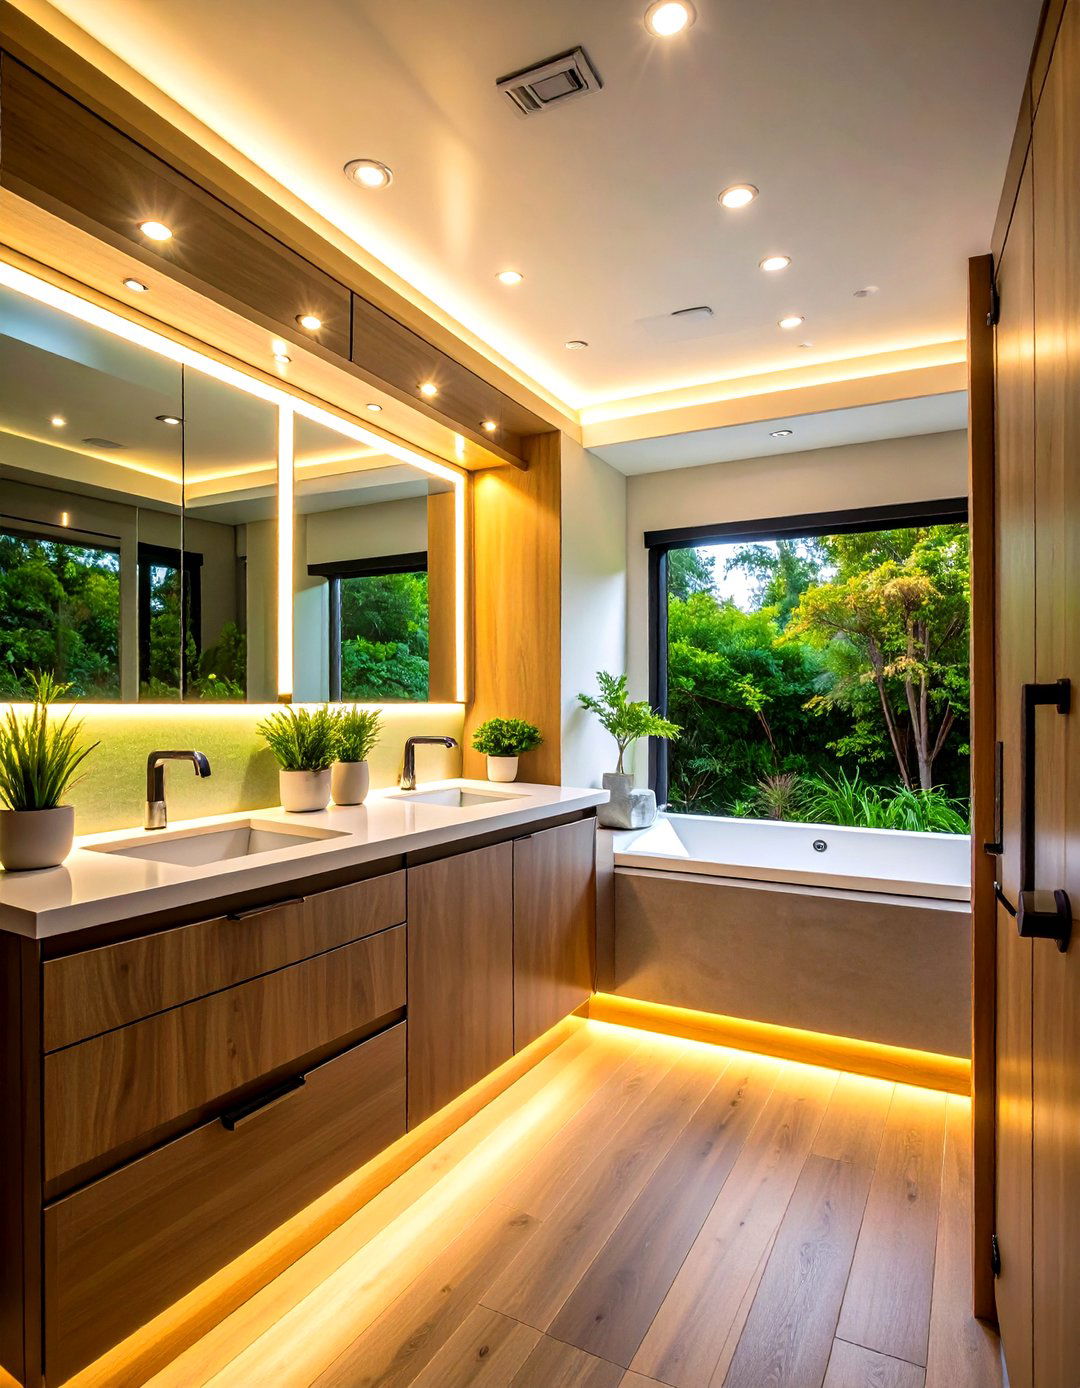
Efficient LED lighting tailored for RV bathrooms enhances both function and mood. RecPro offers a range of 12-V LED vanity lights, ceiling fixtures, and strip lights that fit RV electrical systems and supply warm, flicker-free illumination. Installing under-cabinet or backlit mirror LEDs creates an upscale spa-like ambiance, while recessed puck lights above the shower ensure safe, well-lit bathing. LED fixtures consume minimal power and produce little heat, making them ideal for confined spaces and limited battery reserves.

15. Apply Peel-and-Stick Tile or Waterproof Wall Decals for Easy Renovation
A fast, budget-friendly way to update walls and shower surrounds is to use peel-and-stick tile panels or decals. These adhesive-backed products mimic ceramic, glass, or metallic finishes and adhere directly to existing surfaces without grout. Barefoot Detour’s renovation guide highlights shelving-liner tiles as a cost-effective, moisture-resistant option that holds up over time. Simply measure, cut, and apply for an instant style boost that resists mold and cleans easily with soap and water.
16. Use Curved or Expandable Shower Rods to Increase Shower Space
A curved or telescoping shower rod expands the interior of your shower stall by several inches, preventing claustrophobic elbows and reducing curtain contact. These rods adjust to fit standard RV shower openings and install with tension mounts—no drilling required. The additional elbow room makes showering more comfortable, and the tension mechanism accommodates slight curve adjustments to ensure a snug fit that won’t slip under motion or pressure.
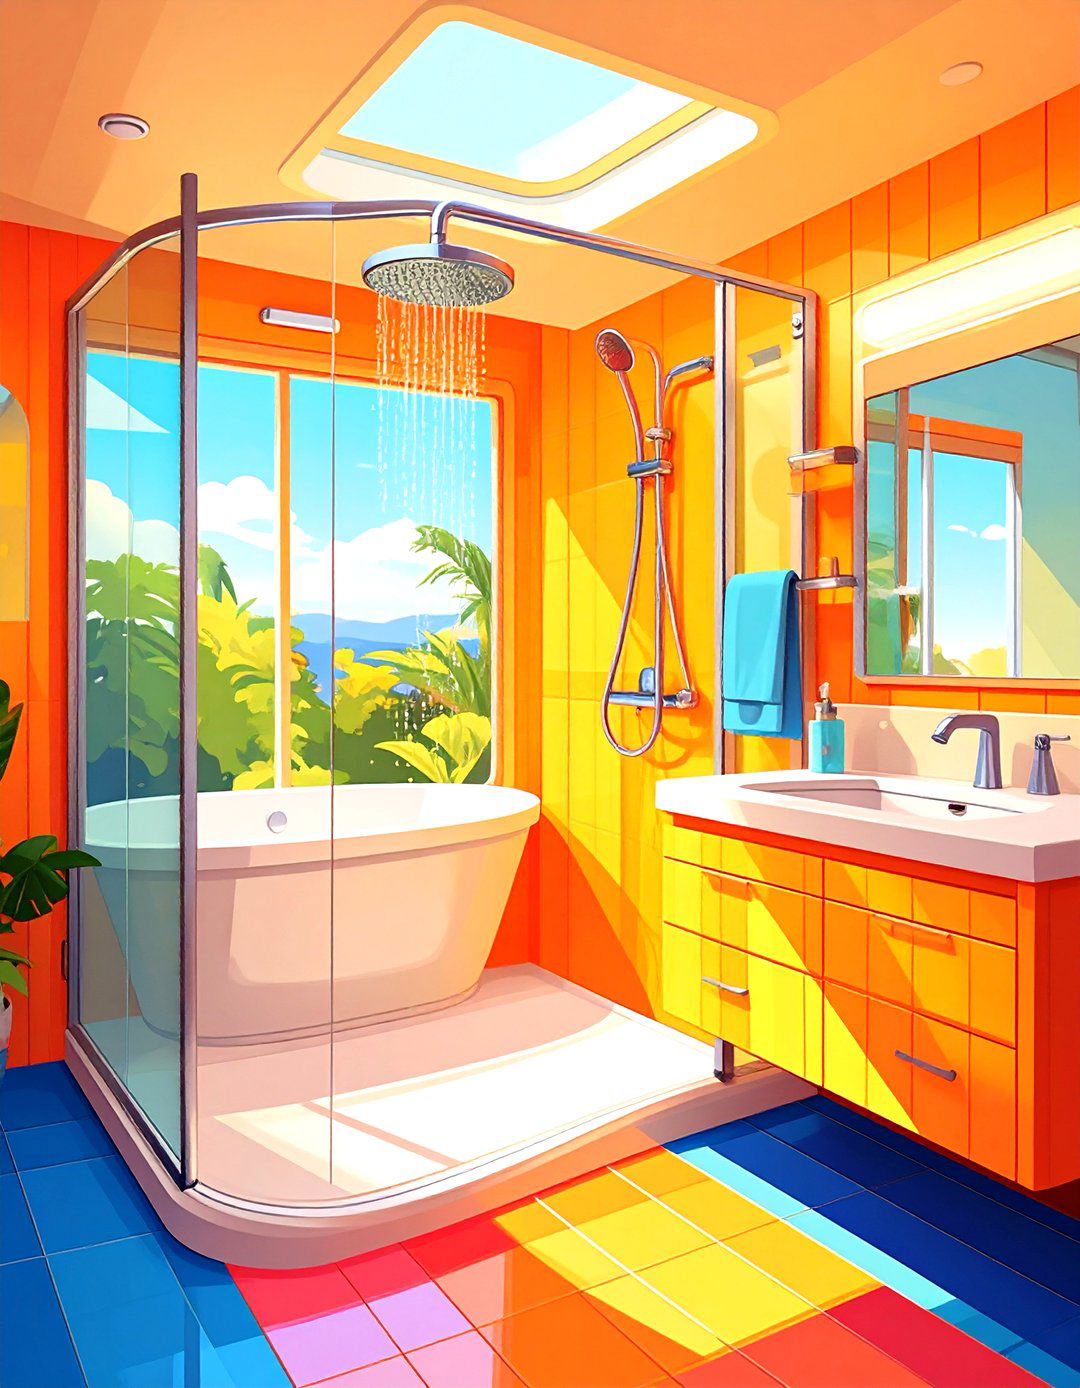
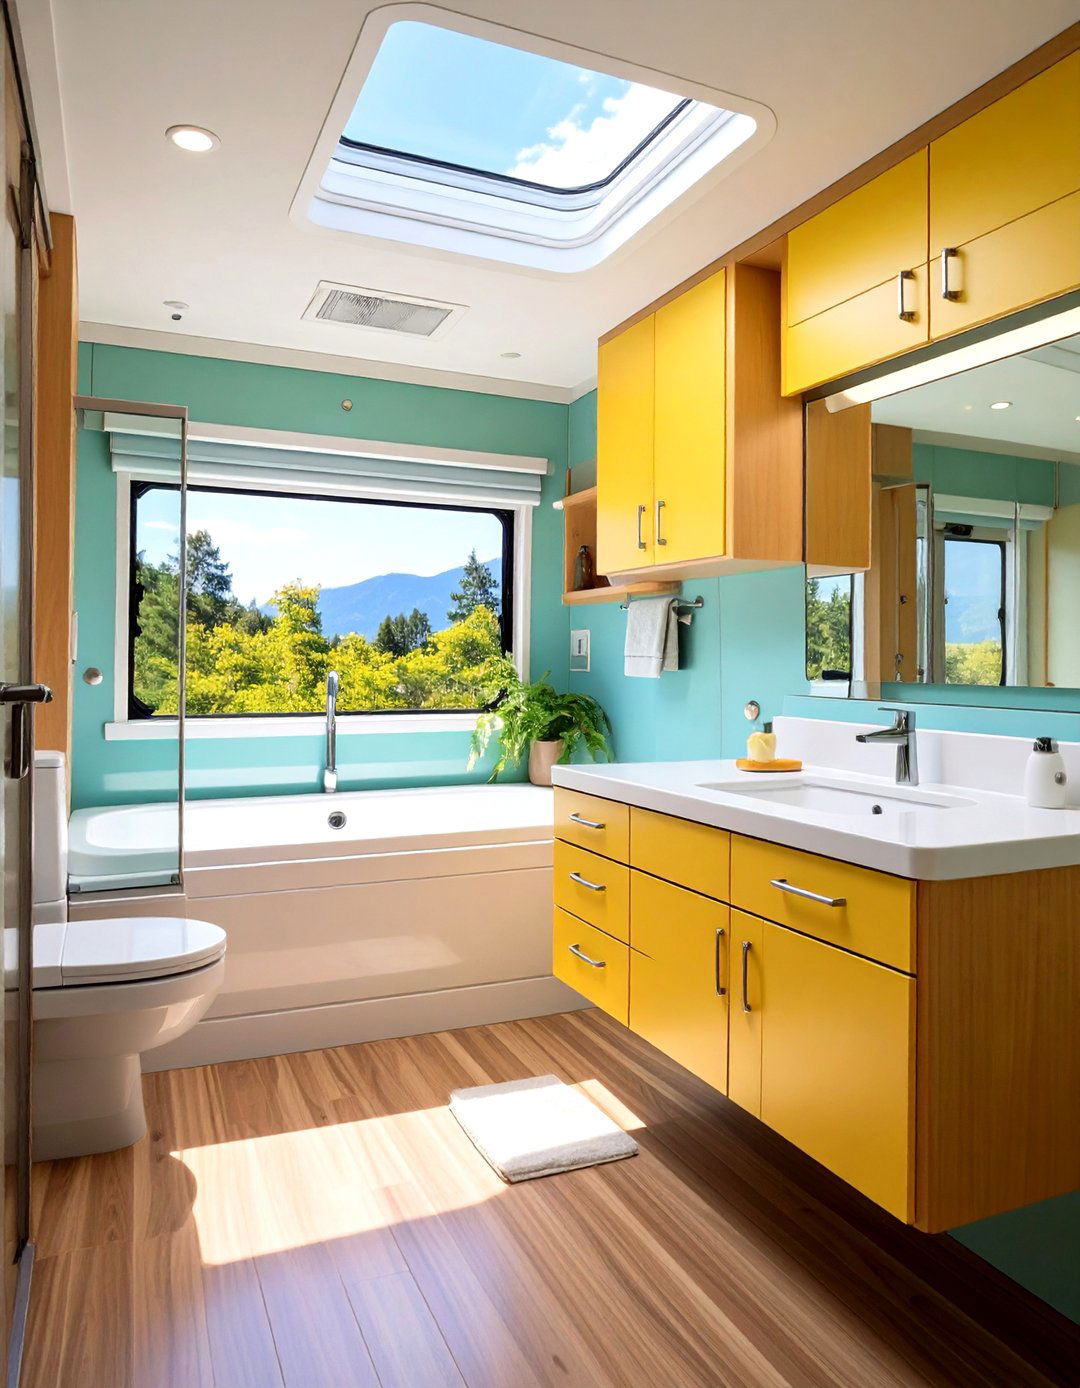
17. Improve Ventilation with a Skylight or Roof Vent Fan
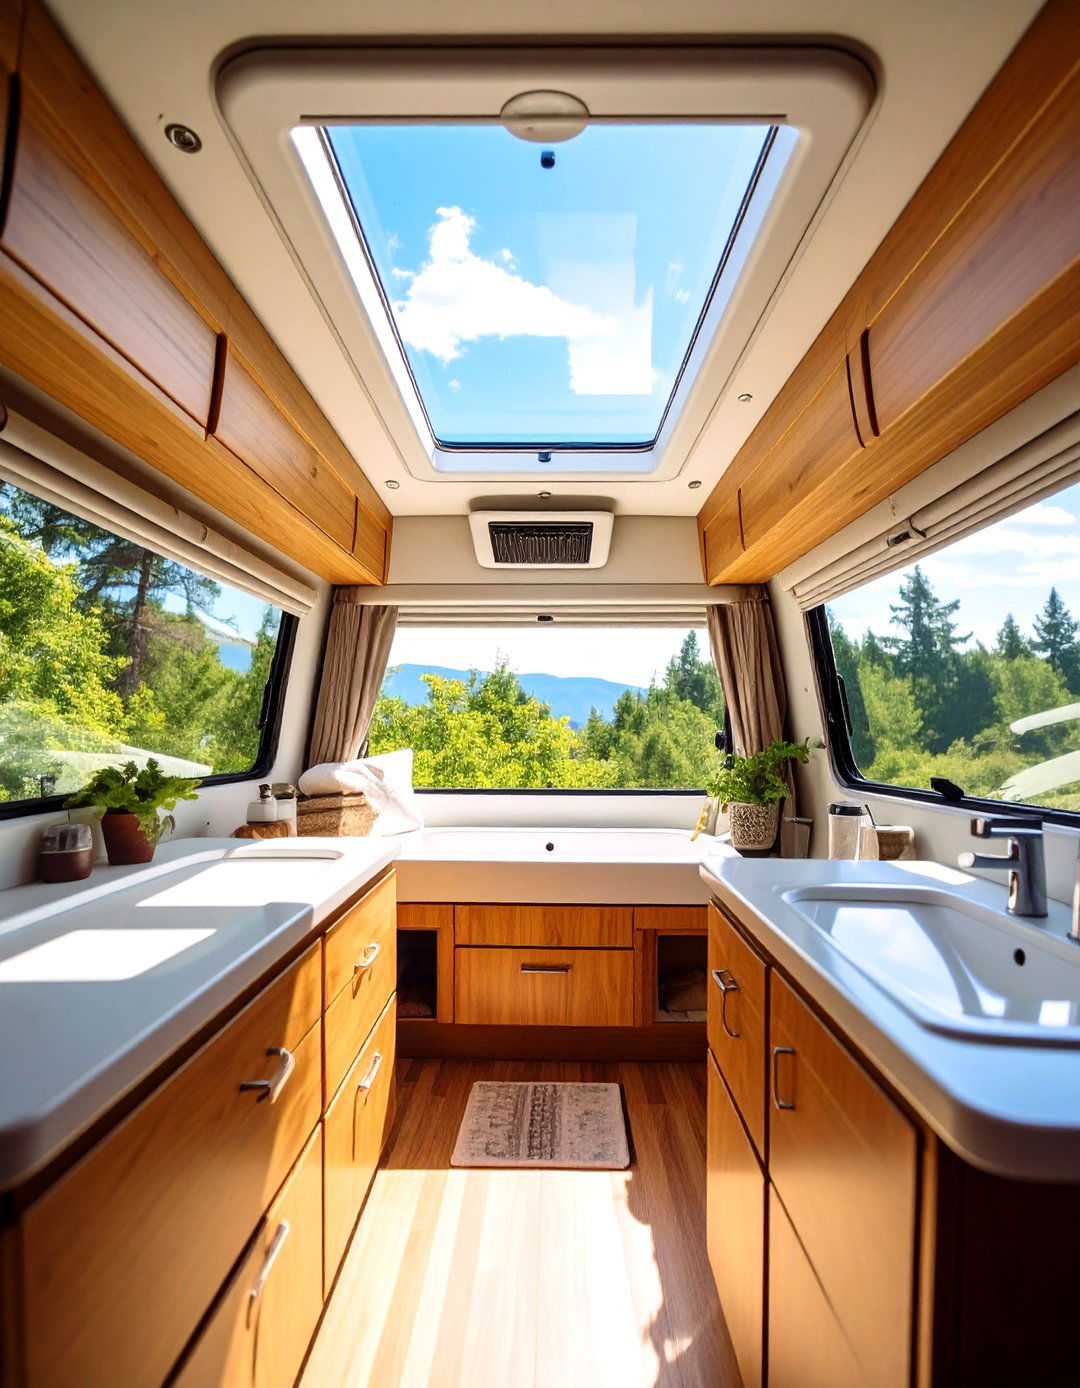
Proper airflow is crucial in preventing mildew and lingering odors. Many RVs come with rooftop vents, but adding a clear or frosted skylight above the shower provides natural light and smoke-free moisture escape. In a TikTok tour of her fifth-wheel, full-time RVer Kirs notes how a skylight brightens the shower while a blue-light toilet adds nighttime convenience. A 12-V roof vent fan with a built-in rain sensor further expels humid air, maintaining a fresher, healthier environment.
18. Add Built-In Shower Niches or Corner Shelves
Recessed niches built into shower walls or compact corner shelves offer storage for shampoo, body wash, and soap without protruding into the stall. Architectural Digest recommends planning these at the time of renovation, ensuring proper waterproofing and tile integration. Niche depths of just four inches are sufficient for most bottles, while corner shelves can be retrofitted using clear acrylic or stainless steel units. Both solutions maintain a sleek profile and reduce the risk of items falling into the drain.
19. Opt for a Compact Corner Sink or Vanity Tuck

For particularly tight layouts, corner sinks under 13×13 inches open up walking space and leave room for small towel bars or storage bins beneath. Magnus Home Products offers wall-mount corner sinks in both vitreous china and pedestal styles that finish flush against adjoining walls. By positioning the sink in an otherwise unused nook, you free up linear wall space for cabinetry or mirrors, making the bathroom feel larger and less crowded.
20. Choose Moisture-Resistant and Easy-to-Clean Materials
To stand up to constant steam, vibration, and road dust, select moisture-resistant materials like PVC wall panels, ABS plastic fixtures, and tempered glass accents. Skoolie Forum experts recommend PVC sheeting for its flexibility, resistance to rot, and ease of maintenance, while kitchen-grade glass or tile surfaces add durability and a high-end look. Silicone sealants maintain water-tight joints, and vinyl flooring resists moisture better than wood or laminate. These material choices ensure your RV bathroom remains fresh, functional, and low-maintenance for years to come.
Conclusion:
By combining strategic storage solutions, space-saving fixtures, and durable materials, you can transform even the smallest RV bathroom into a streamlined, comfortable oasis. From fold-down sinks and waterless toilets to peel-and-stick wall panels and LED lighting, each idea prioritizes function and ease of installation. Embrace vertical organizers, sliding doors, and recessed niches to maximize every inch, while moisture-resistant surfaces and proper ventilation keep the space hygienic. With these twenty practical upgrades and hacks, your RV bathroom will feel larger, more efficient, and ready for the open road.
Related posts:

Leave a Reply