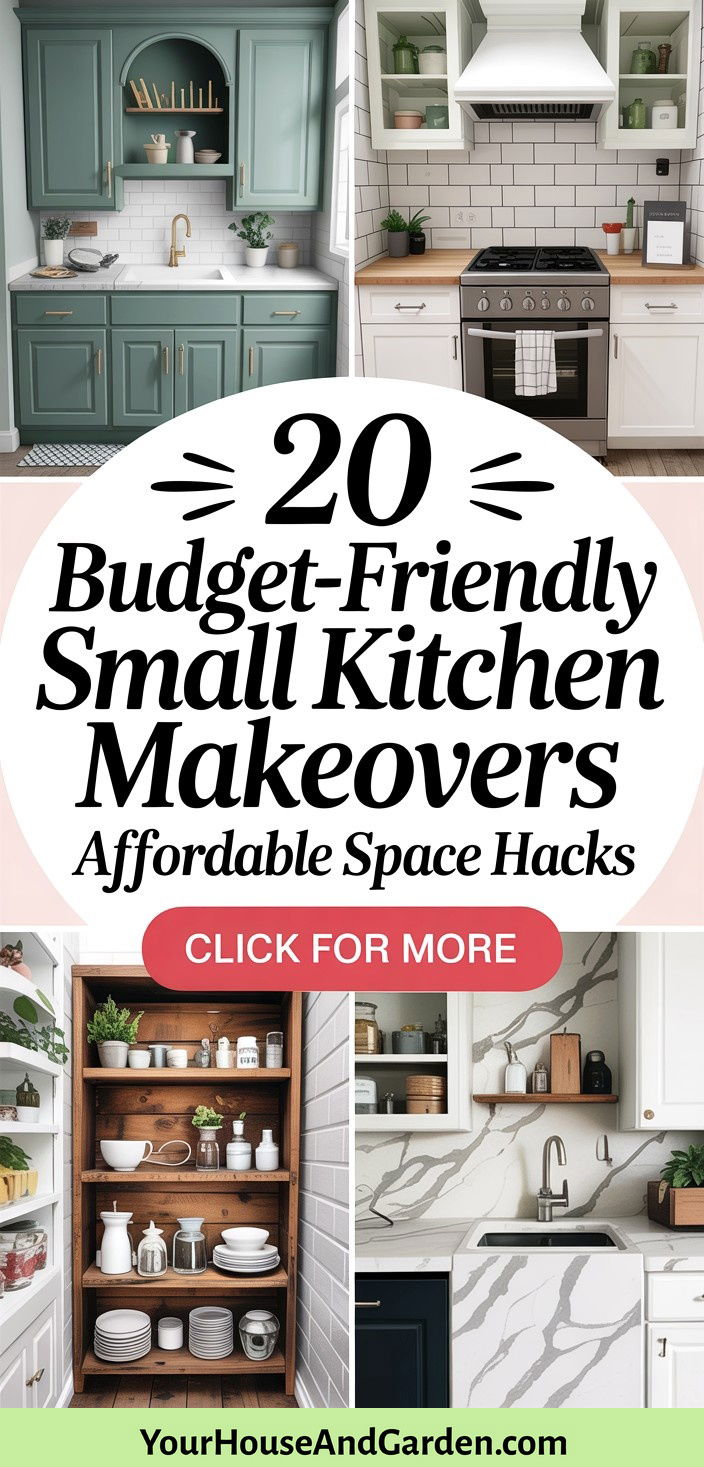
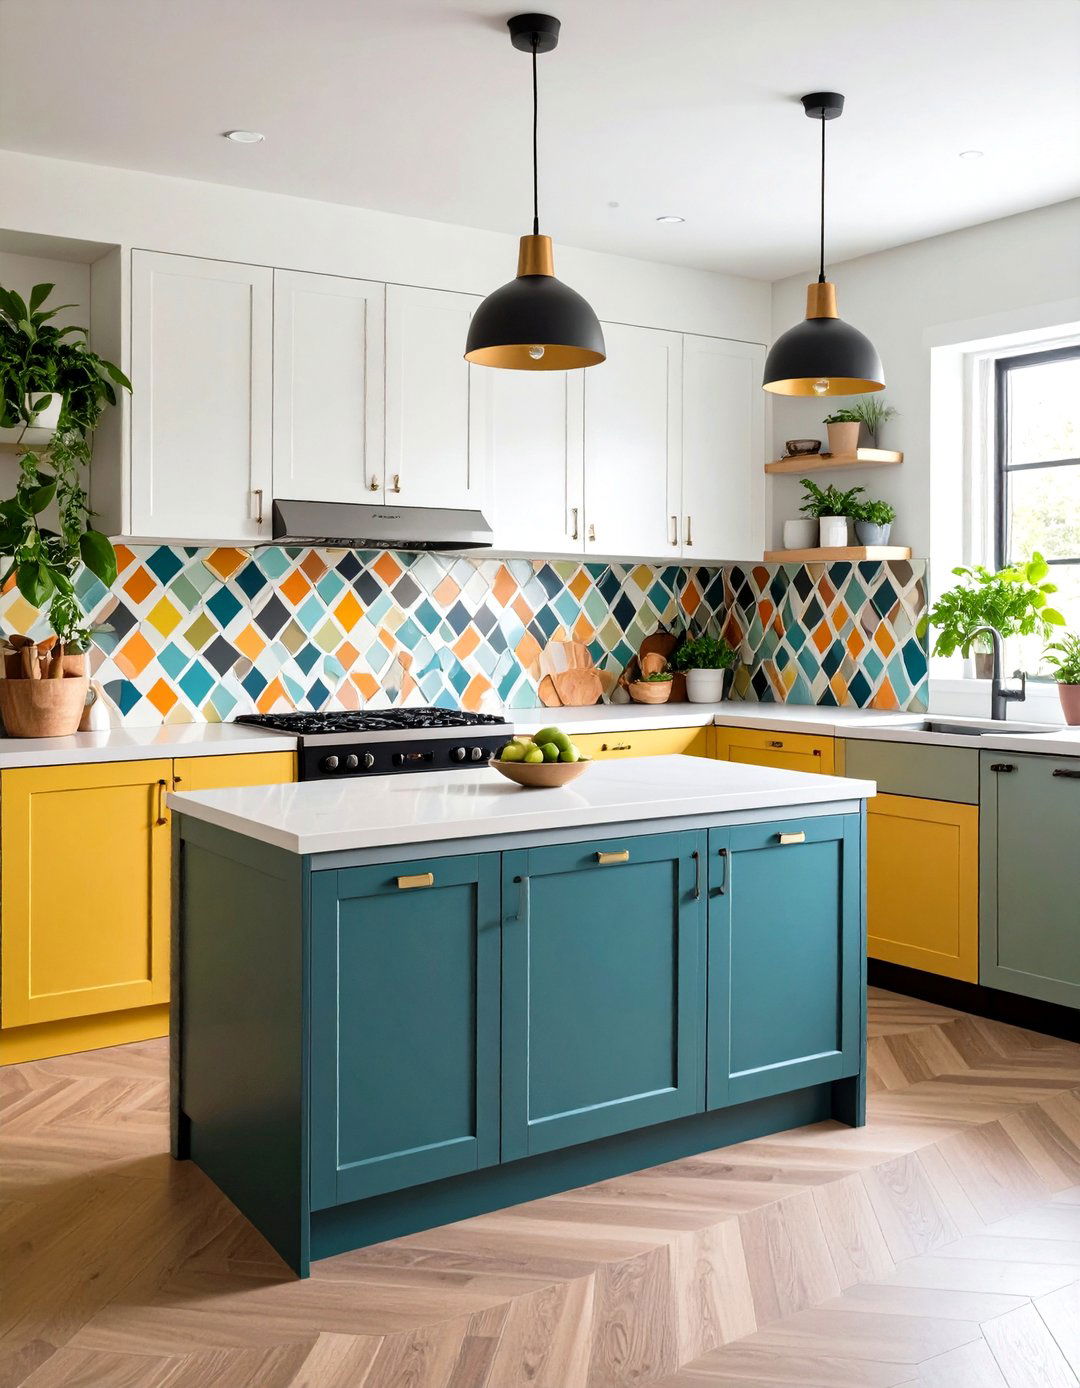
Small kitchens are a common challenge in urban homes and apartments where every square inch counts. Fortunately, a range of budget-friendly design and organization strategies can transform even the tiniest kitchen into a functional, stylish space. From painting techniques and creative storage solutions to repurposed furniture and peel-and-stick upgrades, savvy homeowners can maximize efficiency and aesthetic appeal without overspending. Drawing on expert recommendations and DIY hacks from top home design sources, this article presents twenty practical ideas for making the most of a small kitchen on a budget. Each idea can be implemented with minimal expense and basic materials, offering high impact for low cost.
1. Embrace Light and Airy Colors
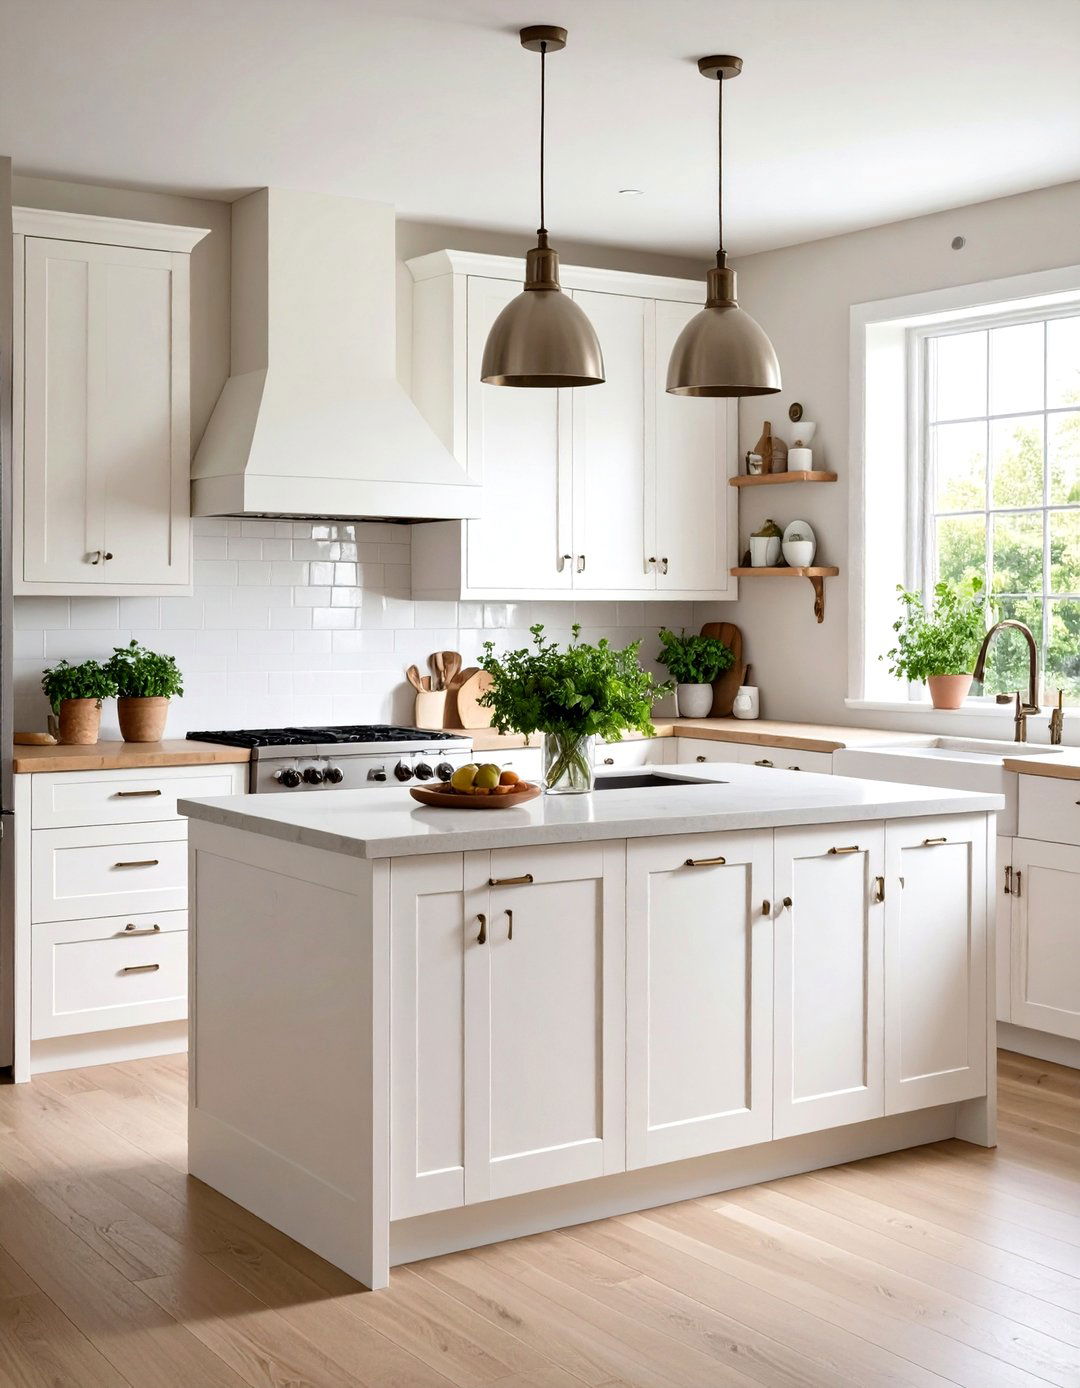
A simple coat of light, neutral paint can do wonders for making a cramped kitchen feel more spacious and inviting. Opting for whites, pale grays, or soft pastels allows both natural and artificial light to bounce off surfaces, reducing visual clutter and enhancing perceived volume. This low-cost update requires only primer, paint, and basic tools, and can be completed in a single weekend without professional assistance. By keeping interrupting contrast to a minimum, the walls, cabinets, and trim merge seamlessly, creating a cohesive backdrop. Homeowners can also consider a high-gloss finish on lower cabinets to reflect light and add depth.
2. Maximize Vertical Space with Ceiling-High Shelves

Installing shelves that reach up to the ceiling takes advantage of often overlooked vertical real estate, enabling storage of infrequently used items such as seasonal cookware or extra serving dishes. By placing the most needed utensils and popular dishes on the lower levels, and reserving the upper shelves for decorative pieces or seldom-used gear, you maintain accessibility while clearing precious counter and cabinet space. Pre-cut shelving kits or DIY pine boards can be purchased for a modest cost, and installation typically requires only basic brackets and hardware. Adding uniform baskets or bins on higher shelves keeps the display tidy while concealing clutter.
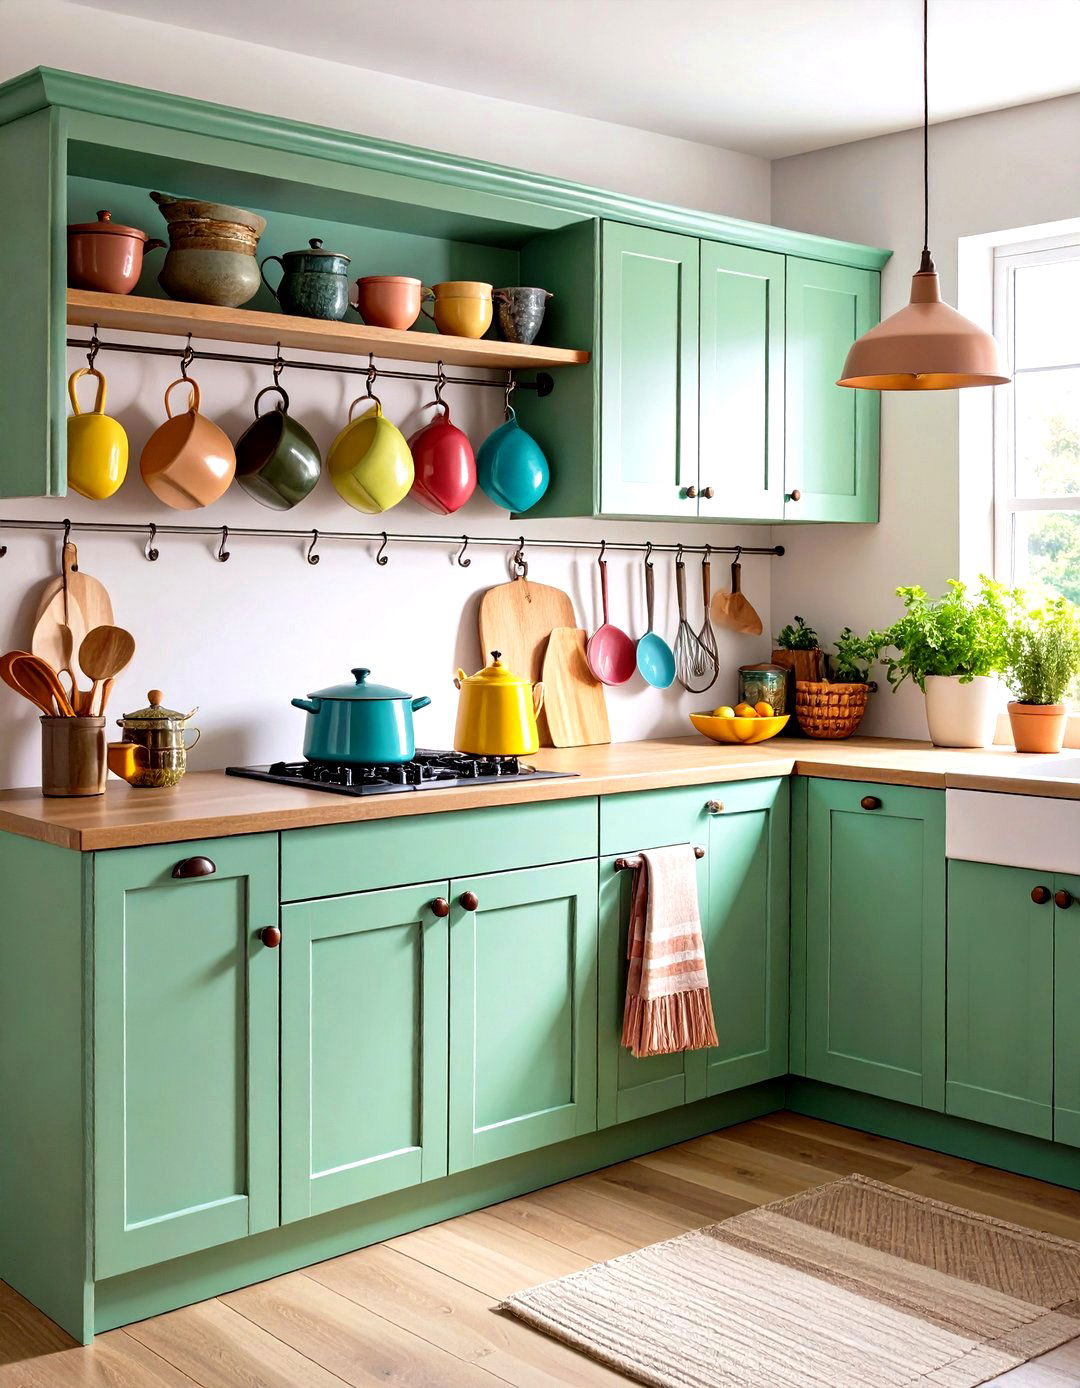
3. Install Open Shelving

Open shelving replaces bulky upper cabinets with minimalist racks, instantly broadening sightlines and making the kitchen feel more open. Affordable options include IKEA’s wall-mounted rails or simple wood planks hung on decorative brackets, yielding a custom look for under $50 per shelf. Open shelves also provide an opportunity to display attractive dishware, glassware, and kitchen accessories, doubling as décor and functional storage. To avoid visual chaos, group items by type or color and use matching containers for dry goods. Periodic decluttering and dusting keep open shelving looking tidy and intentional rather than cluttered.
4. Use Magnetic Knife Strips

Magnetic knife strips mounted on a backsplash or wall offer a sleek, space-saving alternative to bulky knife blocks or drawers. These strips securely hold knives at eye level, freeing up counter space and reducing countertop clutter. Magnetic strips also allow quick access to frequently used knives, improving workflow and safety by keeping blades visible. Purchasing stainless steel or bamboo-backed strip kits starts around $15, making this solution both budget-friendly and long-lasting. It’s essential to mount the strip into studs or use strong anchors to ensure stability when supporting heavy knives.
5. Hang Pots and Pans from Ceiling Hooks
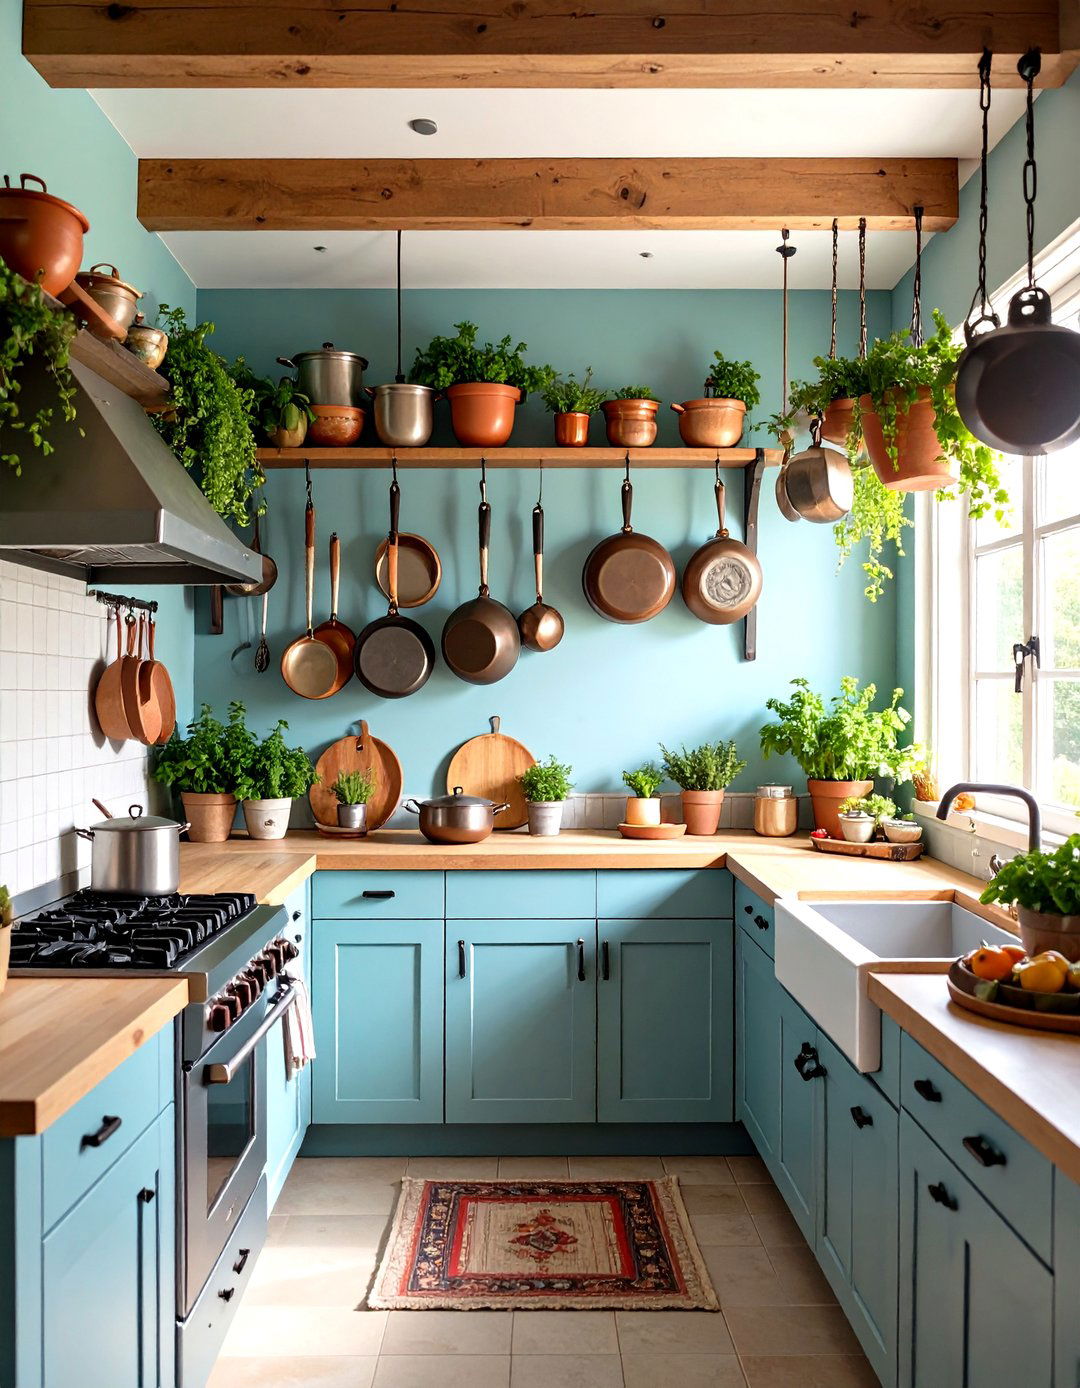
Utilizing ceiling hooks or a small pot rack transforms overhead space into a functional storage zone for pots, pans, and colanders. This approach frees cabinet room and creates a decorative focal point, especially when using uniform metal cookware. Hook kits can be found online or at hardware stores for under $20, and installation involves only basic tools and anchors. Hanging cookware draws the eye upward, making the ceiling feel higher and the room more expansive. For a cohesive look, choose hooks that match existing metal finishes in the kitchen or paint the rack to coordinate with cabinet hardware.
6. Add a Multi-Functional Rolling Kitchen Cart
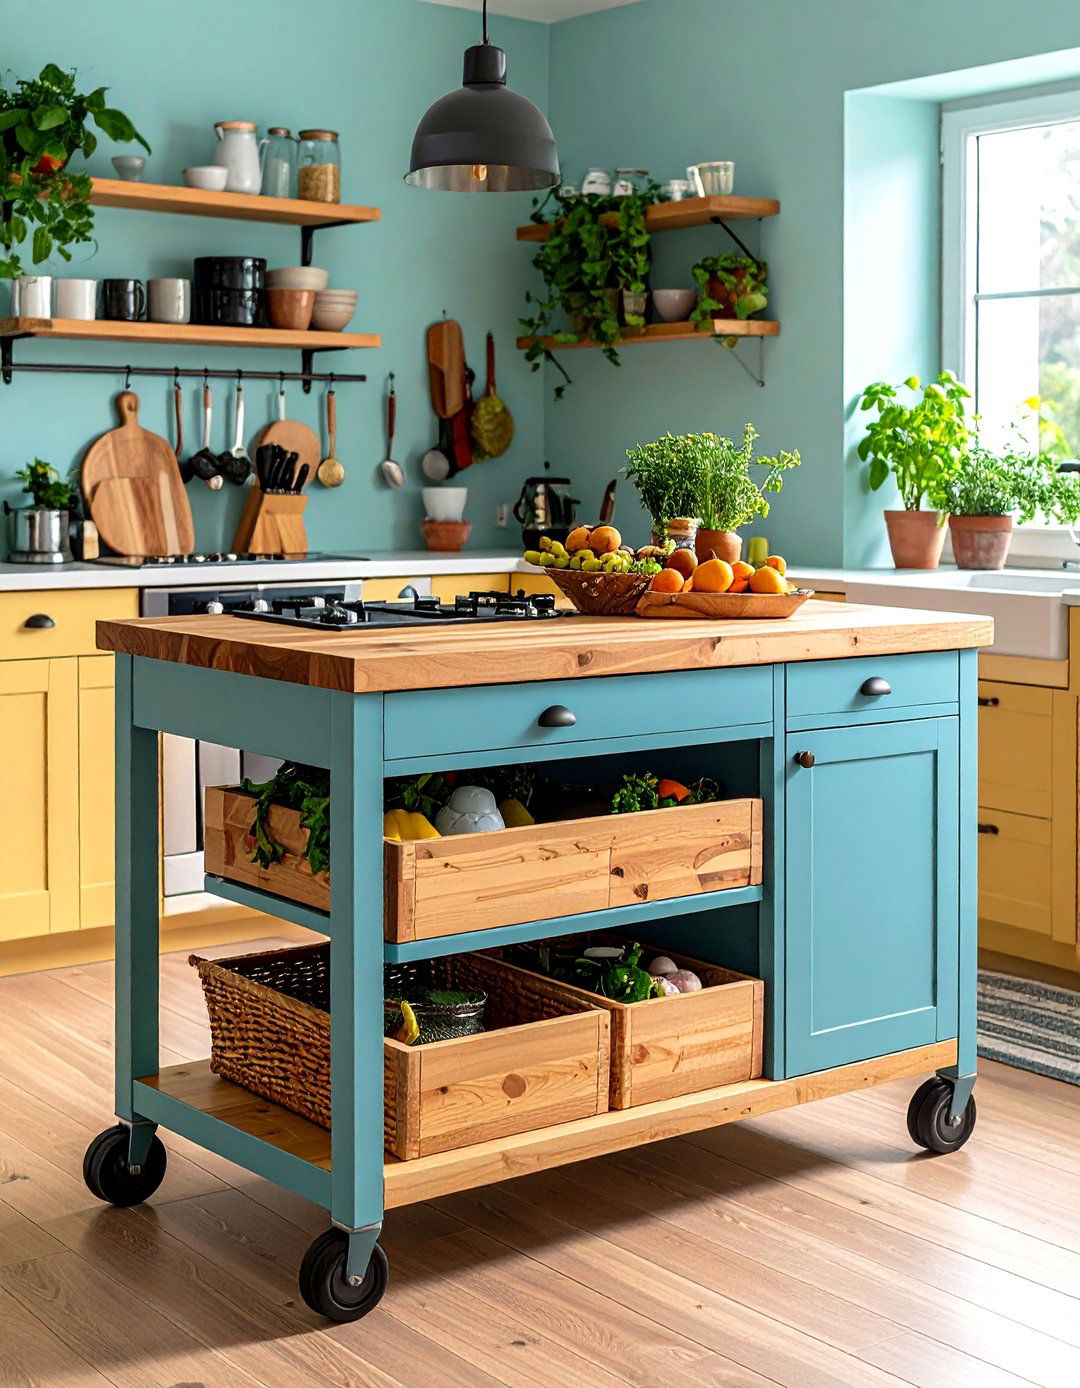
A small rolling kitchen cart offers extra prep space, shelving, and mobility, making it an excellent multi-purpose addition. Carts with butcher block tops can serve as additional countertops or breakfast bars, while lower shelves or baskets accommodate appliances, cutting boards, and pantry items. Many budget-friendly models under $100 are available at major retailers, and adding caster locks ensures stability during use. When not in service, the cart can be rolled into a corner or tucked under a counter overhang, preserving floor space. To personalize, consider painting the cart or swapping out the hardware for a cohesive look.
7. Refresh Cabinets with Paint and New Hardware
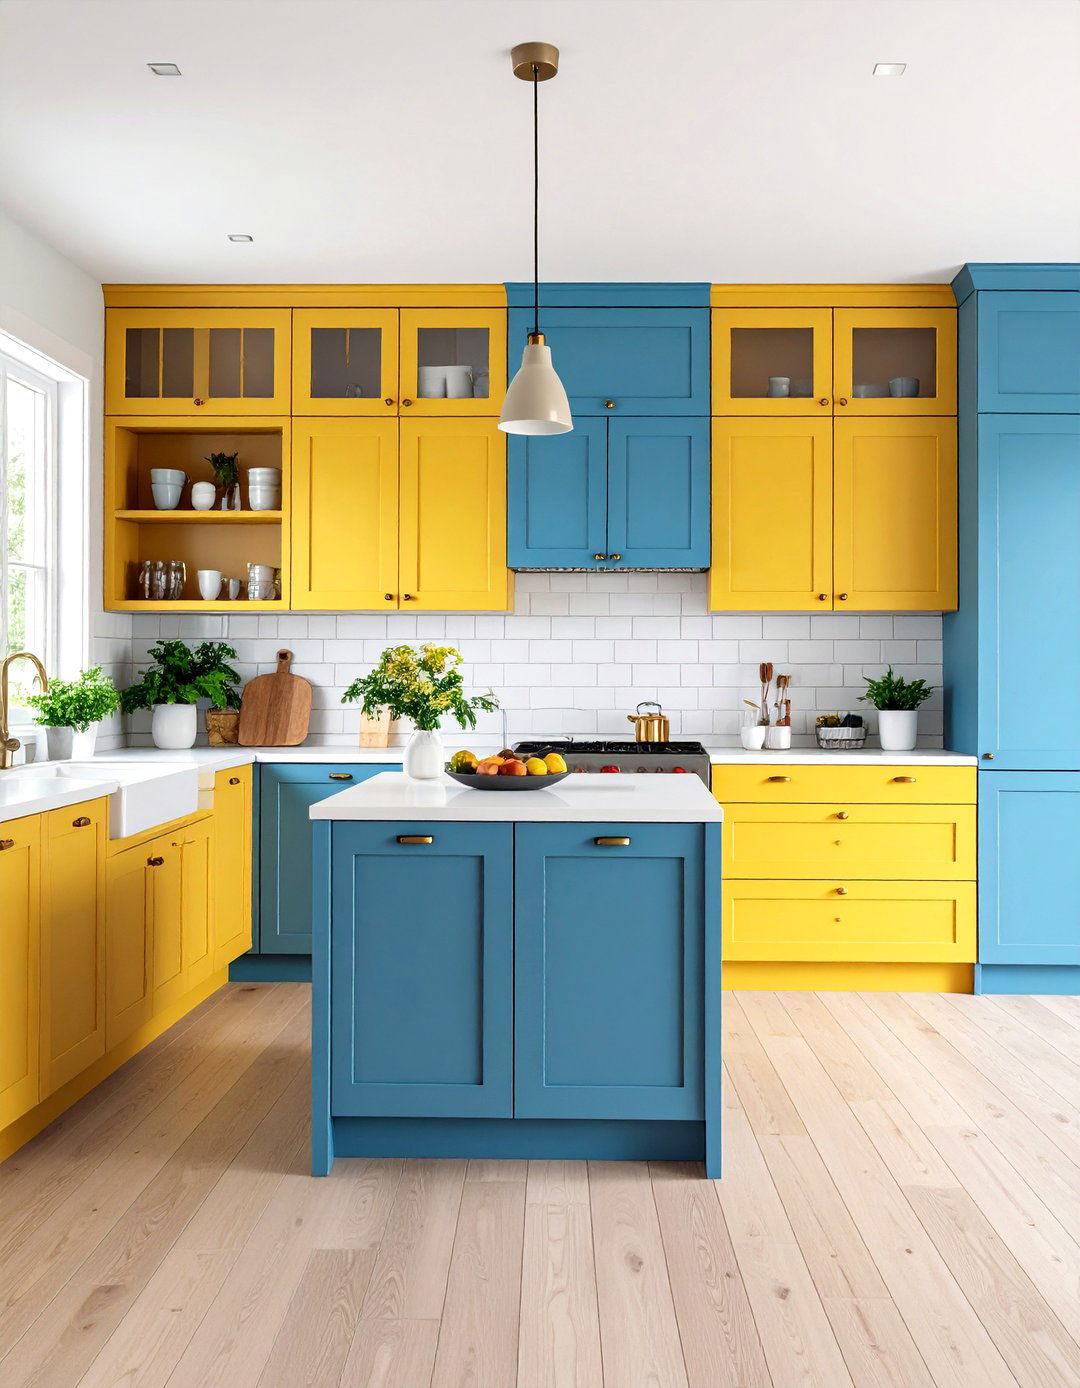
Cabinet refacing via a fresh coat of paint and modern hardware is one of the most affordable kitchen makeovers. A quart of quality cabinet paint sufficient for two coats can cost under $30, and fresh knobs or pulls are often available for just a few dollars each. By selecting a two-tone palette—such as dark bases and light uppers—you create visual contrast that anchors the room while maintaining brightness. Swapping dated hardware for streamlined handles or on-trend matte finishes instantly updates the style. Because this is purely cosmetic, there's no need for a permit or professional contractor.
8. Upgrade Backsplash with Peel-and-Stick Tiles
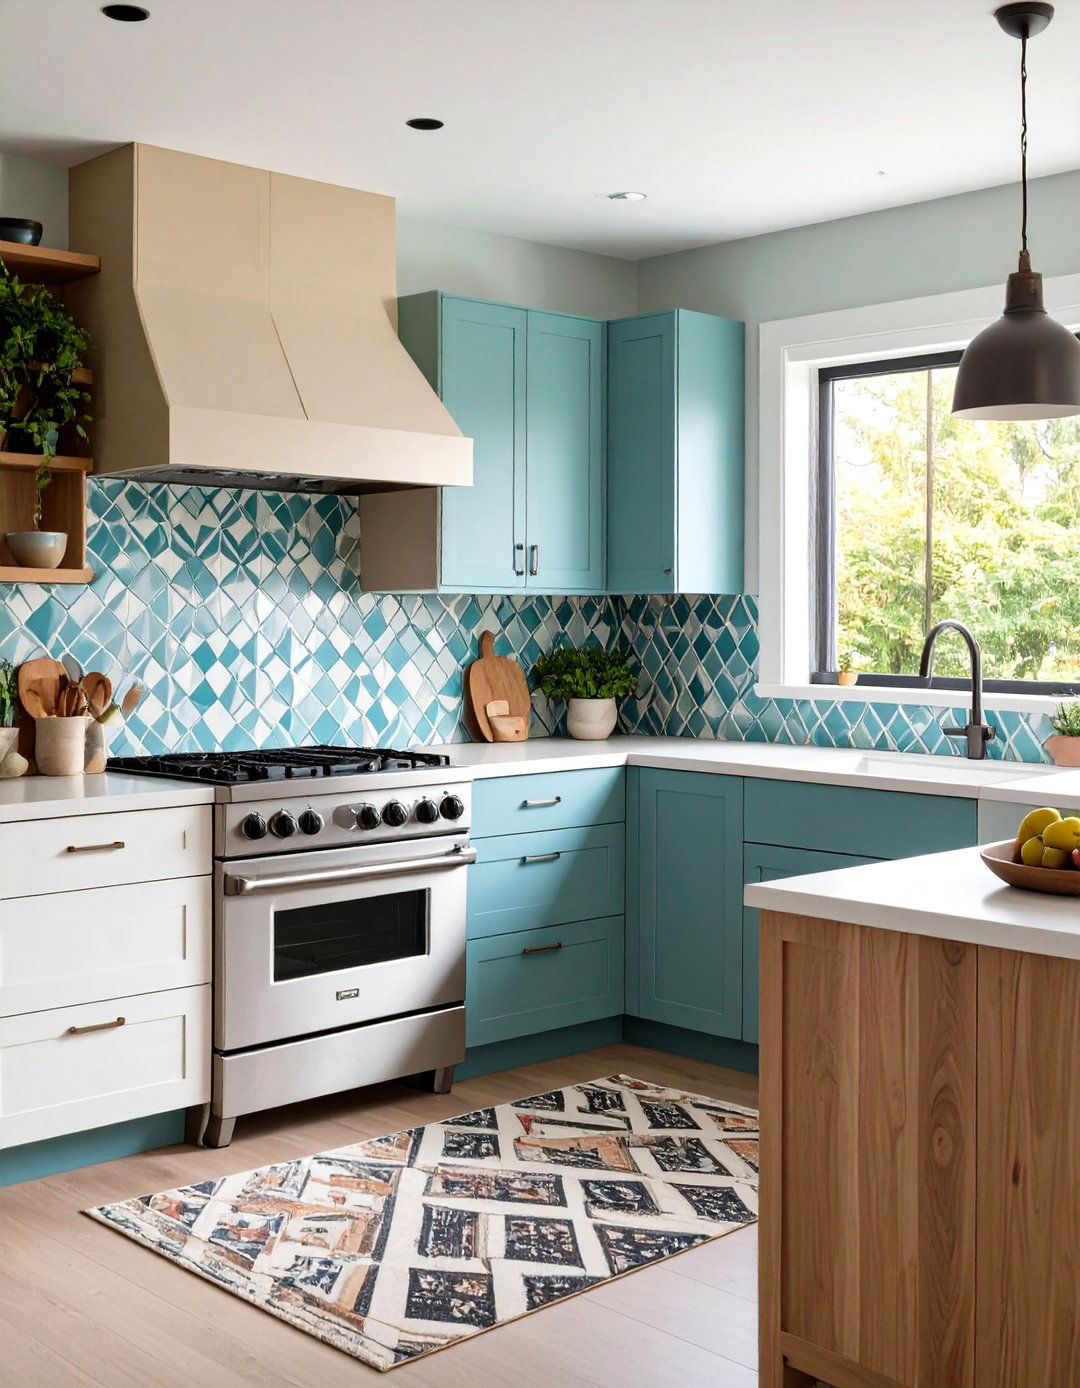
Peel-and-stick backsplash tiles deliver high-end looks without the high-end installation cost of traditional tile. These self-adhesive vinyl or metallic tiles come in a variety of patterns—subway, Moroccan, or geometric—and adhere to clean, smooth surfaces with no grout required. Sheets can be cut with a utility knife and applied in under an hour, perfect for renters or DIY beginners. Many brands offer water-resistant options ideal for behind the sink or stove. With prices starting at under $10 per sheet, this quick upgrade adds personality and protects walls from splatters.
9. Incorporate Floating Shelves

Floating shelves provide a clean, contemporary storage solution that appears to hover on the wall without visible brackets. Using basic shelf kits or cutting reclaimed wood boards to size, you can install these shelves in about an hour. They serve as a handy spot for cookbooks, jars, and decorative accents, balancing function with modern design. To maintain a cohesive look, stain or paint floating shelves to match existing cabinetry or trim. Floating shelves also work well above the sink area or between upper cabinets to maximize unused wall space.
10. Install Under-Cabinet Hooks
Under-cabinet hooks are an inconspicuous yet impactful storage hack for mugs, utensils, or small pots. These hooks slide onto existing cabinet shelves or adhere with strong adhesive, offering a flexible and reversible solution. By hanging mugs by their handles, you preserve cabinet space and create an easy-access coffee station effect. Hooks for utensils can keep spatulas and ladles organized next to the stove, improving kitchen ergonomics. A pack of adhesive hooks costs under $10, and installation requires no drilling, making it renter-friendly and entirely damage-free.
11. Add a Spice Ledge
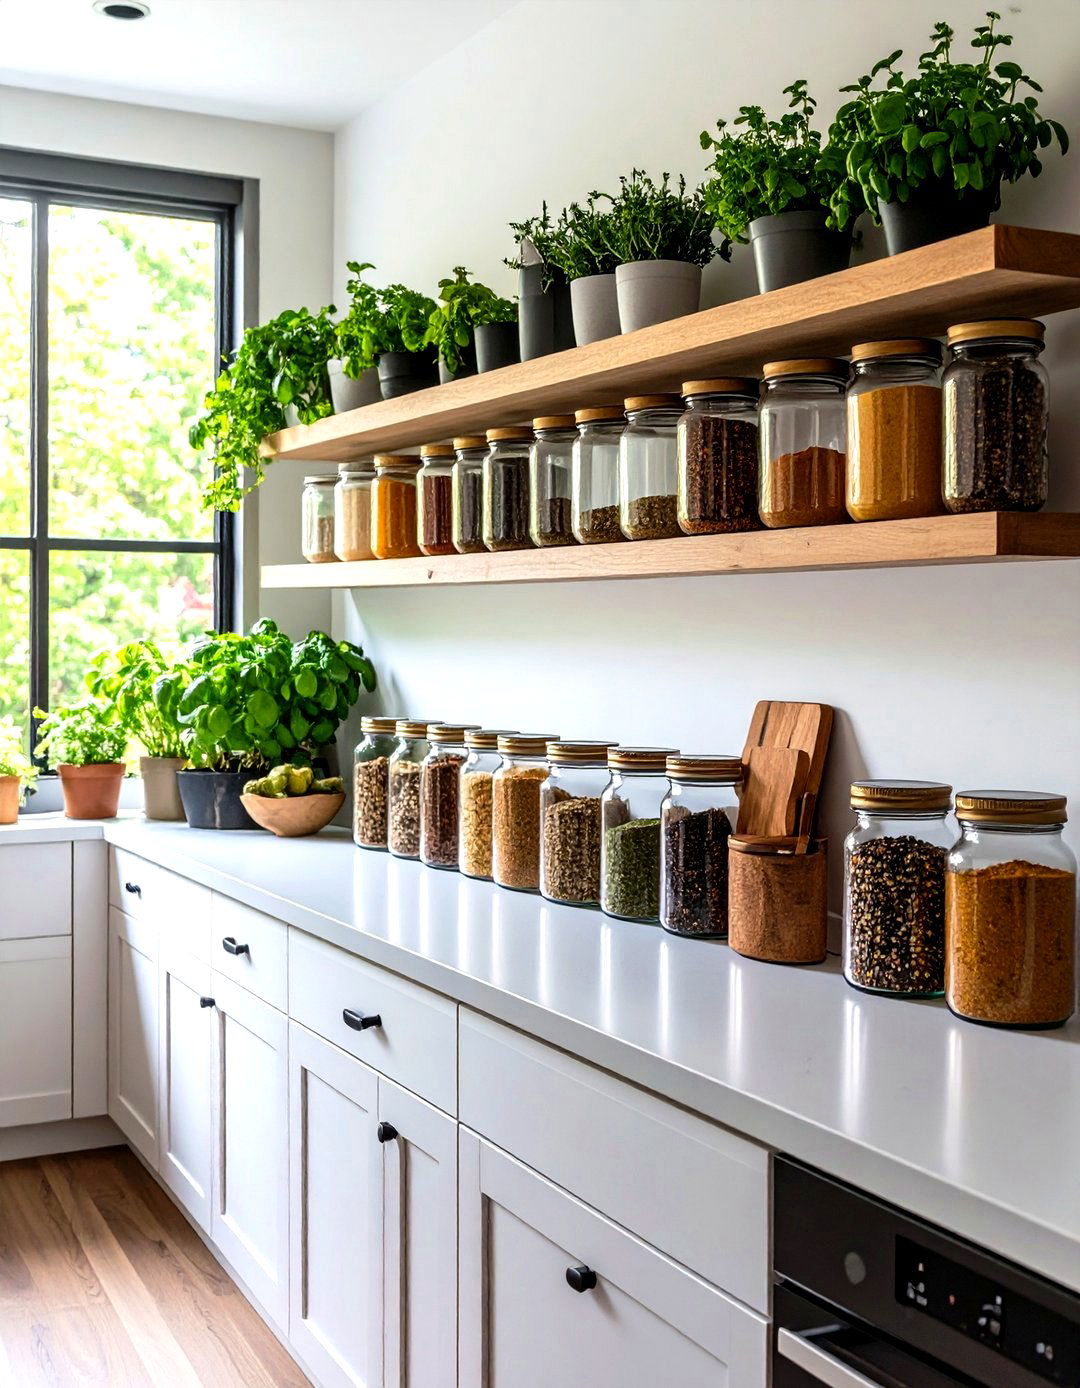
A narrow spice ledge installed along the backsplash provides a dedicated home for spice jars, freeing up cabinet or countertop surfaces. These thin shelves can be cut from inexpensive pine boards and painted to coordinate with cabinetry. At around $15 total for wood and hardware, a spice ledge offers a tidy display for frequently used herbs and seasonings. Position the ledge within arm’s reach of the stovetop to streamline cooking, and use uniform jars with labeled lids for a cohesive, clutter-free look.
12. Utilize a Pegboard Wall for Utensils
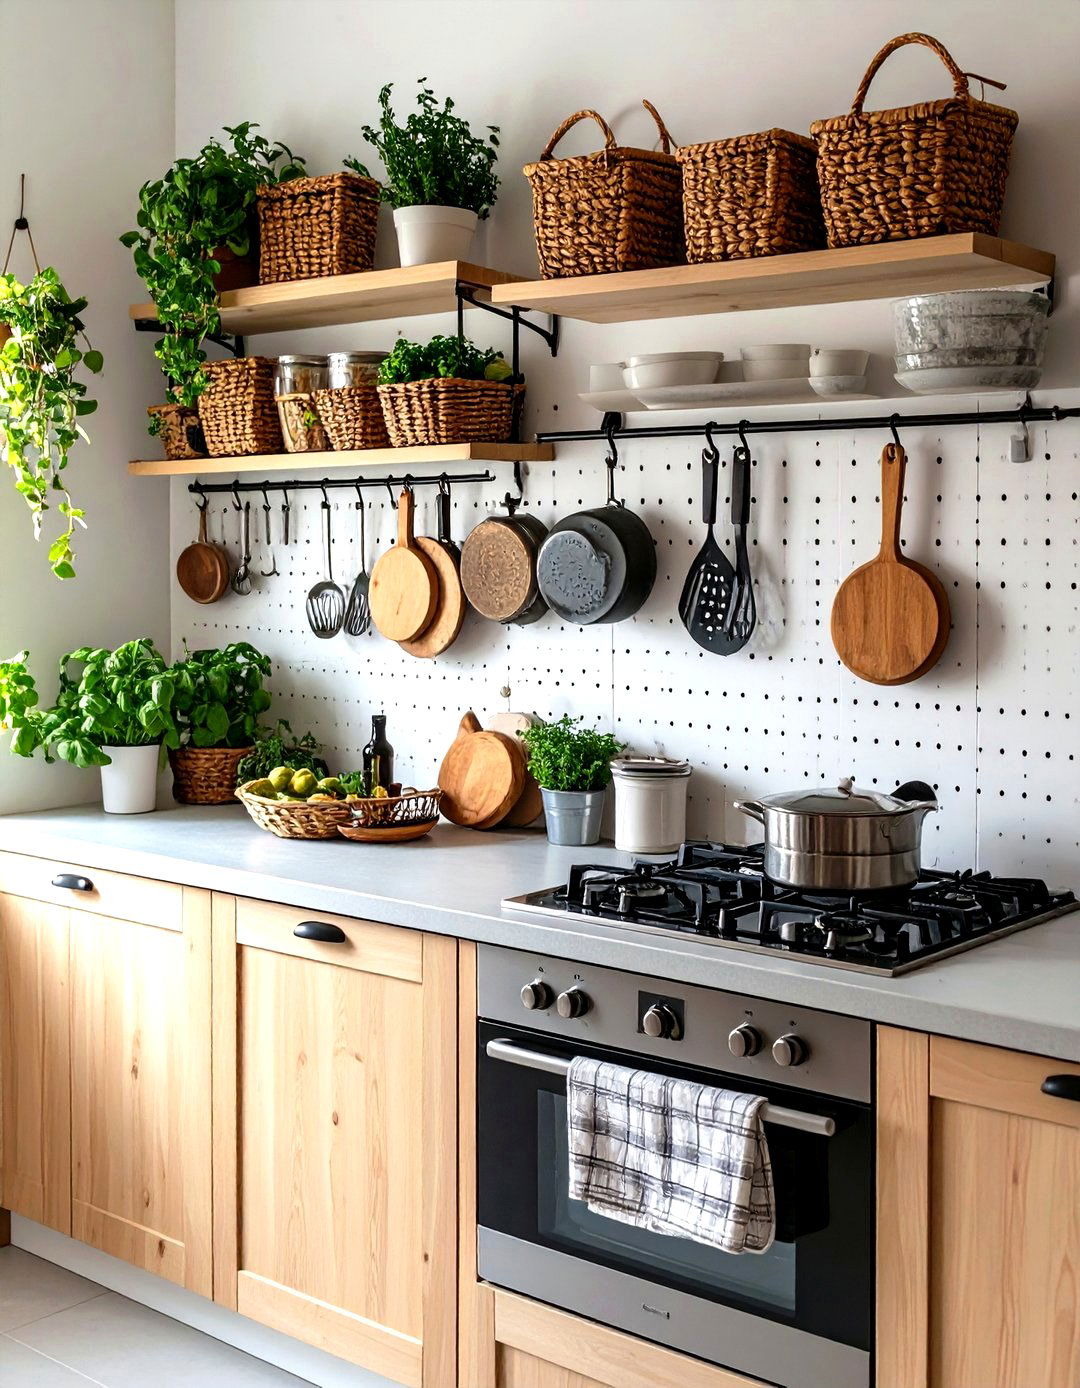
Pegboards transform a blank wall into a versatile command center for pots, pans, utensils, and even cutting boards. Hardboard pegboards with metal hooks cost as little as $15 and can be spray-painted to match any décor. Arranging hooks, baskets, and specialty holders on the pegboard allows you to customize the layout to your specific kitchen tools. Because pegboard is so adaptable, you can shift your setup as your needs evolve. It also visually expands small kitchens by keeping countertops clear and drawing the eye up the wall.
13. Add a Colorful, Budget-Friendly Kitchen Rug
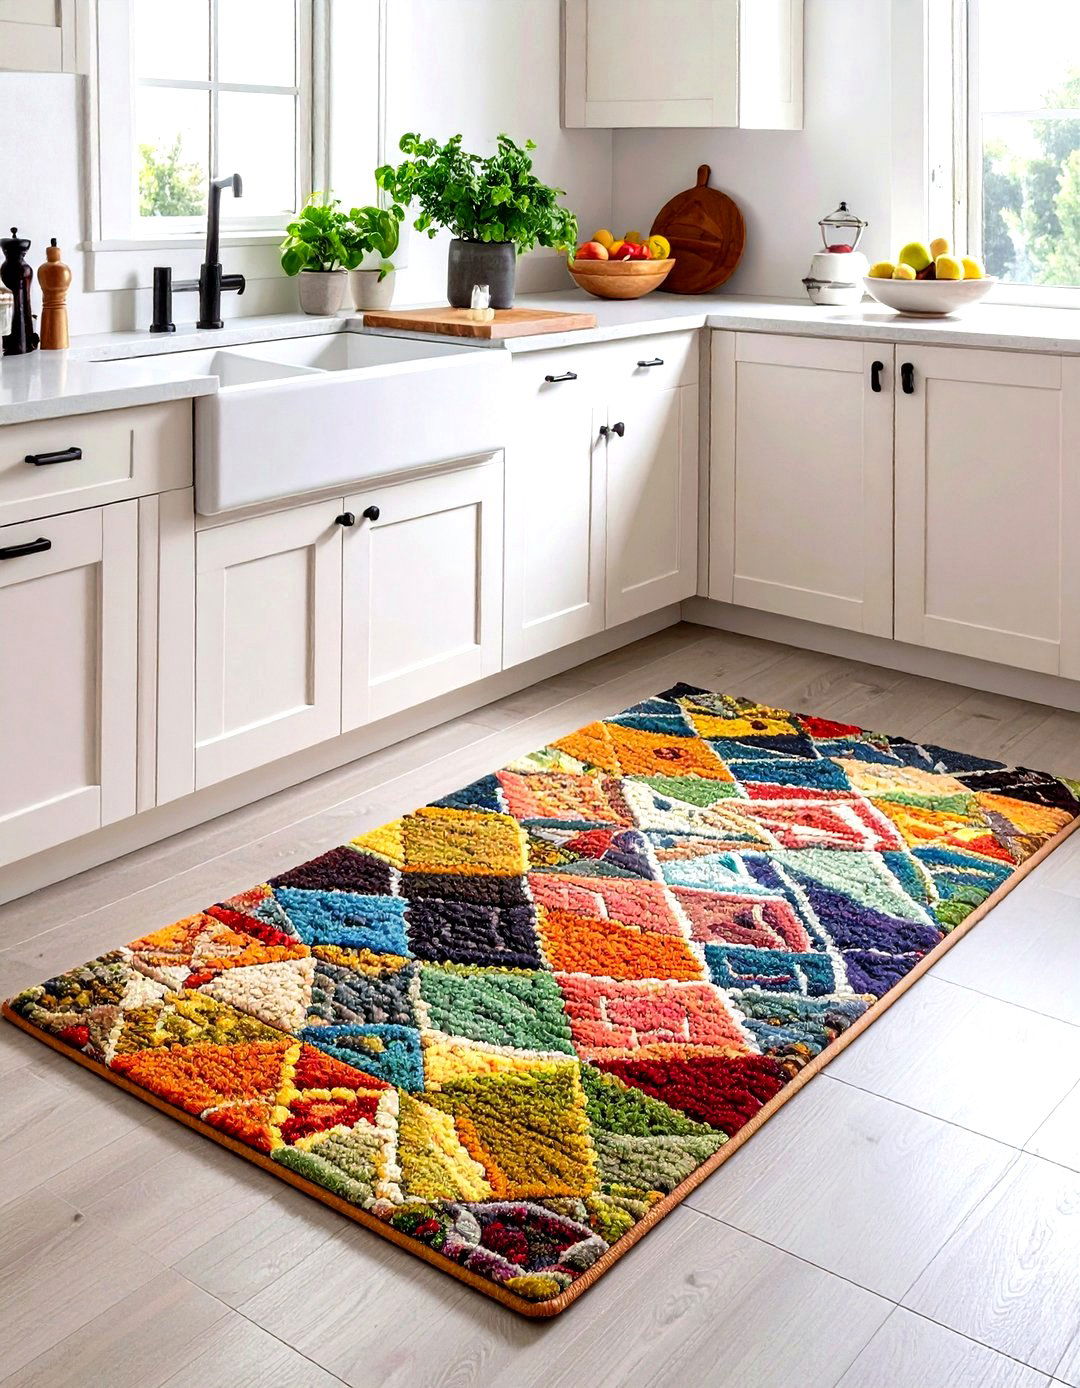
Incorporating a washable kitchen rug adds visual interest, comfort, and protection for hardwood or tile floors. Colorful runners or patterned mats instantly warm up an otherwise sterile kitchen and define distinct zones, such as in front of the sink or stove. Vinyl-backed rugs cost between $20 and $50 and clean easily with a quick shake or rinse in the bathtub. Swap out rugs seasonally for a fresh look or to match evolving décor. Rugs with anti-fatigue properties can also reduce strain when standing for long cooking sessions, adding both style and functionality.
14. Deploy Compact Appliances and Mini-Kitchen Units

For extremely tight spaces, consider compact countertop appliances and all-in-one mini-kitchen units. IKEA’s SUNNERSTA mini-kitchen, for example, combines a cooktop, sink, and basic storage in a single freestanding module that can be relocated as needed. Compact fridges, under-counter dishwashers, and slimline microwaves free up cabinet space while maintaining essential functionality. Often priced under $200, these units cater to apartments, rental studios, or secondary cooking stations. Incorporating trim kits or panel-ready options ensures that mini-appliances blend seamlessly with existing cabinetry.
15. Install a Murphy or Fold-Down Table
Murphy tables, which fold up against the wall, and drop-leaf tables are ingenious solutions for creating a dining or workspace only when needed. These space-saving tables hinge vertically or horizontally and retract flush to the wall, preserving floor area. Basic Murphy table kits start around $100, and drop-leaf dining tables can be found under $150 at budget retailers. Because they require minimal installation hardware and follow clear instructions, many DIYers can complete the project in a few hours. When stowed, these tables disappear, freeing up room for other activities.
16. Introduce Budget-Friendly Statement Lighting
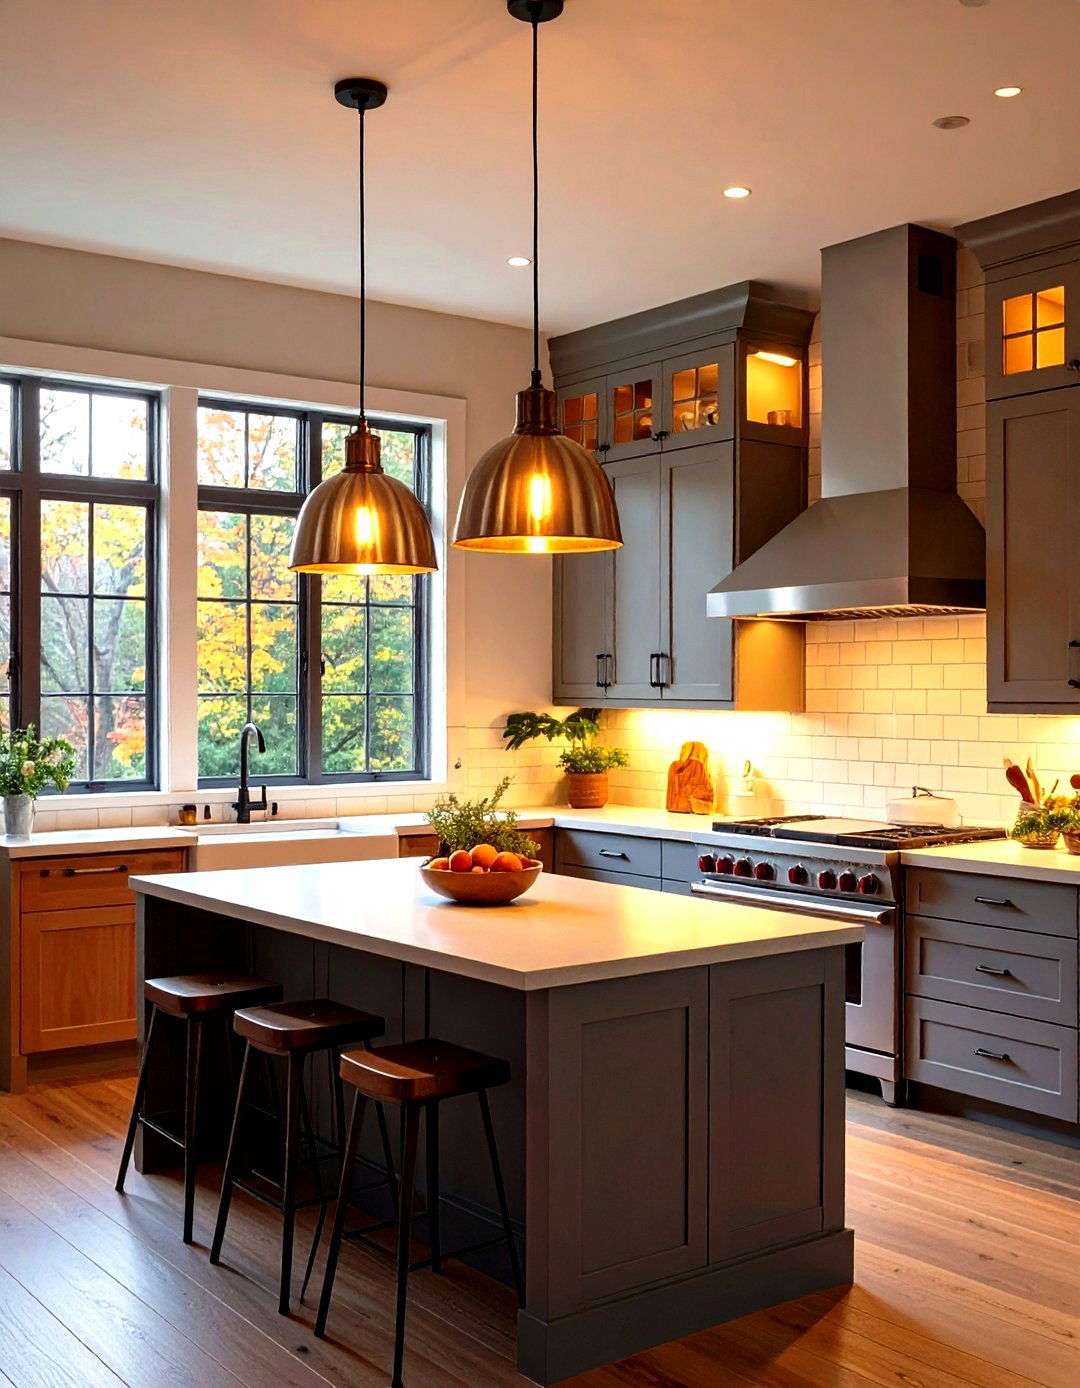
Lighting plays a pivotal role in both functionality and ambiance, and swapping outdated fixtures for budget-friendly statement pieces can transform the look of a small kitchen. Pendant lights over an island or breakfast nook draw the eye upward and create layers of illumination. Options with simple metal shades or geometric frames are available for under $50 apiece. For an even more cost-effective approach, consider secondhand fixtures from thrift stores and update them with a fresh coat of spray paint or new bulbs. Proper task lighting beneath cabinets also improves workflow and safety.
17. Install Brass or Metal Pot Rails

A wall-mounted pot rail system combines storage and décor by suspending pots, pans, and utensils along a metal bar with matching hooks. Brass or black iron rails cost around $20, while branded designer options can cost slightly more. This setup frees up cabinet interiors and showcases cookware as a decorative feature. To ensure secure installation, mount rails to studs or use heavy-duty anchors, especially if storing cast-iron cookware. The rail system can be positioned along backsplash edges or beneath upper cabinets, optimizing every usable surface.
18. Repurpose Thrifted or Antique Finds
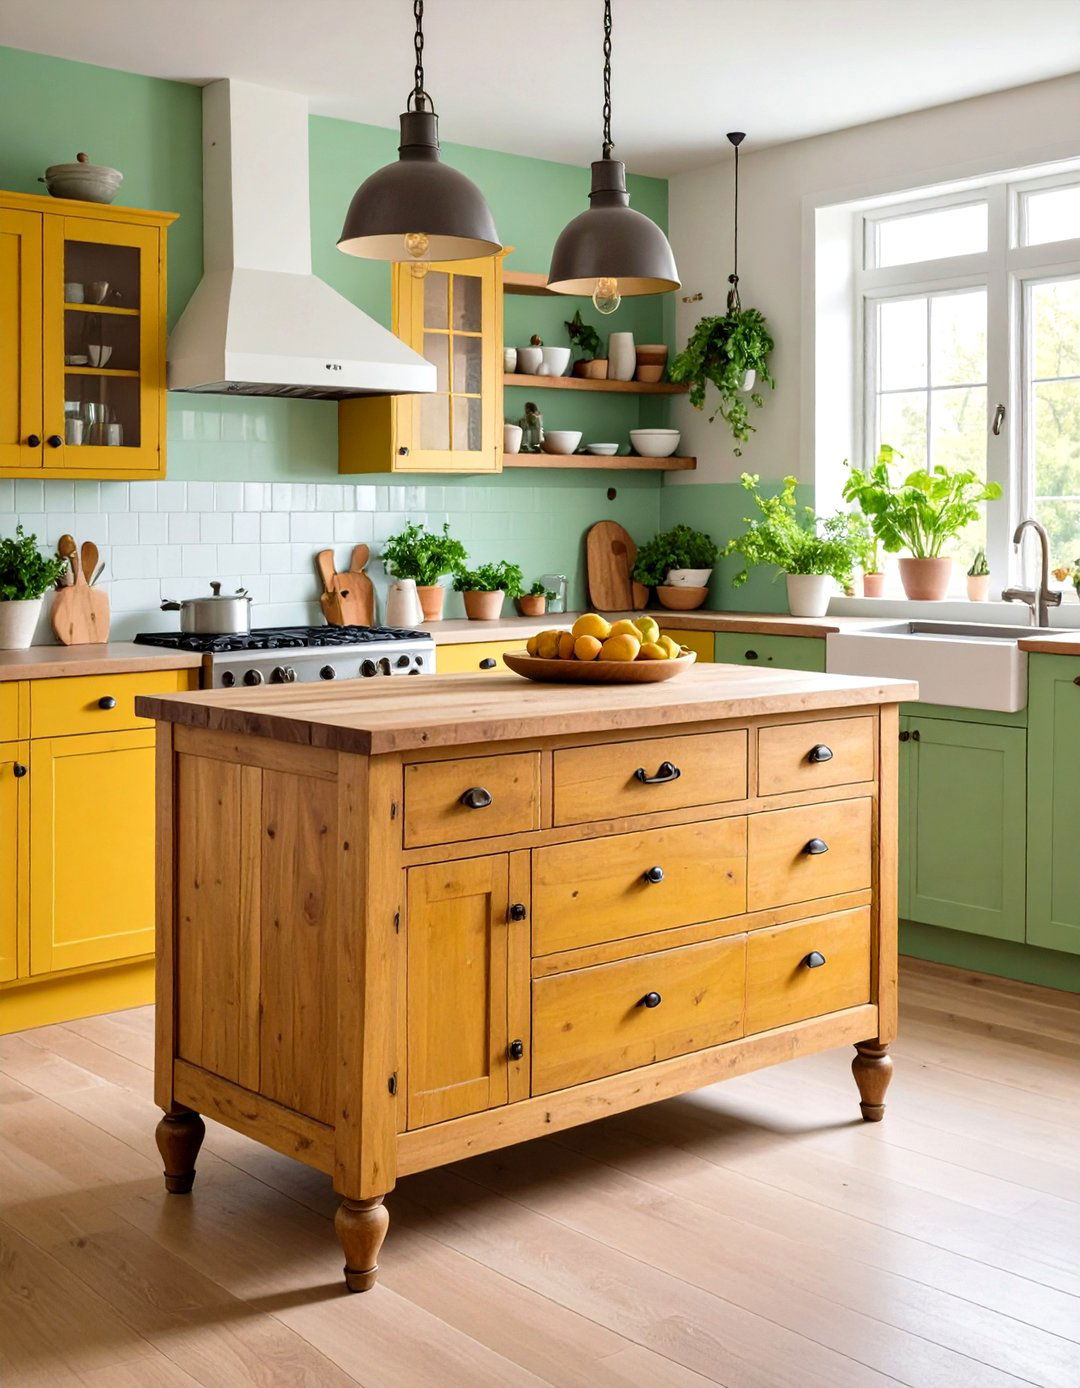
Embrace vintage charm by repurposing thrifted furniture, such as an old wooden dresser as a kitchen island or a vintage ladder for towel storage. Antique stores and flea markets often have unique pieces for under $100 that can be painted or refinished to match modern kitchens. Repurposing saves money, reduces waste, and adds character that you won’t find in mass-produced items. Seal any repurposed surfaces with food-safe finishes if they will hold utensils or small appliances. This creative approach celebrates sustainability while delivering a one-of-a-kind focal point in a budget-friendly manner.
19. Use Pull-Out Baskets and Drawer Organizers

Pull-out baskets on tracks and dedicated drawer organizers bring hidden deep storage to the forefront, making pots, pans, and pantry items easily accessible. Installing simple metal or wicker baskets on cabinet floor runners costs as little as $20 per section and can be completed with basic tools. Drawer inserts and adjustable dividers corral utensils, gadgets, and plastic containers, eliminating the scramble for small items. By clearly labeling baskets or dividers, you maintain an organized system that prevents clutter from accumulating. These relatively inexpensive upgrades transform underused spaces into highly functional zones without a full remodel.
20. Refresh Flooring with Peel-and-Stick Vinyl Tiles
Upgrading kitchen floors with peel-and-stick vinyl tiles is a cost-effective alternative to traditional tiling or hardwood installation. Modern vinyl tiles mimic materials such as marble, wood, or stone and often feature a protective urethane layer for durability and water resistance. Installation requires no grout or specialized tools; installers simply clean the subfloor, peel off backing, and press tiles into place. A diverse range of patterns and textures can revitalize the look of the kitchen for as little as $1.50 per square foot. This DIY-friendly option requires minimal preparation and can be completed in a single weekend.
Conclusion:
Transforming a small kitchen on a budget is entirely achievable through thoughtful planning, creative organization, and a few strategic DIY upgrades. From embracing light color palettes and maximizing vertical space to installing peel-and-stick backsplashes and flooring, each idea outlined above offers a high-impact, low-cost solution. Repurposed furniture, under-cabinet storage, and modular fixtures like rolling carts or Murphy tables further enhance functionality without requiring significant investment. By focusing on inexpensive materials—paint, hardware swaps, adhesive tiles, and thrift finds—you can craft a cohesive design that feels fresh and customized. Ultimately, even the most compact kitchen can be both stylish and highly efficient when budget-friendly innovations are combined with smart layout choices.
Related posts:


Leave a Reply