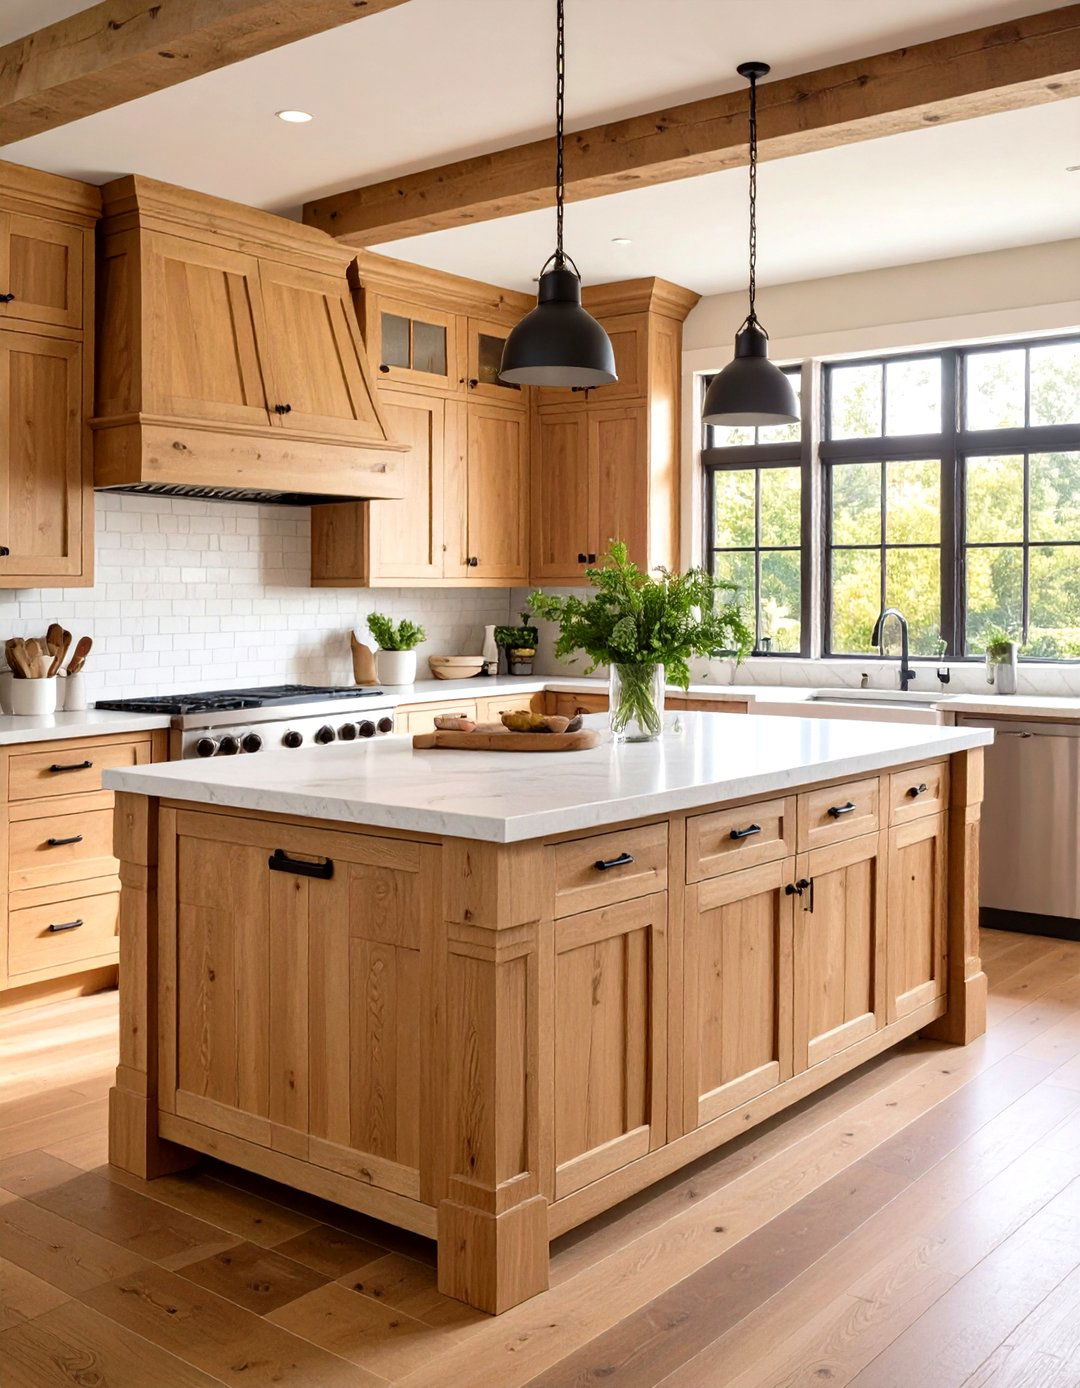
Shiplap kitchen islands blend timeless farmhouse charm with modern functionality, transforming the heart of your home into a warm, inviting gathering spot. From classic white boards to bold, painted hues, shiplap adds texture, depth, and character to an island’s base, elevating both custom builds and budget-friendly DIY makeovers. Whether you’re looking to emphasize architectural lines, introduce subtle contrast, or create a striking focal point, these 20 creative ideas will inspire your next kitchen renovation. Each concept demonstrates how simple wood paneling can redefine your space, offering practical tips on orientation, color choices, complementary materials, and installation techniques to suit any style.
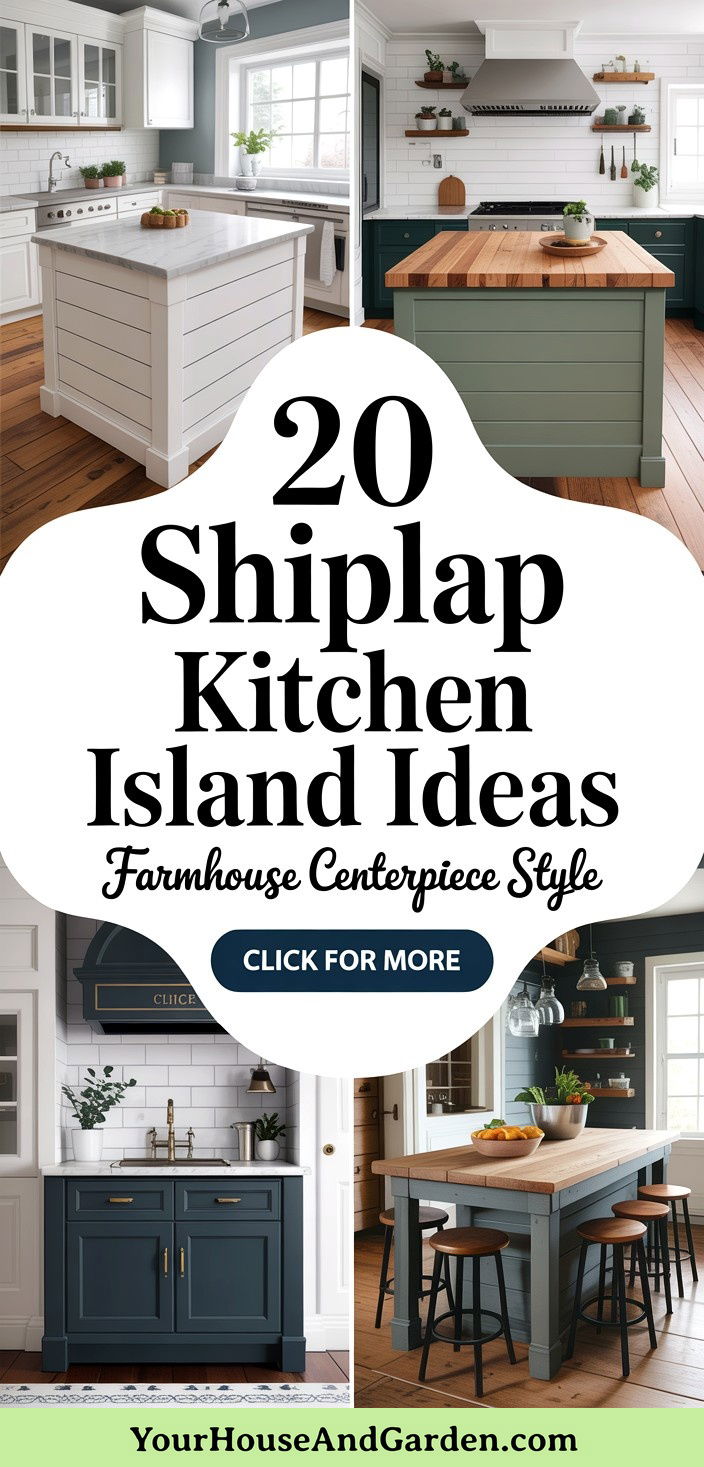
1. Classic White Horizontal Shiplap

A timeless approach uses white-painted horizontal boards to brighten the island and tie it seamlessly to white cabinetry. The clean lines emphasize width, visually expanding the kitchen, while the subtle grooves add just enough texture to prevent a flat appearance. This style works beautifully in open-concept layouts, reflecting light and maintaining a cohesive farmhouse or coastal look. To install, ensure boards are level and joints are tightly fitted; finish with semi-gloss paint for easy cleaning.
2. Vertical Shiplap for Height
Orienting shiplap boards vertically draws the eye upward, creating an illusion of higher ceilings and adding an architectural statement. Vertical paneling suits modern and transitional designs, breaking the monotony of horizontal lines elsewhere in the kitchen. Use tongue-and-groove boards to maintain consistent gaps, then paint or stain in a contrasting hue to make the ribs pop. Vertical shiplap also hides imperfections in uneven walls or cabinets, providing a sleek, custom-worthy finish.
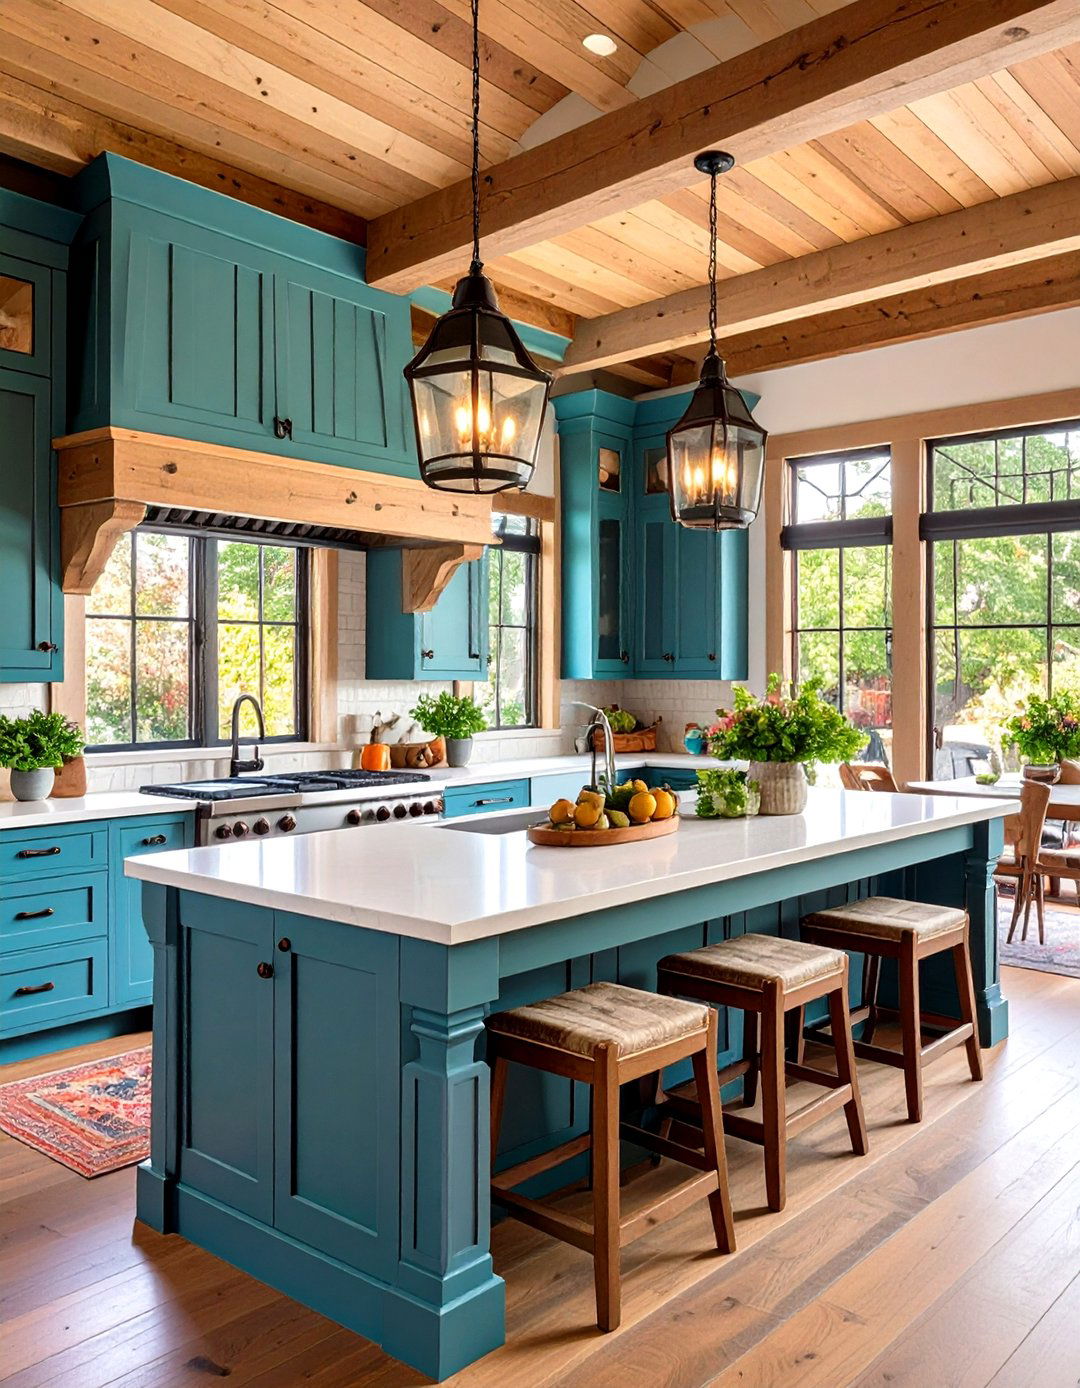
3. Two-Tone Shiplap Islands
Divide the island into upper and lower zones by painting the lower half a bold color and the upper half classic white. This two-tone effect adds visual interest and delineates functional areas—such as prep space versus seating. Choose complementary palettes like navy and white or forest green and cream to evoke different moods. A simple horizontal trim board between colors creates a crisp transition line; be sure to sand and prime both surfaces for paint adhesion.
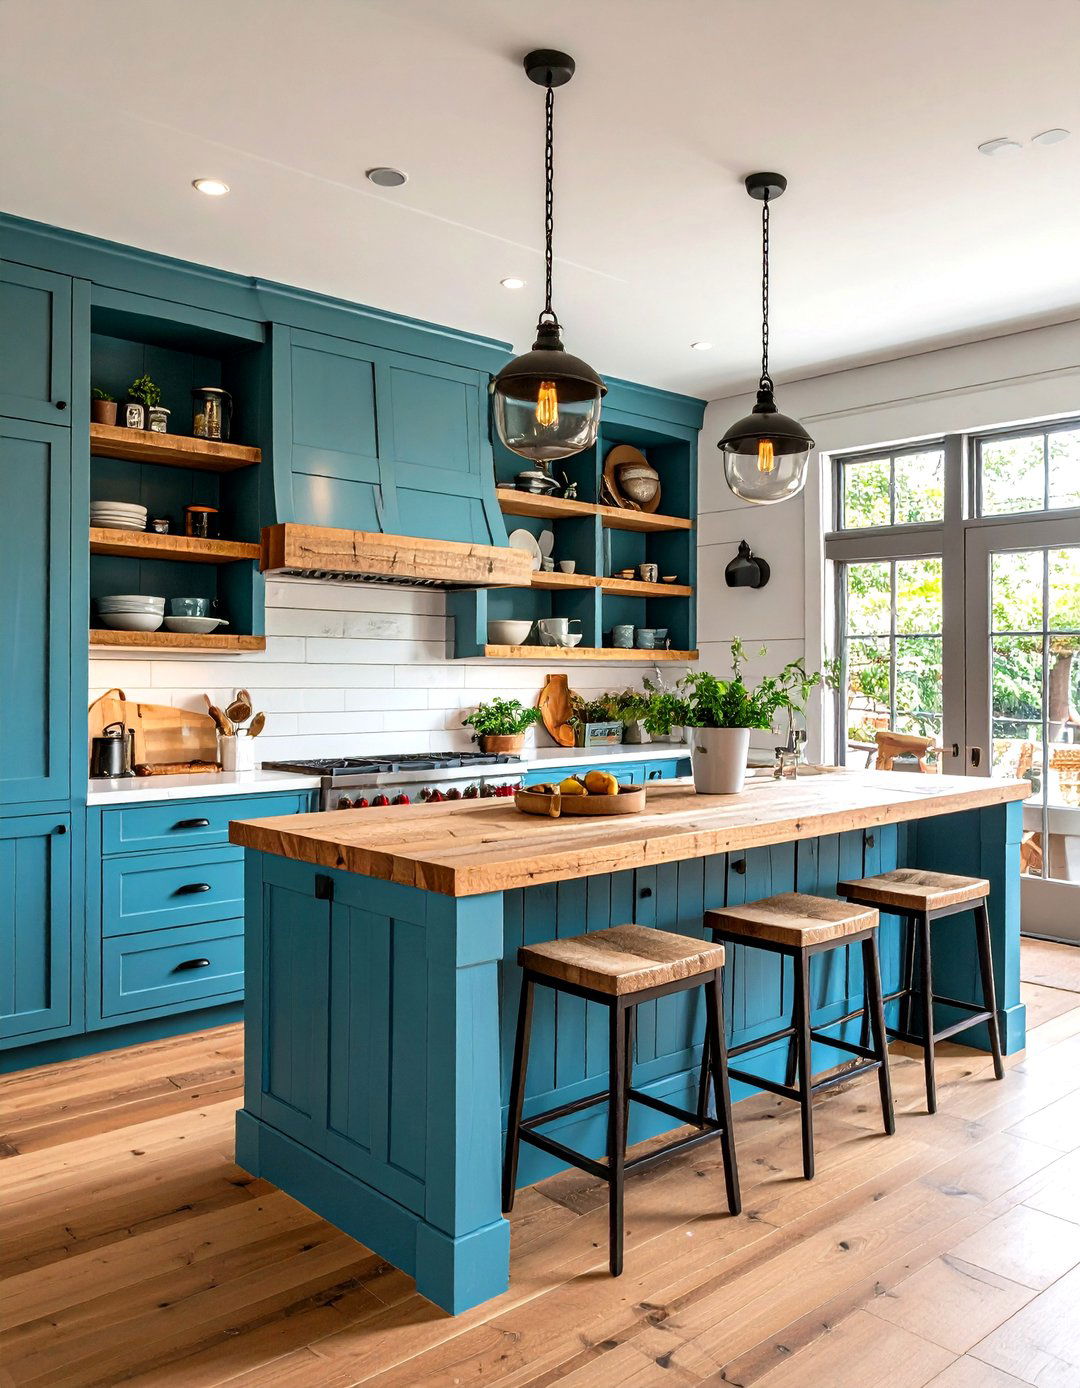
4. Butcher Block Countertop on Shiplap Base
Pairing the warmth of a butcher block countertop with a shiplap-covered island base emphasizes organic textures and adds rustic appeal. The wood top introduces natural grain patterns, while painted or stained shiplap below provides contrast and protects against moisture. Opt for hardwoods like maple or walnut for durability, and seal thoroughly to resist spills. The overhang of the counter can conceal fasteners and offer seating space, making this combination both beautiful and practical.
5. Integrated Open Shelving
Incorporate open shelves at one or both ends of the island by omitting shiplap in those sections. Install sturdy wooden shelves on recessed supports, then back them with shiplap for a cohesive look. Display cookbooks, dishware, or decorative items to infuse personality. Painting the shelves to match the shiplap or staining them darker creates depth and contrast. Ensure shelves are anchored securely into studs or a reinforced frame to support weight safely.
6. Contrasting Trim Accents
Enhance shiplap islands with decorative trim molding—such as picture frame panels or corbels—to add refinement. Apply a contrasting color on trim pieces or keep them white against stained shiplap for a subtle touch. Trim helps transition between shiplap and countertop or floor, hiding gaps and creating a polished edge. Use polyurethane-grade wood filler and caulk to fill nail holes and seams before painting for a seamless finish.
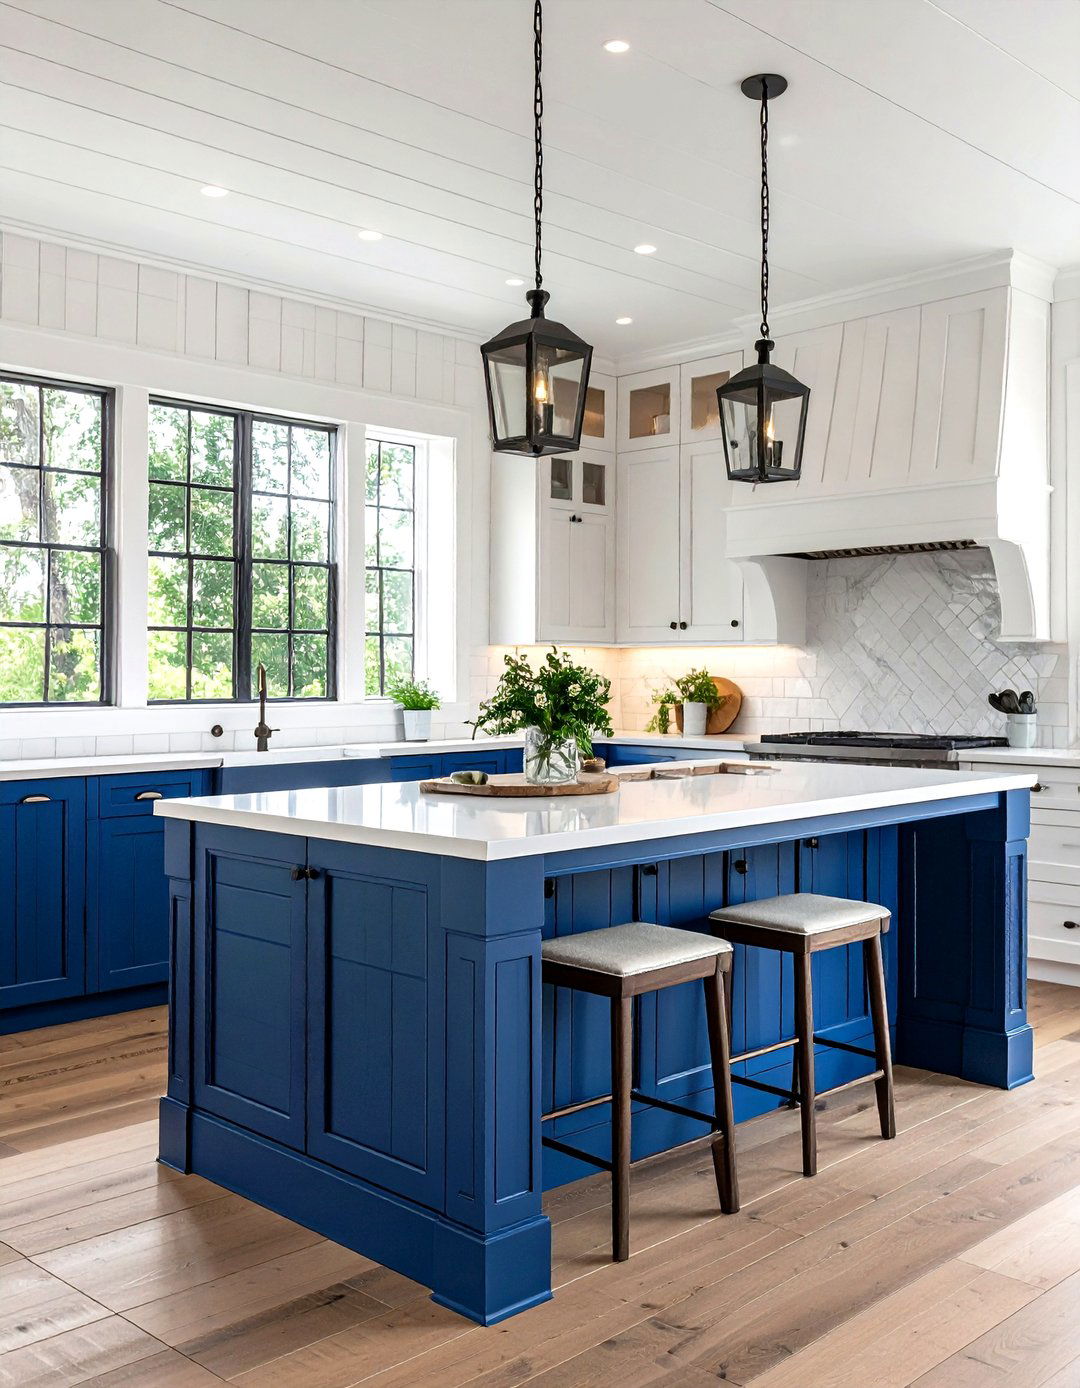
7. Built-In Seating with Shiplap Sides
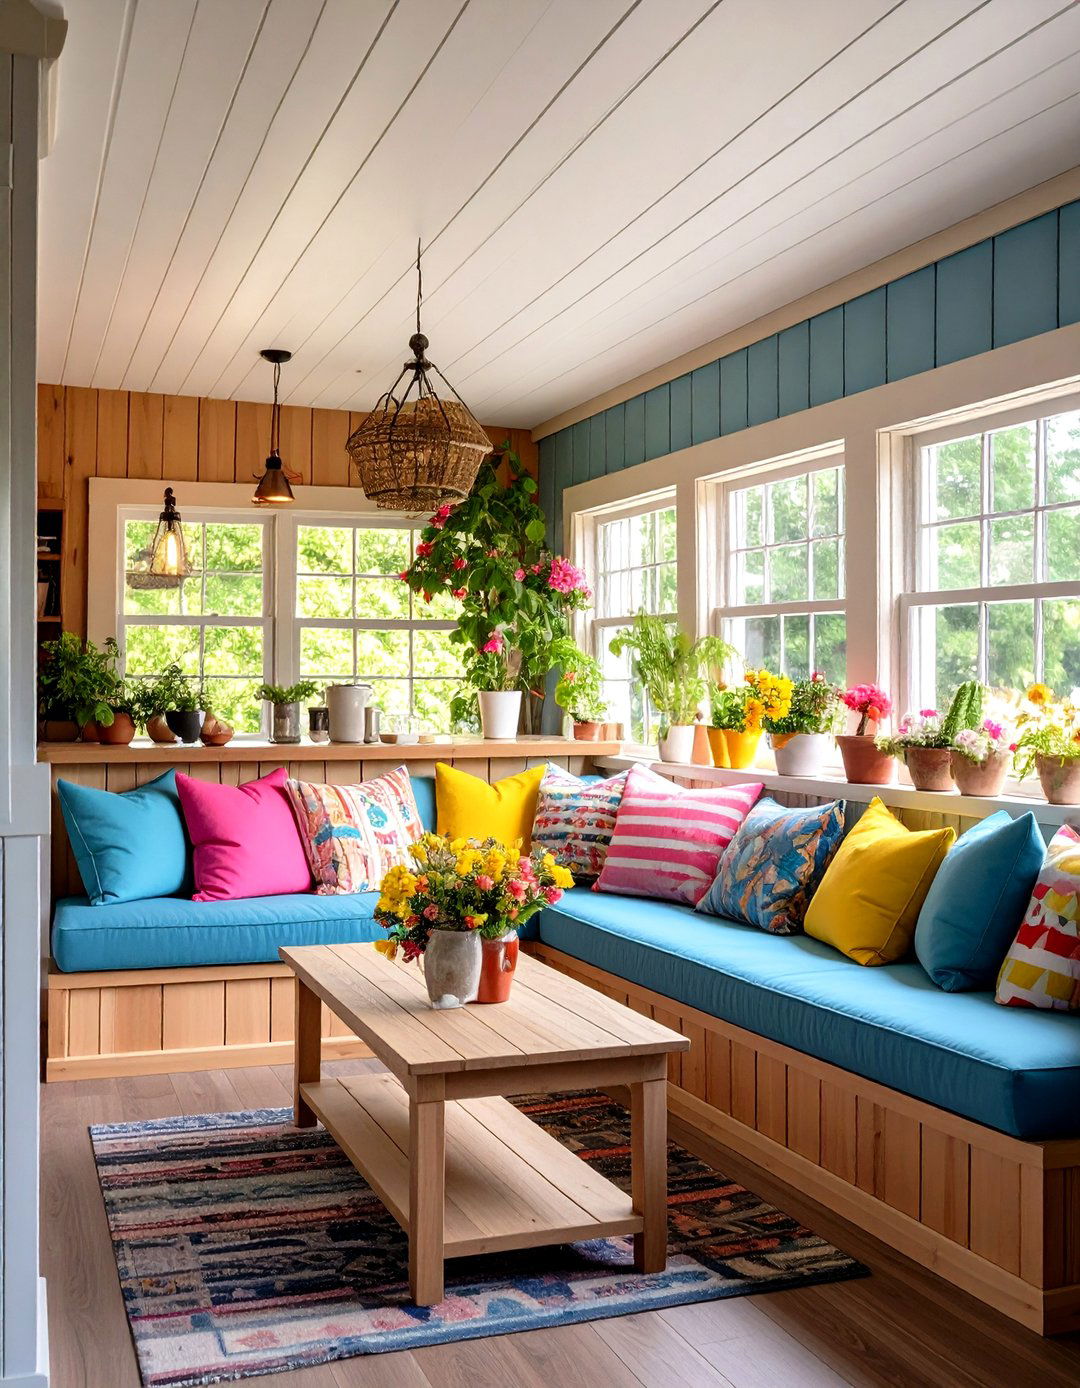
Transform one side of your island into a built-in seating nook by extending shiplap around a recessed bench. Frame the seating area, add cushions, and accent with throw pillows for a cozy breakfast spot. Use moisture-resistant shiplap products rated for humid conditions to withstand spills. The vertical or horizontal paneling keeps the design unified, while a lower kickboard conceals storage beneath the bench.
8. Dramatic Black Shiplap
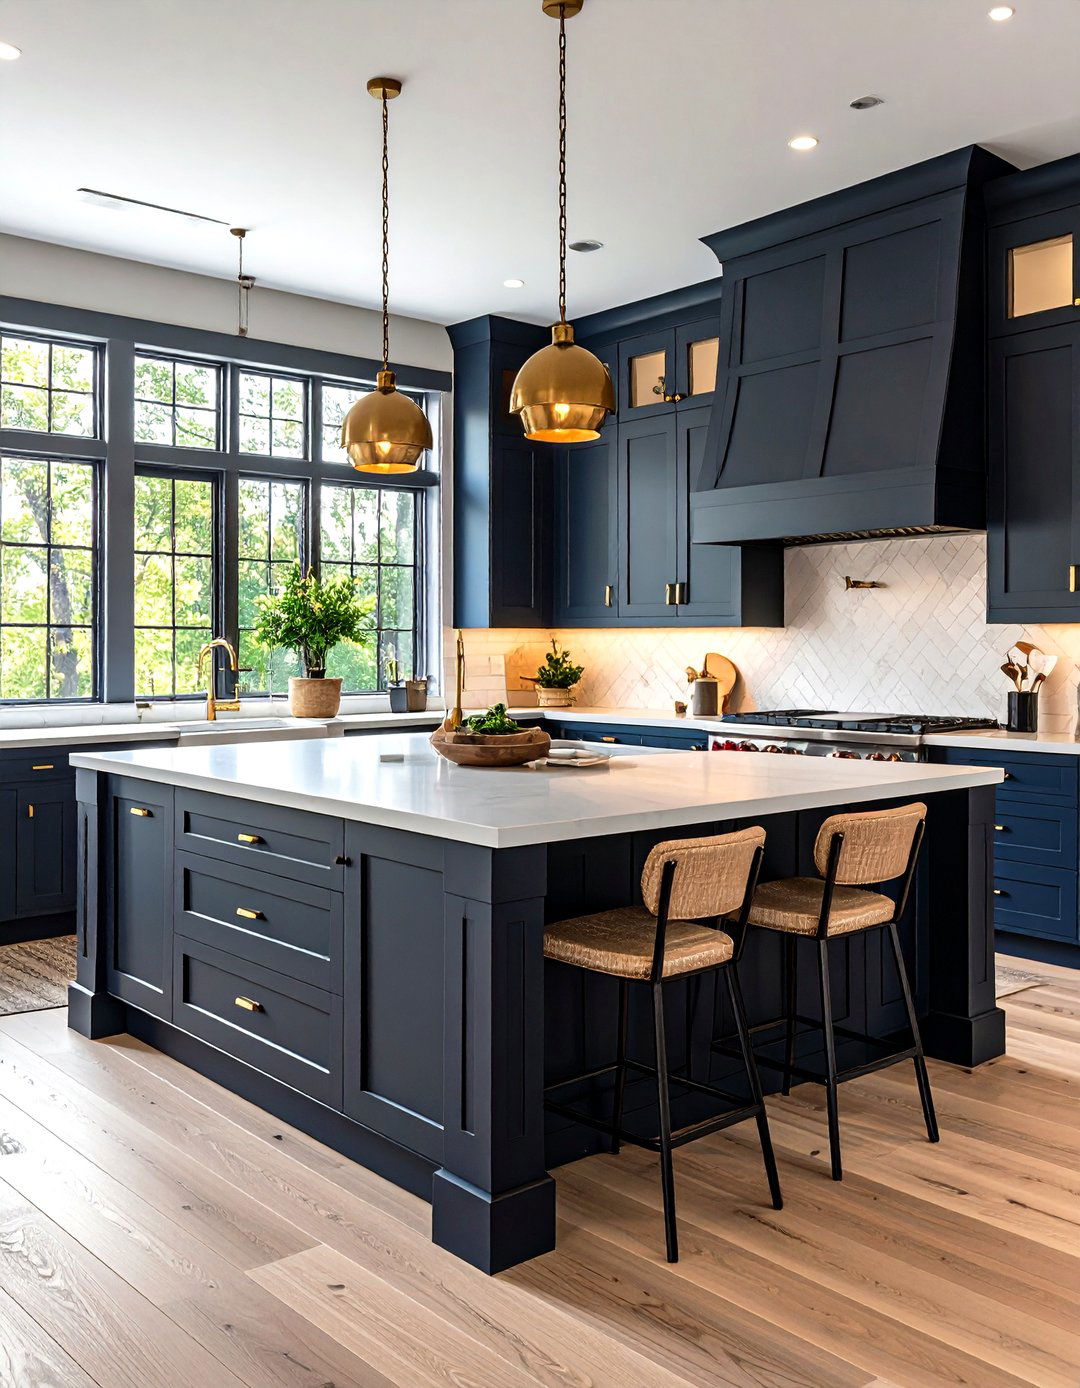
For a bold departure from white, paint your island’s shiplap matte black or charcoal. The deep hue anchors airy kitchens and highlights lighter countertops, hardware, and flooring. Black paneling also masks minor scuffs and adds a modern edge. Contrast against white perimeter cabinets or light walls for maximum impact, and pair with brass or copper fixtures to warm the palette. Use high-quality, low-VOC paint for durability and finish.
9. Barn-Door-Style Island Panels
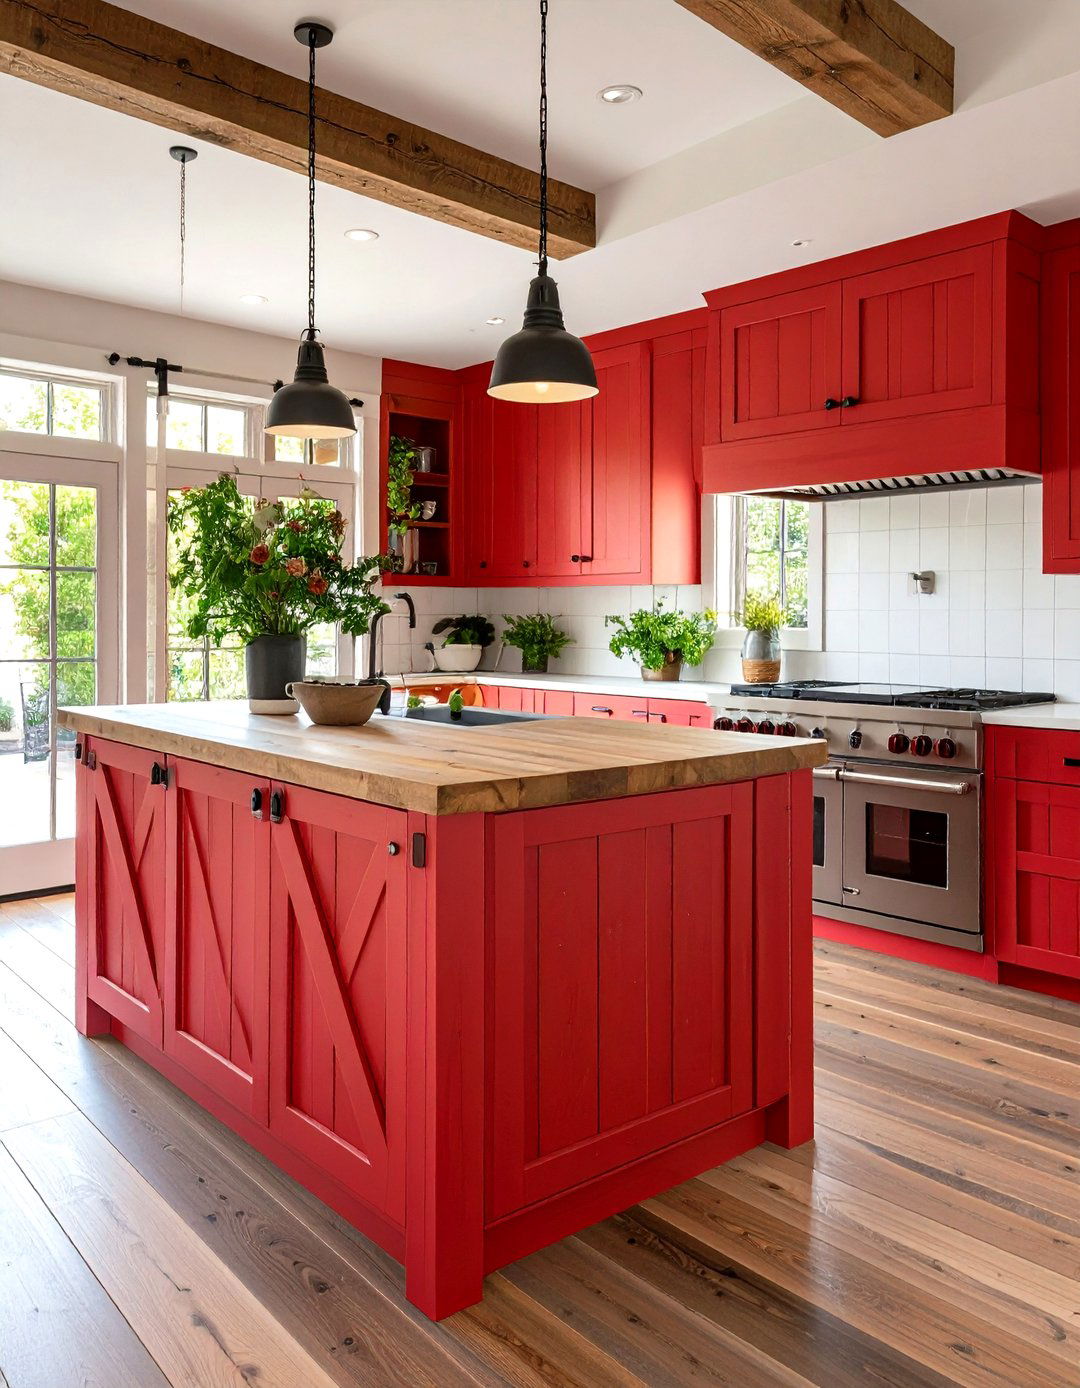
Install sliding barn-door panels on one or both ends of your island to conceal storage. Cover the doors in shiplap to match the island base, and mount on a mini rail system for smooth operation. This design allows quick access to appliances or pantry items while preserving the farmhouse vibe. Opt for soft-close hardware to reduce noise and wear over time. Finish with a clear sealant to protect wood from kitchen humidity.
10. Modern Minimalist Shiplap
Keep shiplap islands sleek by selecting narrower boards and minimal visible trim. Paint all surfaces—including inset seams—in the same monochrome color, and finish with a low-sheen paint to mute reflections. Pair with handle-less cabinetry and integrated appliances for a minimalist aesthetic. The subtle linear texture prevents the island from appearing too stark, adding depth without detracting from clean lines.
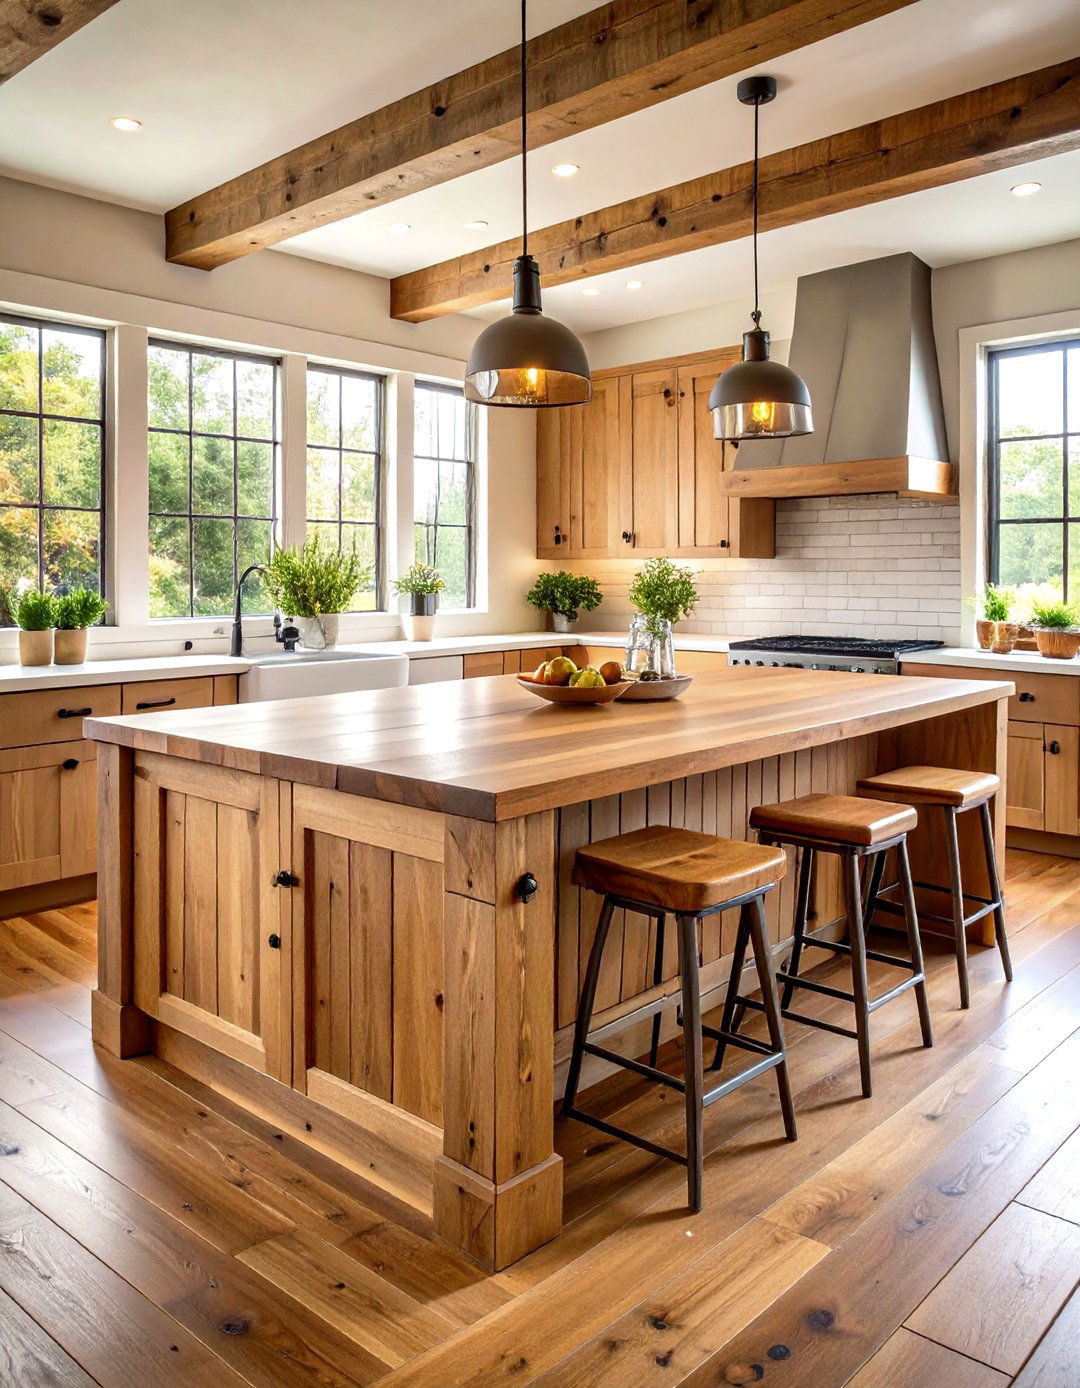
11. Rustic Stained Shiplap
Instead of paint, highlight natural wood by staining shiplap in warm tones like honey or walnut. The visible grain offers a rustic lodge feel, especially when paired with stone countertops or wrought-iron hardware. Pre-finish boards offsite to ensure even color, then install using shiplap-specific fasteners. After assembly, apply a protective clear coat to guard against moisture and wear.
12. Shiplap with Decorative Corbels
Add decorative corbels beneath a thick overhanging countertop for architectural detail. Cover the island base in shiplap, then mount corbels on the corners or at regular intervals. Choose corbels that echo other design motifs in the kitchen, such as arches or scrolls. Paint or stain to match the island, and secure with both screws and wood glue for stability.
13. Chevron-Pattern Shiplap
Arrange shiplap boards in a chevron pattern on the island face for a contemporary twist. Precision cutting at 45° angles is required for tight, uniform joints; consider using a miter saw and jigs for consistency. Paint or stain the boards before installation to ensure full coverage in grooves. This dynamic pattern draws attention and pairs well with simple countertops and cabinetry.
14. Floating Drawer Fronts on Shiplap
Combine the warmth of shiplap with sleek hidden drawers by designing floating drawer fronts inset slightly into the paneling. The recessed frames maintain the continuous look of boards, while push-to-open hardware provides access without visible pulls. Paint drawer faces to match shiplap or use a complementary shade. Ensure precise leveling and uniform gaps for smooth operation.
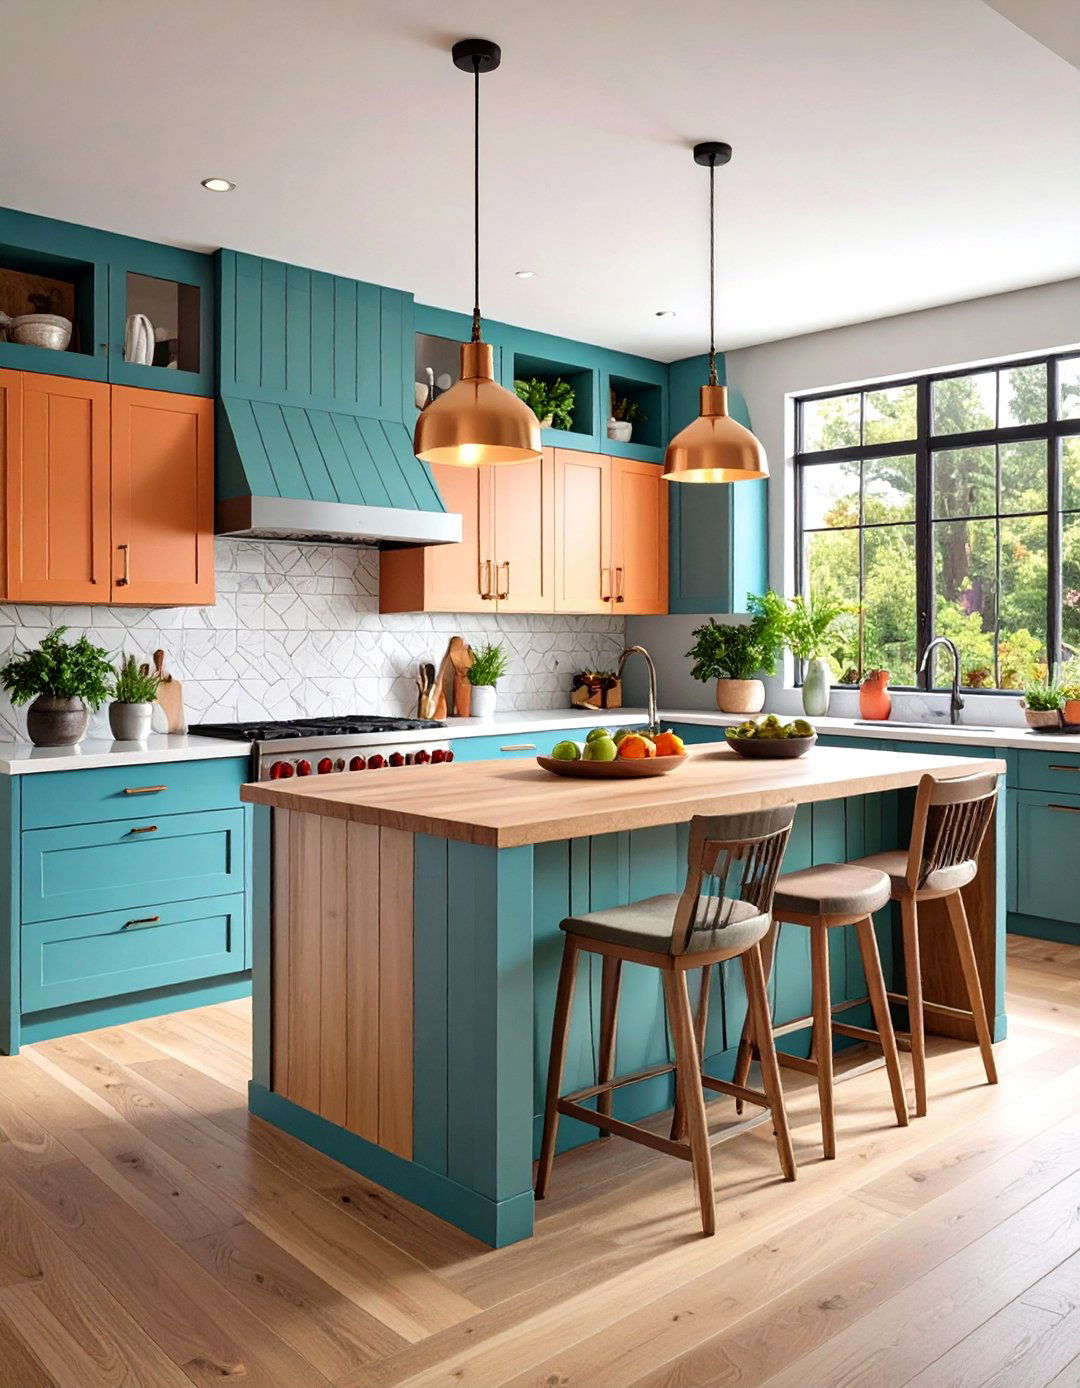
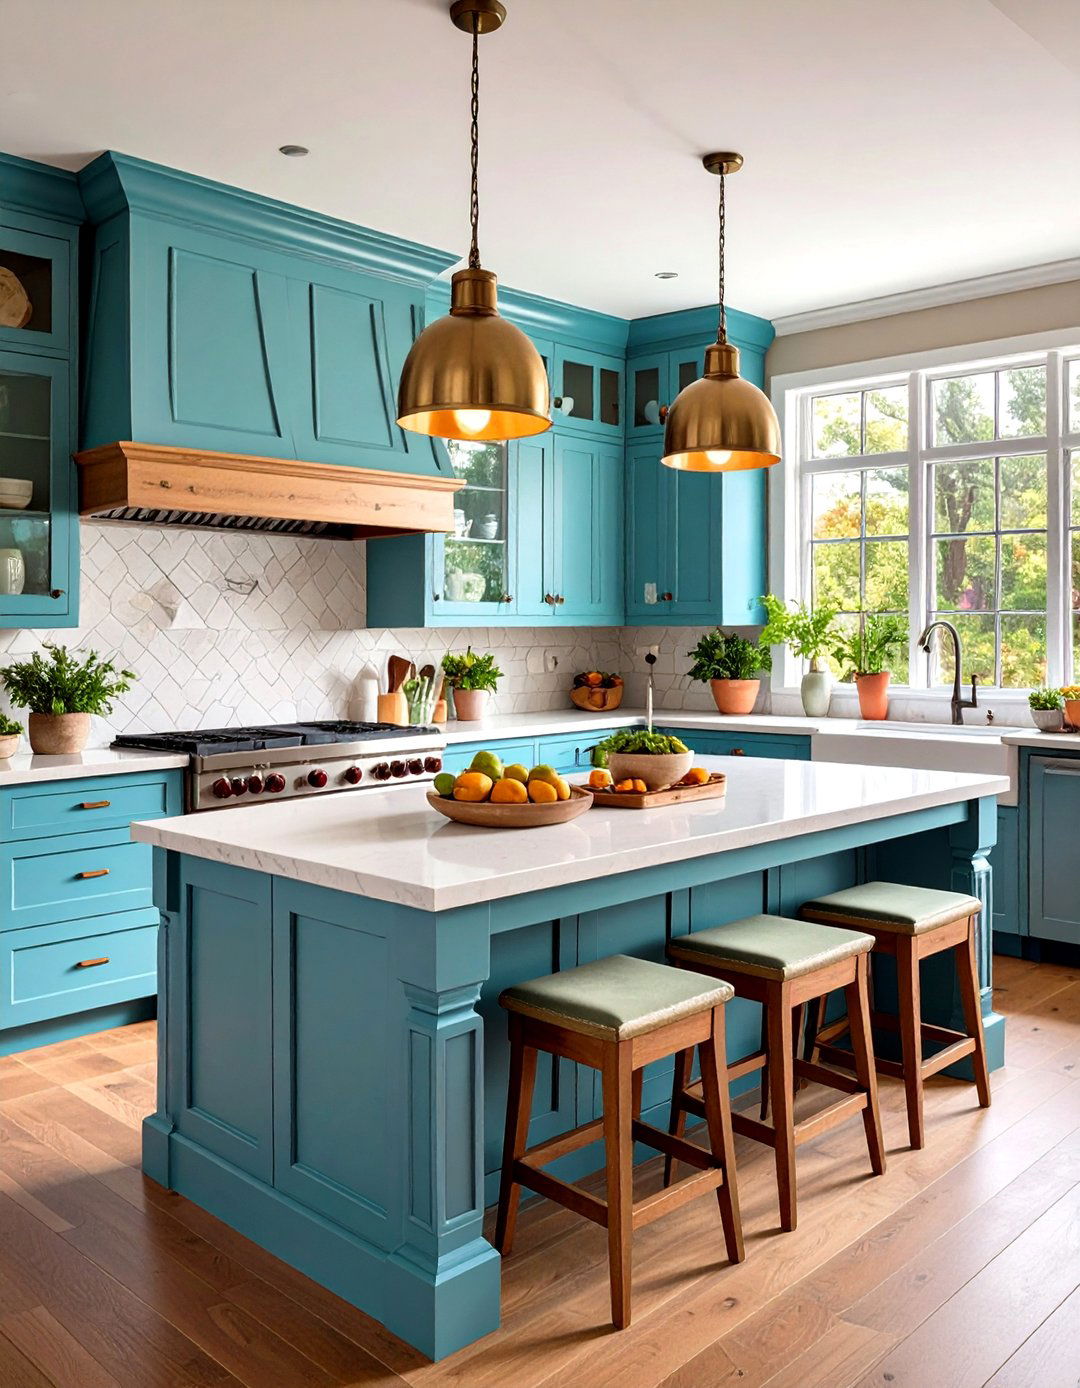
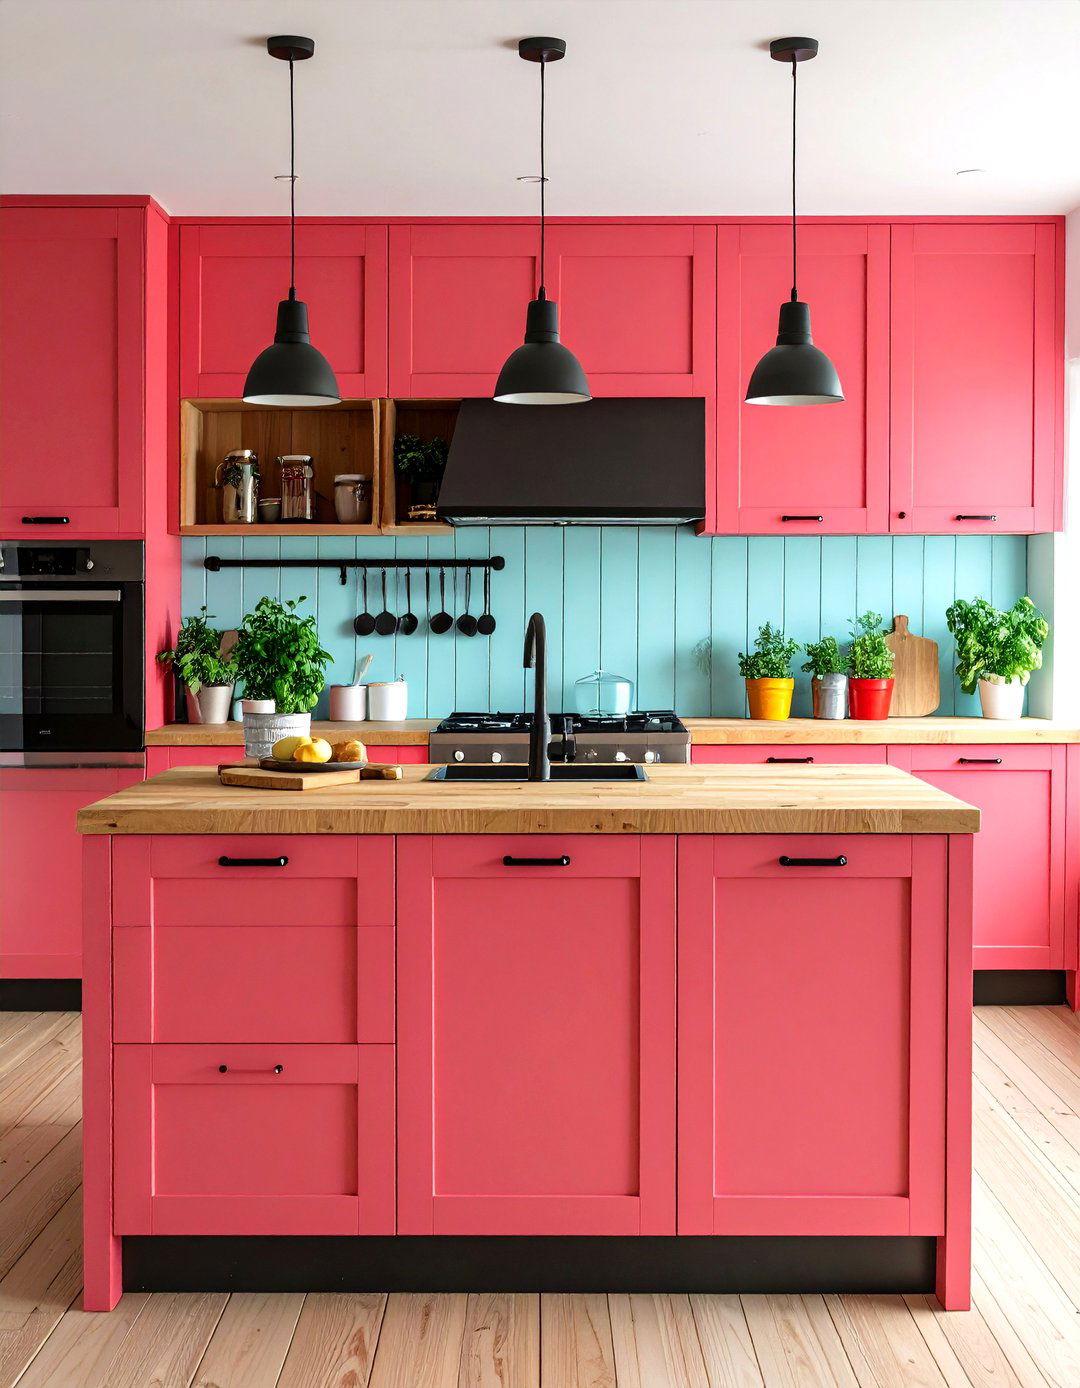
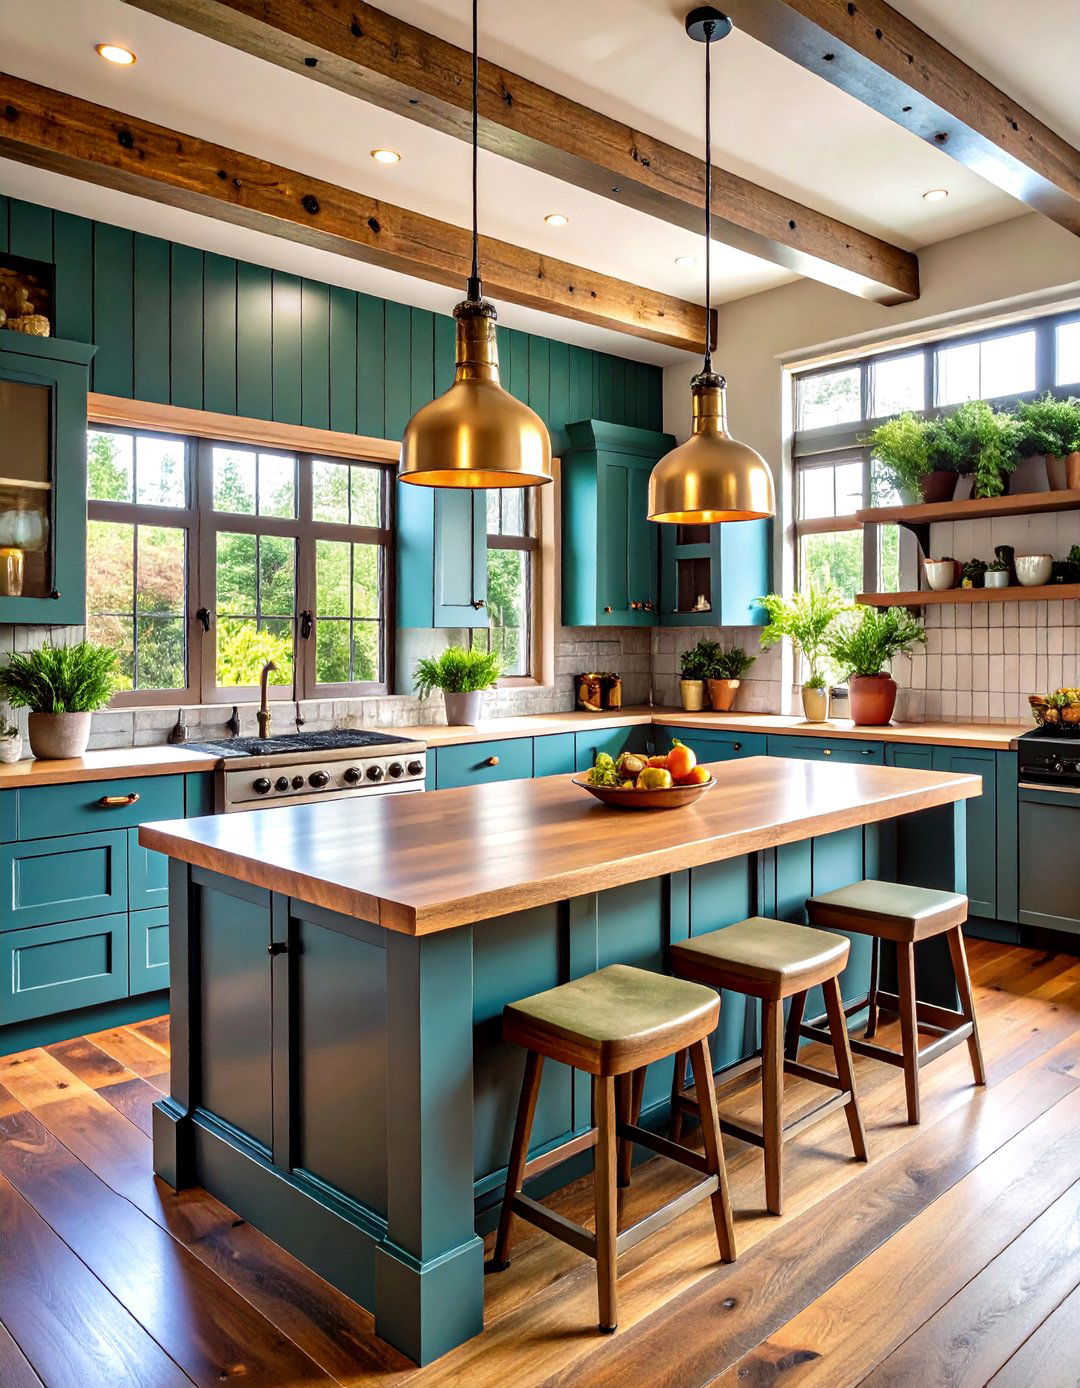
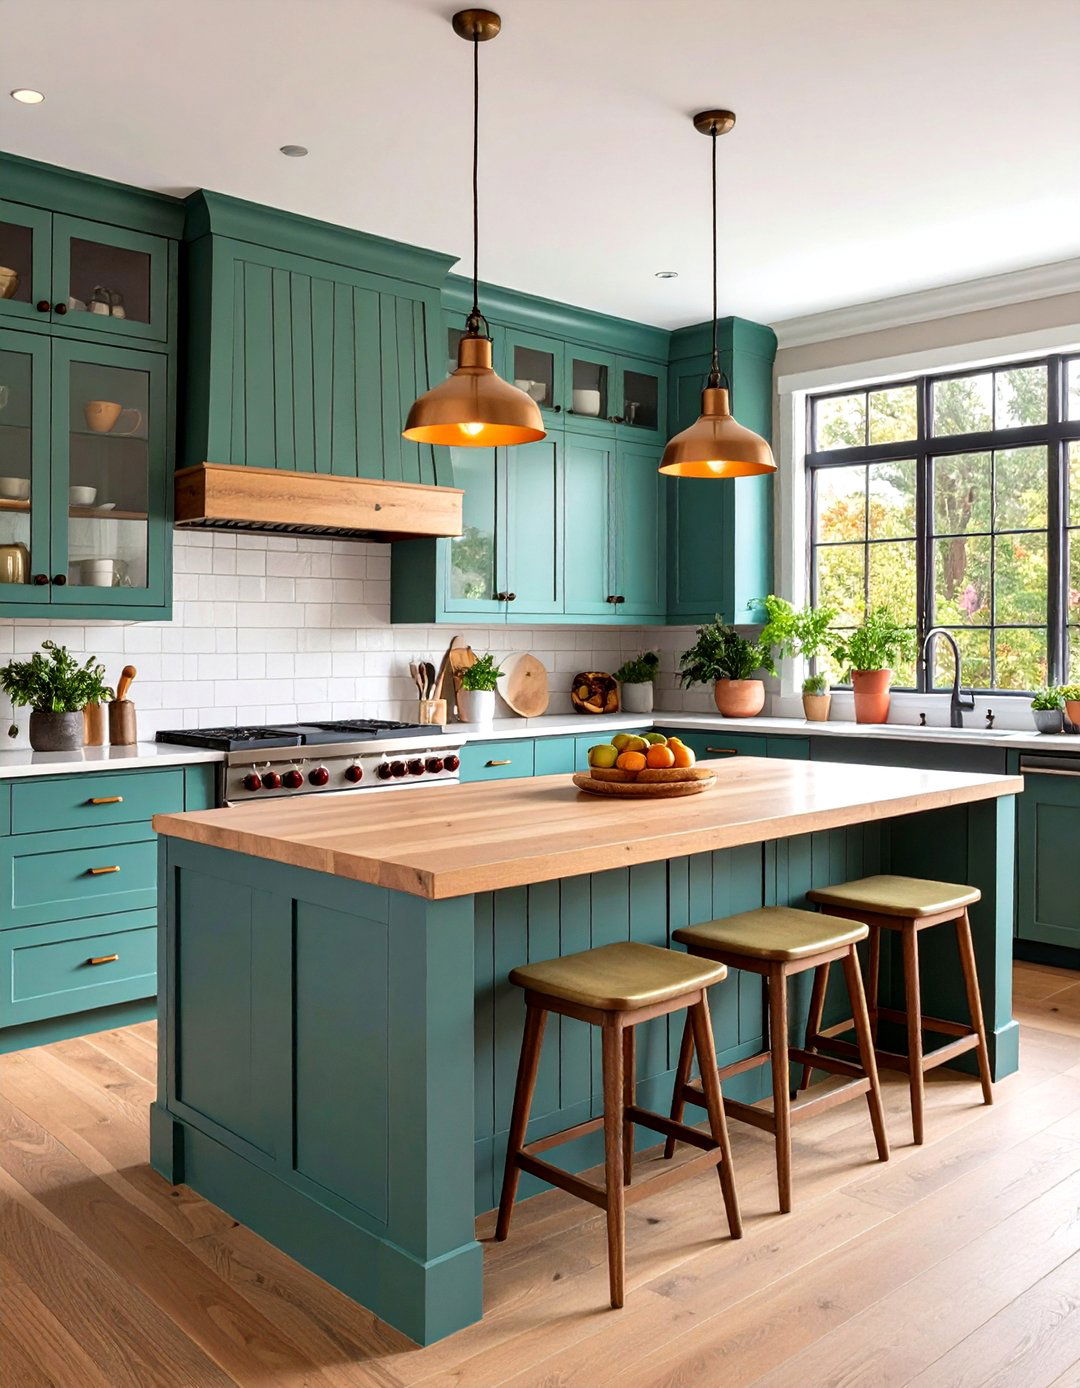
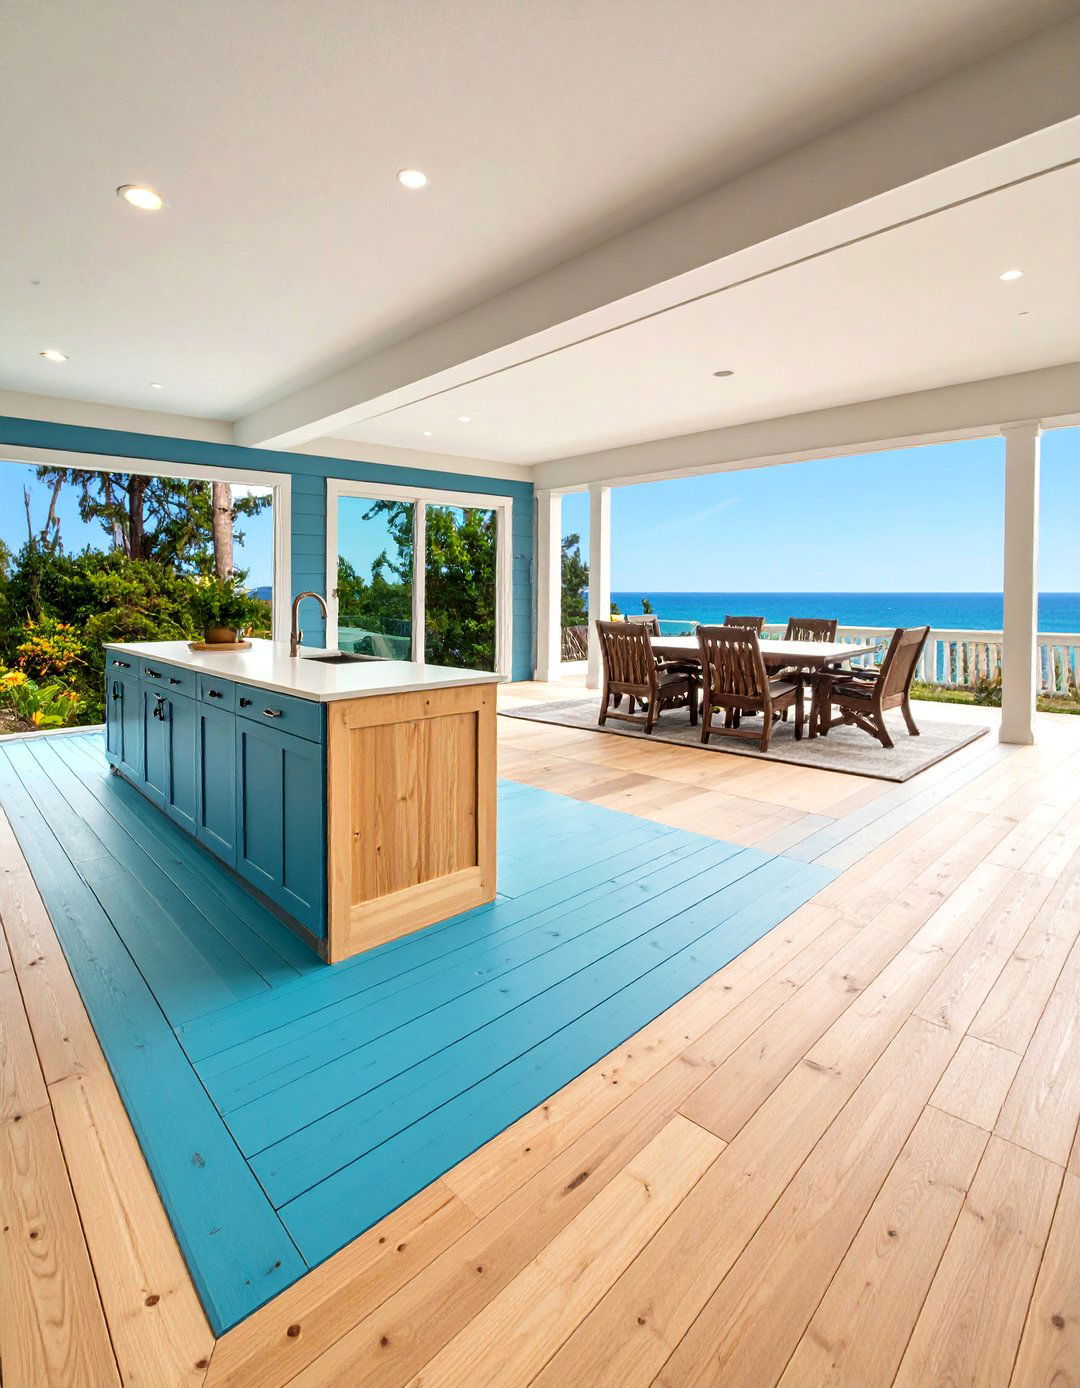
15. Colored Shiplap Islands
Move beyond neutrals by painting shiplap in jewel tones—emerald green, navy blue, or deep plum—for a dramatic centerpiece. Bold colors command attention and reflect personal style. Keep surrounding finishes neutral to avoid clashing; white countertops and light floors balance the intensity below. Use high-quality, washable paint to maintain vibrancy in a high-traffic area.
16. Backlit Shiplap Panels
Integrate LED strips behind open seams or behind the island overhang to create ambient backlighting. Position lighting to wash across vertical shiplap ribs, casting subtle shadows that accentuate texture. Conceal wiring within the island’s frame, and choose dimmable fixtures for adjustable mood lighting. This technique modernizes farmhouse shiplap with a sleek, theatrical twist.
17. Shiplap Island with Integrated Appliances
Hide small appliances—microwaves, warming drawers—behind shiplap-covered doors for a seamless look. Use lift-up or pocket-slide mechanisms to maintain uninterrupted panel runs. Integrating appliances into the island frees up wall space and keeps counters clutter-free. Ensure proper ventilation and service access when planning cabinetry dimensions.
18. Metal Accent Trim on Shiplap
Frame your shiplap island base with metal trim—brass, copper, or black steel—for an industrial-chic vibe. Metal edge profiles protect board corners from damage and provide a sleek outline. Secure trim over painted or stained shiplap using construction adhesive and finishing nails for a polished, two-material contrast.
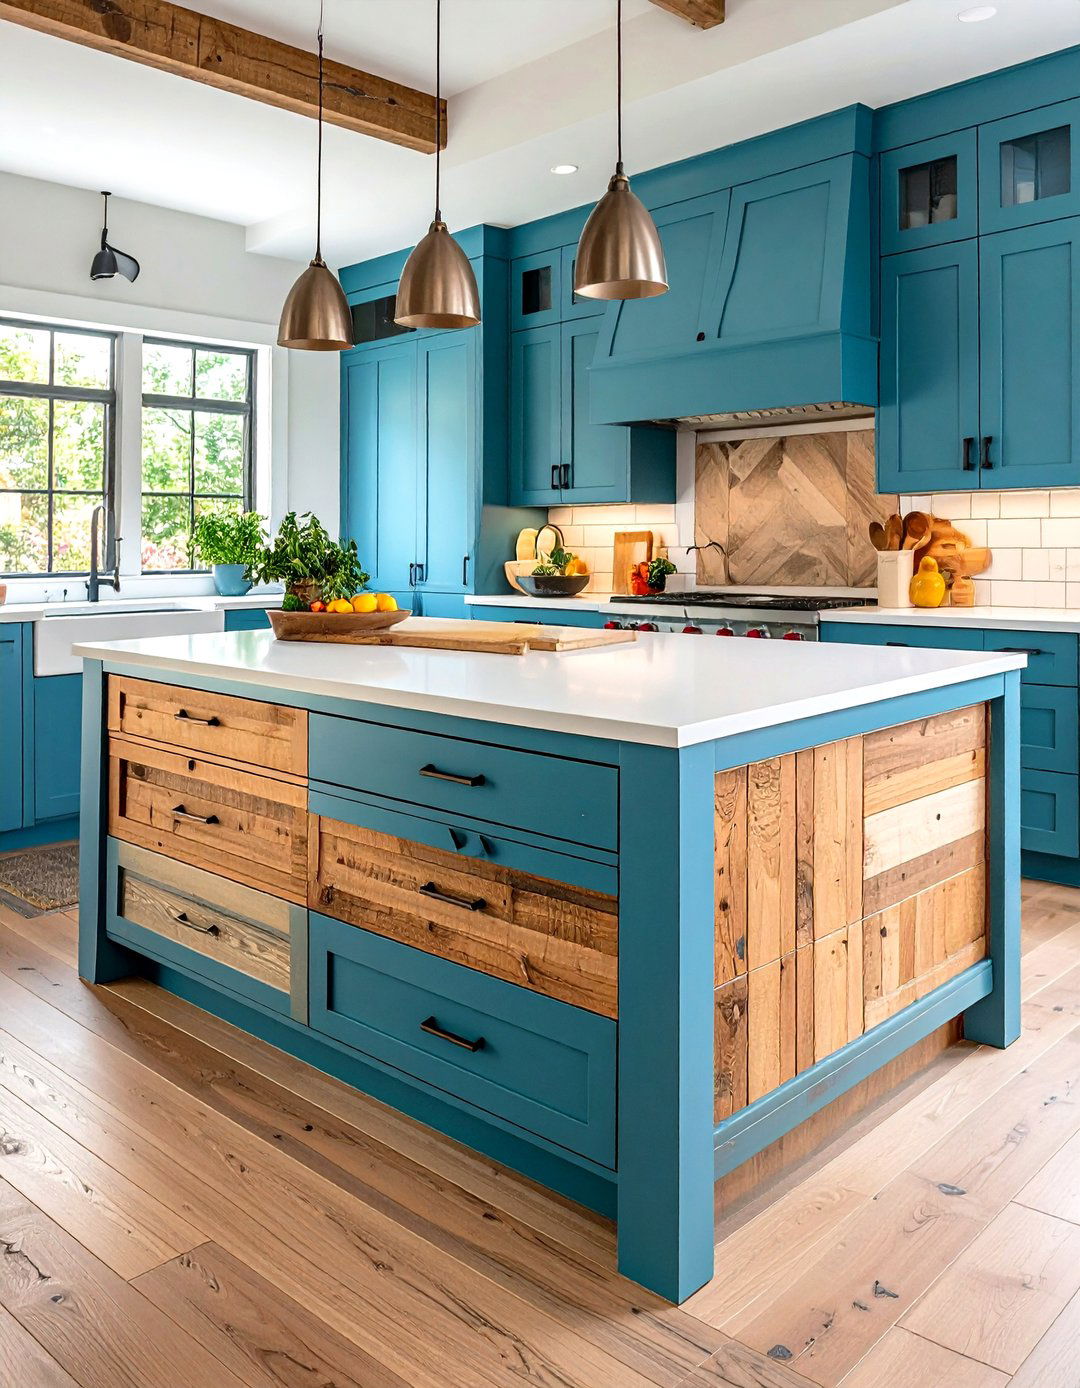
19. Shiplap Plus Beadboard Combination
Vary panel profiles by alternating shiplap with beadboard panels on the island face. The narrower beadboard ribs introduce finer texture and historic charm. Paint both boards in the same color for a subtle pattern or differentiate with two hues for a bold graphic. Carefully plan board widths to maintain symmetrical patterns across the island.
20. Prefabricated Shiplap Panels for DIY
Save time by using pre-assembled shiplap panels available at home centers. These panels click together, eliminating individual board installation. Cut panels to fit island dimensions, then finish in your chosen paint or stain. Prefab options reduce waste and labor, making a weekend makeover achievable for DIYers on any budget.
Conclusion:
Shiplap kitchen islands offer endless versatility—from classic white horizontals to bold chevrons, from integrated seating to hidden appliances. By selecting orientation, color, and complementary materials thoughtfully, you can customize your island to reflect farmhouse warmth, modern minimalism, or industrial edge. Whether you tackle a DIY weekend project with prefab panels or work with a contractor for precision patterns, shiplap delivers texture, character, and enduring style to the heart of your home.
Related posts:
Leave a Reply