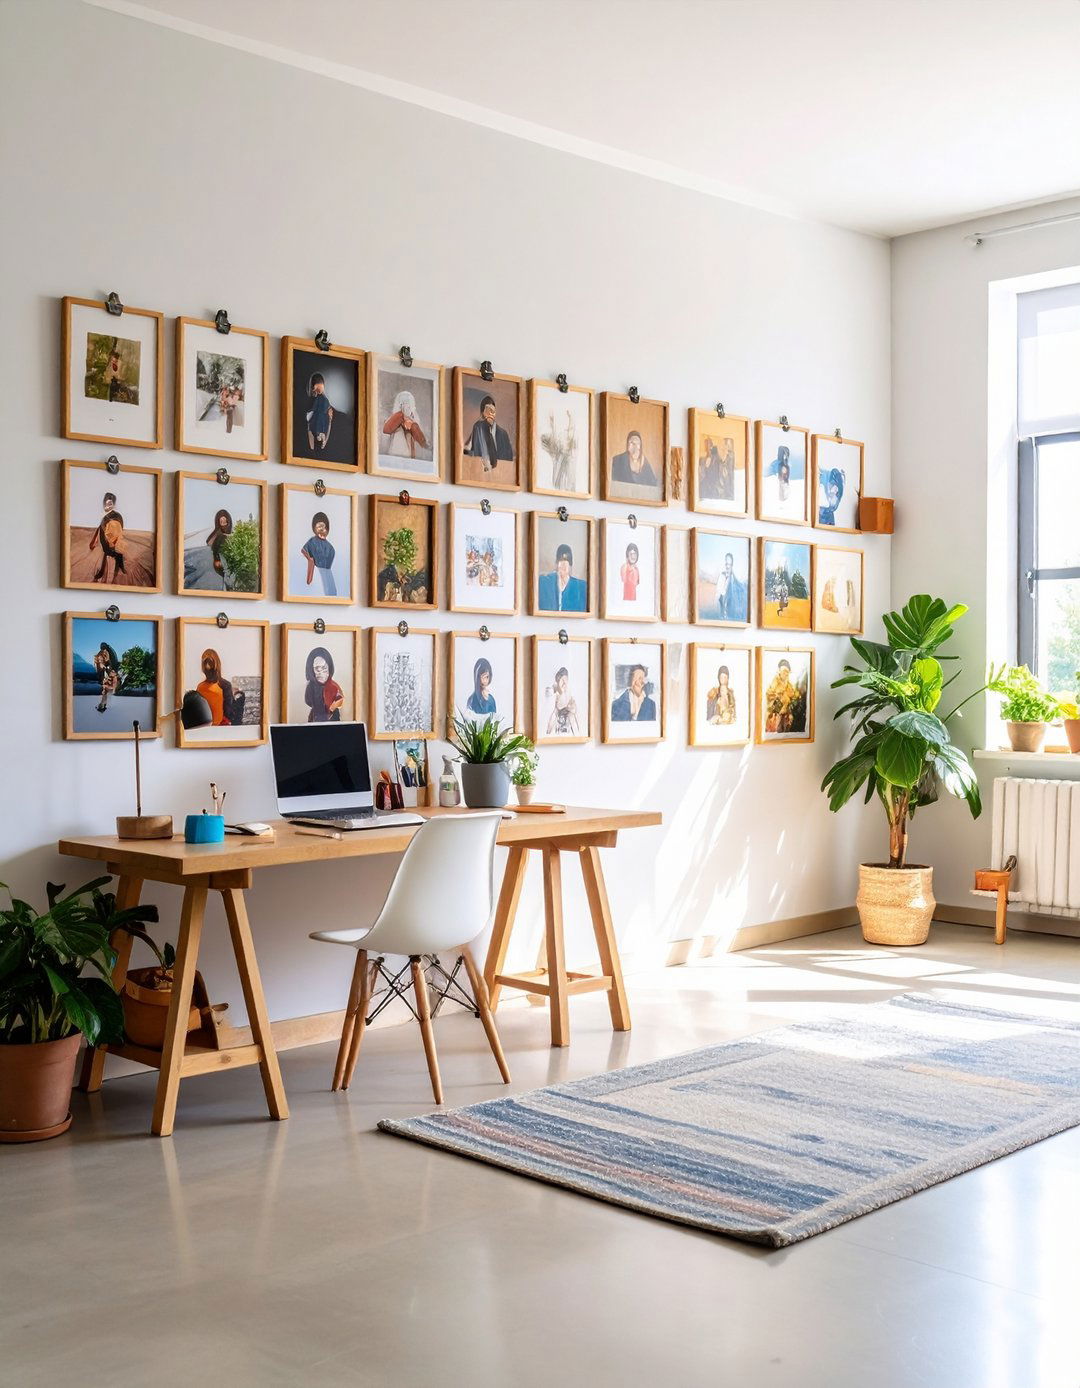
A cluster of well-placed family photos can do more than fill a blank wall—it can anchor a room’s style, spark conversation, and keep favorite memories in everyday sight. The best displays combine thoughtful layouts, cohesive framing, and clever hardware to balance warmth with polish. Designers and DIYers alike agree that mapping the arrangement on the floor first, choosing a unifying element (frame color, mat style, or theme), and using removable hanging solutions where possible all make the process smoother. Contemporary twists—such as digital frames, floating acrylic panels, or string-light clip displays—let you refresh images without new holes. The 20 ideas below translate those principles into easy, high-impact options you can adapt to any space.
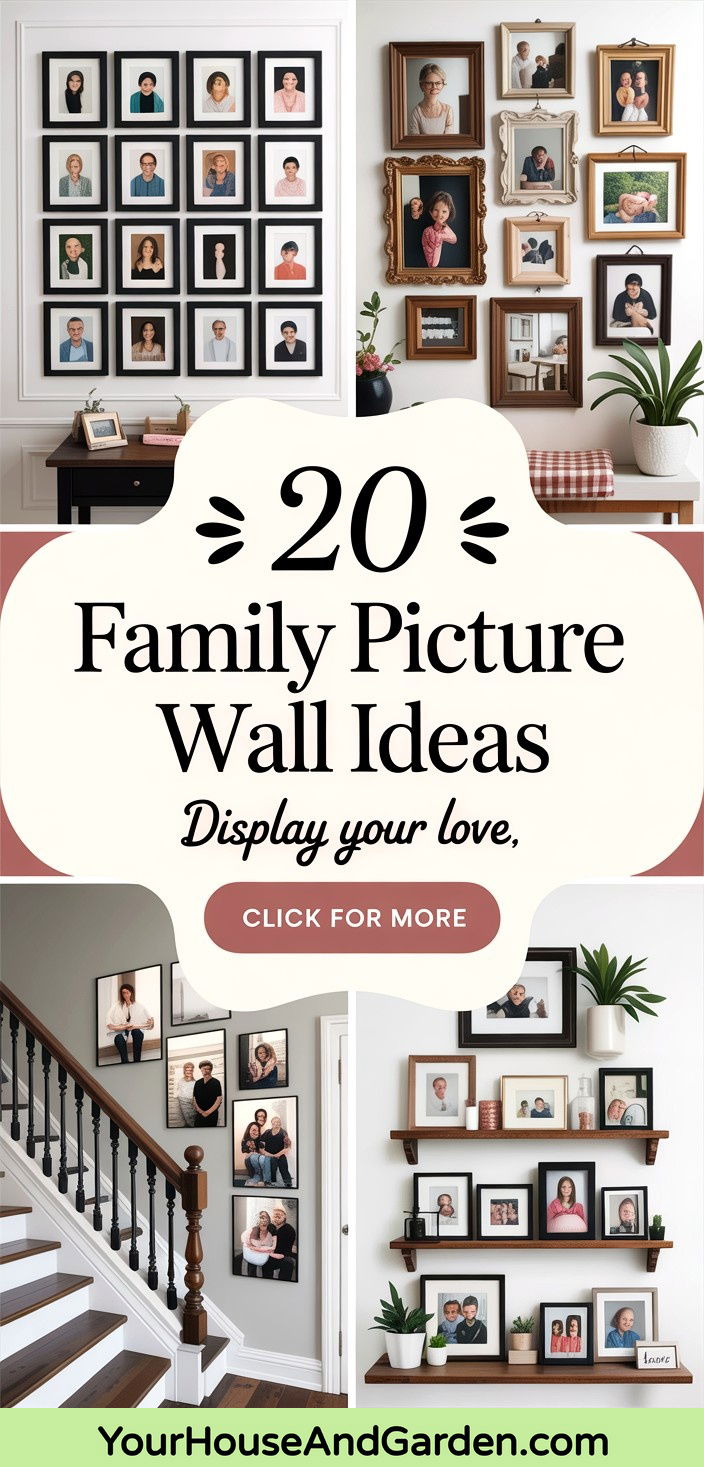
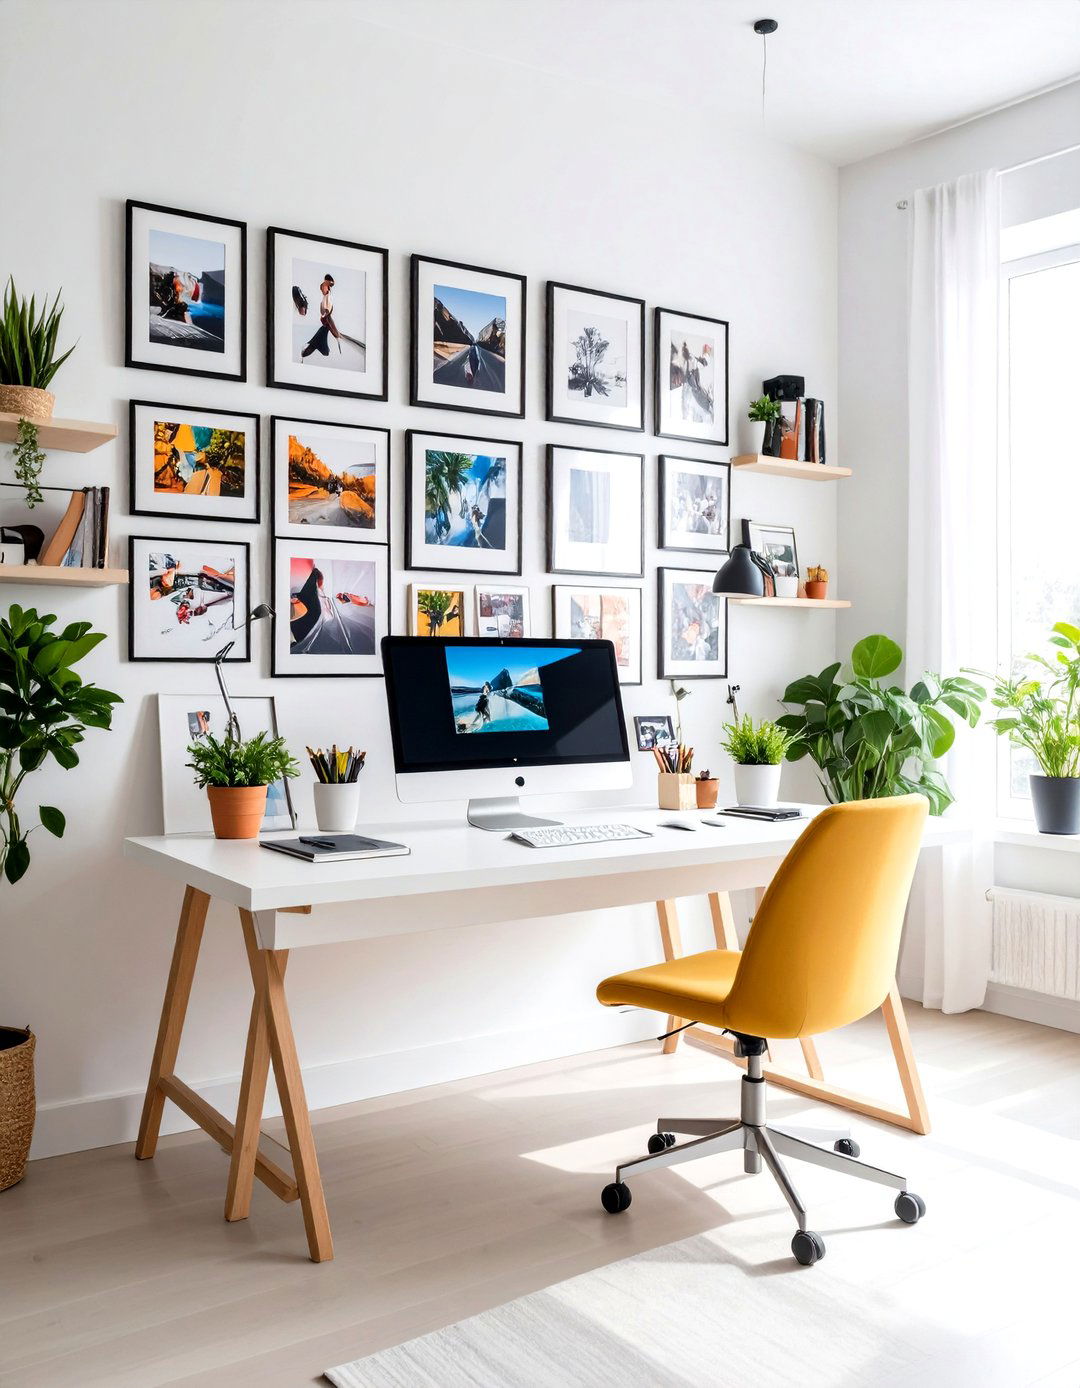
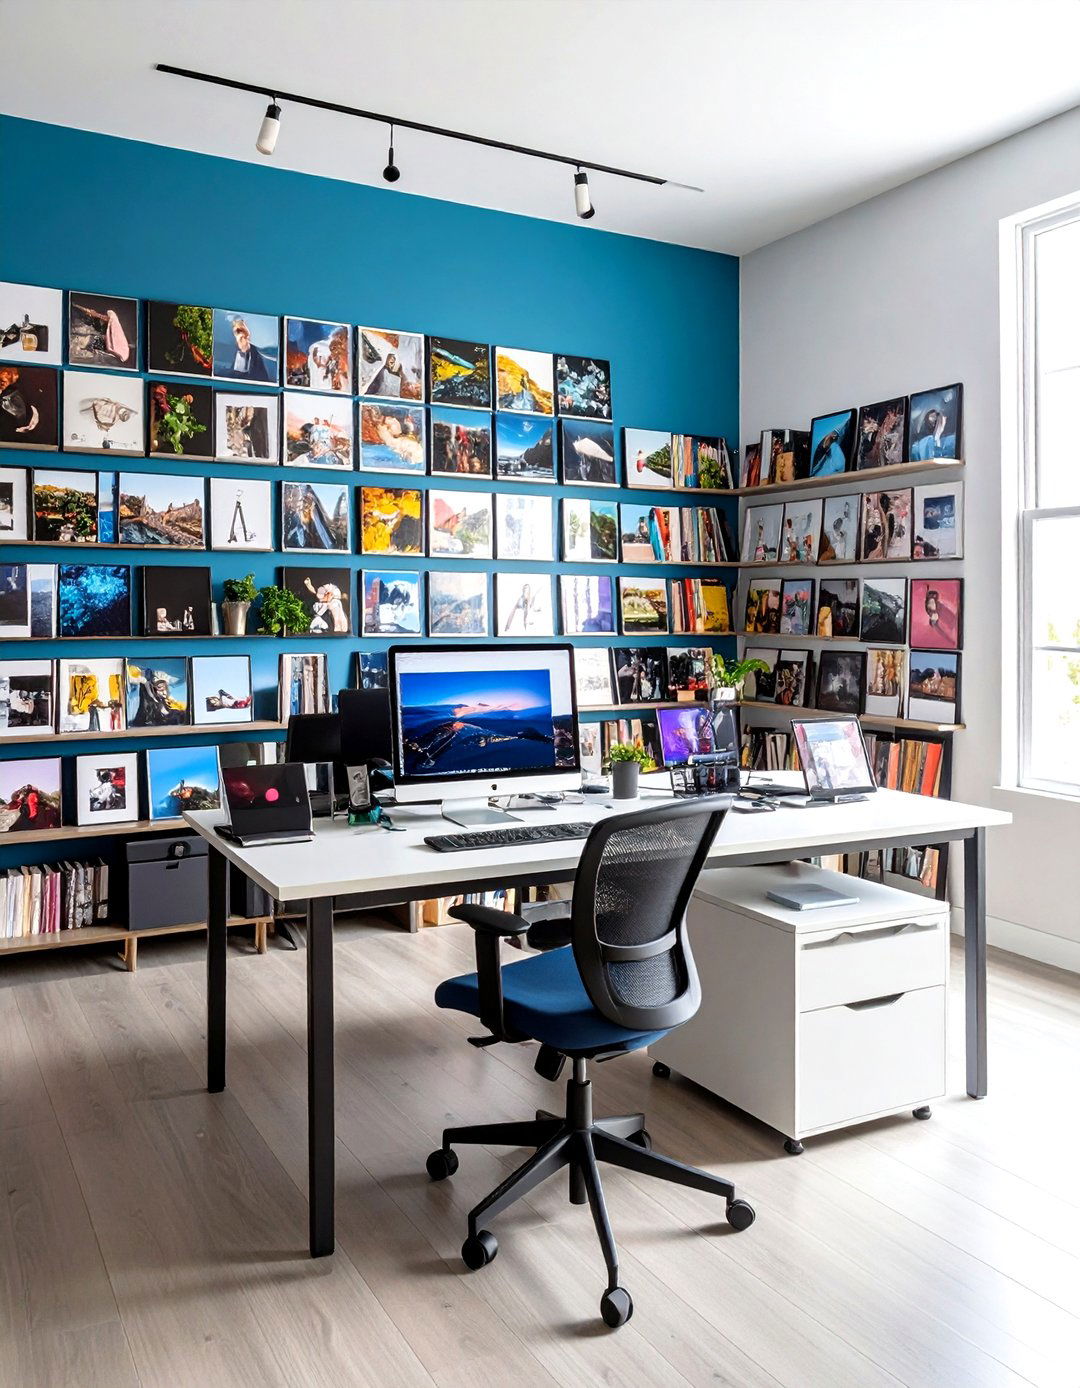
1. Sleek Symmetrical Grid for a Polished Look
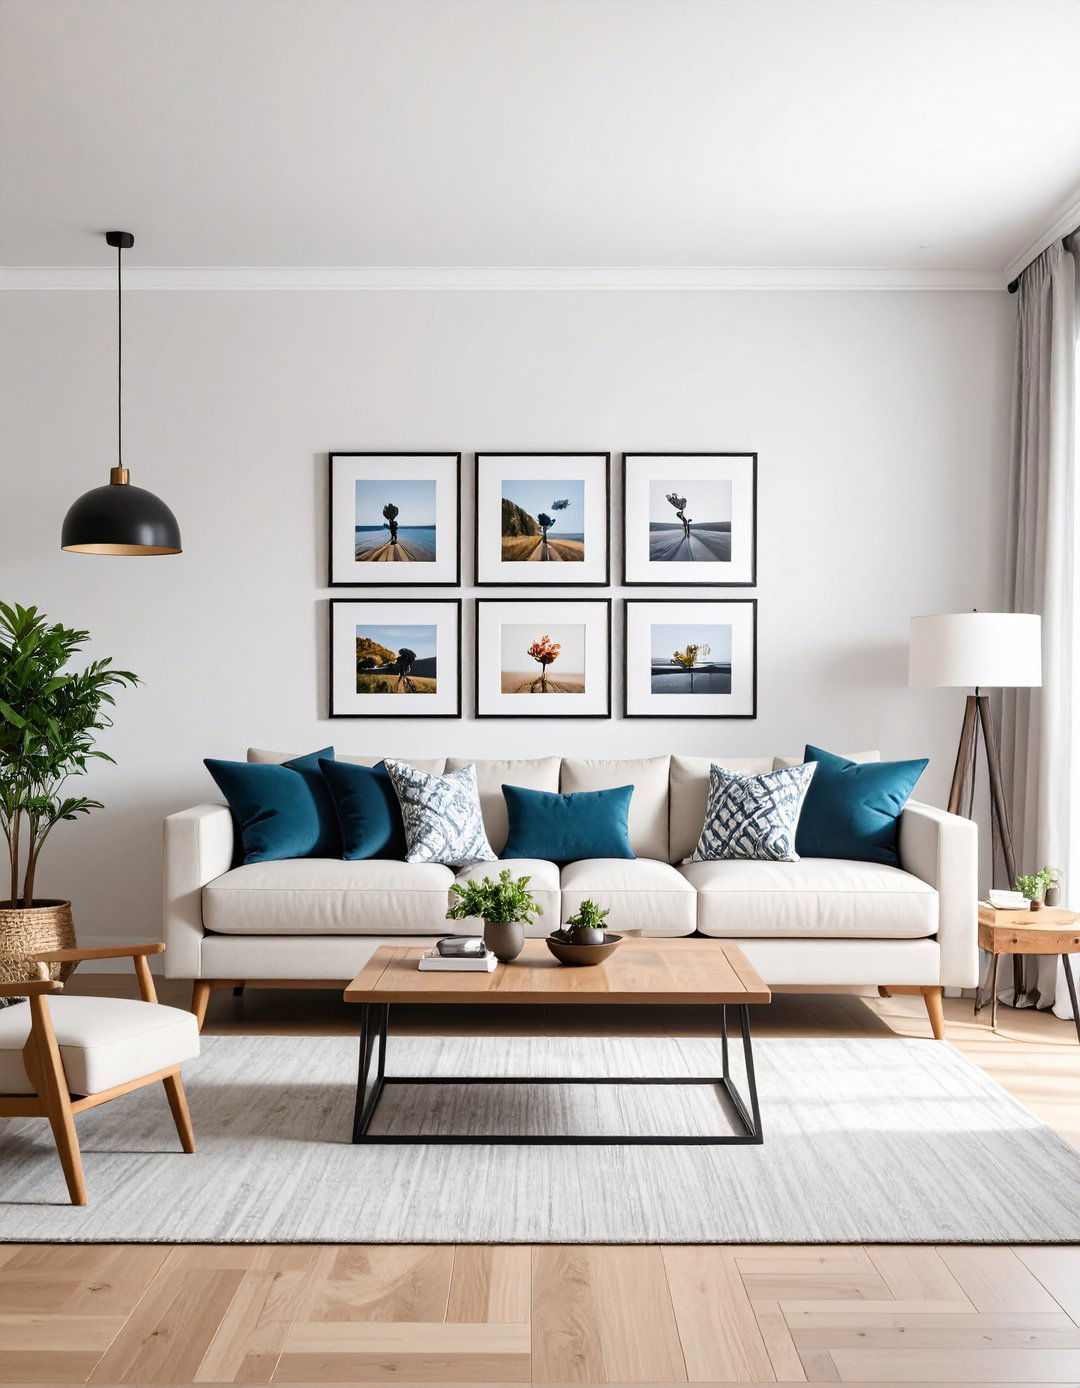
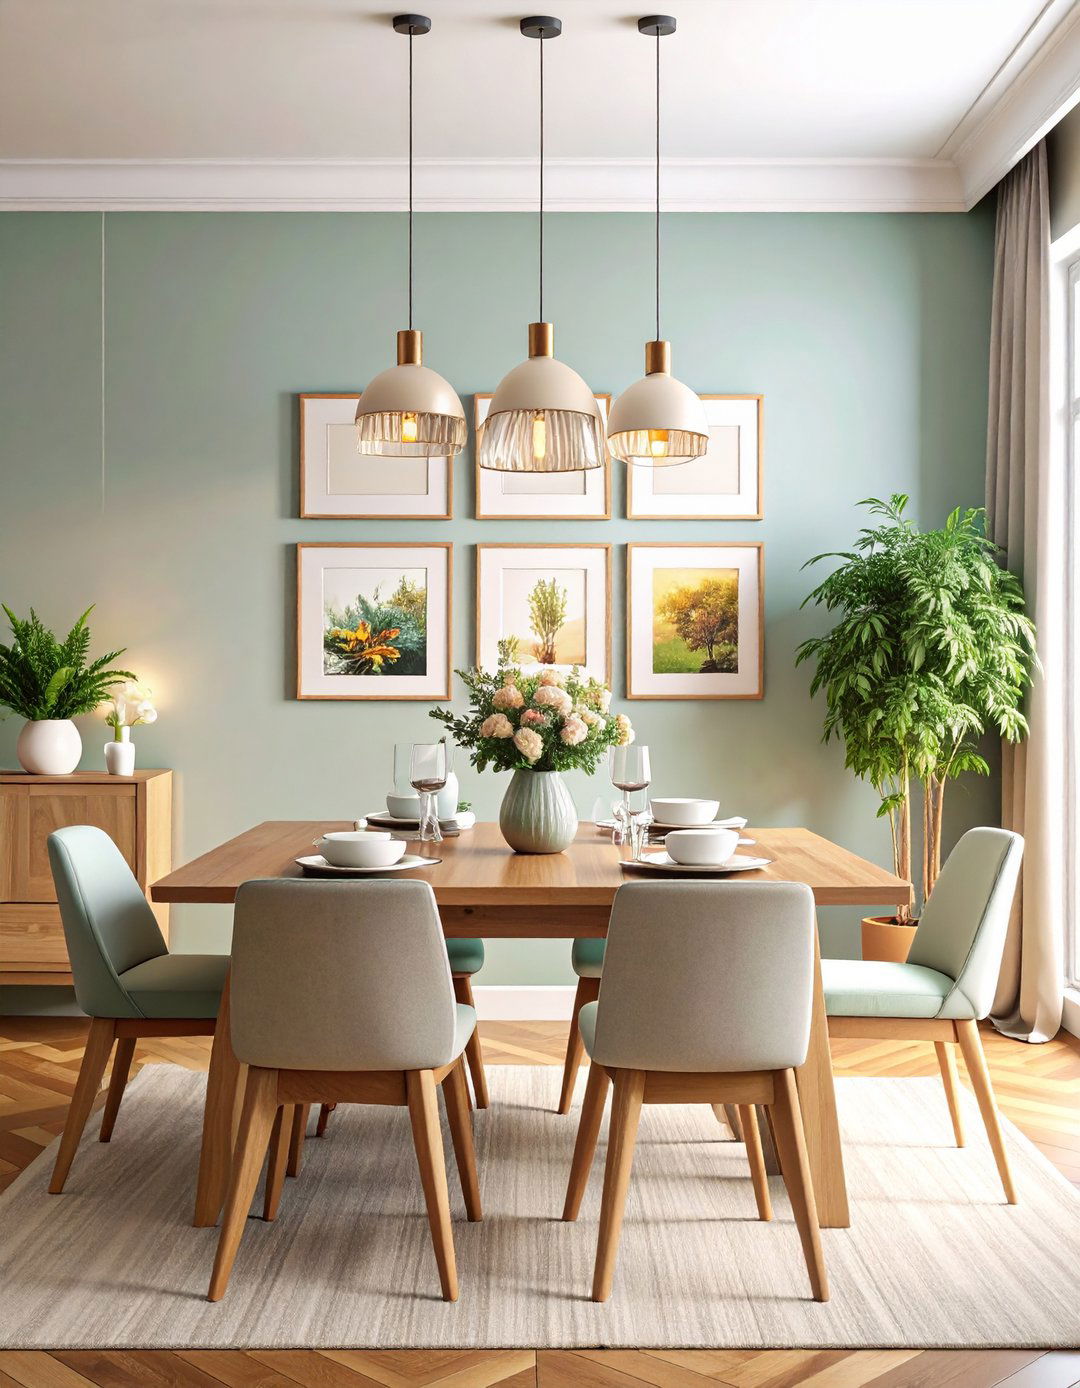
A tidy grid of identical frames instantly gives family photos gallery gravitas. Start by measuring the wall width, subtracting a few inches of breathing room on each side, and dividing by the number of columns to find equal spacing. Uniform 12-inch squares work well over sofas or buffets and keep horizons at a consistent eye line. Using the paper-template trick—taping kraft paper rectangles to test placement—saves guesswork before drilling. Interior bloggers note that sticking to black or white frames with white mats highlights the photos and makes the grid feel deliberate rather than busy. Jenna Kate at Home Style by Emily Henderson
2. Casual Picture Ledges You Can Rearrange Anytime
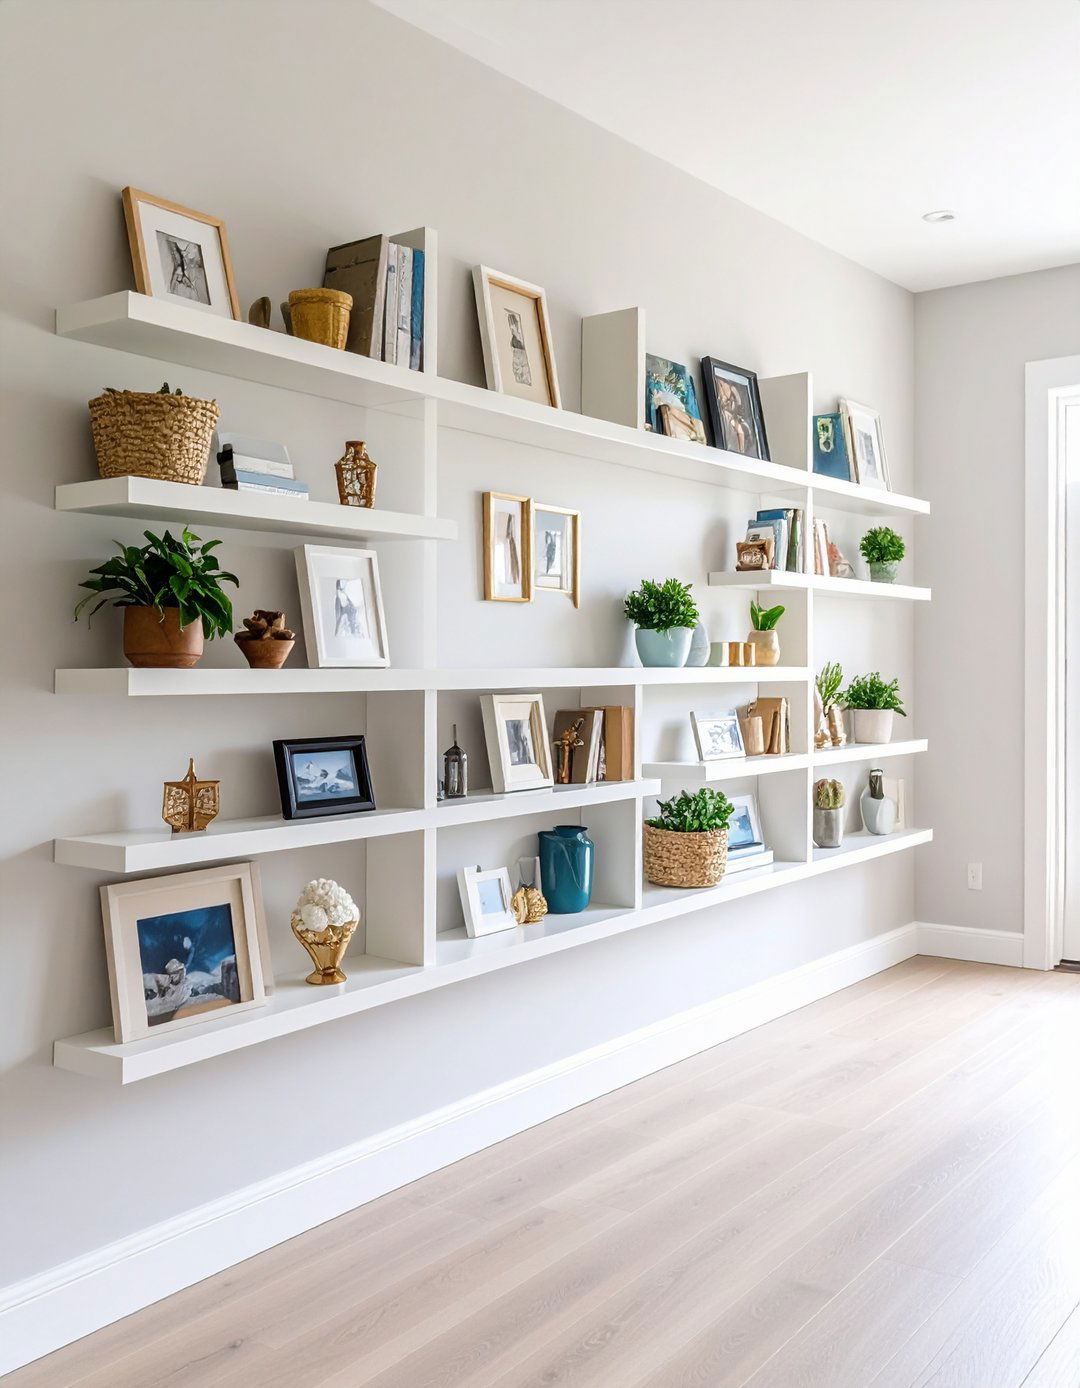
Picture ledges turn your wall into an ever-changing storybook. Shallow shelves with a front lip let you overlap frames, layer artwork, and tuck in small souvenirs without extra hardware. Retailers such as IKEA offer ledges in multiple finishes, and DIYers often paint them to match trim for a built-in look. Because the grooves hold frames at a slight backward tilt, glare is reduced and photos stay put even when kids bump the wall. Swapping prints for seasonal updates takes seconds—slide out the old, slide in the new—making this solution perfect for renters or commitment-phobes. IKEA Life On Virginia Street
3. Staircase Storyline That Climbs with You
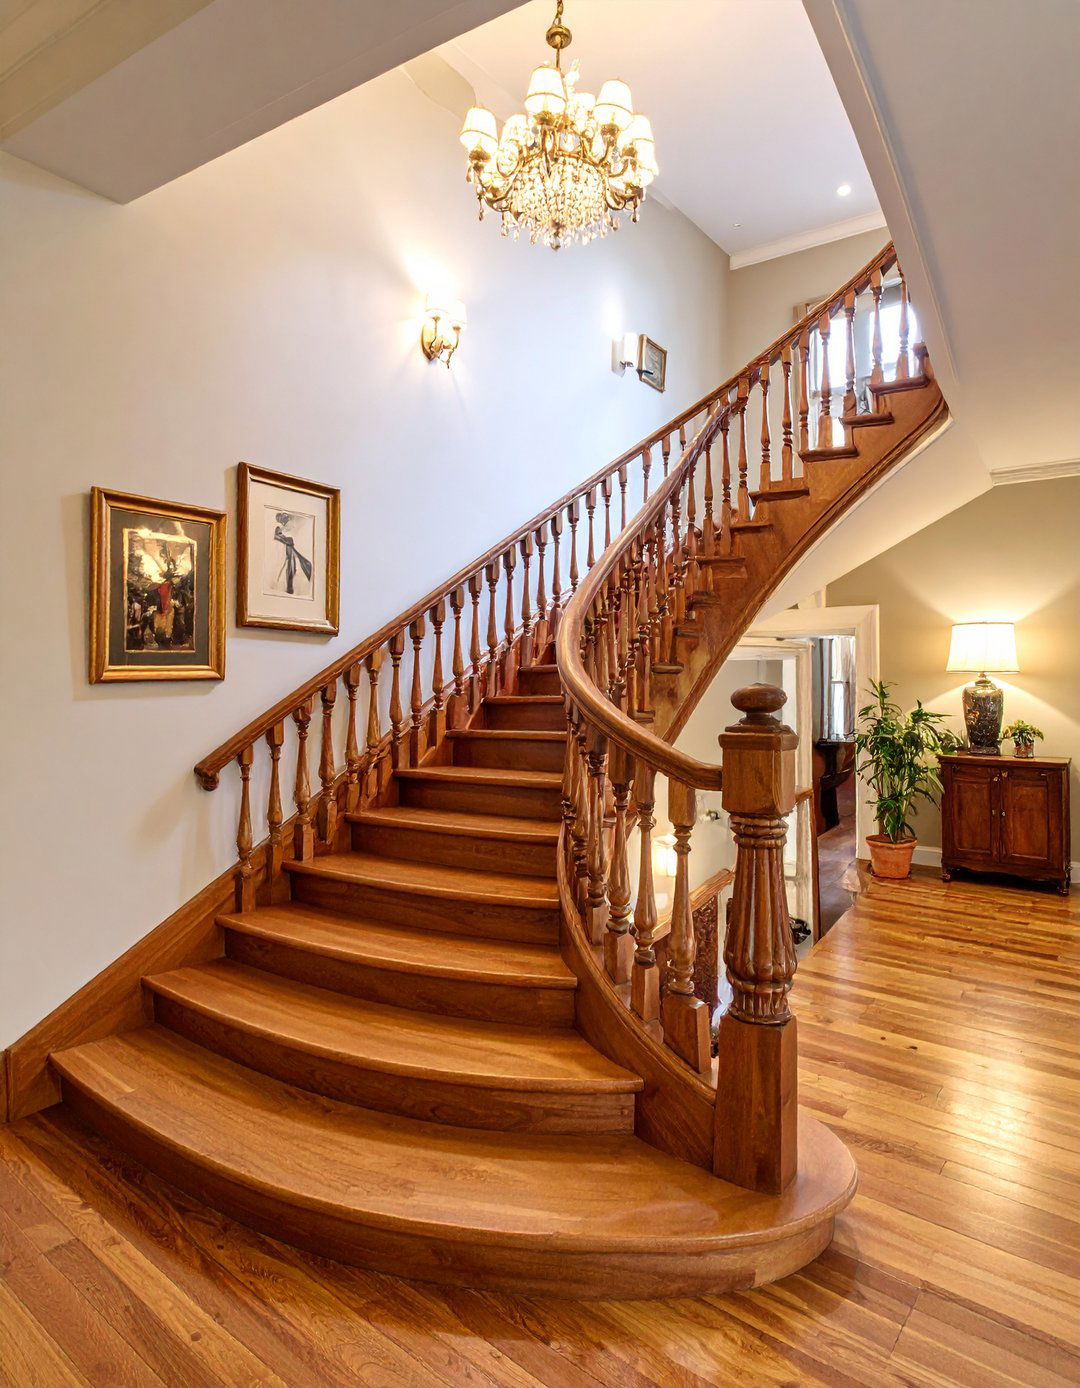
Stairwells provide a natural upward flow, so echo it by hanging frames along the handrail’s angle. Pros advise keeping the center of each frame roughly shoulder height for the average step, creating a smooth visual climb. Mix small and medium sizes, but keep gaps consistent—about two inches is enough breathing space. Command Strips or similar damage-free hooks protect drywall on tricky angled surfaces. Pinterest boards devoted to staircase galleries show how adding one unexpected item—like a shadow-box vacation memento—breaks monotony while still honoring the family photo focus. Pinterest Frame It Easy
4. Digital Frame Cluster for Dynamic Memories
If you’re short on wall real estate yet long on images, cluster slim digital frames. Models like Aura’s Mason Luxe auto-rotate through albums and can be invited family-wide for remote uploads, keeping grandparents’ walls updated without mailing prints. Tech reviewers highlight calibrated displays that mimic matte paper and ambient-light sensors to dim at night. Mount four identical screens in a square, hide cords in paintable raceways, and enjoy hundreds of photos where only four would fit. TechRadar
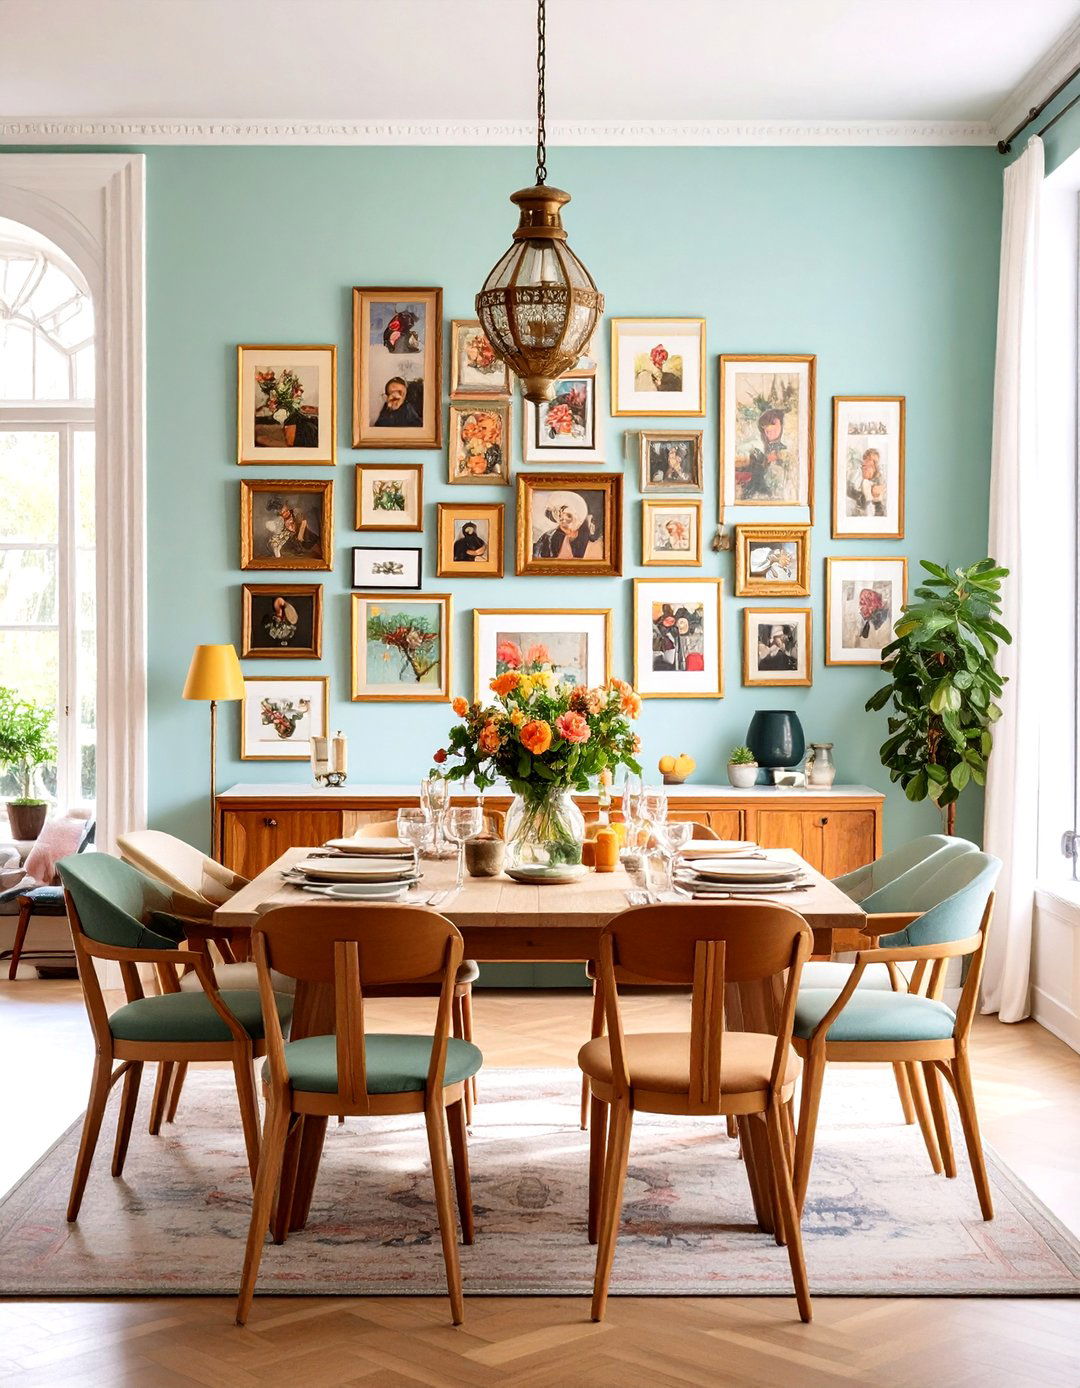
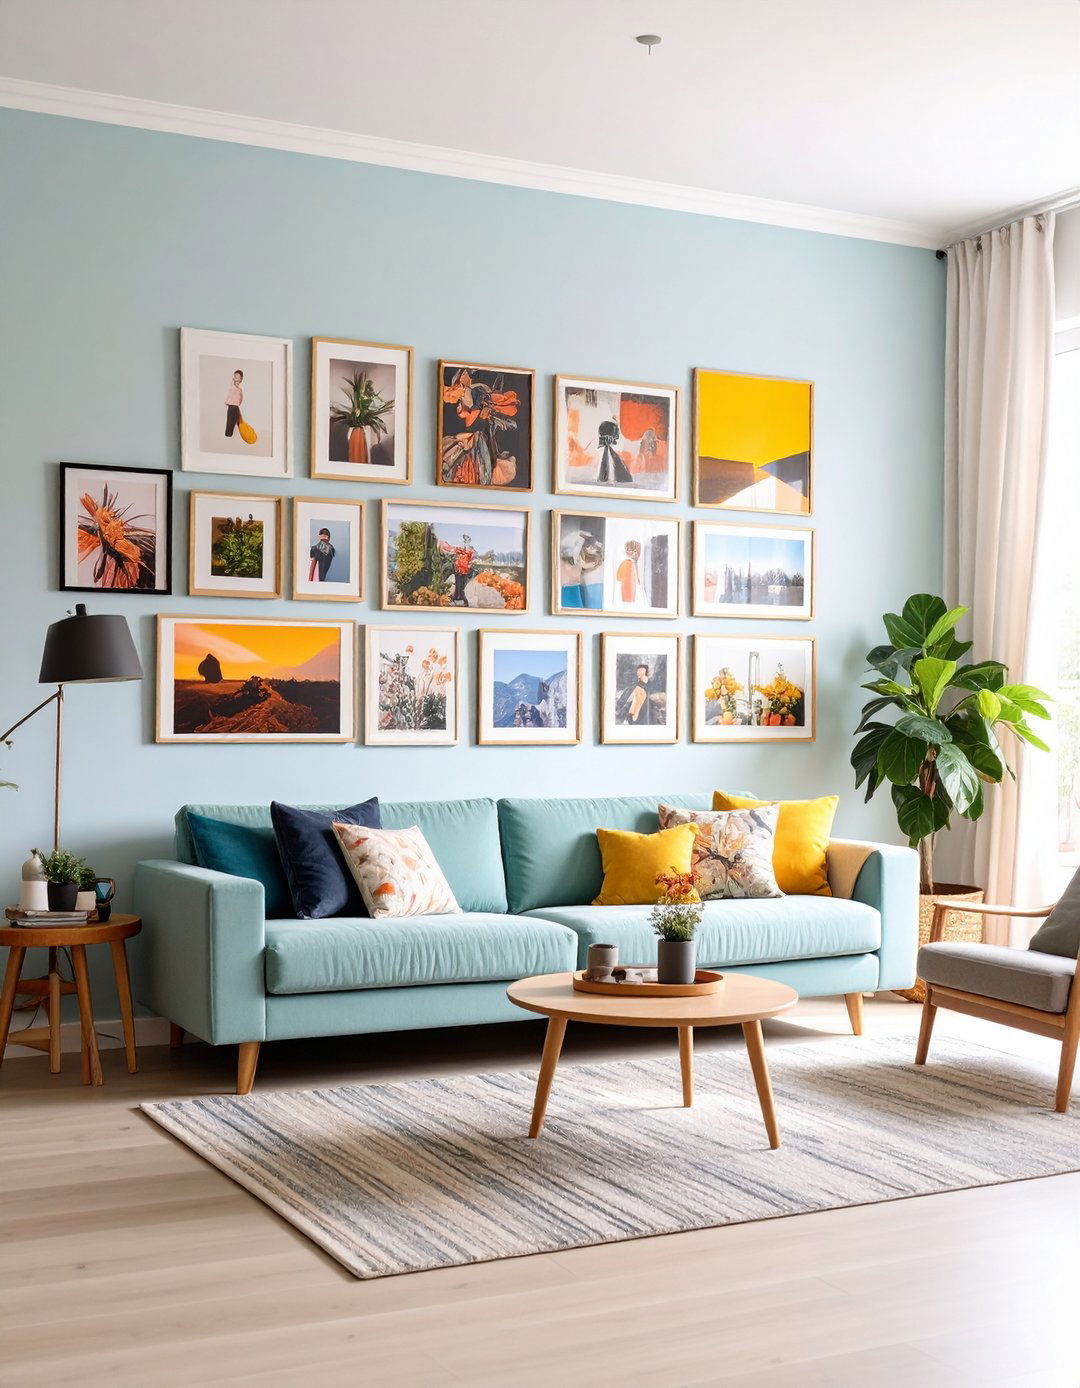
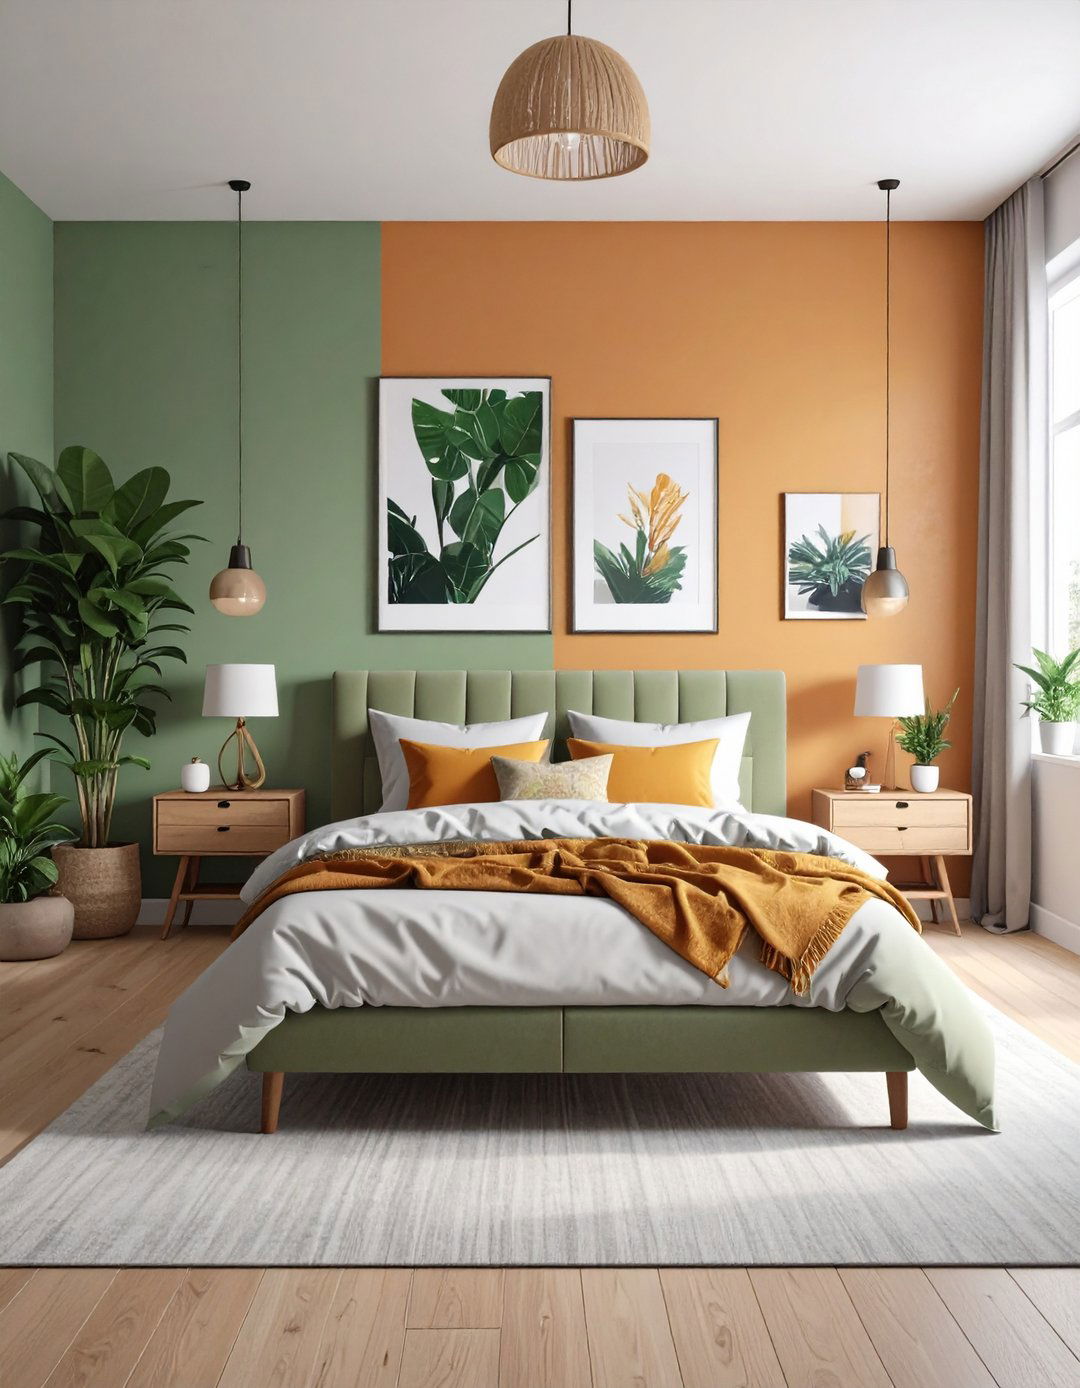
5. Mixed-Frame Eclectic Gallery for Max Personality
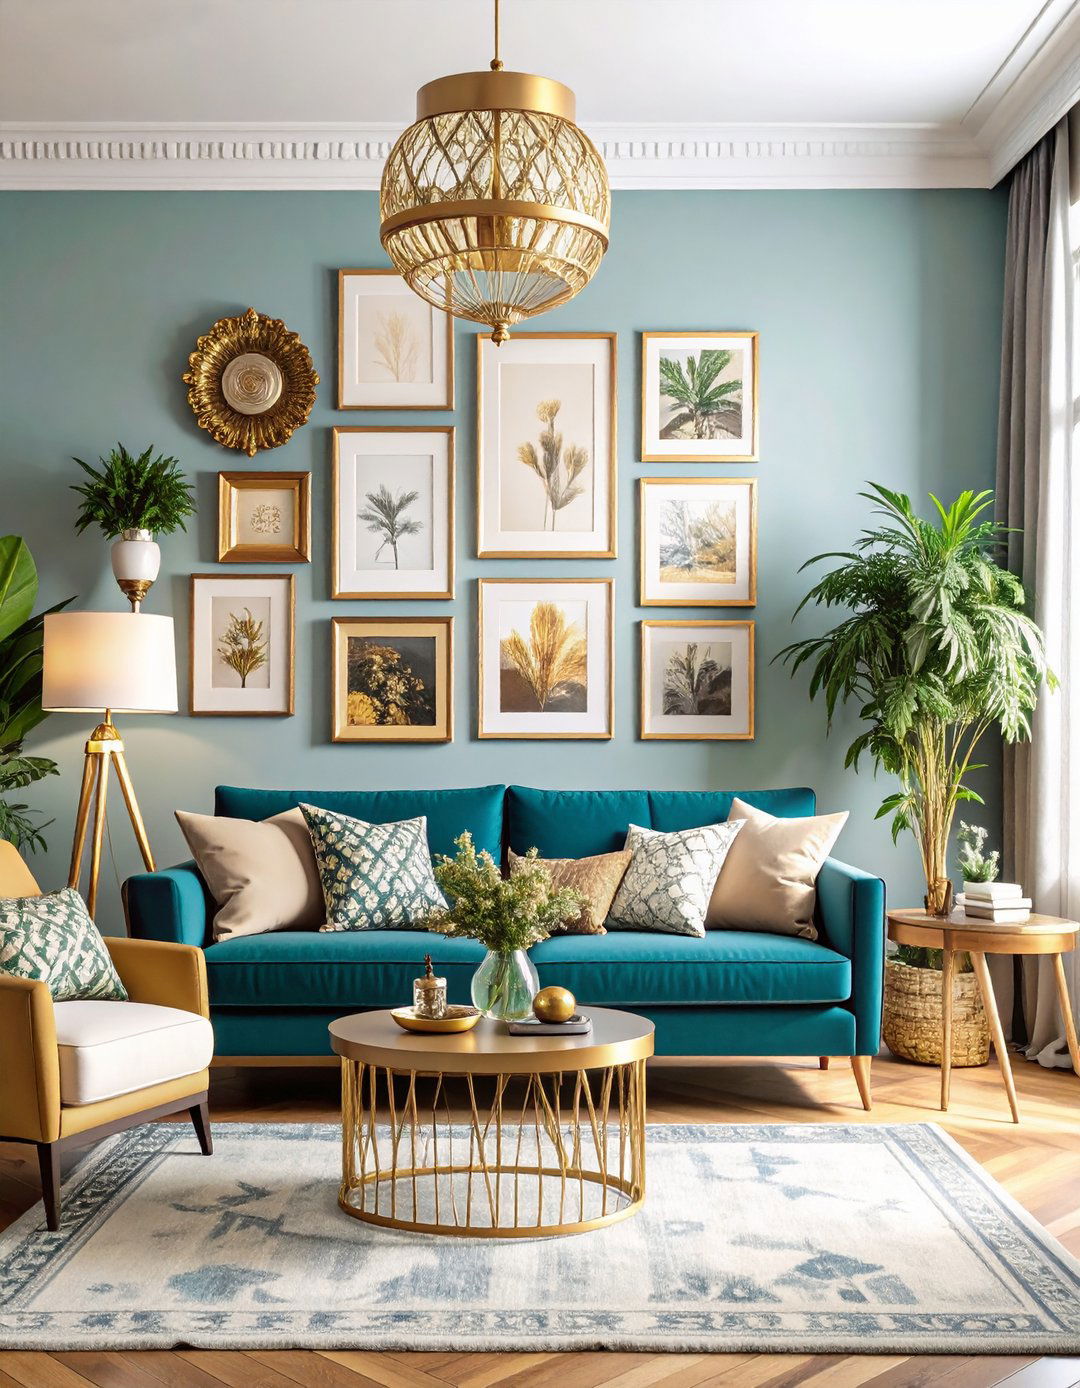
Unlike the strict grid, an eclectic gallery embraces diversity: ornate thrift-store gold next to sleek metal, toddler art beside wedding portraits. Designer Emily Henderson’s no-fail formula starts with one anchor piece, then builds out by alternating orientation and color until the wall feels balanced. Laying every frame on the floor first helps you shuffle sizes without hammering twice. Stick to one dominant metal or wood tone so the mix reads curated, not chaotic. Style by Emily Henderson
6. Oversized Statement Print as the Focal Hero
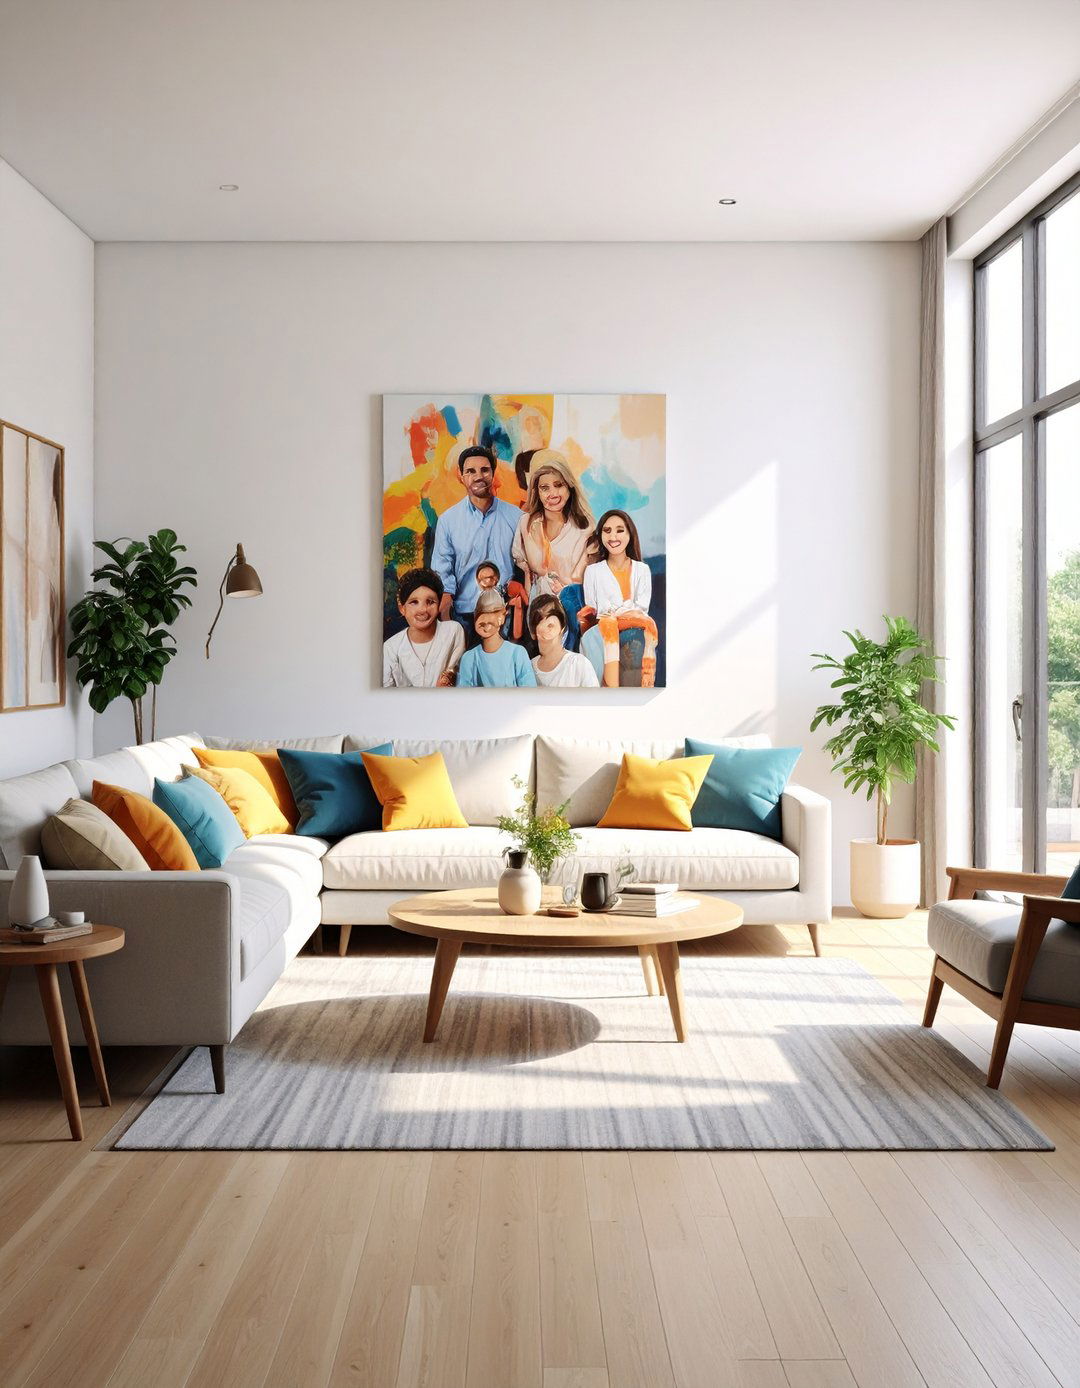
Sometimes one dramatic family portrait makes a bigger impact than twenty small frames. Print at least 60 percent of the sofa’s width so the art doesn’t look like a postage stamp floating on drywall. Online art shops recommend canvas or framed acrylic for pieces wider than 40 inches because they’re lighter than glass-front frames at that scale. A lone oversize print also simplifies dusting—bonus for busy households. Jenna Kate at Home Elephant Stock
7. Black-and-White Wall for Timeless Cohesion
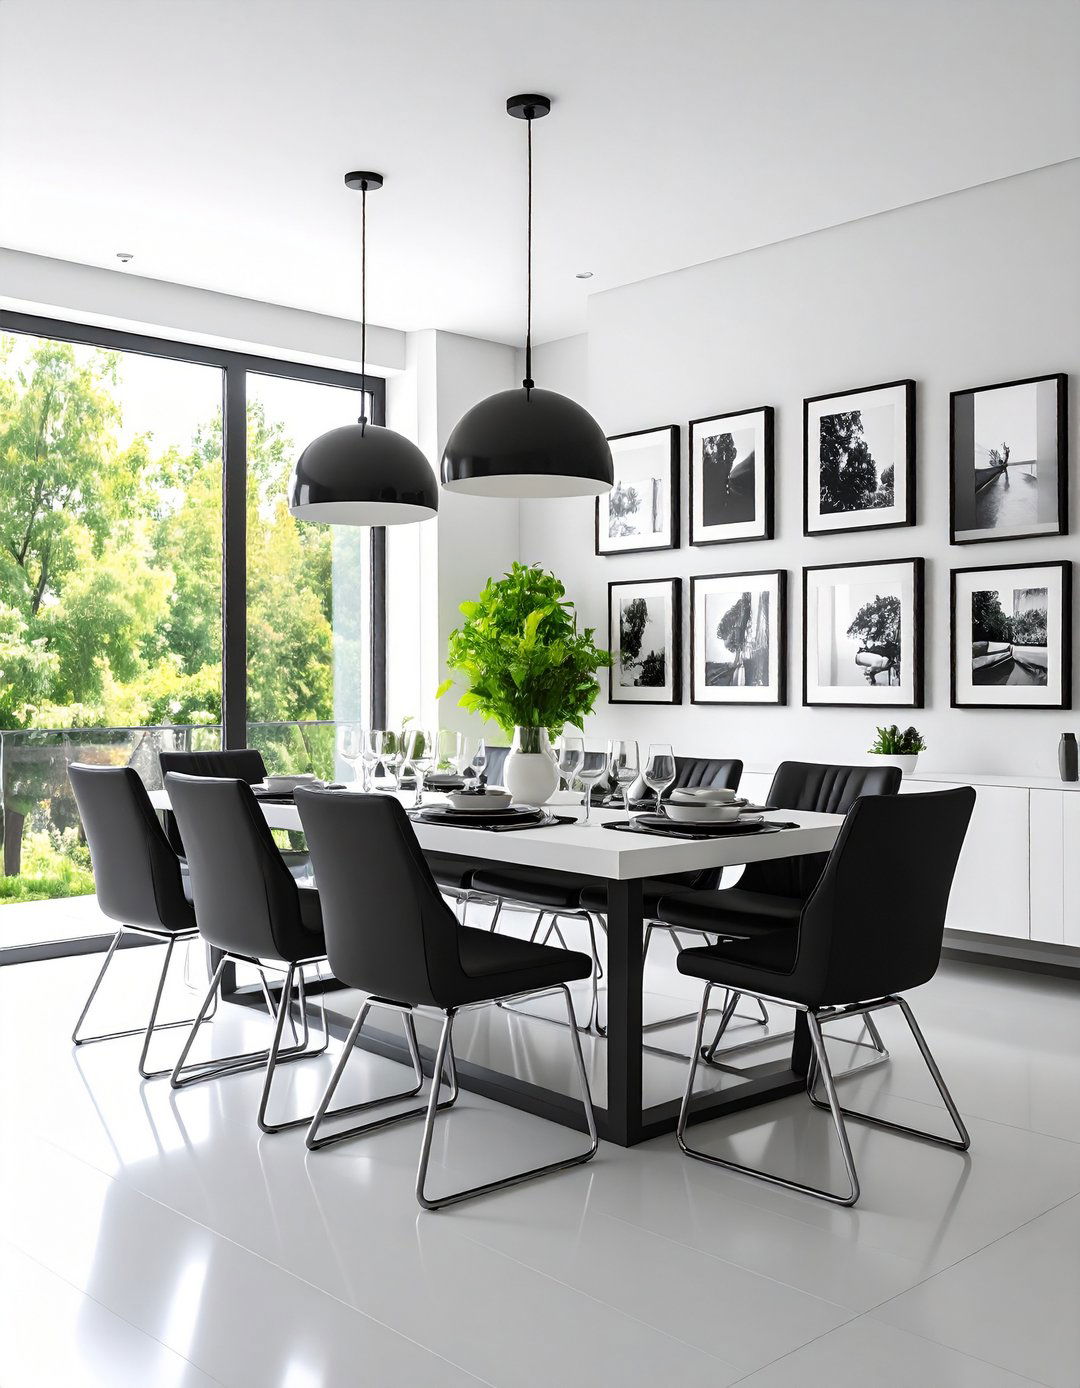
Converting every image to grayscale instantly unifies eras, lighting styles, and smartphone camera quirks. Framebridge’s curation guides note that monochrome pairs effortlessly with metallic frames, letting the textures—brushed brass, polished chrome—add subtle variety. Because color isn’t competing, viewers focus on emotion and expression, giving even candid shots a classic aura. Position a picture light above the center for museum vibes. Framebridge
8. Vertical Column Suited to Narrow Spaces
Tall, skinny walls beside bookcases or between windows can still celebrate family moments. Arrange five to seven same-size frames in a single plumb line, spacing them an inch apart. Keeping the tops and bottoms flush creates a visual exclamation mark without overwhelming tight quarters. This approach also directs the eye upward, making ceilings feel higher in small apartments. Jenna Kate at Home
9. Free-Form Asymmetry That Feels Artfully Collected
If right angles bore you, try an organic layout that radiates from a central piece. Interior stylist Sophie Robinson recommends overlapping imaginary circles rather than strict grids; the result feels relaxed yet intentional. Trace each frame on craft paper, cut, and tape to the wall until you love the negative space shapes in between. When you’re set, nail through the paper, hang the frame, then tear the template away.
10. Renter-Friendly Stick-On Gallery
Leases shouldn’t limit creativity. Heavy-duty adhesive strips rated for 16 pounds per pair now hold most frames up to 18×24 inches. Frame-supply sites caution users to press firmly for 30 seconds and wait a full day before hanging to reach bond strength. At move-out, pull tabs straight down and the wall stays paint-perfect—security deposit intact. Frame It Easy
11. Frameless Floating Acrylic for a Modern Edge
Acrylic “sandwich” frames screw through standoff bolts, letting painted walls show around each print like a colored mat. The lack of borders suits minimalist interiors and keeps attention on the photo. Brands like Wexel Art and Artifact Uprising craft UV-filtered panels so images won’t fade near bright windows. Spacing bolts in a tidy square doubles as built-in hanging hardware, cutting down on measurements. Wexel Art Artifact Uprising
12. Seasonal Swap-Out Wall on Hidden Rails
Install a slim picture-hanging rail near the ceiling, run nearly invisible cords down, and clip frames at adjustable heights. Museums use this system to switch exhibits quickly, and homeowners can mimic the efficiency for holiday or milestone rotations without fresh holes. Matching cord pairs also add subtle vertical rhythm above wainscoting. The Spruce
13. String-Light Clip Display for Cozy Glow
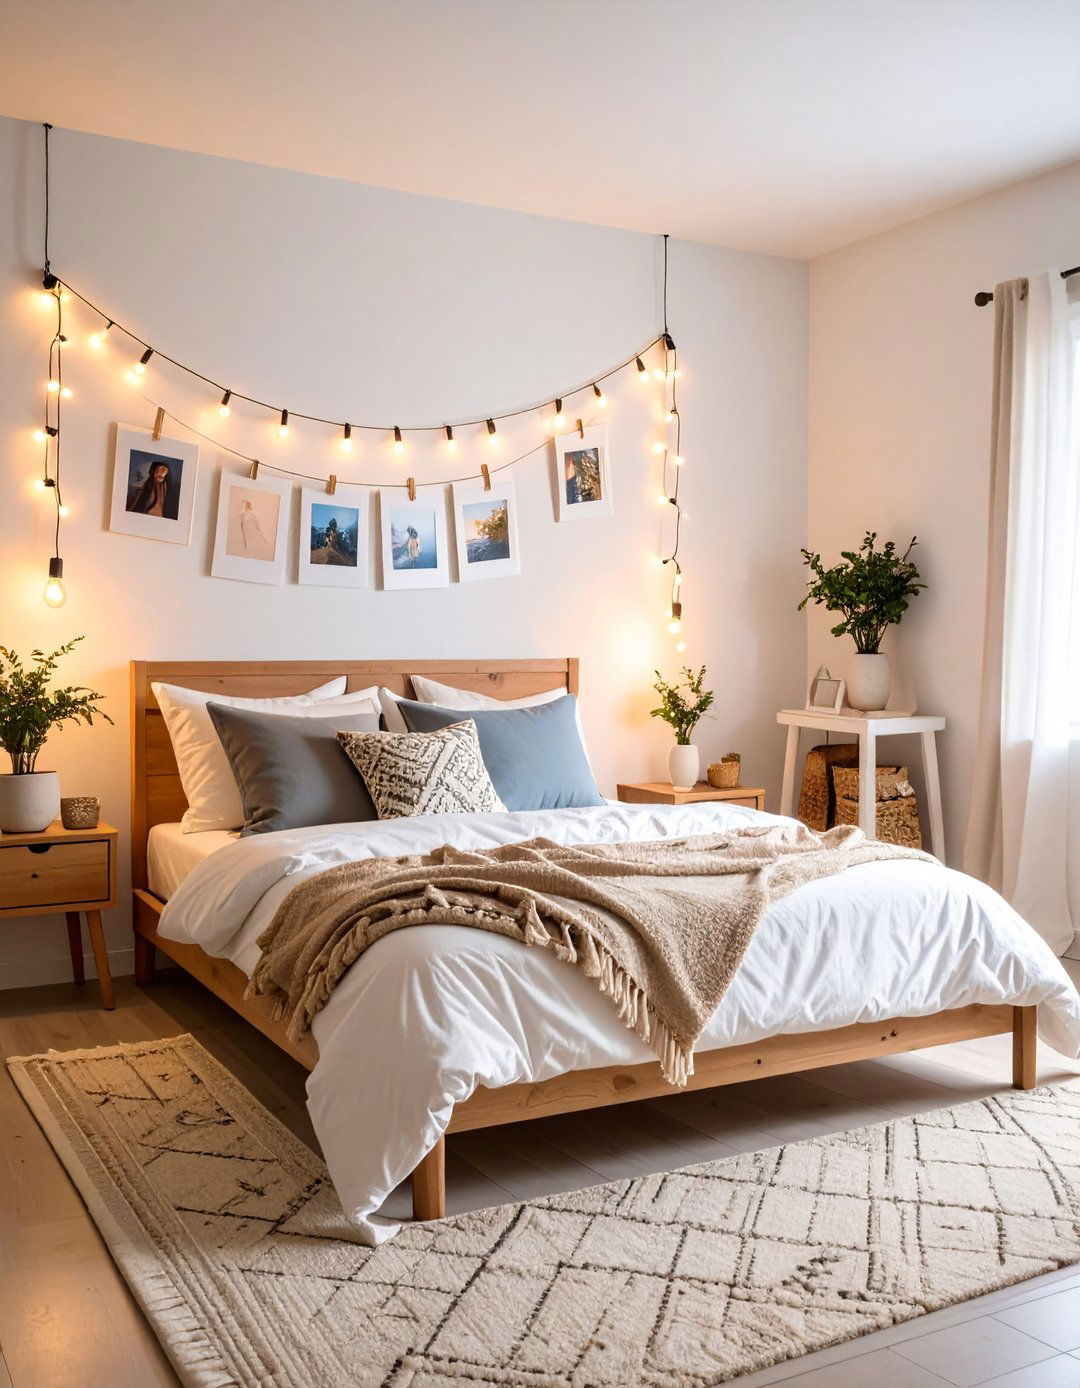
Fairy-light strands with integrated photo clips let you pin Instax prints or postcards in minutes. Warm-white LEDs cast a gentle evening haze that doubles as mood lighting. Reviewers on décor sites praise remote controls and eight twinkle modes that feel “grown-up” rather than dorm-room. For neatness, run the strand taut across a wood slat or inside a shadow-box frame. Pinterest Reddit
14. Clipboard Gallery for Effortless Updates
Wooden or acrylic clipboards screwed directly to studs create a wall of quick-change frames—just unclip and add a new school portrait or art project. Stain boards a uniform color so the varied papers still read cohesive. Teachers often use this trick in classrooms, and it translates perfectly to playrooms where masterpieces multiply weekly. Wired

15. Corner-Wrapping Display to Soften Angles
Don’t stop at inside corners; instead, run frames around the bend so photos appear to hug the room. Use thinner side profiles so adjoining frames nearly touch without leaving big gaps. This optical “unfolding” makes small dens feel larger by drawing the eye continuously instead of halting at walls. The Spruce
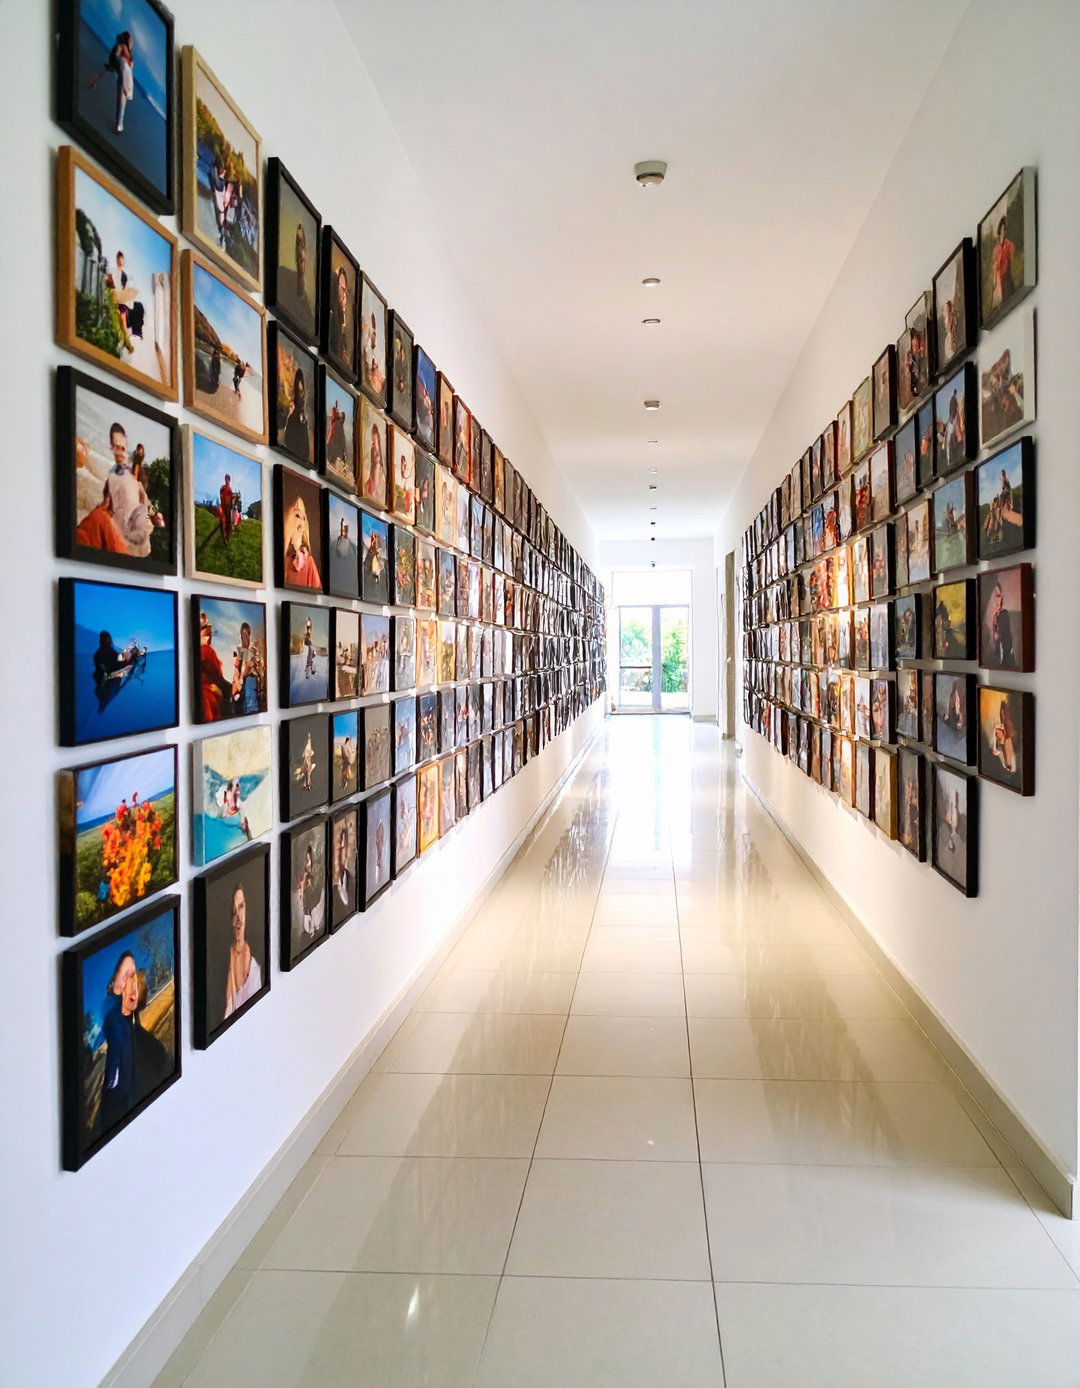
16. Chronological Timeline That Shows Growth

Arrange photos left-to-right or top-to-bottom in date order—from baby steps to graduations—to turn a hall into a living timeline. Elephant Stock’s layout tips suggest measuring total wall length first, then grouping years in equal segments to avoid crowding later milestones. Add discreet labels (tiny brass tags or vinyl decals) so guests can follow the family journey at a glance. Elephant Stock
17. Canvas Quartet with Unified Color Story
Printing four favorite candids on gallery-wrap canvas and editing each to share one accent hue (say, muted sage or warm sepia) ties disparate settings together. Canvas weight is lighter than glass, allowing larger sizes without heavy anchors. Plus, the wrapped edges mean you can skip frames entirely for a clean, contemporary edge. Elephant Stock
18. Kid-Curated Wall Blending Artwork and Photos
Dedicate a hallway section to children’s creations alongside their portraits. Use magnetic poster hangers so little hands can swap drawings themselves, encouraging ownership and creativity. Mixing media—crayon sketches beside vacation snapshots—keeps the display playful and reminds viewers that family stories include art as well as images. The Spruce
19. Oversize Wall Decals for Peel-and-Stick Impact
Printable fabric decals let you turn a single high-resolution photo into a life-size sticker, ideal for playrooms or dorms where nails aren’t allowed. Early adopters loved that decals can be repositioned dozens of times without losing grip or peeling paint, making them great for renters or indecisive decorators. Wired
20. Heritage Family-Tree Mural with Framed “Leaves”
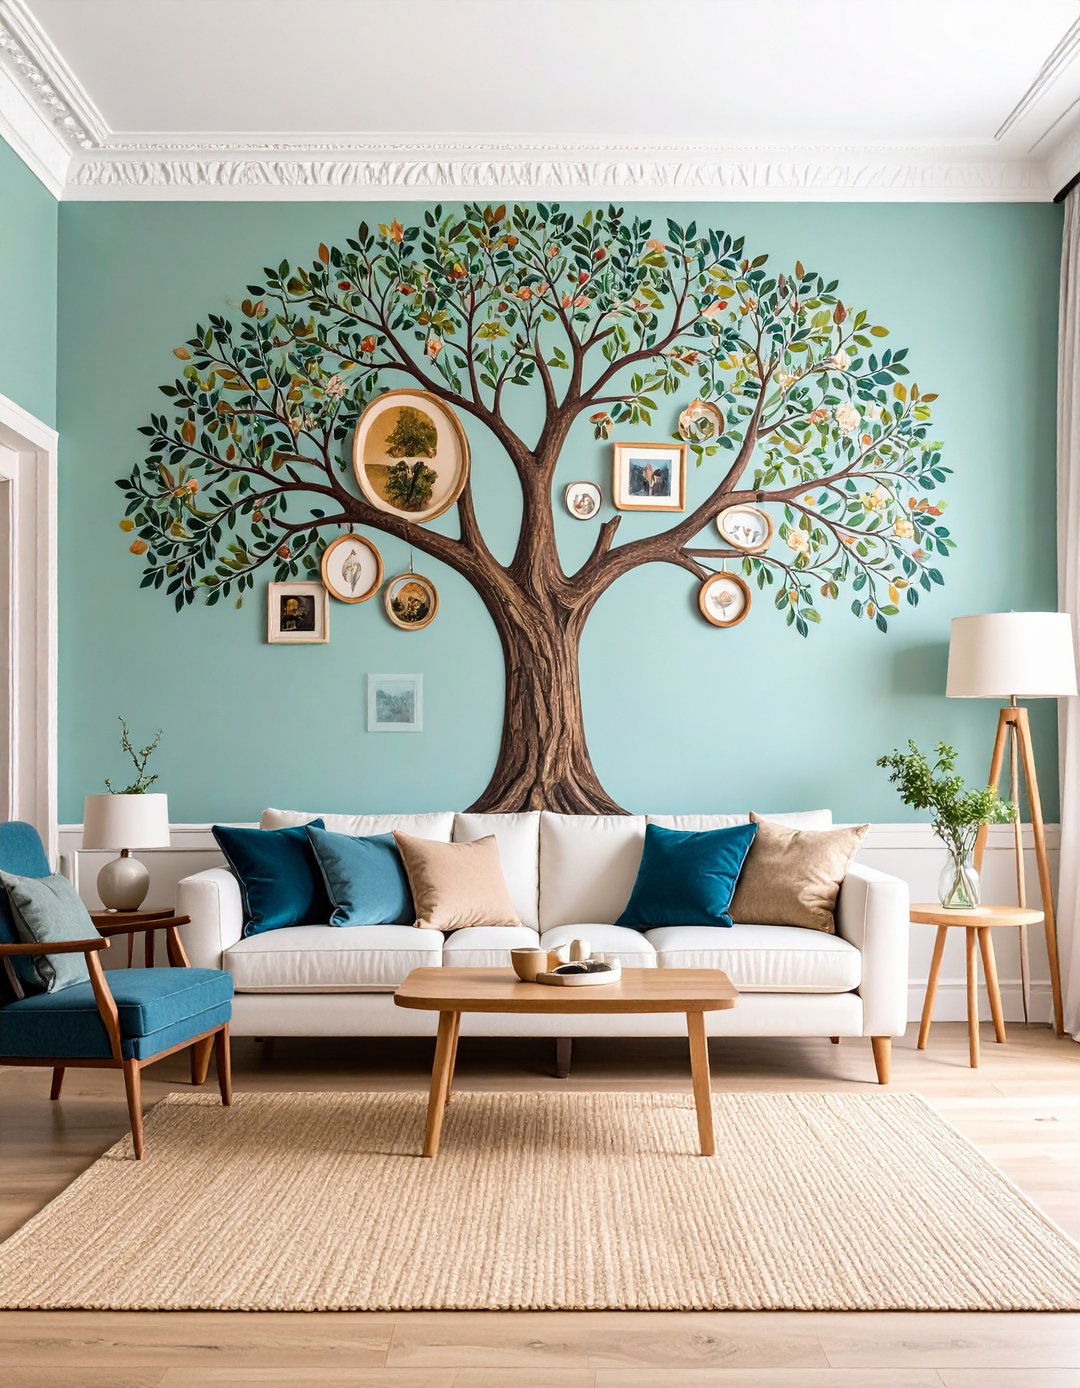
Paint or apply a tree silhouette decal, then hang small oval or square frames as leaves—branch tips guide placement automatically. Online retailers sell kits with removable vinyl trunks and matching mini frames, simplifying setup. Elders visiting for holidays will appreciate seeing generational links displayed proudly in communal space. Amazon Pinterest
Conclusion:
Your family picture wall should feel as living and adaptable as the people it celebrates. Whether you favor the discipline of a crisp grid, the whimsy of twinkling clip lights, or the evolving narrative of a timeline hall, each idea above balances style with practical hanging advice. Choose one concept—or blend a few—to showcase memories in a way that suits your space, lifestyle, and story, knowing you can always rearrange as new chapters unfold.
Related posts:


Leave a Reply